
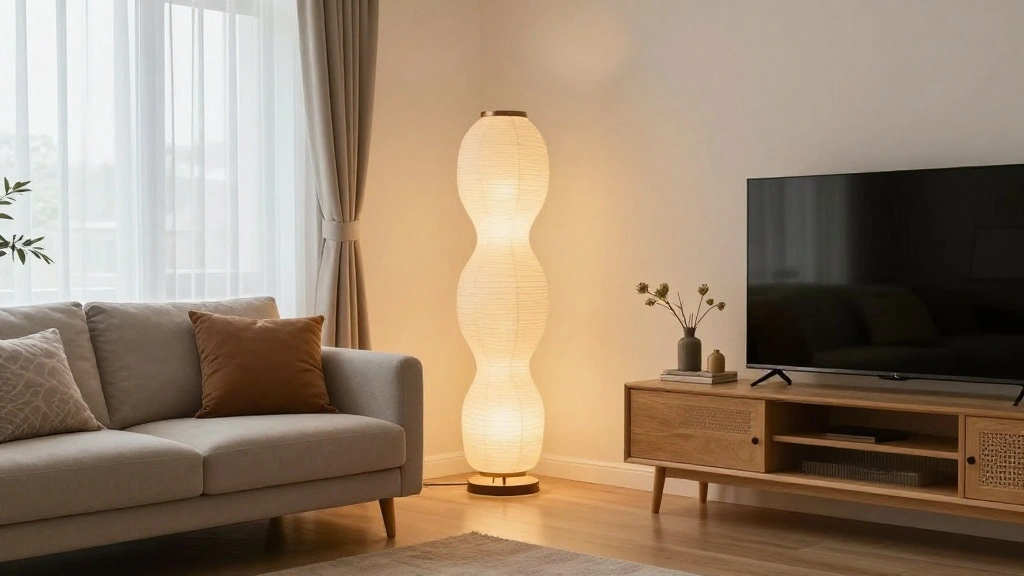
Are you tired of dull lighting in your home? Many people face the challenge of creating a cozy and inviting atmosphere without breaking the bank. The solution? A DIY floor lamp! By crafting your own lamp, you can customize it to fit your space and style while saving money.
In this guide, you’ll learn how to design and construct a stylish floor lamp using affordable materials. You will gain hands-on experience in basic electrical work and woodworking, all while enhancing your interior decor. This guide will break down each step clearly, ensuring you can follow along easily.
This project is rated as beginner level and will take approximately 2-3 hours to complete. Get ready to transform your space with your very own DIY floor lamp!
TL;DR Summary
- Gather materials like a lamp kit, base, and shade for your DIY floor lamp.
- Follow simple steps to assemble the lamp safely and effectively.
- Customize your lamp to fit your style and space.
- Enjoy a new, budget-friendly lighting solution in your home!
Recommended Products

EXTRA LONG 12 FOOT CORD & QUALITY HARDWARE SET Included - A 12ft Electric Cord with polarized plug fit both Table Lamp and Floor Lamp Making / Repair. Wire ends are fitted with U-shaped connector,which make connection work simple .Qualified hardwares have good color matching and looks upgraded.

Application : The lamp rewiring kit with socket and cord plug is suitable for DIY projects at home .You can store the lamp repair kit as a household tool to repair and replace damaged and aging lamp sets and tarnished old accessories.
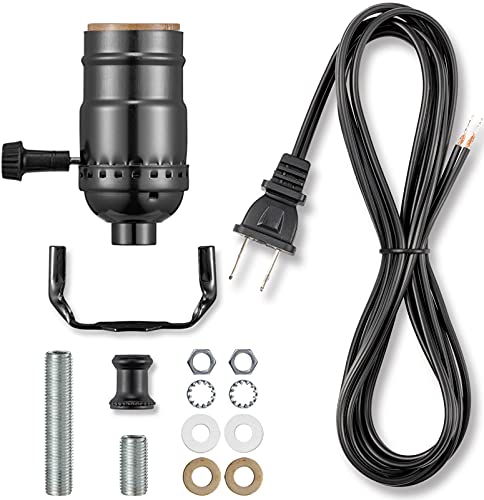
PACKAGE INCLUDES - 1 x 12 feet lamp cord, 1 x 3-way lamp socket, 1 x lamp harp base, 1 x decorative neck, 1 x 5 cm threaded pipes, 1 x 2.5 cm threaded pipes, 2 x metallic washers, 2 x rubber washers, 2 x lock washers, 2 x hex nuts.
TL;DR Summary
Editor’s Choice

Lamp Making Kit,Make a Lamp or Repair Kit,3-Way Lamp Socket with Matchin…


GO&SO White Bell Lamp Shades Set of 2 Meduim Lamp Shade for Table Lamp 6…

9.25 Inch Plastic Lamp Base Weight Round Floor Heavy Weighted Lamp Base …
Prerequisites/Materials Needed
- Basic Materials:
- 1 lamp kit (socket, cord, and plug)
- 1 lampshade (size and style of your choice)
- 1 sturdy base (wood or heavy material)
- Tools:
- Drill
- Screwdriver
- Measuring tape
- Wire cutters
- Safety Gear:
- Safety glasses
- Gloves
Recommended Products

Product Overview: This E26 lamp socket is made of sturdy aluminum material, durable and solid. Max. Wattage: 250W; Input Voltage: 250V. Note: Two terminals for wiring — gold screw for hot wire, silver screw for neutral wire.

【UL Listed】Maximum power rating: 250W, 250V, UL certificated, safe to use. The outer of light socket is made of high-quality phenol formaldehyde plastic material and comes with an aluminum socket interior that is solid, making it resistant to heat, flame and corrosion. This is a high-quality medium base socket replacement for lamp fixtures.

EXTRA LONG 12 FOOT CORD & QUALITY HARDWARE SET Included - A 12ft Electric Cord with polarized plug fit both Table Lamp and Floor Lamp Making / Repair. Wire ends are fitted with U-shaped connector,which make connection work simple .Qualified hardwares have good color matching and looks upgraded.
Prerequisites/Materials Needed
Editor’s Choice

TICONN Anti-Fog Safety Glasses for Men and Women, ANSI Z87.1 Scratch Pro…

Lamp Rewire Kit – 3-Way Socket With Matching Cord and Harp Set for Table…

DIY Lampshade Kit 8″x12″ White – DIY Lamps Shade Making Kit with All M…
Skill Level & Time Estimate
Skill Level: beginner
Total Time Estimate: 2-3 hours
Step Breakdown:
- Gather materials: 30 minutes
- Assemble the base: 30 minutes
- Install the socket and cord: 1 hour
- Attach the lampshade: 30 minutes
- Final touches: 30 minutes
Recommended Products
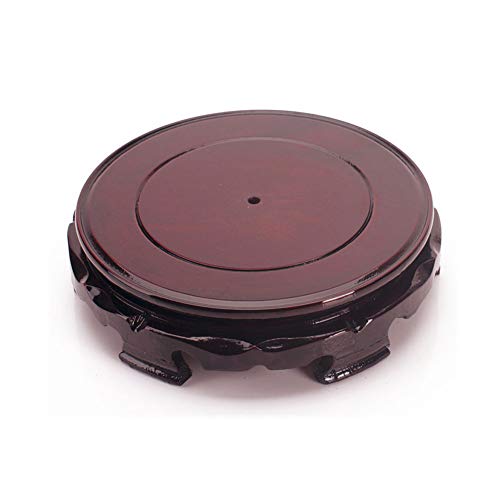
Round base for vases, fish tanks, table lamps and etc.

Package Includes: You will receive 4 sets of wooden lamp bases, each with 1 self-adhesive non-slip pad, to ensure that the lamp bases are placed more stable and not easy to slide and tilt, and firmly affixed to the position you need

Package contents: 2 pieces LED display base with 2 pieces remote control; Both with a USB plug, can be operated on adapter power; LED wood light base displays your favorite crystal glass figurine or figurines jewelry or anything within 3.94 inch in diameter,Please note: There is a plastic piece on the back of the remote control. Please remove the plastic piece before use to ensure normal operation
Skill Level & Time Estimate
Editor’s Choice

CabKing Cabbing Machine Lapidary Equipment – 8″ Jewelry Making Tools f…

UL Listed E26 Light Socket, Threaded Lamp Socket Replacement with ON/Off…

Beige Lamp Shade, Large Drum Lampshade 13”Top X 13” Bottom X 10” High…
Step 1: Gather Your Materials

Start by collecting all the materials listed in the prerequisites. This ensures you have everything at hand before you begin.
- Check the lamp kit components: socket, cord, and plug.
- Choose a lampshade that matches your decor.
- Find a sturdy base that can support the weight of the lamp.
Pro Tip: Visit local thrift stores or online marketplaces for budget-friendly materials.
Why this matters: Having all your materials ready streamlines the building process and prevents interruptions.
Estimated time: 30 minutes.
Recommended Products

Package contains: 14 inch High X64 inch Wide linen with different thickness and fine texture lampshade materials. Additional materials required to make lampshade: Decorative fabric edge length130inch, Self-adhesive fabric edge length130inch. (Glue to be purchased separately)More sizes and different materials are available, including lengths suitable for various lighting retrofit projects. You can also cut it into the size you want. We are trying to perfect our product.

Package: Our Glass Beads Kit Contains 300 Pieces 6mm Glass Beads

Material: Iron; Surface Treatment: Baking Finish; Color: White; Diameter: 18cm / 7"; Wire Diameter: 3.5mm / 0.14"; Inner Dia.: 4.2cm / 1.65"; Packing List: 3 x Lamp Shade Ring Frame
Step 1: Gather Your Materials
Editor’s Choice

Floor Lamp Shade 2 Pack Torchiere Lamp Shades Replacement, 10 inch Diame…
Lamp Making Kit,Make a Lamp or Repair Kit,3-Way Lamp Socket with Matchin…

Industrial Table Lamp Base E26/E27 Ceramic Base Holder, Vintage Small De…
Step 2: Create the Base
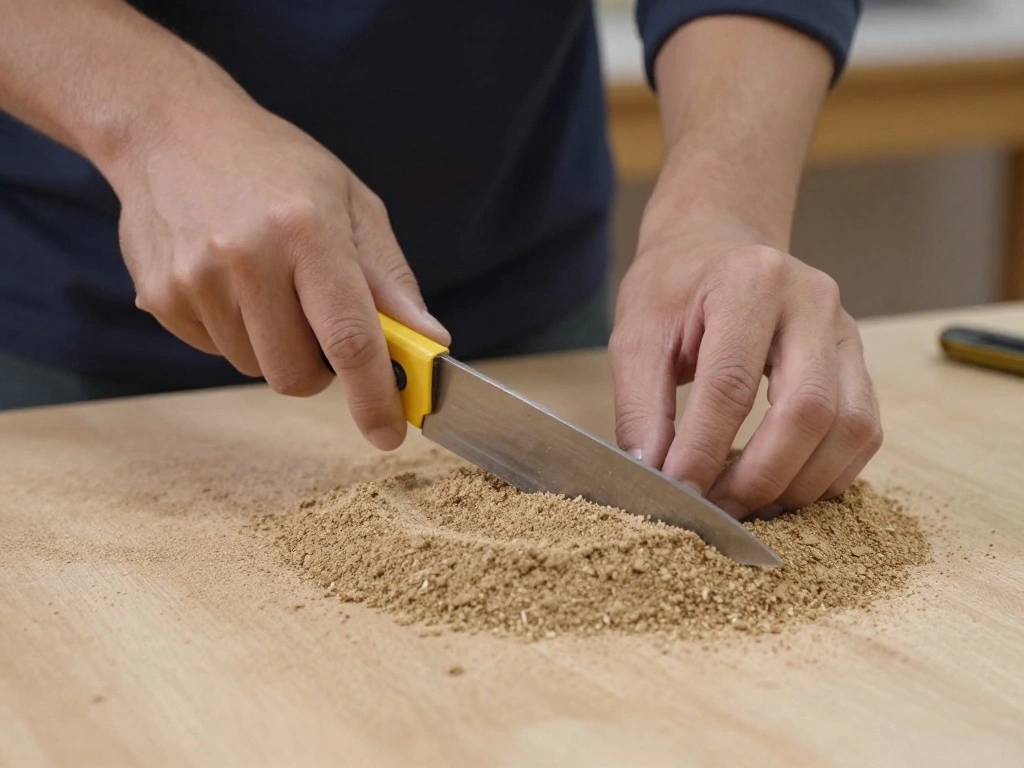
Your floor lamp needs a strong base. Choose a piece of wood or a heavy object to act as the base.
- Measure and cut the wood to your desired base size (12″ x 12″ is common).
- Sand down any rough edges for safety.
Warning: Ensure the base is large enough to prevent tipping.
Why this matters: A stable base is crucial for safety and functionality.
Estimated time: 30 minutes.
Recommended Products

The Nice Match: this lamp replacement cord is suitable for both table and floor lamps; Its versatility in design and performance ensures that it is the ideal choice for most of your lamps, bringing uniformity and harmony to your illuminating sources

The Nice Match: this lamp replacement cord is suitable for both table and floor lamps; Its versatility in design and performance ensures that it is the ideal choice for most of your lamps, bringing uniformity and harmony to your illuminating sources

TABLE AND FLOOR LAMP REPAIR -The 12-foot-long lamp power cords are designed for repairing or replacing both table and floor lamps. Replace a worn-out cord and restore your favorite lamp safely.
Step 2: Create the Base
Editor’s Choice

2 Pcs Vintage Cast Iron Jack Decor Statues,Industrial Retro Home Decor S…
Step 3: Install the Socket
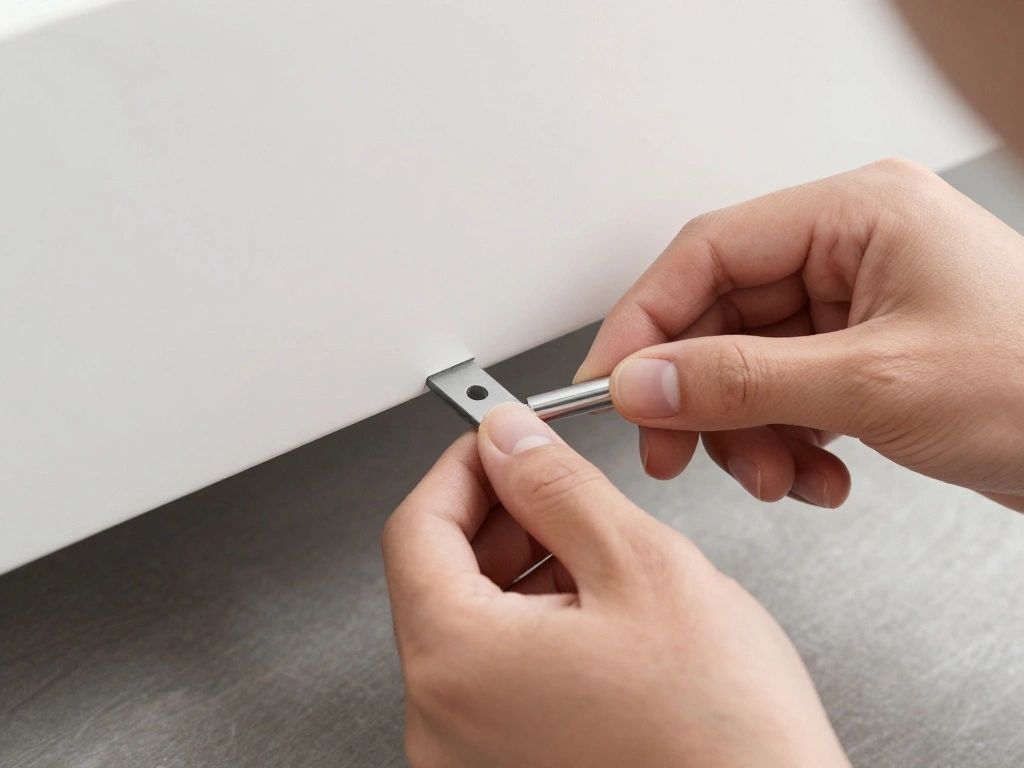
Next, you’ll install the socket into the base, which is essential for holding the bulb.
- Drill a hole in the center of the base for the socket to fit.
- Follow the lamp kit instructions to secure the socket in place.
Pro Tip: Ensure the socket is leveled properly for aesthetic appeal.
Why this matters: A securely installed socket is vital for safe bulb operation.
Estimated time: 1 hour.
Recommended Products

PACKAGE INCLUDES - 1 x 12 feet brown lamp cord, 1 x 3-way lamp socket, 1 x lamp harp base, 1 x decorative neck, 1 x 5 cm threaded pipes, 1 x 2.5 cm threaded pipes, 2 x metallic washers, 2 x rubber washers, 2 x lock washers, 2 x hex nuts.

EXTRA LONG 12 FOOT CORD & QUALITY HARDWARE SET Included - A 12ft Electric Cord with polarized plug fit both Table Lamp and Floor Lamp Making / Repair. Wire ends are fitted with U-shaped connector,which make connection work simple .Qualified hardwares have good color matching and looks upgraded.

【Package Includes】1 x 10ft Brown Light Wire, 1 x 2way Lamp Holder, 1 x 5cm Threaded Pipe, 1 x 2.5cm Threaded Pipe, 2 Rubber Washers, 2 Lock Washers, 2 Hex Nuts.
Step 3: Install the Socket
Editor’s Choice
Lamp Rewire Kit – 3-Way Socket With Matching Cord and Harp Set for Table…
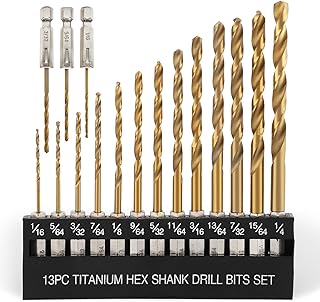
COMOWARE Titanium Twist Drill Bit Set – 16 Pcs Hex Shank High Speed Stee…

GE Power Gear 8 Ft Lamp Cord, Polarized Molded Plug, 2-Prong, DIY Repair…
Step 4: Connect the Wiring
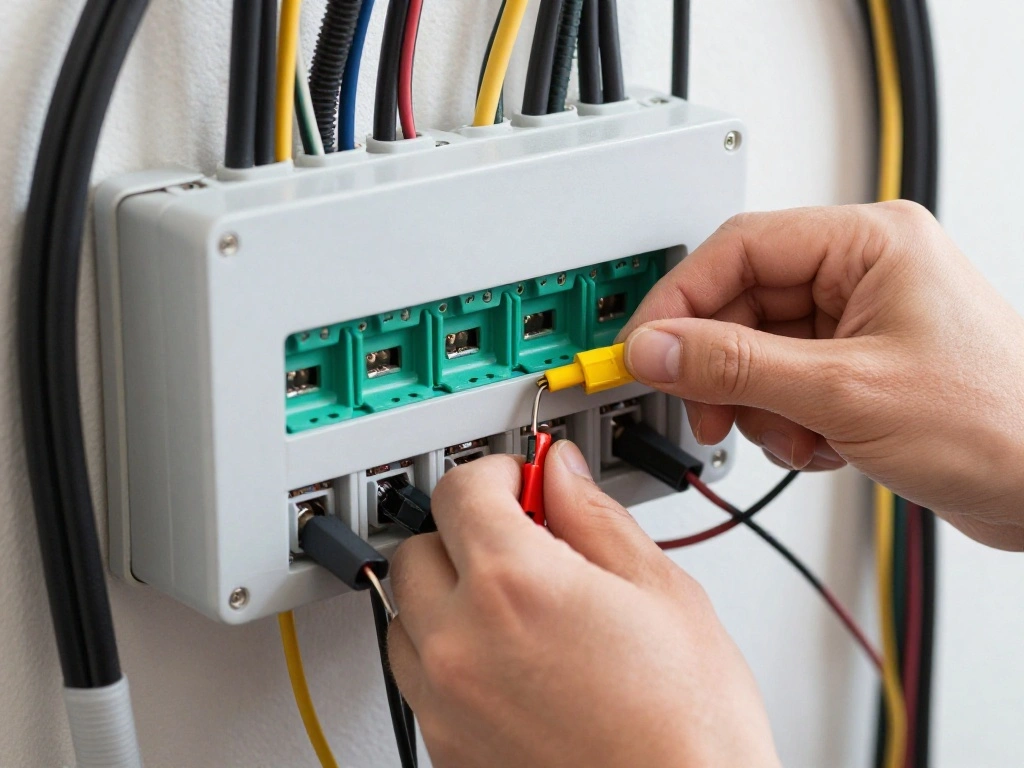
Now it’s time to connect the wiring from the socket to the cord.
- Strip the ends of the wires from the socket and cord.
- Twist the wires together, matching colors (black to black, white to white).
- Secure with wire nuts provided in the kit.
Warning: Always unplug the cord while working with wiring.
Why this matters: Properly connected wiring ensures your lamp functions and prevents electrical hazards.
Estimated time: 1 hour.
Recommended Products

PACKAGE INCLUDES - 1 x 12 feet lamp cord, 1 x 3-way brass lamp socket, 1 x lamp harp base, 1 x decorative neck, 1 x 5 cm threaded pipes, 1 x 2.5 cm threaded pipes, 2 x metallic washers, 2 x rubber washers, 2 x lock washers, 2 x hex nuts.

EXTRA LONG 12 FOOT CORD & QUALITY HARDWARE SET Included - A 12ft Electric Cord with polarized plug fit both Table Lamp and Floor Lamp Making / Repair. Wire ends are fitted with U-shaped connector,which make connection work simple .Qualified hardwares have good color matching and looks upgraded.

Repair or Replace – Use the 3-way lamp socket to fix or create a new lamp or light fixture.
Step 4: Connect the Wiring
Editor’s Choice

350 Pcs Electrical Wire Connectors Kit, Wire Connector Nuts Assorted, Sm…

WGGE WG-015 Professional 8-inch Wire Stripper/Crimping Tool, Cable Cutte…
Lamp Rewire Kit – 3-Way Socket With Matching Cord and Harp Set for Table…
Step 5: Attach the Lampshade
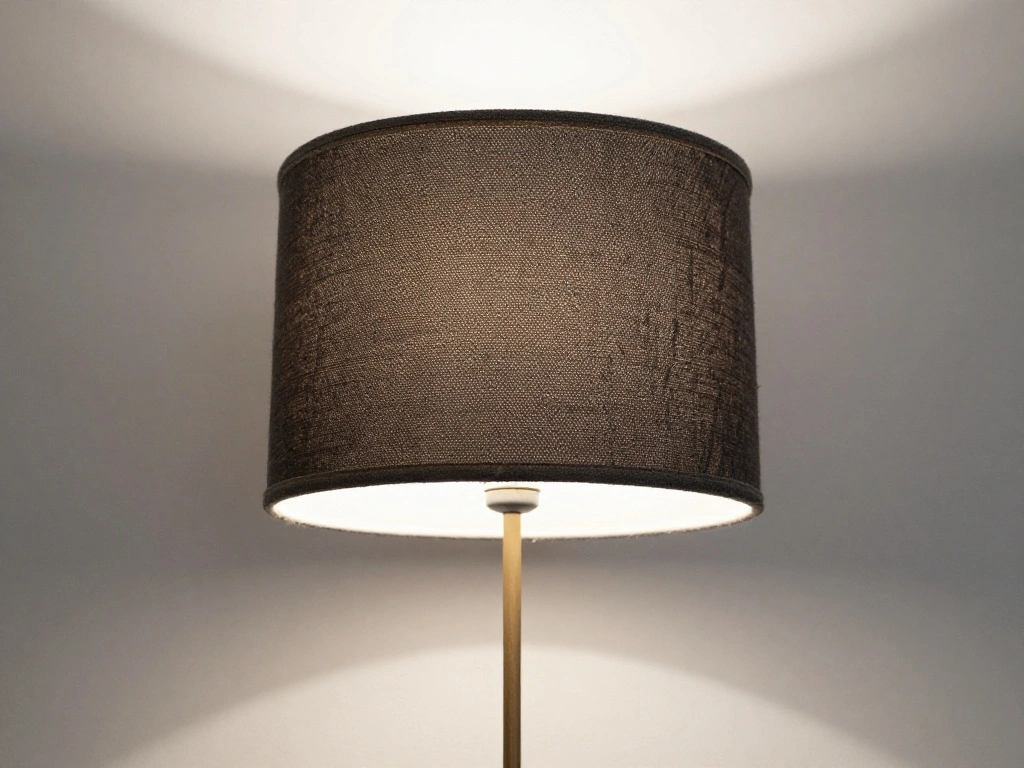
Now that the electrical components are in place, it’s time to attach the lampshade.
- Align the lampshade with the socket.
- Secure it according to the manufacturer’s instructions.
Pro Tip: Choose a lampshade that complements the light bulb for optimal brightness.
Why this matters: The right shade enhances both functionality and aesthetics of your lamp.
Estimated time: 30 minutes.
Recommended Products

Stable Base Counterweight: A 9.3-inch diameter counterweight disc, weighing 5.95 lb, is designed to provide stability for your floor lamp and prevent it from tipping over.

Specification: Material: Wood; Diameter: 16.5cm / 6.5 Inch; Height: 3.2cm / 1.3"; Center Hole Dia.: 10mm / 0.39"; Sided Hole Dia.: 8mm / 0.32"; Package Content: 1 x Round Base

This lamp base ensures your floor lamp stands securely and resists tipping, providing a solid and reliable foundation that enhances stability.
Step 5: Attach the Lampshade
Editor’s Choice

Floor Lamp for Living Room with 3 Color Temperatures Standing Lamp with …
Step 6: Final Touches
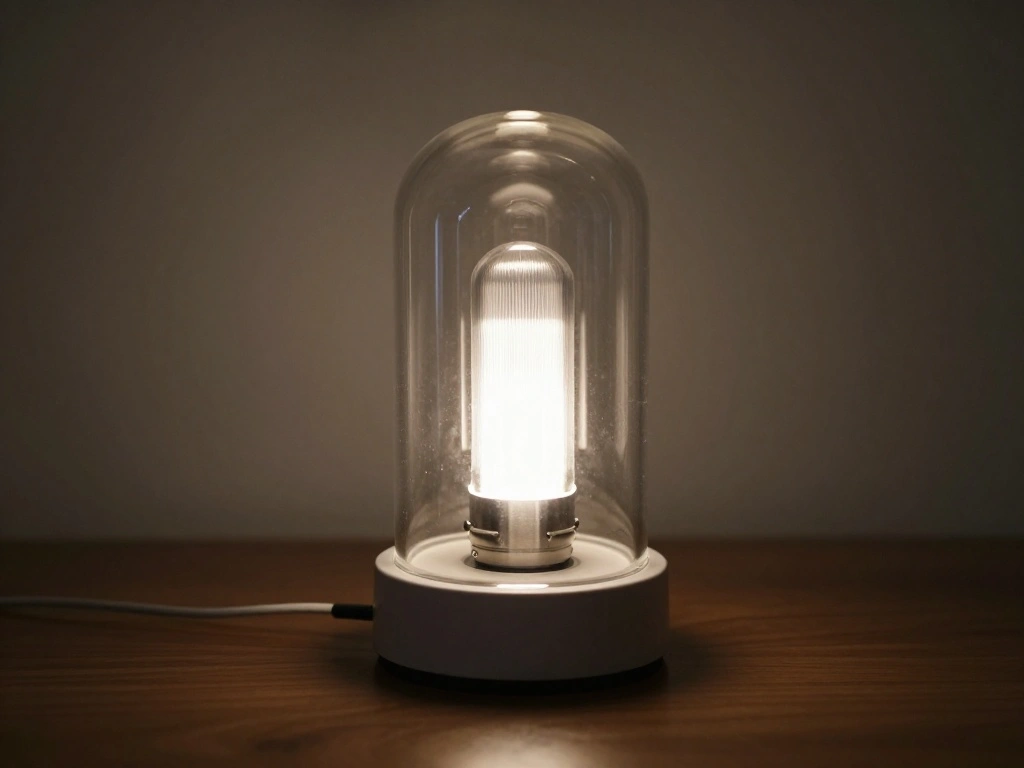
Your lamp is almost complete! Focus on the final details to ensure it looks great.
- Check all connections are secure.
- Clean any dust or fingerprints from the base and shade.
Pro Tip: Add decorative elements like paint or fabric to the base for a personal touch.
Why this matters: Final touches enhance your lamp’s visual appeal and make it uniquely yours.
Estimated time: 30 minutes.
Recommended Products
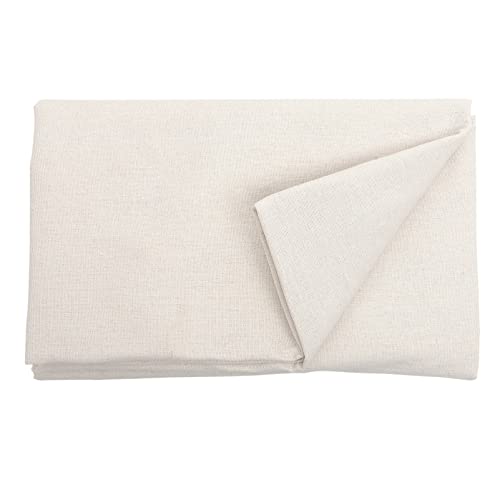
Core Feature: This lamp shade material is pre-cut and designed for DIY floor lamp projects, providing a practical and convenient solution to create unique light shades that enhance home decor
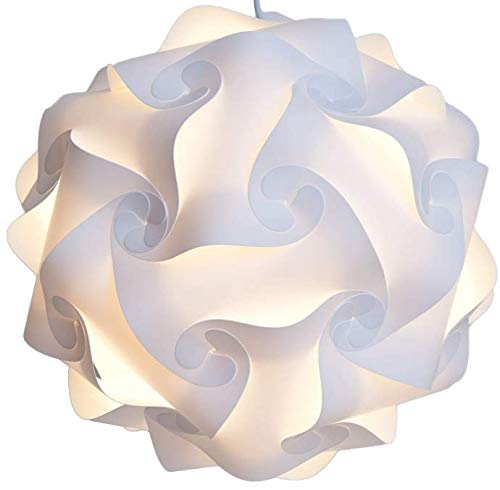
Material: Durable PP plastic

DIY LAMPSHADE STYRENE: Pressure sensitive adhesive styrene for lampshades is a thin polystyrene sheet with a sticky adhesive backing. It's the most commonly used lampshade liner in professionally manufactured lampshades because it's flame-resistant, durable, and translucent enough for the light of a bulb to pass through. Reveal the adhesive backing on the styrene by peeling back a release liner, then apply your choice of material to the styrene to make professional quality lampshade.
Step 6: Final Touches
Editor’s Choice

HOLA Paint Your Own Moon Lamp Kit, 2025 Updated USB Rechargeable, DIY Ar…
UL Listed E26 Light Socket, Threaded Lamp Socket Replacement with ON/Off…
GO&SO White Bell Lamp Shades Set of 2 Meduim Lamp Shade for Table Lamp 6…
Step 7: Test Your Lamp
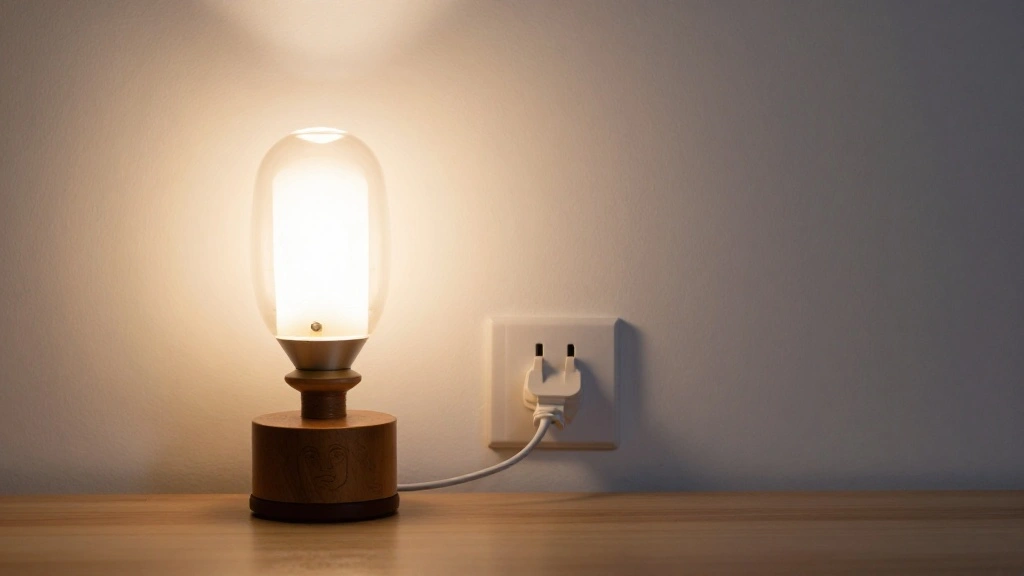
Before celebrating your accomplishment, it’s crucial to test the lamp.
- Plug in the lamp and turn it on.
- Check for any flickering or issues with the bulb.
Warning: If you notice any issues, double-check all wiring connections before proceeding.
Why this matters: Testing ensures safety and functionality, confirming your hard work paid off.
Estimated time: 30 minutes.
Recommended Products

The Nice Match: this lamp replacement cord is suitable for both table and floor lamps; Its versatility in design and performance ensures that it is the ideal choice for most of your lamps, bringing uniformity and harmony to your illuminating sources
![Foot Pedal Switch, [UL Listed ] Power Cord Plug w/Floor Foot Pedal Push Switch Inline Lamp Light On-Off Control, 3A 125VAC 6Ft 18AWG](https://m.media-amazon.com/images/I/41Rrm2LPUeS._SL500_.jpg)
✔Foot Switch: Easy tap on/off foot switch UL Listed ,Turn table lamp or standing light with press of a

Product name: Lamp Power Cord (switch, plug, wire composition). The item had to be hard wired,need to wire it in.It only had the one plug to plug into the wall it doesn't have the male plug
Step 7: Test Your Lamp
Editor’s Choice

KAIWEETS Smart Multimeter Rechargeable Electrical Tester with Auto Rangi…

dalattin 24 Pack LED Bulbs Daylight White 5000K, 60 Watt Equivalent A19 …
Pro Tips
- Choose the Right Bulb: Use LED bulbs for energy efficiency and longevity.
- Customize Your Shade: Consider painting or adding fabric for a unique look.
- Experiment with Height: Adjust the height of your lamp by changing the base or using different poles.
- Incorporate Smart Technology: Use smart bulbs for added functionality.
- Maintain Safety: Always check for frayed wires and loose connections.
Pro Tips
Editor’s Choice

Amazon Basics Smart A19 LED Light Bulb, Color Changing, 9W (60W Equivale…

evelor 6-Pack A19 LED Light Bulbs,60 Watt Equivalent Daylight 5000K with…

FenchelShades.com Lampshade 5″ Top Diameter x 12″ Bottom Diameter 8″ Sla…
Common Mistakes to Avoid
Warning: Don’t rush the wiring process. A poorly connected wire can lead to shorts or fires. Take your time to ensure everything is secure.
Warning: Avoid using a base that is too light. A lamp that tips over can cause damage or injury. Always opt for a sturdy base.
Warning: Don’t forget to check the bulb wattage. Using a bulb that’s too powerful can damage the socket.
Common Mistakes to Avoid
Editor’s Choice

Lamp Making Kit, Lamp Parts for Repair Replacement or Rewire Table and F…

5.95Lb Round Plastic Floor Lamp Base Weight, 9.3 Inch Black Weighted Dis…

Feit Electric A19 LED Light Bulb, 100W Equiv, Non-Dimmable, Selectable C…
Troubleshooting Section
Problem: The lamp won’t turn on.
Solution: Check the bulb and ensure it’s securely in the socket.
Problem: The lamp flickers.
Solution: Inspect the wiring connections for any loose ends.
Problem: The base is unstable.
Solution: Ensure the base is heavy enough or consider adding weight.
Problem: The lampshade is crooked.
Solution: Adjust it until it sits evenly on the socket.
Troubleshooting Section
Editor’s Choice
350 Pcs Electrical Wire Connectors Kit, Wire Connector Nuts Assorted, Sm…

Linkind A19 LED Light Bulbs Dimmable, 60W Equivalent, Energy Efficient 9…
5.95Lb Round Plastic Floor Lamp Base Weight, 9.3 Inch Black Weighted Dis…
Variations/Alternative Methods
You can create different styles of floor lamps to suit your taste and decor.
Option 1: Use a tripod base for a modern look. This offers stability and a trendy design.
Option 2: Incorporate a torchiere style, where the light shines upwards for ambient lighting.
Option 3: Use recycled materials like old pipes or branches for a rustic charm.
Variations/Alternative Methods
Editor’s Choice

WEAVERBIRD Retro Bronze Table Lamp Kit, DIY Lamp Design with Zinc Alloy …

ELYONA Wood Tripod Floor Lamp, Mid Century Reading Standing Lamp with 3 …

JOOFO LED Floor Lamp – Super Bright Torchiere with Remote & Foot Switc…
FAQs
What if I don’t have a drill? You can use a screwdriver and a chisel to create the base hole, although a drill is recommended for ease.
How long should I wait after turning it on? Give it a moment to ensure the wiring is stable before using it continuously.
Is it safe to use an old lamp kit? Inspect it thoroughly for wear and tear; if unsure, replace it for safety.
FAQs
Editor’s Choice
Lamp Rewire Kit – 3-Way Socket With Matching Cord and Harp Set for Table…
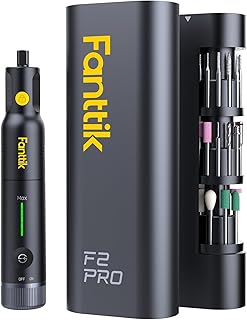
Fanttik F2 PRO Cordless Rotary Tool Kit Strong Magnetic Motor, Revostor …
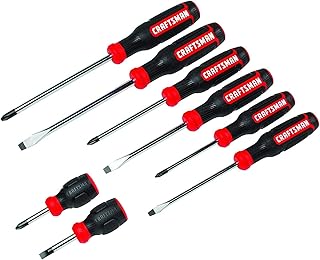
CRAFTSMAN Screwdriver Set, Bi-Material, 8 Piece Set (CMHT65075N)
Conclusion
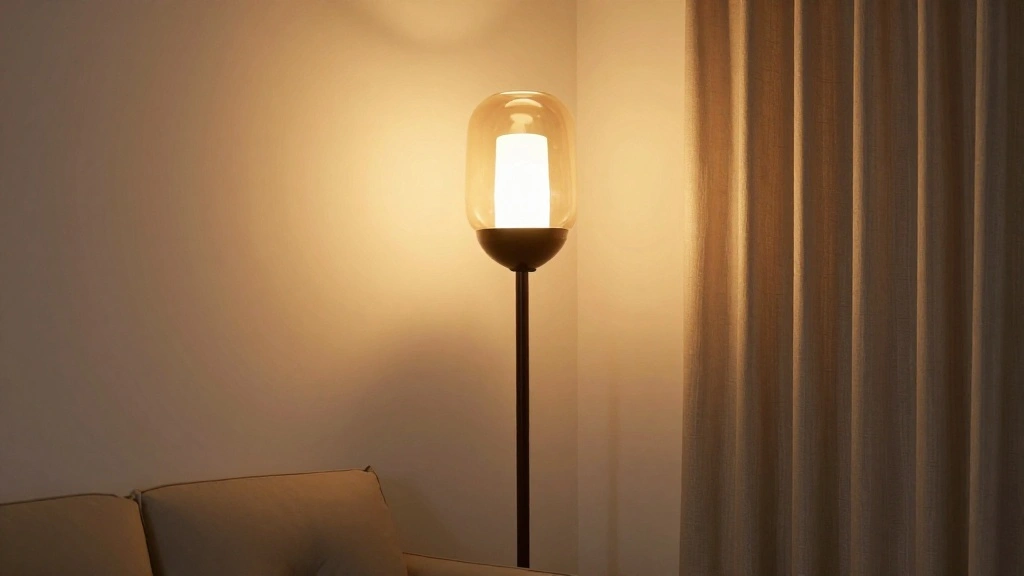
Congratulations on completing your DIY floor lamp! You now have a stylish, budget-friendly lighting solution that adds character to your space. Take a moment to appreciate your handiwork and the cozy atmosphere you’ve created.
Consider experimenting with different designs or colors for future projects. Explore other DIY home decor ideas to continue enhancing your living environment. Happy crafting!