
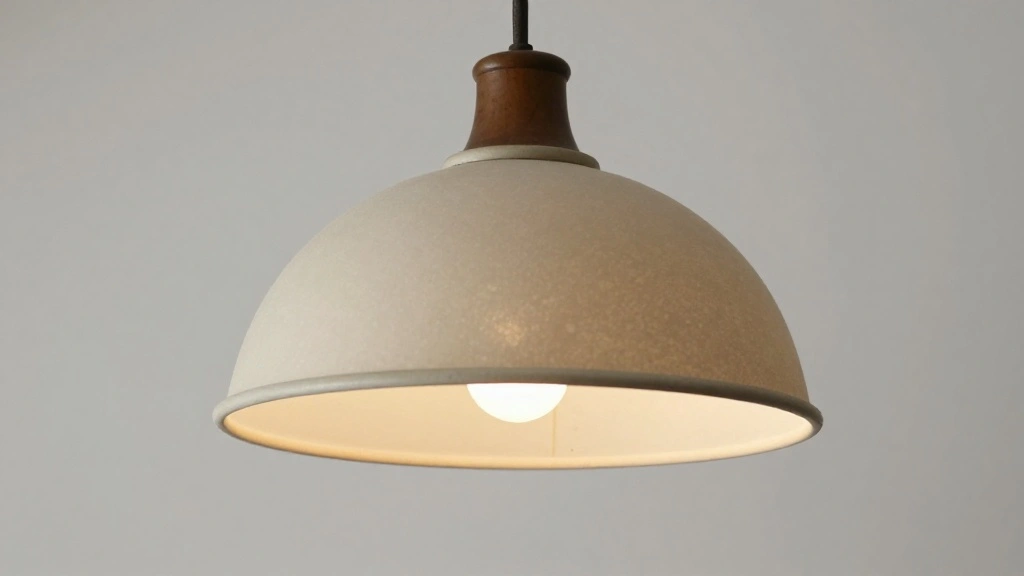
Are you tired of looking at the same old lampshade in your living room? Over time, fabrics can fade, tear, or just become outdated, leaving your lamps looking drab and uninspiring. Instead of tossing it out, why not give it a new lease on life? Recovering a lampshade is not only an easy DIY project, but it also allows you to tailor it to your personal style and decor. In this guide, you’ll learn how to recover a lampshade to create a fresh look for your home.
By the end of this article, you’ll have the skills to choose the right fabric, remove the old covering, and apply the new one with confidence. This project is rated as beginner level and can typically be completed in 2-3 hours. Whether you’re looking to match a new color scheme or simply want to update an old favorite, this guide will help you achieve just that!
TL;DR Summary
- Recovering a lampshade can refresh your decor.
- This guide provides an easy step-by-step process.
- Estimated time: 2-3 hours.
- Materials needed include fabric, adhesive, and scissors.
TL;DR Summary
Editor’s Choice

Aranya Elegant Floral Lace Headbands for Women 5pcs – Decorative Soft …


Fabric Scissors Professional, 8″ Heavy Duty Sewing Scissor for Fabric Cu…

Fabric Glue, Permanent Extra Strong Clear Washable Fabric Adhesive for C…
Prerequisites/Materials Needed
- Fabric: Enough to cover your lampshade (measure the shade’s dimensions for accuracy).
- Adhesive: Fabric glue or spray adhesive.
- Scissors: Sharp fabric scissors.
- Ruler: For measuring fabric accurately.
- Chalk or Fabric Marker: For marking the fabric.
- Optional: Decorative trim or ribbon for added flair.
Prerequisites/Materials Needed
Editor’s Choice

FITTDYHE Fabric Glue Permanent, 60 ML Washable Clear Clothing Glue, Supe…

Sharpie Rub-A-Dub Permanent Laundry Marker Fine Black – Pack of 1

iBayam 3-Pack 8″ Heavy Duty Scissors with Ultra Sharp Blades and Comfort…
Skill Level & Time Estimate
Skill Level: beginner.
Total time estimate: 2-3 hours.
Here’s a breakdown of the time by major steps:
1. Gather materials: 15-30 minutes
2. Remove old covering: 30 minutes
3. Measure and cut new fabric: 30-45 minutes
4. Apply new fabric: 1-1.5 hours
5. Finishing touches: 15-30 minutes
Skill Level & Time Estimate
Editor’s Choice

3M Super 77 Multi-Surface Spray Adhesive, 7.35 oz., Low VOC, Quick Bond,…
Step 1: Gather Your Materials
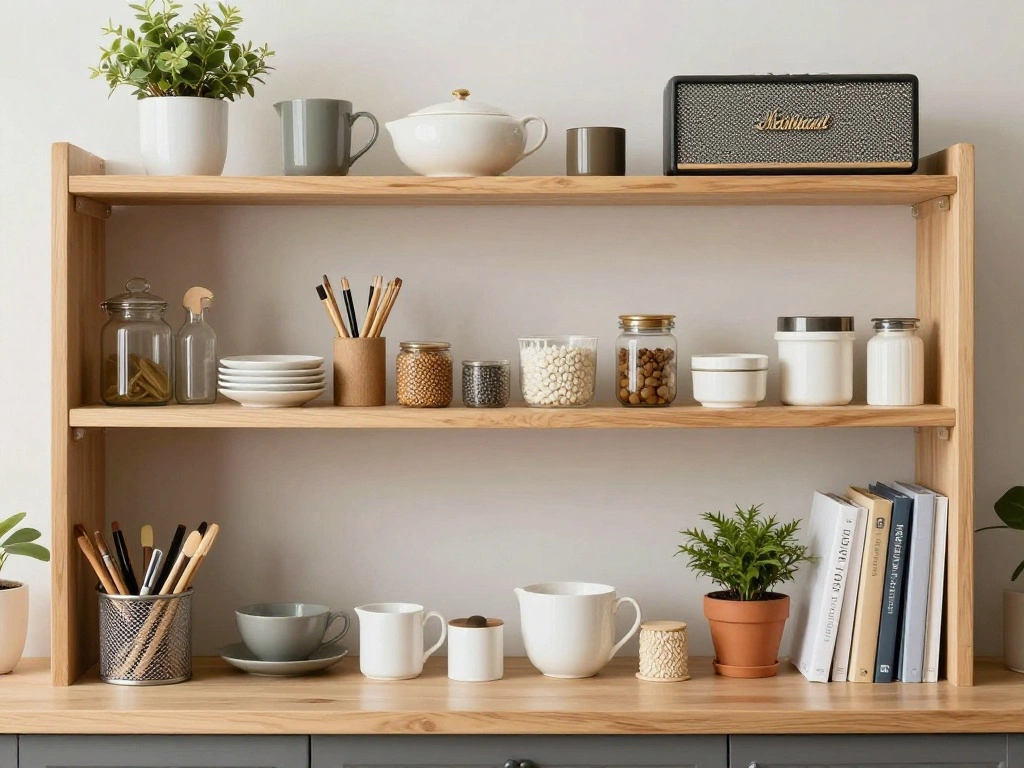
Before you start recovering your lampshade, gather all the materials you need. This will save you time and ensure you don’t have to stop mid-project.
Why this matters: Having everything ready allows for a smoother workflow.
Follow these steps:
1. Gather the listed materials from the prerequisites.
2. Make sure the fabric is suitable for a lampshade (not too thick).
3. Clear a workspace where you can work comfortably.
Warning: Ensure that your workspace is well-ventilated, especially if using spray adhesive.
Time estimate: 15-30 minutes.
Step 1: Gather Your Materials
Editor’s Choice

Aleene’s Fabric Fusion Glue 4 oz, Permanent and Washable Adhesive, No-Se…

Lamp Shade Harp Holder,8 Inch Bronze Lamp Harp Kit,Fit Both Standard Lam…
Step 2: Remove the Old Lampshade Covering
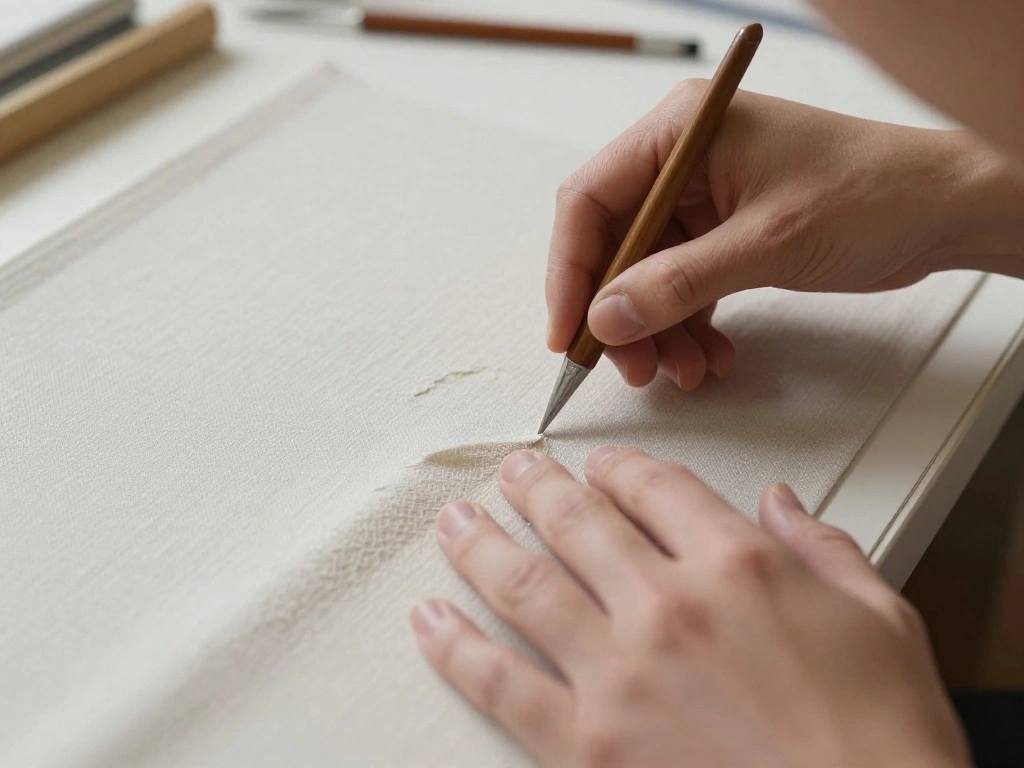
Now it’s time to take off the old covering. This step is crucial for a clean slate.
Why this matters: Removing the old fabric properly ensures that the new fabric adheres well and looks smooth.
1. Carefully peel off the old fabric from the lampshade frame.
2. If glued, use a utility knife to cut through any stubborn areas.
3. Remove any leftover adhesive with rubbing alcohol or adhesive remover.
Warning: Be gentle to avoid damaging the lampshade frame.
Time estimate: 30 minutes.
Step 2: Remove the Old Lampshade Covering
Editor’s Choice

Amazon Basics 70% Isopropyl Alcohol First Aid Antiseptic for Treatment o…
Fiskars 6″ Detail Craft Knife for Precision Cutting & Detail Work, Arts …

Goo Gone Spray Adhesive Remover Gel 12 Oz with Scraper, Removes Glue, St…
Step 3: Measure and Cut the New Fabric
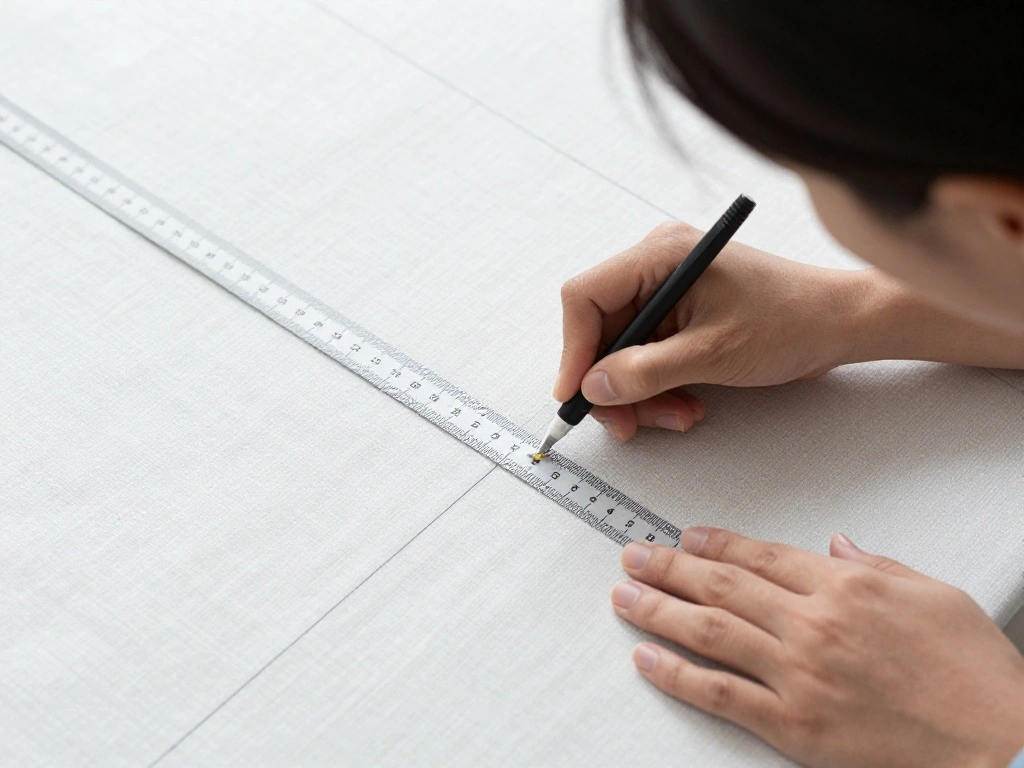
With the old covering removed, it’s time to measure and cut the new fabric. Precision is key here.
Why this matters: Accurate measurements ensure that your new covering fits perfectly without excess fabric.
1. Measure the height and circumference of the lampshade.
2. Use these measurements to cut your new fabric, adding an extra inch on each side for seam allowance.
3. Mark the fabric with chalk for clear cutting lines.
Pro Tip: Choose a pattern that aligns with the shade’s shape for a professional look.
Time estimate: 30-45 minutes.
Step 3: Measure and Cut the New Fabric
Editor’s Choice

LIVINGO Premium Tailor Scissors Heavy Duty Multi-Purpose Titanium Coatin…
Step 4: Apply Adhesive to the Shade
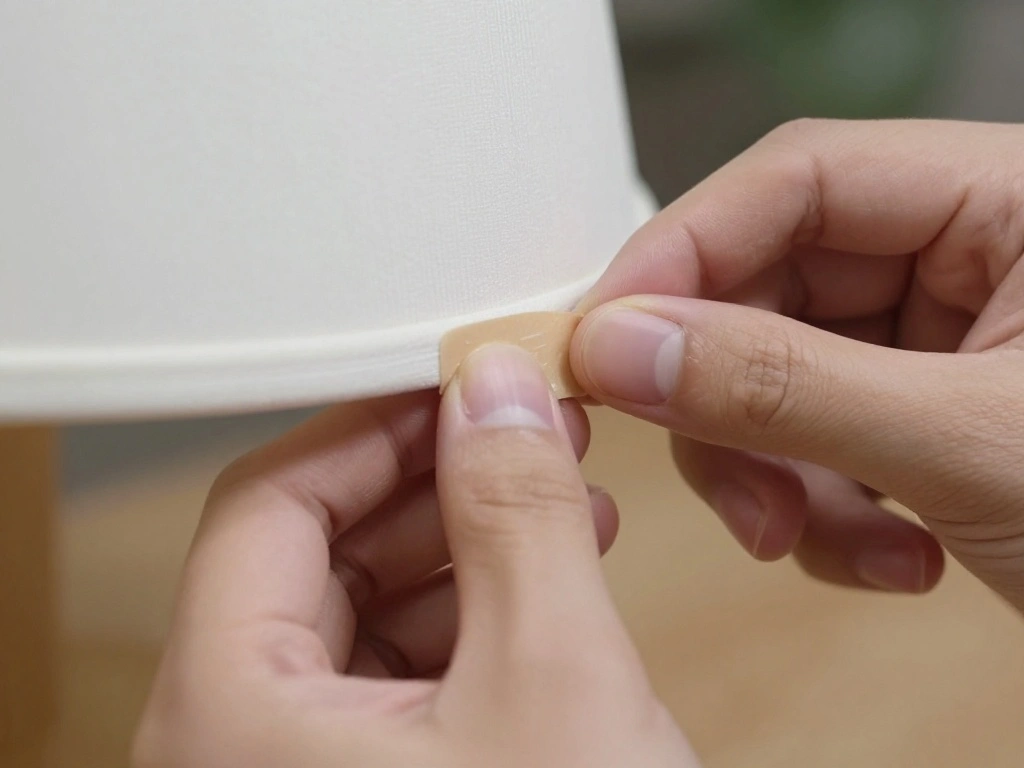
Now it’s time to prepare the lampshade for the new fabric. Applying adhesive is essential for a secure fit.
Why this matters: Proper adhesion prevents the fabric from slipping or bubbling over time.
1. Apply a thin, even layer of adhesive around the top edge of the lampshade.
2. Work in small sections to avoid the adhesive drying out before you apply the fabric.
3. Be careful not to apply too much adhesive to prevent it from seeping through the fabric.
Warning: Avoid getting adhesive on the inside of the lampshade, as it can affect lighting.
Time estimate: 15-20 minutes.
Step 4: Apply Adhesive to the Shade
Editor’s Choice

DIY Lampshade Kit 8″x12″ White – DIY Lamps Shade Making Kit with All M…
3M Super 77 Multi-Surface Spray Adhesive, 7.35 oz., Low VOC, Quick Bond,…
FITTDYHE Fabric Glue Permanent, 60 ML Washable Clear Clothing Glue, Supe…
Step 5: Attach the New Fabric
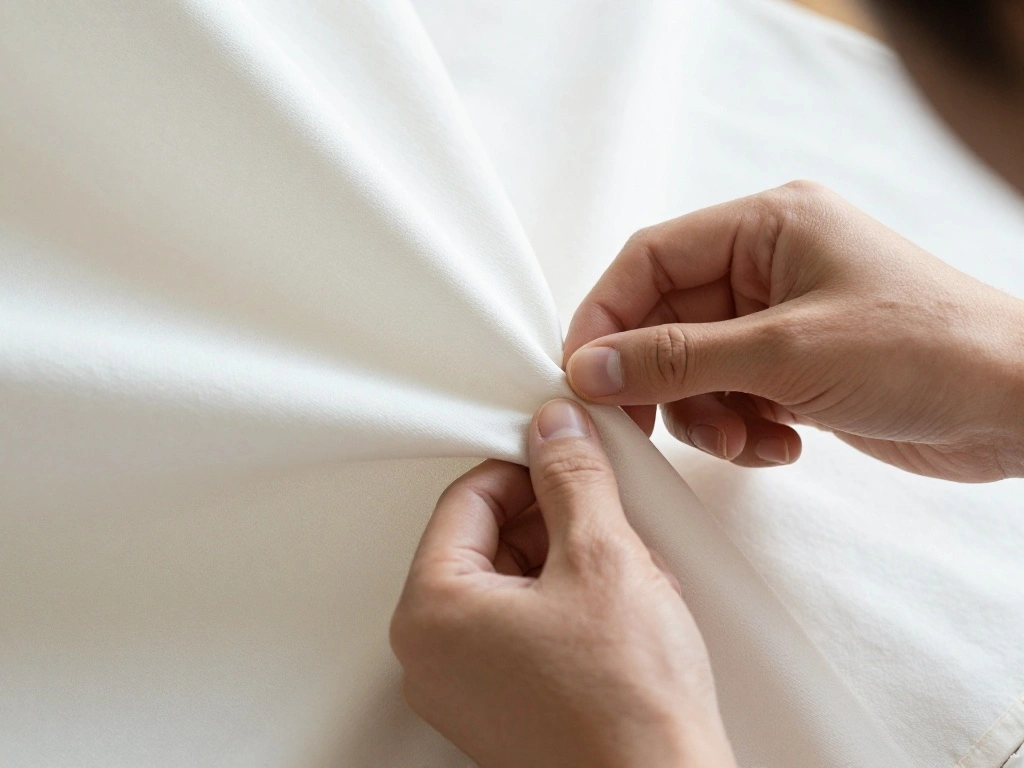
With the adhesive ready, it’s time to attach the new fabric to the lampshade. This is the most exciting part!
Why this matters: A well-applied fabric enhances the overall look of the lampshade.
1. Start at the top edge and press the fabric down firmly onto the adhesive.
2. Smooth out any wrinkles or bubbles as you go along.
3. Continue down the shade, ensuring the fabric stays taut.
Pro Tip: Use a clean cloth to press down on the fabric for an even smoother finish.
Time estimate: 30-45 minutes.
Step 5: Attach the New Fabric
Editor’s Choice

Body Adhesive Glue for Clothing & Skin Roll-On, 2.58 Oz Body Glue, Skin …

Hi-Spec Tool Set 25pc Pink Household DIY Tool Kit for Women. Small Mini …

Erosebridal Peony Decor Floral Soft Not Stretchy Decor for Kids Girls Wo…
Step 6: Trim Excess Fabric
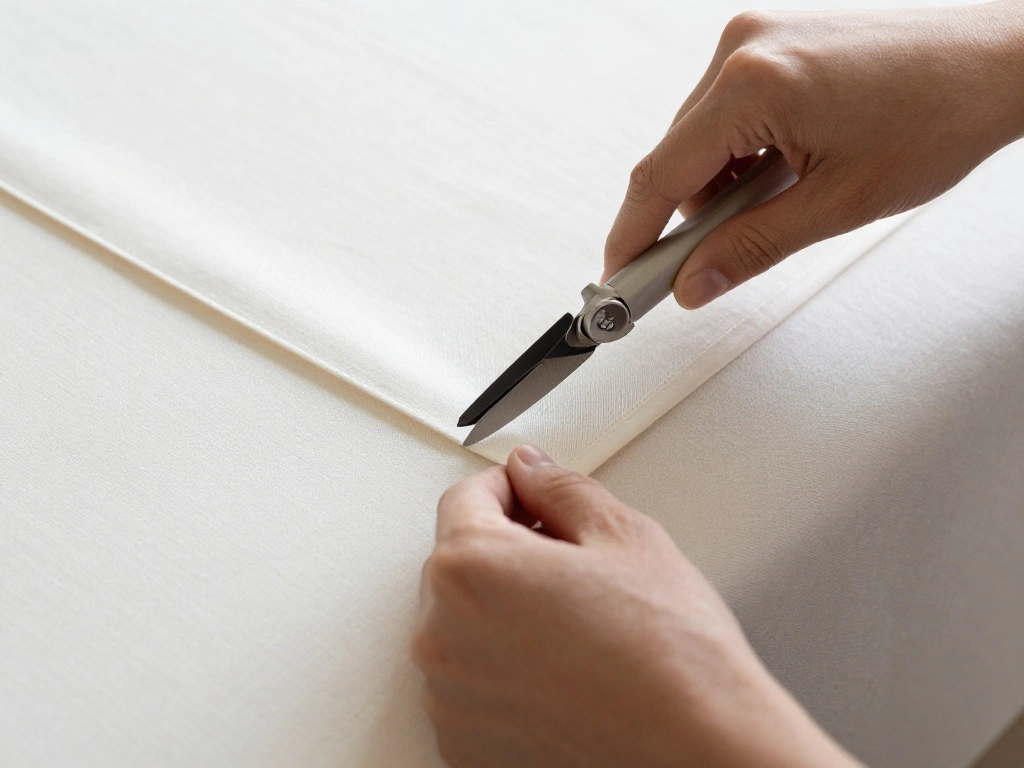
Once the fabric is securely attached, you’ll need to trim any excess fabric to create a clean edge.
Why this matters: A neat edge gives the lampshade a polished look.
1. Use fabric scissors to carefully cut away the excess fabric at the bottom edge of the lampshade.
2. Leave about half an inch for folding over.
3. Fold the excess fabric over the bottom edge and secure it with adhesive.
Warning: Cut slowly to avoid cutting too much fabric.
Time estimate: 15-20 minutes.
Step 6: Trim Excess Fabric
Editor’s Choice

Coquimbo Sewing Kit Gifts for Mom Grandma Women Wife Teen Girls Beginner…
LIVINGO Premium Tailor Scissors Heavy Duty Multi-Purpose Titanium Coatin…
FITTDYHE Fabric Glue Permanent, 60 ML Washable Clear Clothing Glue, Supe…
Step 7: Add Decorative Touches (Optional)
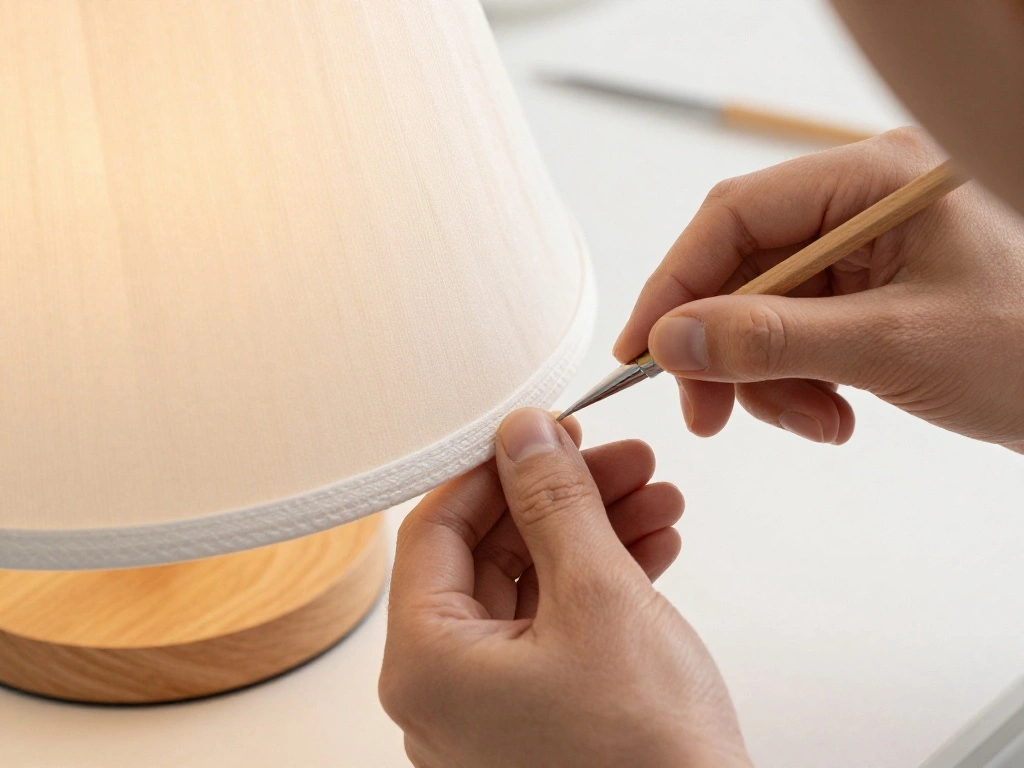
If you want to elevate the look of your lampshade, consider adding decorative touches. This step is optional but can make a big difference.
Why this matters: Decorative elements can personalize the lampshade and enhance its aesthetic appeal.
1. If using trim or ribbon, measure it to fit around the bottom edge of the shade.
2. Apply adhesive to the lampshade edge and press the trim firmly onto it.
3. Allow it to dry completely.
Pro Tip: Choose a contrasting color for trim to make it pop!
Time estimate: 15-30 minutes.
Step 7: Add Decorative Touches (Optional)
Editor’s Choice

Double Sided Tape for Clothes, Body and Fashion (75 Strips) | Clothing a…

Homoyoyo Easy Install Lampshade Edge DIY Lampshade Strips Repair Tape Ea…

Stained Glass Drum Lamp Shades, 13″ x 10″ Small Lampshades with profile …
Step 8: Allow to Dry and Reassemble
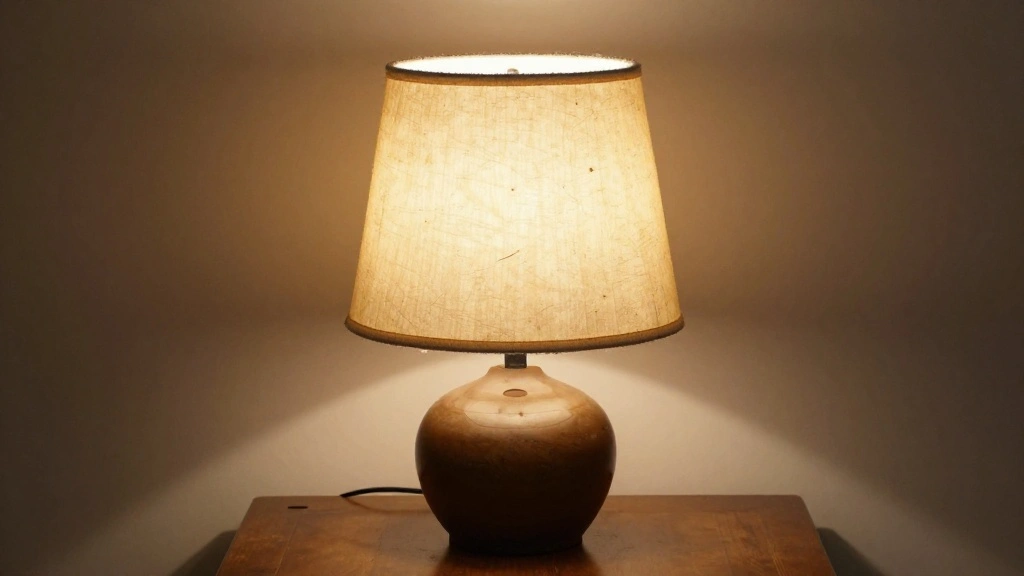
Finally, give your lampshade some time to dry before reassembling. This step ensures everything stays in place.
Why this matters: A well-dried lampshade will last longer and perform better.
1. Place the lampshade in a well-ventilated area to dry completely.
2. Reattach it to the lamp base once fully dry.
3. Test the lamp to ensure everything is functioning properly.
Warning: Don’t rush this step; drying time is crucial for adhesion.
Time estimate: 30 minutes.
Step 8: Allow to Dry and Reassemble
Editor’s Choice

Odif – 505 Spray and Fix Temporary Fabric Adhesive 7.2oz
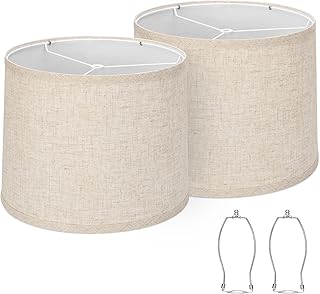
Lampshades Set of 2, Drum Lampshades 11.6″ Top x 12.6″ Bottom x 9.8″ Hig…
FITTDYHE Fabric Glue Permanent, 60 ML Washable Clear Clothing Glue, Supe…
Pro Tips
- Fabric Selection: Choose fabrics that are light-filtering for better light diffusion.
- Pattern Matching: If your fabric has a pattern, align it carefully for a professional finish.
- Cleaning: Consider using washable fabrics for easier maintenance.
- Test Adhesive: Always test the adhesive on a small fabric sample first to ensure compatibility.
- Layering Fabrics: For a unique look, layer different fabrics together.
Pro Tips
Editor’s Choice

2Pcs Halloween Lamp Shade Cover Black Lace Lampshades Spooky Skull Hallo…
Lampshades Set of 2, Drum Lampshades 11.6″ Top x 12.6″ Bottom x 9.8″ Hig…

Fabric Glue Permanent, 3Pcs 50ML Washable Clear Clothing Glue for Patch,…
Common Mistakes to Avoid
Warning: Here are some common pitfalls:
- Too Much Adhesive: Applying too much can cause the fabric to seep and look messy. Use sparingly!
- Not Measuring Accurately: Incorrect measurements can lead to fabric that is too short. Always double-check!
- Ignoring Drying Time: Rushing to reassemble can cause the fabric to peel off. Patience is key.
Common Mistakes to Avoid
Editor’s Choice
DIY Lampshade Kit 8″x12″ White – DIY Lamps Shade Making Kit with All M…

iBayam 2 Pack Tape Measure Measuring Tape for Body Fabric Sewing Tailor …
FITTDYHE Fabric Glue Permanent, 60 ML Washable Clear Clothing Glue, Supe…
Troubleshooting Section
Problem: Fabric bubbling.
Solution: Smooth out bubbles with your fingers, reapply adhesive if necessary.
Problem: Fabric not adhering.
Solution: Check if the adhesive has dried; if it has, reapply more adhesive and press again.
Problem: Fabric fraying.
Solution: Use fabric sealant on edges to prevent fraying.
Problem: Poor light diffusion.
Solution: Use lighter fabrics or switch to a different shade style.
Problem: Color mismatch.
Solution: Choose a fabric that complements your overall decor.
Troubleshooting Section
Editor’s Choice
FITTDYHE Fabric Glue Permanent, 60 ML Washable Clear Clothing Glue, Supe…

Dritz Fray Check Liquid Seam Sealant 2-Pack – Permanent Clear Fabric E…

Lampshade Material Styrene White Linen Fabric Sheet Used to Make DIY Lam…
Variations/Alternative Methods
- Painted Shades: Instead of fabric, consider painting your lampshade for a modern look.
- Decoupage: Use decorative paper for a unique design by applying it similarly to fabric.
- Reversible Covers: Create a removable cover that can be changed seasonally for versatility.
Variations/Alternative Methods
Editor’s Choice

Whimsical Women Collage Paper: 25 Mixed Media Portraits & Backdrop Pages…

Maple Leaf Pumpkins Bedside Lampshade Table Lamp Shade Light Covers for …

DIY Lampshade Kit 8″x12″ Gold – DIY Lamps Shade Making Kit with All Me…
FAQs
- What if I don’t have fabric glue? Use a strong spray adhesive or double-sided tape as an alternative.
- How long should I let the adhesive dry? Typically, a couple of hours, but check the product instructions.
- Is it safe to use any fabric? No, avoid flammable materials; opt for fabrics designed for lampshades.
- Can I wash the fabric? It depends on the fabric; check the care instructions before washing.
- What if I make a mistake? Don’t worry; you can always peel it off and try again, just be gentle!
FAQs
Editor’s Choice

BEDELITE Fleece Blanket – 3D Jacquard Decorative Pink Throw Blankets for…
Double Sided Tape for Clothes, Body and Fashion (75 Strips) | Clothing a…
Double Sided Tape for Clothes, Body and Fashion (75 Strips) | Clothing a…
Conclusion
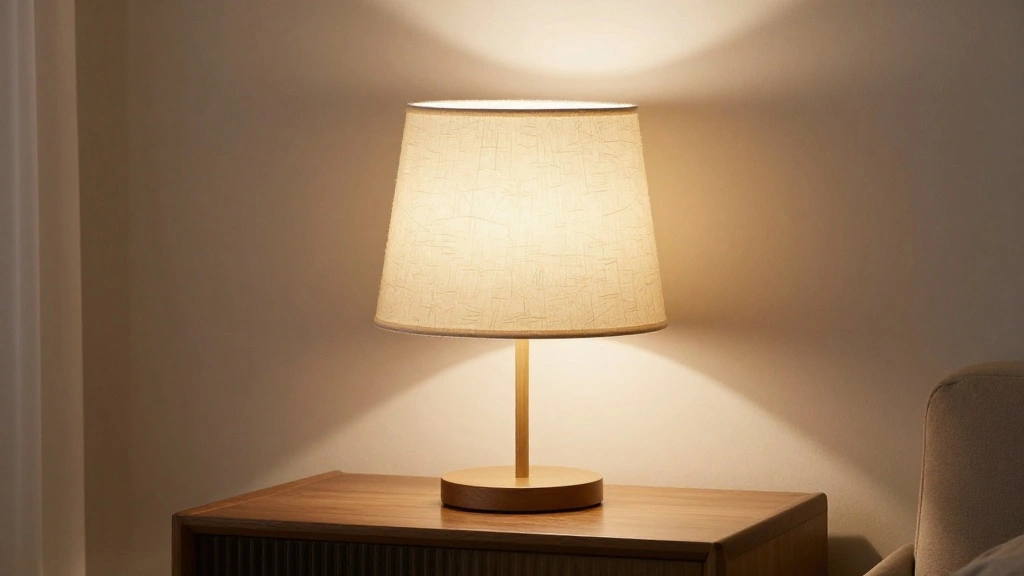
Congratulations! You’ve successfully recovered your lampshade, giving it a brand-new look. This simple project not only enhances your decor but also boosts your DIY skills. Now that you know how to recover a lampshade, consider exploring other home decor projects like reupholstering chairs or creating custom throw pillows. Keep your creative momentum going and enjoy your refreshed space!