
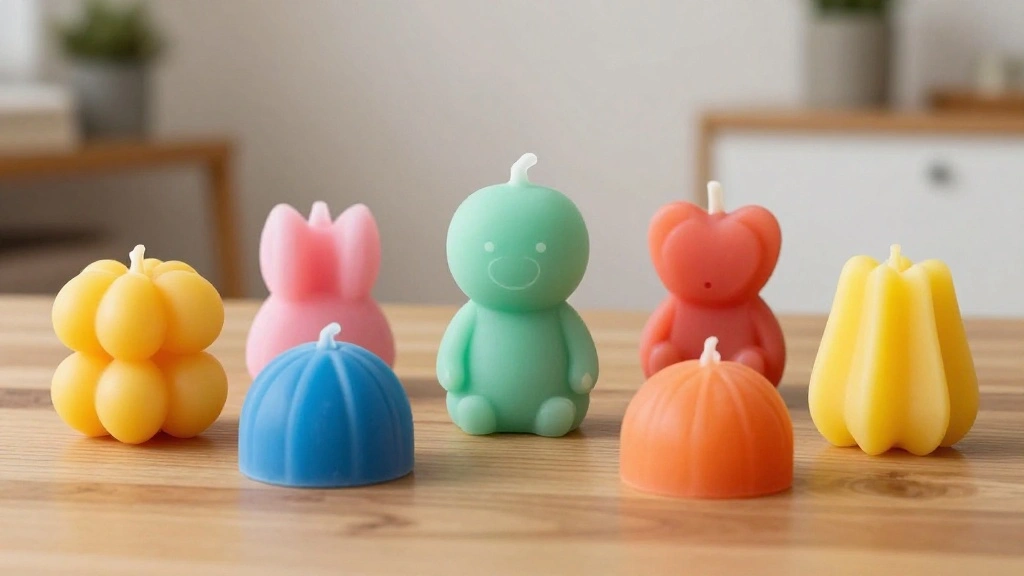
Wax melts are a popular and convenient way to add fragrance to your home without the need for a flame. Many people are drawn to them for their delightful scents and the ambiance they create. However, with numerous types and brands available, beginners may feel overwhelmed and uncertain about how to start.
This guide will simplify the process for you. By the end, you will understand how wax melts work, what materials you’ll need, and how to effectively use them to fill your space with lovely aromas. You’ll learn specific techniques to ensure you get the most out of your wax melts, and you’ll feel confident diving into this aromatic hobby.
This guide is designed for beginners, and you can expect to spend approximately 30 minutes getting started. Get ready to transform your home into a fragrant oasis!
[Screenshot: A vibrant arrangement of various wax melts in different shapes and colors]
TL;DR Summary
- Wax melts are a safe, flame-free way to scent your home.
- You’ll learn how to choose and use wax melts effectively.
- Preparation and safety tips will enhance your experience.
- This guide is for beginners and takes about 30 minutes to read and apply.
Recommended Products

Unique Forest Design: The wrought iron Wax Melt Warmer features an exquisite forest design, bringing a blend of nature and art to your space, creating a warm and inviting atmosphere.

Tree Shadow Design;Crafted with a hollow metal tree silhouette, this warmer projects beautiful light patterns when turned on. It doubles as a decorative piece during the day and a cozy ambient light at night perfect for your living room, bedroom, or office.

Perfect Decorative&Multiple Functions: Glowing wall plug in wax warmer, efficiently melting wax cubes, releases wonderful&cosy fragrance and has glowing effect can be a night light to decorate your home. (Packaged with one free replacement bulb)
Prerequisites/Materials Needed
- Wax Melts: 1-2 packs in your favorite scents
- Wax Warmer: 1 (electric or tealight)
- Tealight Candles: (if using a tealight warmer) 1-2
- Spoon or Stirring Stick: 1 (for mixing scents, optional)
- Scissors: 1 pair (for opening wax melt packaging)
Recommended Products

Curated 4-Pack of Scented Wax Melts – This set includes four distinct fragrances: Zen, Illusion, Enchanted, and Dream Cloud, offering a calming and mystical atmosphere to enhance relaxation and serenity.

✅【Suitable wax warmer】If you want to add a touch of uniqueness to your home decor, our Wax Melt Warmer is the perfect choice. The eye-catching design is sure to be a hit in any modern home. Our fireplace wax warmers are also ideal for Christmas, Thanksgiving, birthdays, parties, weddings, anniversaries; ideal gifts for friends, lovers.
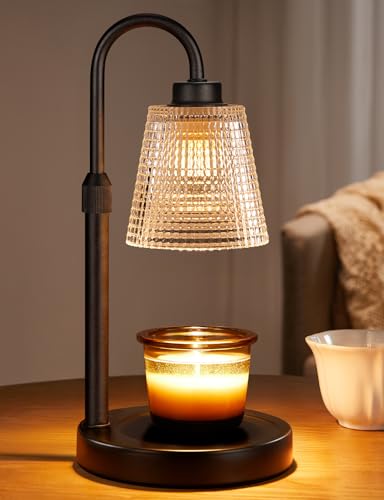
【Flame-Free & Eco-Safe Candle Warmer】Unlike traditional candles, our candle lamp warmer uses light source to melt the candle evenly. No Flame.No Smoke.No Soot. It makes candle lamps ideal for households with children and pets. Our wax warmer also extends the life of jar candles, making them both environmentally friendly and economical
Prerequisites/Materials Needed
Editor’s Choice

Leyoue Electric Wax Melt Warmer PTC Heating Plate with 7 Colors LED Chan…

Skill Level & Time Estimate
Skill Level: beginner
Total time estimate: 30 minutes.
Major steps breakdown:
– Gathering materials: 5 minutes
– Setting up the warmer: 10 minutes
– Using the wax melts: 10 minutes
– Cleaning and maintenance: 5 minutes
Recommended Products

Essential Oil Burner Material - Ceramic Oil Burner is heat resistant and has a layer of glossy mineral glaze. Beautiful And Delicate.

Wax Melt Liners Set: The package includes 50 black wax melt liners; the sufficient quantity will meet your wax melting and daily replacement needs well

The oil burner with a modern European looking, as a nice decorative ornament, can be placed on the table, shelf in bedroom, living room or yoga room.
Skill Level & Time Estimate
Editor’s Choice
Leyoue Electric Wax Melt Warmer PTC Heating Plate with 7 Colors LED Chan…

UCC Premium Wax Melts, Fall Variety Fragrance Melts, Scented Soy Wax Mel…
Step 1: Gather Your Materials
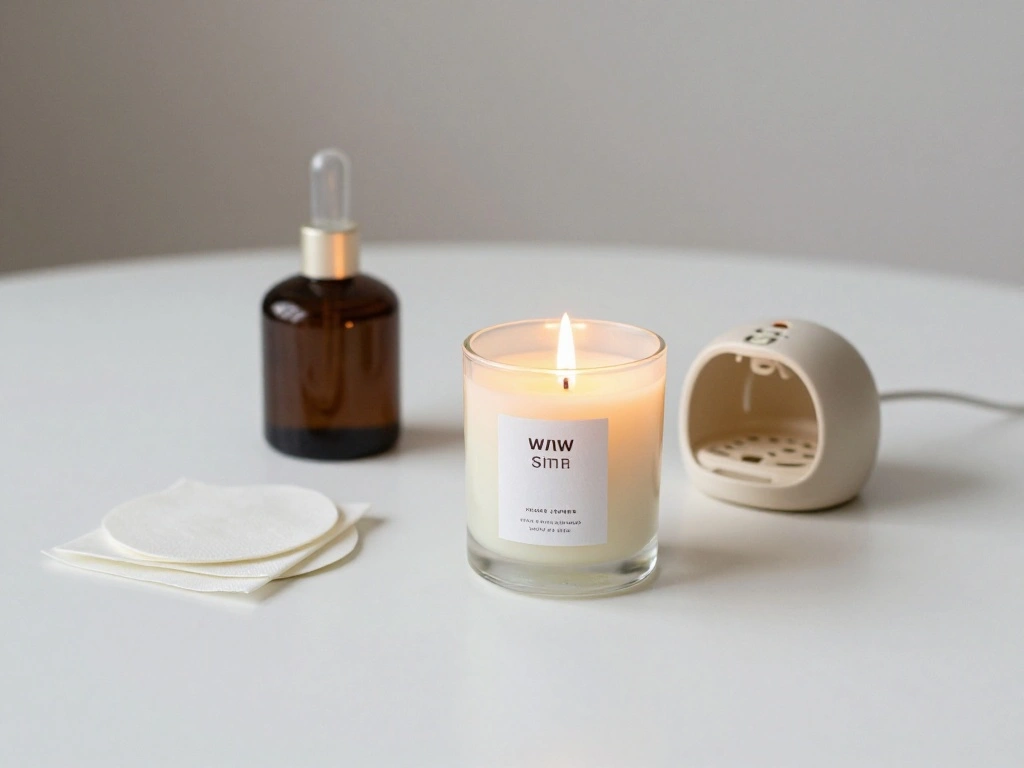
Start by collecting all the necessary items listed previously to ensure a smooth experience.
1. Find a clean, flat surface to work on.
2. Gather your wax melts, warmer, and any tools you might need.
3. Ensure your wax warmer is compatible with the type of wax melts you’ve chosen.
Pro Tip: Choose wax melts that match the mood or occasion you want to create.
Why this matters: Having everything ready prevents interruptions and ensures you can enjoy the aromatic experience.
Time estimate: 5 minutes.
[Screenshot: An organized workspace with gathered materials including wax melts and a warmer]
Recommended Products

FOUR SCENTS IN ONE PACK: Enjoy four unique fragrances including Balsam & Cedar, Dark Roast Coffee, Sea Salt & Sage, and Capri Blue Volcano. This variety pack lets you easily create a relaxing and inviting atmosphere for any room.

Pumpkin Patch Variety Pack: Includes five cozy fall scents: Vanilla Cream Pie, Warm Butterscotch, Pumpkin Spice, Hot Apple Cider, and Pumpkin Spice Latte.

Fall In Love With The Fall: SALUBRITO fall wax melts features 8 warm and comforting fragrances, including pumpkin spice, cinnamon, spiced cider, snickerdoodle, balsam pine, candy corn, fall harvest, apple pie wax cubes. Transform any room in your home into an autumn paradise.
Step 1: Gather Your Materials
Editor’s Choice

mocosa Wax Melt Warmer for Scented Ceramic Candle Warmer Home Fragrance …

Waxkiss 14Oz Wax Warmer for Hair Removal, Professional Wax Melting Machi…
Step 2: Set Up Your Wax Warmer
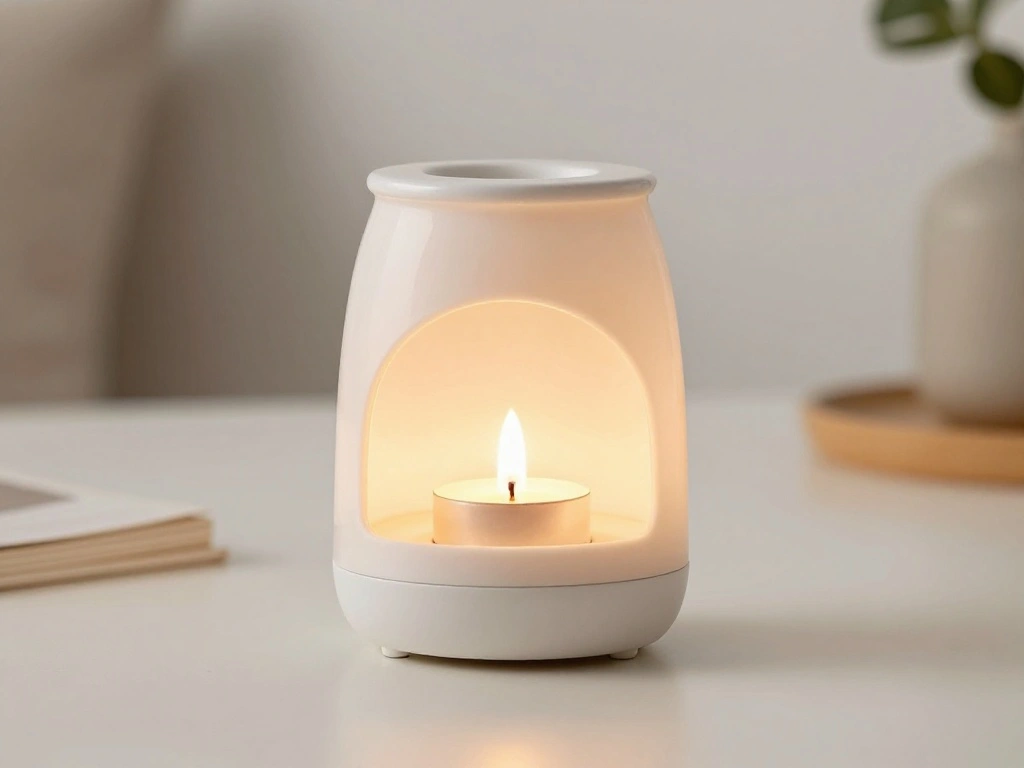
Once you have your materials, it’s time to set up your wax warmer.
1. Place the wax warmer on a stable, heat-resistant surface away from flammable items.
2. If using a tealight warmer, insert the tealight candle into the designated spot.
3. For electric warmers, plug it into a nearby outlet.
Pro Tip: Make sure your warmer is clean and free from leftover wax to ensure optimal scent throw.
Why this matters: Proper setup ensures safety and maximizes the effectiveness of the wax melts.
Time estimate: 10 minutes.
[Screenshot: A wax warmer being set up on a table, with a tealight placed inside it]
Recommended Products

1️⃣ Effortless Wax Cleanup — No Mess, No Burns Say goodbye to scraping hardened wax! Melt Mop pads make cleaning your wax warmer fast, safe, and mess-free. Simply place the pad on melted wax, let it absorb, then lift and toss — your warmer is instantly clean and ready for a new scent.

✨SCENTED WAX MELTS - Tyler Candle wax mixer melts allow you to experience the bliss of your favorite Tyler scent without the flame. Use these Glamorous Fragrances in your favorite fragrance warmer or melter. Heat the Mixer Melts for 30-60 minutes until the wax has completely melted, allowing your favorite scent to last for hours. Works just like a candle warmer.

Effectively cleanses and maintains all GIGI Warmers.
Step 2: Set Up Your Wax Warmer
Editor’s Choice

STAR MOON Ceramic Wax Melt Warmer, Plug in Wax Warmer for Scented Wax, S…

Ceramic Tea Light Candle Holder, Essential Oil Burner Wax Melt Burner, I…

Melt Mop® Wax Melt Cleaner Pads 100% Cotton Disposable Pads for Wax War…
Step 3: Add Your Wax Melts
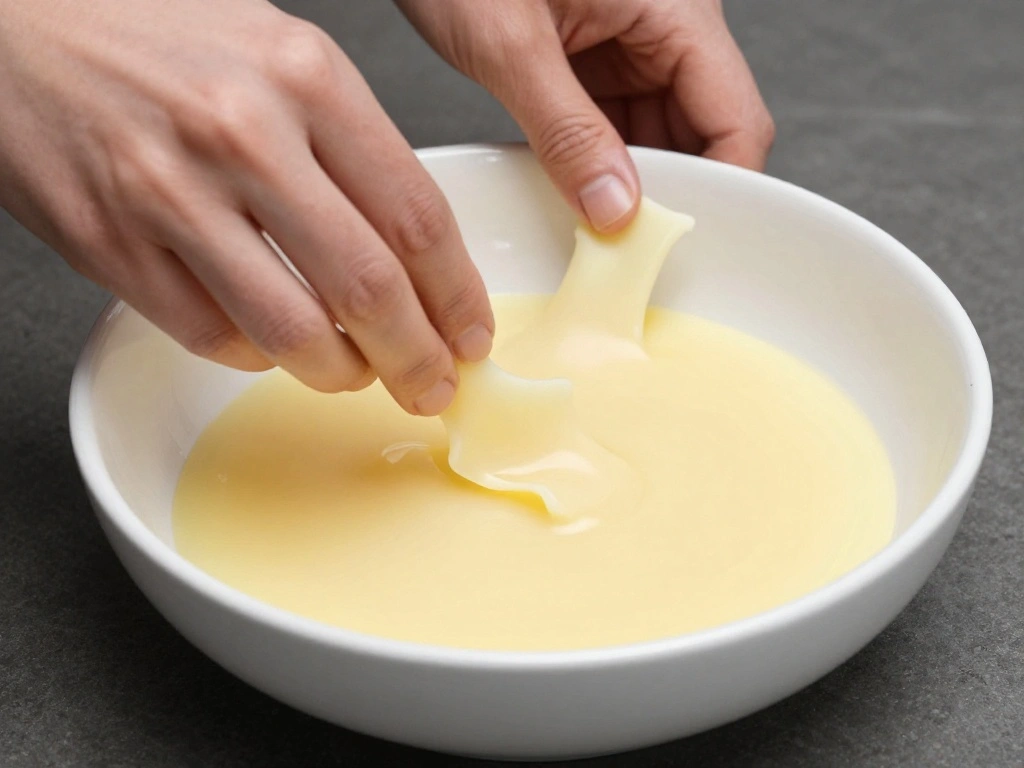
Now it’s time to add the wax melts to your warmer.
1. Take a wax melt from the packaging.
2. If needed, break it into smaller pieces for easier melting.
3. Place the wax melt(s) into the warmer dish.
Pro Tip: Mix different scents for a unique aroma.
Why this matters: Correctly placing the wax melts ensures they melt evenly and release fragrance effectively.
Time estimate: 5 minutes.
[Screenshot: Hands placing wax melts into the warmer dish]
Recommended Products

Rapid Heating: Utilizes safe bulb heating technology to quickly melt wax blocks and release fragrance. Whether placed in the living room, bedroom, or bathroom, it fills the entire room with a delightful aroma, enhancing your home experience and providing a comfortable and relaxing atmosphere.

Unique design: Wax Warmer is made of iron and crystal, all by hand.Black crystal designs can be added to any modern room, home, kitchen, living room, bedroom, spa

【Dual Power Candle Wax Melter Pot + Thermometer for Perfect Temperature Control】Choose 300W low heat for gentle melting of fragrance-sensitive or delicate waxes, or switch to 600W high heat to quickly liquefy hard waxes like soy and beeswax. The included TA-288 thermometer (0–300°C range) helps you keep wax at the ideal temperature—no more burning or breaking down. The clear LED indicator lets you see the status at a glance. Beginner-friendly and pro-approved.
Step 3: Add Your Wax Melts
Editor’s Choice


KeShi Waxing Kit, Painless Hair Removal Wax Warmer with 6 Bags Hard Wax …

JUYRLE Perfume Making Kit- DIY Roller Perfume Making Kits for Women, Mak…
Step 4: Turn On Your Warmer
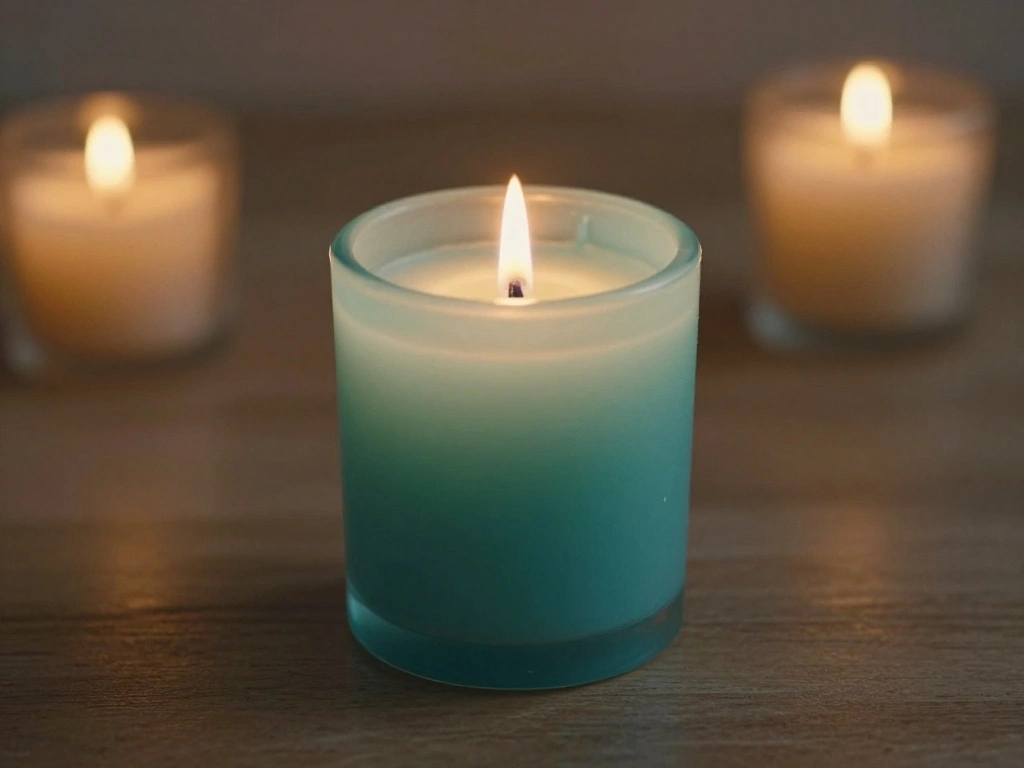
With your wax melts in place, it’s time to turn on the warmer.
1. If using an electric warmer, switch it on.
2. For tealight warmers, light the tealight candle.
3. Allow the wax to melt and release its fragrance into the air.
Pro Tip: Monitor the melting process to gauge scent strength and adjust the number of melts you use next time.
Why this matters: Activating the warmer is crucial for releasing the scent, so ensure it’s done correctly.
Time estimate: 5 minutes.
[Screenshot: A lit tealight candle under a warmer, with wax starting to melt]
Recommended Products

Curated 4-Pack of Scented Wax Melts – This set includes four distinct fragrances: Cuddle Up, Cinnamon Apples, Salted Caramel Butter, and Farmhouse Cookies, offering a warm, cozy experience filled with comforting, sweet, and spicy notes ideal for any time of year.

Wax melts allow you to quickly fill your home with fragrance.

Curated 4-Pack of Scented Wax Melts – This set includes four distinct fragrances: Warm Apple Pie, Vanilla Pine, Fallen Leaves, and Feelin Cozy, offering a delightful fall-inspired blend that fills your home with comforting, seasonal aromas.
Step 4: Turn On Your Warmer
Editor’s Choice

GODONLIF Candle Warmer Lamp with Cycle Timer, Birthday Gifts for Women M…
KeShi Waxing Kit, Painless Hair Removal Wax Warmer with 6 Bags Hard Wax …

KOTAMU Wax Kit Pink Digital Hair Removal Waxing Kit for Women & Men Hot …
Step 5: Enjoy the Aroma

As the wax melts, take a moment to enjoy the fragrant atmosphere it creates.
1. Walk around your space and notice the scent.
2. If desired, adjust the number of wax melts used for your preferred strength.
3. Share the experience with family or friends, creating a cozy environment together.
Pro Tip: Consider playing soft music to enhance the ambiance.
Why this matters: Engaging with the scent can elevate your mood and create a welcoming environment.
Time estimate: 10 minutes.
[Screenshot: A cozy room filled with warm light and aromatic ambiance]
Recommended Products

Approximate Dimensions: B8.5*8.5*12.5cm/A 9*9*12cm◆Caution: (candle not included)◆

Our ceramic and wood wax melt burner is the perfect blend of materials, perfectly combining natural wood, geometric metal rack against a removable ceramic melting pool.

Cylindrical, two-part detachable fragrance lamp for room scenting by evaporating essential oils / scented wax. Lower part made of slightly grainy clay with a food-safe, certified clay glaze. Removable, dishwasher safe bowl - for water/aromatic oil and scented wax.
Step 5: Enjoy the Aroma
Editor’s Choice

VICTORIA AROMA Ceramic Wax Melt Warmer – LED Night Light Candle Wax Warm…
UCC Premium Wax Melts, Fall Variety Fragrance Melts, Scented Soy Wax Mel…
Step 6: Monitor the Melting Process
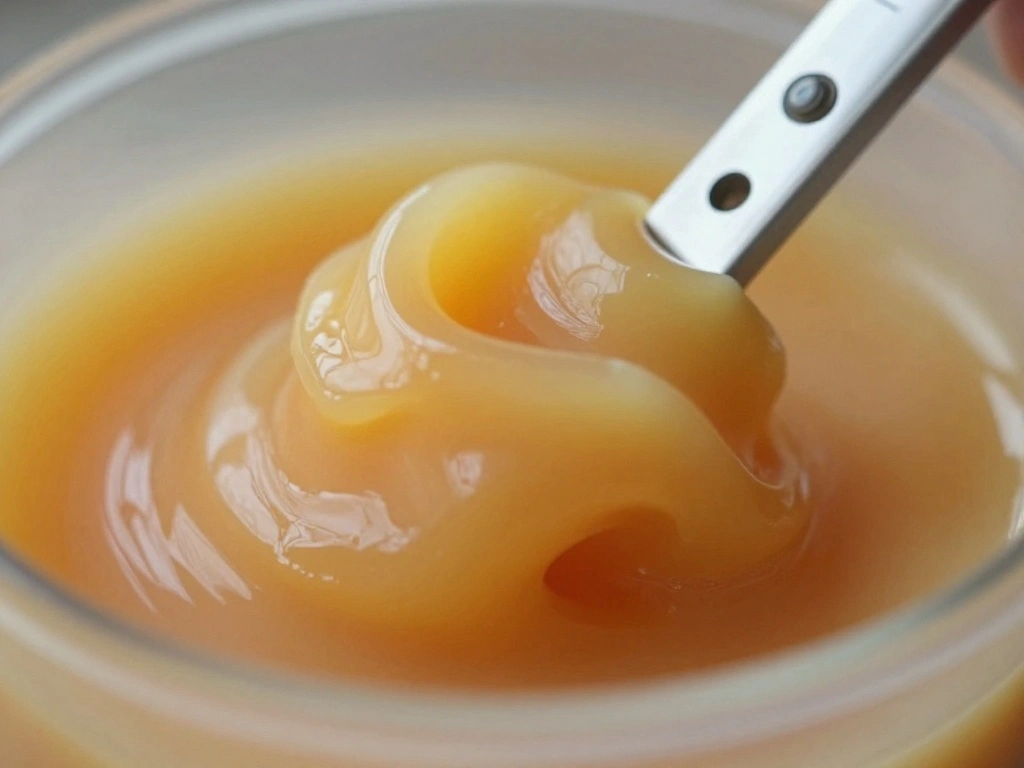
While enjoying the scent, keep an eye on the melting process to ensure everything is working smoothly.
1. Check that the wax is melting evenly and not burning.
2. If using a tealight, monitor the candle’s flame and replace it as needed.
3. If the wax becomes too hot, turn off the warmer to avoid overheating.
Warning: Never leave a melting wax warmer unattended, especially around pets or children.
Why this matters: Monitoring prevents accidents and ensures a safe, pleasant experience.
Time estimate: 5 minutes.
[Screenshot: A close-up of wax melting evenly in the warmer, with a timer nearby]
Recommended Products

Fall Spice Variety Pack: Includes five warm seasonal scents: Fall Spice, Home Sweet Home, Pecan Waffles, Cinnamon Caramel Swirl, and McIntosh Apple.

Indulgent Bakery Collection: Step into a cozy kitchen with our wax tarts variety gift set, featuring eight tempting scents like roasted coconut, apple pie, frosted donut, pumpkin pie, caramel cinnamon, vanilla almond biscuit, butterscotch toffee, and chocolate cookie. These scented wax melts transform any space into a warm, aromatic haven.

THREE 2oz POUCHES: Indulge in Autumn Breeze, Fall Woods, and Pumpkin Spice Latte — three rich, warmly spiced wax melt scents crafted to celebrate the gourd in all its delicious, autumn glory. A perfect wax melt variety pack for gifting or elevating your own space.
Step 6: Monitor the Melting Process
Editor’s Choice

Stonebriar Unscented Long Burning White Tealight Candles, Bulk Pack, 6-7…
Leyoue Electric Wax Melt Warmer PTC Heating Plate with 7 Colors LED Chan…

Yacumama Digital Water Thermometer for Liquid, Candle, Instant Read with…
Step 7: Clean Up After Use
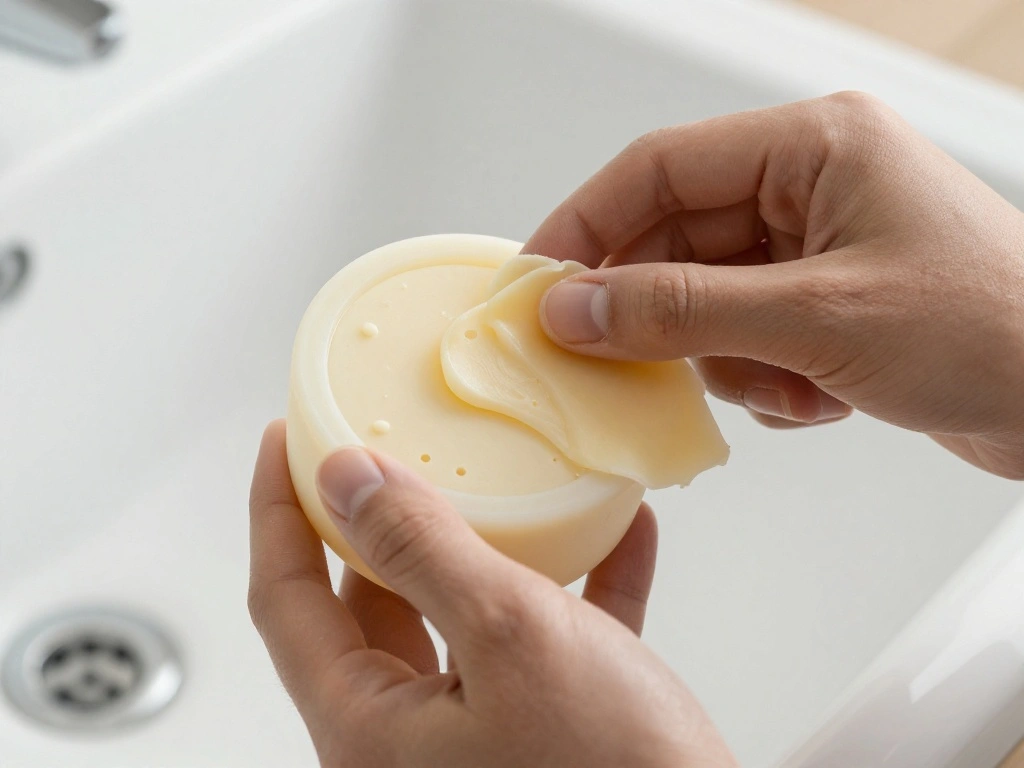
Once the scent has faded or you’re ready to change fragrances, clean up the wax warmer.
1. Turn off the warmer and allow it to cool completely.
2. Use a spoon or stick to remove the hardened wax.
3. Wipe down the warmer with a cloth to remove any residue.
Pro Tip: If the wax is stubborn, place a paper towel over it and briefly heat it to soften.
Why this matters: Regular cleaning maintains the performance of your warmer and allows for fresh scents.
Time estimate: 5 minutes.
[Screenshot: Someone cleaning the wax warmer, showing the removal of wax]
Recommended Products


Reusable and leakproof:The wax tray liner is designed with a protective coating,it will be much easiar for you to change the scented wax and wax melts.

Reusable and leakproof:The wax tray liner is designed with a protective coating,it will be much easiar for you to change the scented wax and wax melts.
Step 7: Clean Up After Use
Editor’s Choice

Innqoo Candle Warmer Lamp with Timer, Dimmable Candle Warmer for Jar Can…
KeShi Waxing Kit, Painless Hair Removal Wax Warmer with 6 Bags Hard Wax …

KeShi Waxing Kit, Painless Hair Removal Wax Warmer with 6 Bags Hard WaxB…
Step 8: Store Your Wax Melts Safely
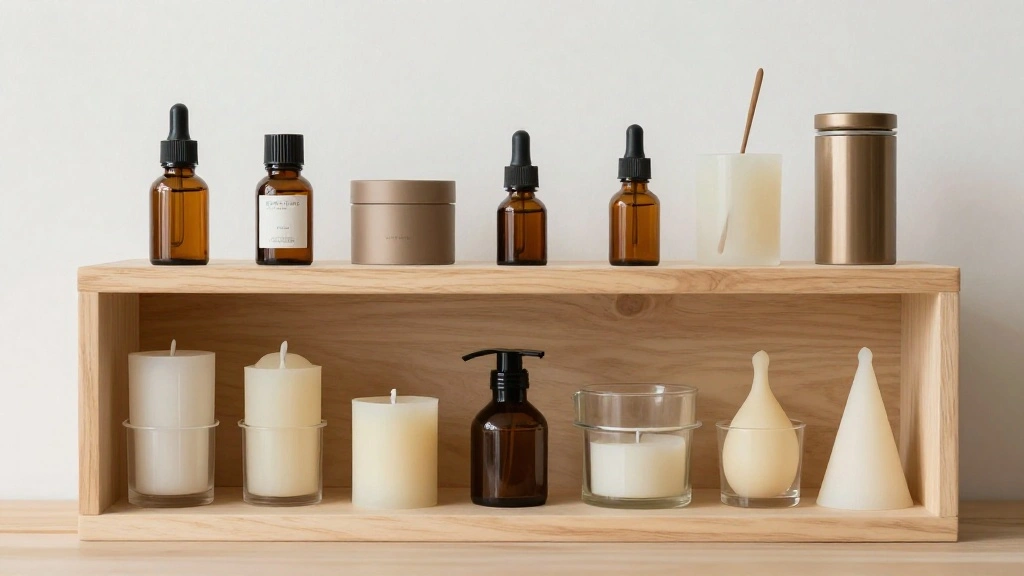
Finally, store your wax melts properly to preserve their fragrance for future use.
1. Keep the wax melts in a cool, dry place away from direct sunlight.
2. Use airtight containers to prevent drying out.
3. Label your melts if you have multiple scents for easy access.
Pro Tip: Consider organizing your scents by season or mood for easier selection next time.
Why this matters: Proper storage helps maintain the quality and longevity of your wax melts.
Time estimate: 5 minutes.
[Screenshot: A neatly organized container with various scents of wax melts]
Step 8: Store Your Wax Melts Safely
Editor’s Choice

Portable Wax Warmer Bag, Waxing Machine Storage Organizer Case for Hard/…

Phomemo Label Maker Machine with Tapes, D30D Smart Screen Bluetooth Mini…
Innqoo Candle Warmer Lamp with Timer, Dimmable Candle Warmer for Jar Can…
Pro Tips
- Mix Scents: Experiment by combining different wax melts for unique fragrances.
- Use Less for Stronger Scents: Start with fewer melts to gauge scent strength before adding more.
- Keep It Clean: Regularly clean your warmer to prevent scent mixing and residue build-up.
- Seasonal Scents: Change your wax melts with the seasons for a refreshing change.
- Test Before Events: Try new scents before hosting to ensure they create the desired atmosphere.
Pro Tips
Editor’s Choice

GIGI Sure Clean Wax Residue Remover, All-Purpose Surface Cleaner for War…
UCC Premium Wax Melts, Fall Variety Fragrance Melts, Scented Soy Wax Mel…
Common Mistakes to Avoid
Warning: Using the wrong warmer type can lead to poor melting. Always check compatibility.
Warning: Overfilling the warmer can cause spills and messes. Start with one or two pieces.
Warning: Leaving a warmer unattended can be dangerous. Always supervise your warmer when in use.
Common Mistakes to Avoid
Editor’s Choice

Enaroma Fragrance Electric Wax Melts Warmer with 7 Colors LED Changing L…

STRN Scented Wax Melts Wax Cubes Long Lasting Strong Scent, Soy Wax Cube…
Troubleshooting Section
Problem: The wax is not melting.
Solution: Ensure the warmer is plugged in or the tealight candle is lit.
Problem: The scent is too strong.
Solution: Use fewer wax melts next time or choose a milder scent.
Problem: The wax is burning.
Solution: Turn off the warmer immediately and allow it to cool down.
Problem: Wax is difficult to remove.
Solution: Heat it slightly to soften it, then remove it carefully.
Problem: The scent doesn’t last long.
Solution: Consider using fresher melts or a higher quality brand.
Troubleshooting Section
Editor’s Choice
STAR MOON Ceramic Wax Melt Warmer, Plug in Wax Warmer for Scented Wax, S…

Summer Scented Wax Melts, Soy Wax Melts Gift Set, Wax Cubes/Tarts for Wa…

3 Pcs Seal Wax Scraper Spoon for Silicone Crafts, Sealing Waxing Stamp S…
Variations/Alternative Methods
Alternative 1: Use a stovetop double boiler to melt wax for DIY candles or scents.
Alternative 2: Try essential oil-infused wax melts for natural fragrances.
Alternative 3: Explore different types of warmers like ceramic or glass for aesthetic appeal.
Variations/Alternative Methods
Editor’s Choice

SACATR 16 Bags Dried Flowers,100% Natural Dried Flowers Herbs Kit for So…
KeShi Waxing Kit, Painless Hair Removal Wax Warmer with 6 Bags Hard Wax …
FAQs
What if I don’t have a warmer? You can use a double boiler to melt wax on the stovetop, but ensure you monitor it closely.
How long should I leave the melts in? Typically, 4-6 hours, but it depends on your preference and the scent strength.
Is it safe to mix scents? Yes, mixing scents can create unique aromas, just be cautious not to overpower the space.
What if the scent fades too quickly? Consider using a higher quality wax melt or adding more pieces for a stronger scent.
Can I reuse wax melts? Yes, but the scent will diminish over time. Replace them when the fragrance fades significantly.
FAQs
Editor’s Choice

KQU Wax Melting Pot with Thermometer, Electric Wax Melter for Candle Mak…
STAR MOON Ceramic Wax Melt Warmer, Plug in Wax Warmer for Scented Wax, S…

Scentsationals Wax Melts Candy Carnival 4 Pack – Long-Lasting, Strong-…
Conclusion
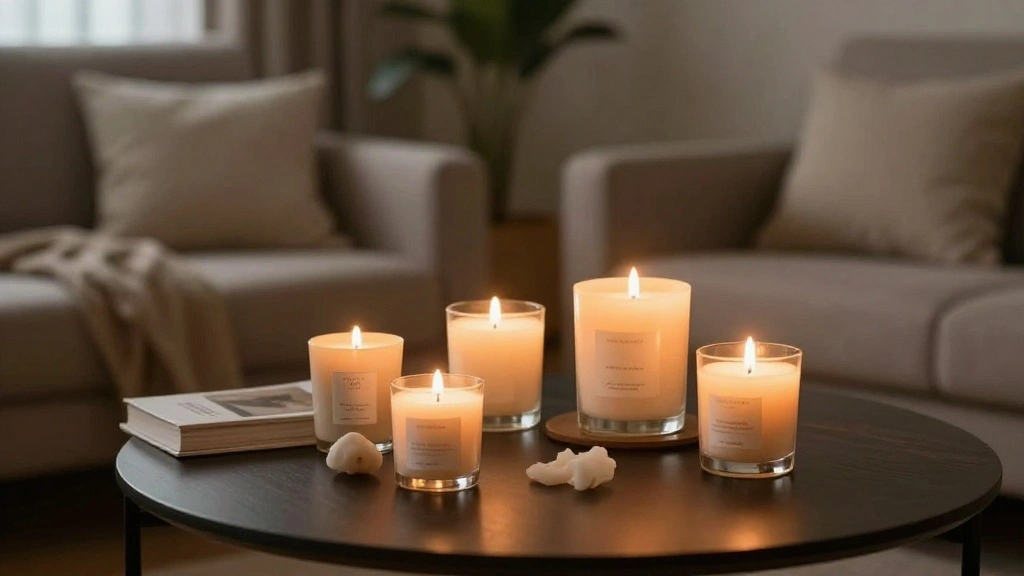
Congratulations on learning about wax melts! You now have the knowledge to create a warm, inviting atmosphere in your home. Enjoy experimenting with different scents and combinations.
As you continue your wax melt journey, consider exploring DIY options or even candle-making for a fun new project. Embrace the aromatic world of wax melts and enjoy the comfort they bring to your space!
[Screenshot: A cozy living room with scented candles and wax melts on display, inviting and warm]