
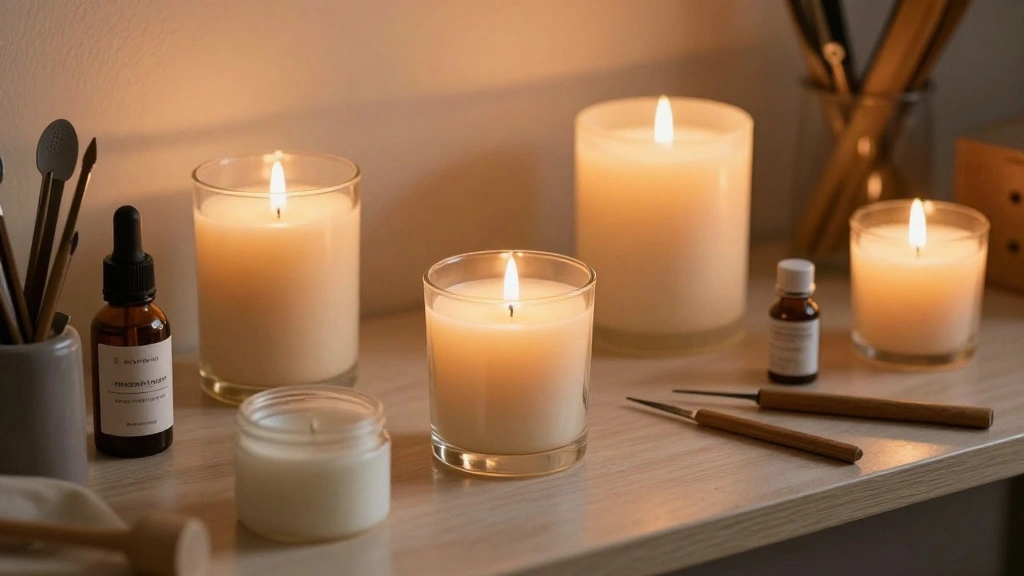
Have you ever lit a homemade candle only to find that the scent barely fills the room? This common dilemma can be frustrating, especially when you’ve put in the effort to create something beautiful. Achieving the right fragrance load is crucial for maximizing the aroma of your candles, allowing them to truly shine in your space.
In this guide, you will learn how to calculate the perfect fragrance load to enhance the scent throw of your homemade candles. By understanding the balance between wax and fragrance oil, you’ll be able to create candles that not only look great but also smell incredible. You’ll walk away empowered to craft candles that fill your home with delightful fragrances.
This guide is designed for intermediate candle makers with an estimated time of 1-2 hours to complete. You’ll gain specific insights into measuring fragrance loads, adjusting ratios, and troubleshooting common issues. Let’s get started on the journey to stronger, more fragrant candles!
TL;DR Summary
- Learn how to calculate the ideal fragrance load for stronger candles.
- Understand the balance between wax and fragrance oil.
- Follow six easy steps to achieve the right scent throw.
- Discover tips and pitfalls to avoid during the candle-making process.
Recommended Products

Description - This luxurious fragrance is inspired by the signature scent of an iconic New York luxury hotel—known for its crystal-clear elegance, timeless sophistication and warm opulence. It features notes of sandalwood, cedar, jasmine, musk, ambergris, iris, orchid and bergamot.

Luxury Hotel Inspired Fragrance: This luxurious fragrance is inspired by the signature scent of an iconic New York luxury hotel-known for its crystal-clear elegance, timeless sophistication and warm opulence. It features notes of sandalwood, cedar, jasmine, musk, ambergris, iris, orchid and bergamot
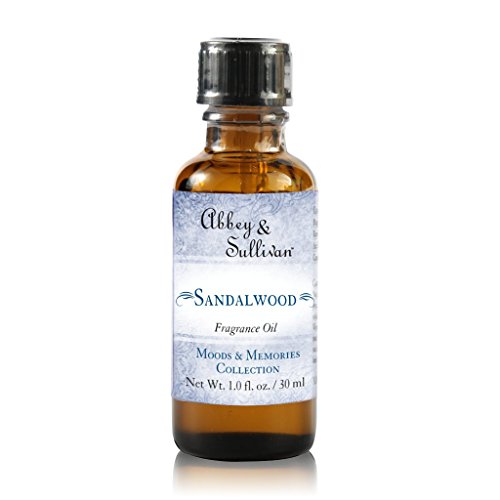
Premium quality abbey & sullivan fragrance oil. Use in potpourri, wax tart and oil warmers, air freshener paper and in candle or soap-making base.
TL;DR Summary
Editor’s Choice

SAEUYVB Candle Making Kit with Wax Melter, Candle Making Kit for Adults …


Fragrance Essential Oils Set – 14pcs, Aromatherapy Oils for Skin, Diffus…

MAXUS Digital Pocket Gram Scale 500g x 0.01g High Precision with Tray, W…
Prerequisites/Materials Needed
- Wax (e.g., soy, paraffin, or beeswax)
- Fragrance oils (choose your favorite scents)
- Scale (for weight measurements)
- Double boiler (for melting wax)
- Candle containers or molds
- Thermometer (for checking wax temperature)
- Stirring utensil (like a wooden stick)
Recommended Products

Precise Measurement - This baking scale can weigh up to 11 lb / 5 kg with a readability of 0.1 g and a minimum weighing capacity of 1 g, ensuring accurate measurements for all your recipes.

500 g Capacity with 0.01 g Readability: This gram scale measures powders, jewelry, coins, tea, and other small items accurately, helping you get consistent results for everyday weighing

Reliable Precision: The Digital Kitchen Scale measures in increments of 1 g with a 5,000 g capacity.
Prerequisites/Materials Needed
Editor’s Choice

Etekcity Food Kitchen Scale, Digital Grams and Ounces for Weight Loss, B…

Double Boiler Pot Set, Stainless Steel Melting Pot with Silicone Spatula…
Skill Level & Time Estimate
Skill Level: intermediate
Total time estimate: 1-2 hours
Step breakdown: 15-30 minutes for each of the six main steps.
Recommended Products
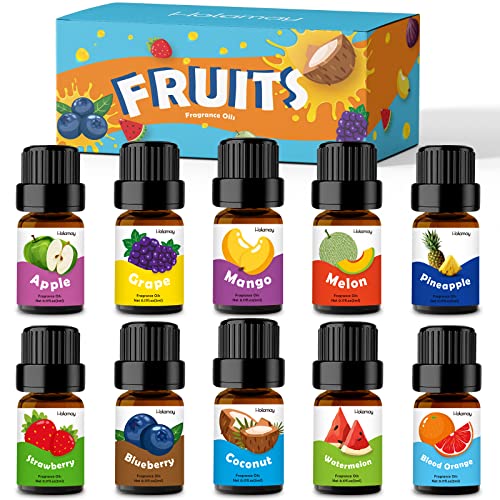
Top 10 Fruity Fragrance Oils (5ML Pack); This premium scented oils set contains a series of summer fruits aroma - coconut, strawberry, mango, pineapple, melon, apple, blood orange, blueberry, watermelon, grape, fill your time with fresh fragrance

MULTI-PURPOSE FRAGRANCE OILS FOR HOME & DIY- A versatile fragrance oil set featuring six proprietary scent blends, expertly crafted to deliver a rich and elevated fragrance experience. Designed for everyday home scenting, these essential oils work beautifully in diffusers to create a warm, inviting atmosphere throughout your space. Perfect for DIY enthusiasts and makers, the set is ideal for candle making, soap crafting, wax melts, and other creative projects using high-quality candle fragrance oil. These luxurious blends can also be used in humidifiers and home aroma systems, filling any room with sophisticated, long-lasting fragrance.

【Simple Candle Making Starter Kit for Beginners】This candle making starter kit provides basic supplies for those who want to try candle making at home without committing to a full professional setup. Designed as an entry-level option for learning and practice.
Skill Level & Time Estimate
Editor’s Choice
MAXUS Digital Pocket Gram Scale 500g x 0.01g High Precision with Tray, W…

Complete Candle Making Kits for Adults Beginners, DIY Candle Making Supp…
Lab Bulks Essential Oil (2-Pack) Lavender Essential Oil for Diffusers, C…
Step 1: Determine Your Wax Weight
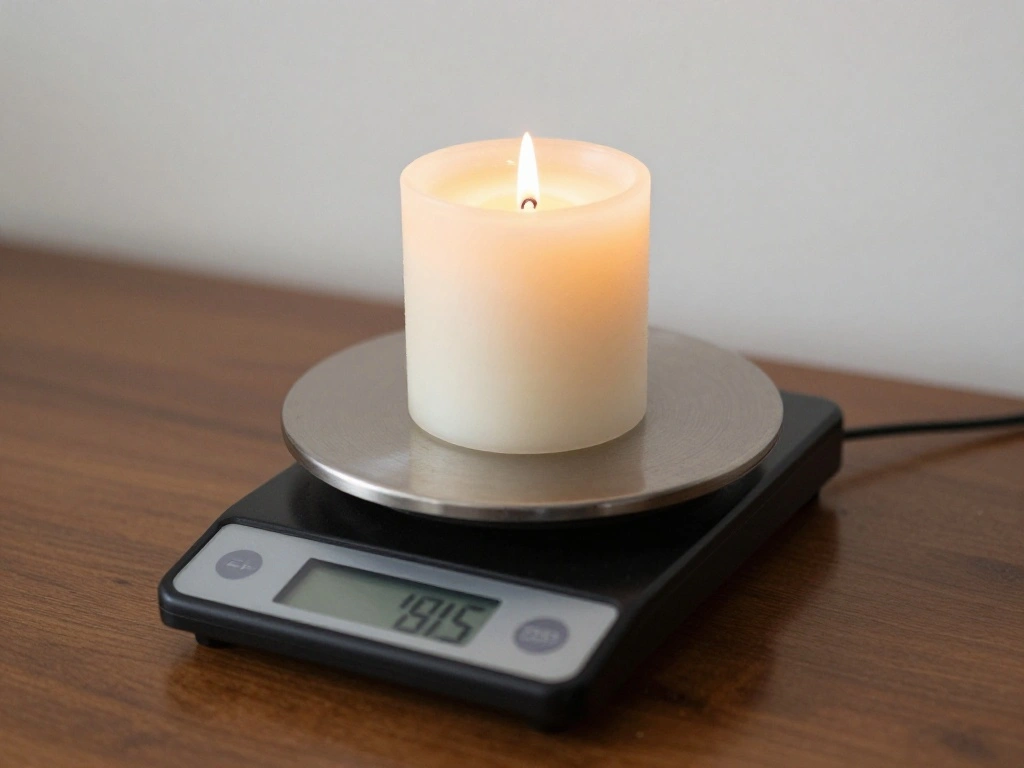
To calculate the fragrance load, you first need to establish the total weight of your wax. This is the foundation for your calculations. Follow these steps:
- Weigh your empty candle container using a scale.
- Add wax to the container until you reach your desired candle size.
- Record the total weight of the wax.
Pro Tip: Always use a scale for accurate measurements, as volume can vary significantly between different wax types. Warning: If you use too little wax, your candle may not hold enough fragrance. This step is crucial for achieving the desired scent throw.
Time estimate: 15 minutes.
Recommended Products
Midsummer's Night: Intoxicating and alluring, MidSummer's Night may inspire a romantic evening of stargazing on a cool summer night. Woody notes mingle with sage and cedarwood scents to form an earthy, herbaceous cologne.


LUXURY GLASS CANDLE - Designed to burn cleanly and infuse your home with exceptional scent, this candle elevates everyday living and entertaining. It is housed in a glass vessel etched with elegant, frosted stripes that complement any decor.
Step 1: Determine Your Wax Weight
Editor’s Choice

FAIRYELF Premium Candle Making Kit with Wax Melter, DIY Starter Scented …

Bakery Essential Oils Set,Premium Fragrance Oil for Diffusers, Scents fo…

Mik-Nana Food Scale, 10kg/22lb Digital Kitchen Scale Weight Grams and Ou…
Step 2: Choose Your Fragrance Load Percentage
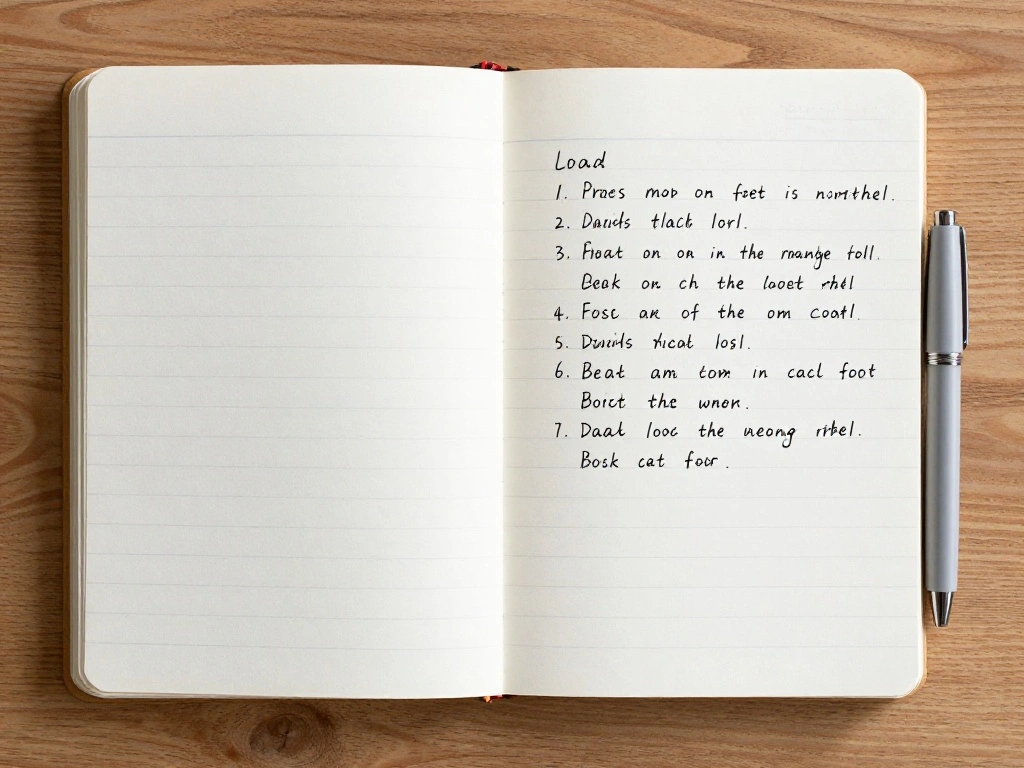
Next, decide on the fragrance load percentage you want to use. This typically ranges from 6% to 12%, depending on the wax type and personal preference. Here’s how to choose:
- Research the recommended fragrance load for your specific wax. Refer to the manufacturer’s guidelines.
- Consider the scent strength you desire. More potent fragrances may require a lower load.
- Decide on a percentage that fits your preference, keeping in mind the maximum recommended load.
Pro Tip: A good starting point is 10%. You can adjust based on your testing results. Warning: Exceeding the recommended fragrance load may lead to issues like poor burning or scent throw.
Time estimate: 15 minutes.
Recommended Products

Premium-Grade Gardenia Aroma – Lab-tested for purity and consistency, this floral essential oil delivers a creamy, calming scent that fills any room with warmth. Every batch is quality-verified to ensure the same rich fragrance from the first drop to the last. Safe for daily use around your home and family.

Description - This luxurious fragrance is inspired by the signature scent of an iconic New York luxury hotel—known for its crystal-clear elegance, timeless sophistication and warm opulence. It features notes of sandalwood, cedar, jasmine, musk, ambergris, iris, orchid and bergamot.
Premium Jasmine Fragrance Oil – Lab-tested for quality and consistency, this floral blend delivers a rich, authentic aroma that fills any space with timeless elegance. Crafted with botanical extracts, it captures nature's true scent—smooth, balanced, and long-lasting. Free from unnecessary additives or fillers.
Step 2: Choose Your Fragrance Load Percentage
Editor’s Choice

Bonvoisin Baking Scale 0.1 Gram Accuracy Digital Scale for Kitchen, Cand…
Fragrance Essential Oils Set – 14pcs, Aromatherapy Oils for Skin, Diffus…

SoftOwl Premium Soy Candle Making Kit – Full Set – Soy Wax, Big 7oz Jars…
Step 3: Calculate the Fragrance Amount
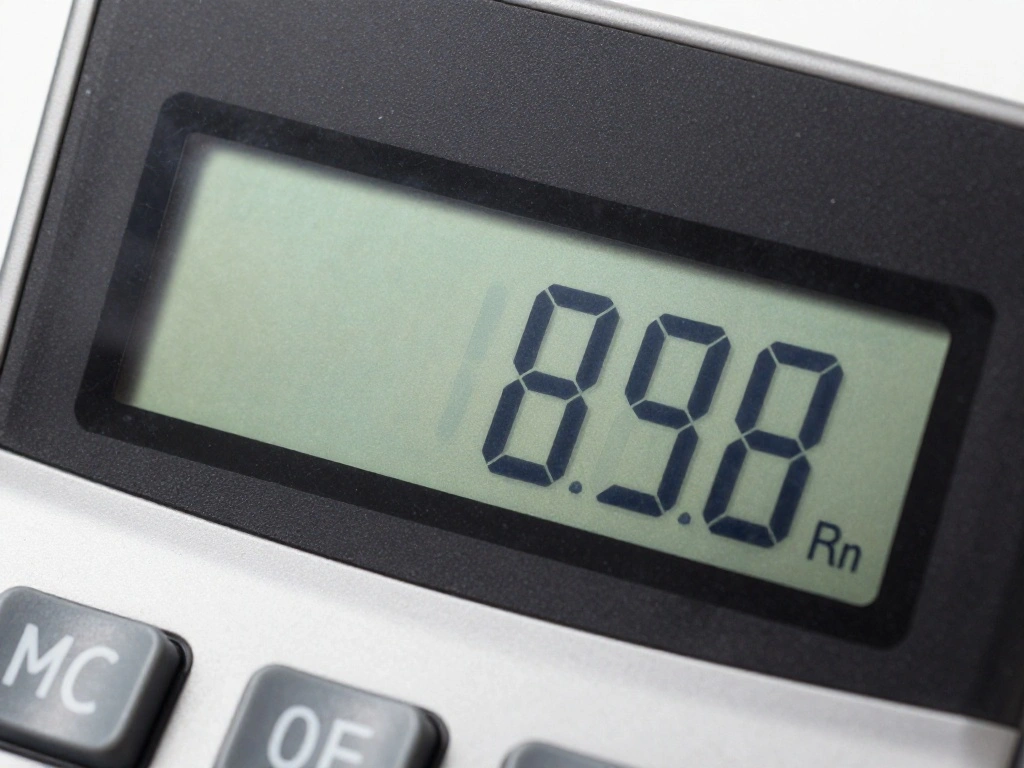
Now that you have your wax weight and fragrance load percentage, it’s time to do the math. Here’s how to calculate the amount of fragrance oil needed:
- Multiply the total weight of your wax by the fragrance load percentage (as a decimal). For example, if you have 1,000 grams of wax and choose a 10% load, you’ll calculate: 1000 x 0.10 = 100 grams of fragrance oil.
- Write down the amount of fragrance oil needed for your batch.
Pro Tip: Use a calculator to ensure accuracy, especially with larger batches. Warning: Failing to calculate this step correctly can lead to weak-scented candles.
Time estimate: 10 minutes.
Recommended Products

𝗘𝗳𝗳𝗼𝗿𝘁𝗹𝗲𝘀𝘀 𝗪𝗲𝗶𝗴𝗵𝗶𝗻𝗴: Supports 5 units (oz/lb:oz/fl'oz/g/mL), tare function, and includes 2 AAA batteries for hassle-free operation

The Pocket Gram Scale Size is 5.2 x 2.99 x 0.79 inch, Gram Scale allows you to weigh a maximum capacity of a 200g and the minimum accuracy is 0.01g, to guarantee you an accurate and precise weighing session. Not suitable for weighing items weighing over 200g, please choose carefully

【Precise Weight】22lb capacity, 1g resolution, the digital food scale with built-in four high-precision load sensors provide more accurate measurements and instant readings.
Step 3: Calculate the Fragrance Amount
Editor’s Choice
Fragrance Essential Oils Set – 14pcs, Aromatherapy Oils for Skin, Diffus…
Etekcity Food Kitchen Scale, Digital Grams and Ounces for Weight Loss, B…
SAEUYVB Candle Making Kit with Wax Melter, Candle Making Kit for Adults …
Step 4: Prepare Your Workspace
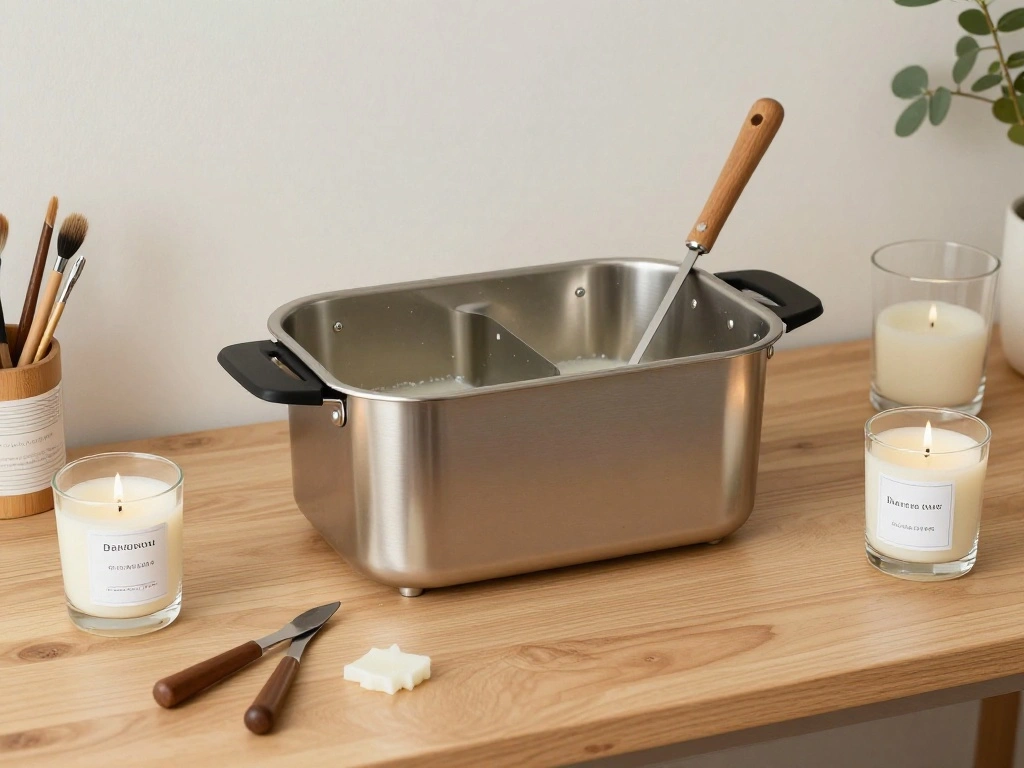
Preparing your workspace is essential for a smooth candle-making process. Follow these steps:
- Set up your double boiler and fill the bottom pot with water.
- Place the wax in the top pot and heat it over medium-low heat, stirring occasionally.
- Gather all your materials: fragrance oils, thermometer, stirring utensils, and containers.
Pro Tip: Keep your workspace organized to avoid spills and mix-ups. Warning: Never leave melting wax unattended, as it can pose a fire hazard.
Time estimate: 20 minutes.
Recommended Products

Oil Uses: Designed for but not limited to candle scents for candle making (especially works well with soy wax candle making), diffuser oil scents, freshie scents, oils for laundry, soap making supplies, slime scents, oils for skin, perfume oil, bath and body formulations, bath bombs, and many more essential DIYs.

Wonderful Scent: MAYJAM fragrance oils are highly concentrated and features a soothing and pleasant aroma. Fruity & floral essential oils for diffusers for home have an extremely rich, complex and long-lasting fragrance, ideal for enhancing any atmosphere

Oil Uses: Designed for but not limited to candle scents for candle making (especially works well with soy wax candle making), diffuser oil scents, freshie scents, oils for laundry, soap making supplies, slime scents, oils for skin, perfume oil, bath and body formulations, bath bombs, and many more essential DIYs.
Step 4: Prepare Your Workspace
Editor’s Choice
Double Boiler Pot Set, Stainless Steel Melting Pot with Silicone Spatula…
SAEUYVB Candle Making Kit with Wax Melter, Candle Making Kit for Adults …

Meat Food Thermometer, Digital Candy Cooking Thermometer, Kitchen Cookin…
Step 5: Mix the Fragrance Oil with Wax
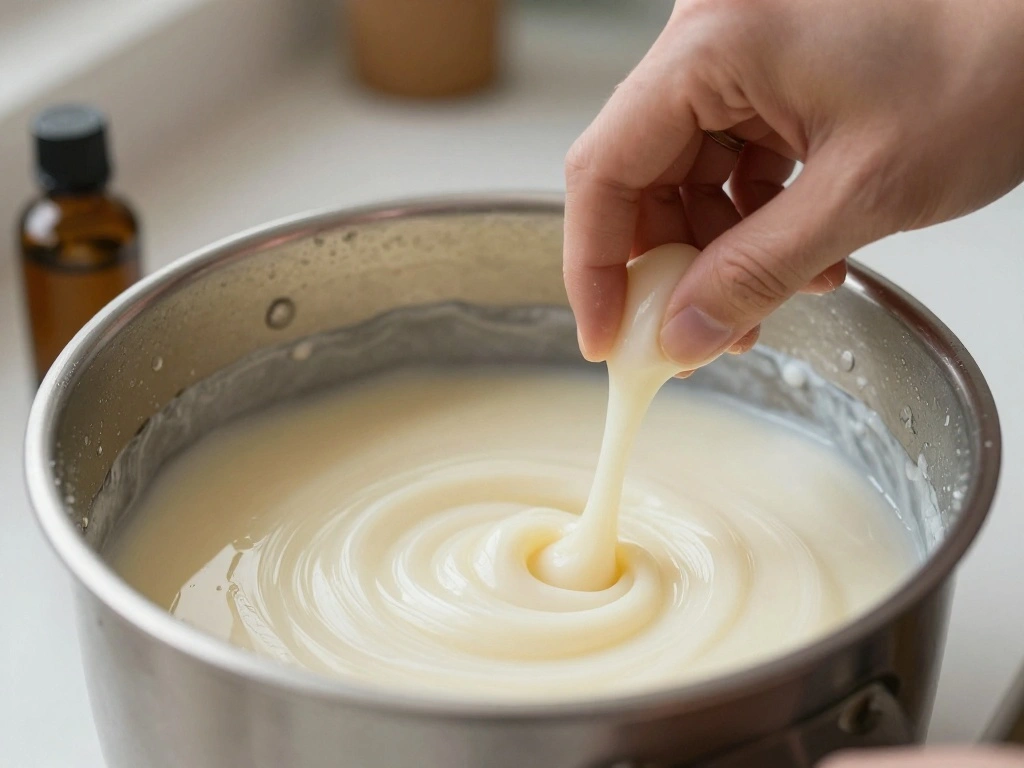
Once your wax is melted and reaches the optimal temperature (usually around 185°F or 85°C), it’s time to mix in your fragrance oil. Follow these instructions:
- Remove the wax from heat and let it cool slightly if necessary.
- Add the calculated amount of fragrance oil to the melted wax.
- Stir well for 2-3 minutes to ensure the fragrance is evenly distributed.
Pro Tip: Stir gently but thoroughly to avoid bubbles. Warning: Not mixing the fragrance oil properly can lead to uneven scent distribution in the candle.
Time estimate: 15 minutes.
Recommended Products

Highly Scented Fragrance Experience: Our candles are highly scented using a unique blend of premium essential oil fragrances, which ensures a memorable fragrance experience

Kitchen Spice: An uplifting combination of your favorite spices — the scents of ginger, cardamom, cinnamon, and clove — with a hint of sweet orange notes, like a happy, busy kitchen bustling with from-scratch baking and friendly conversation.

Top 9 Fruity Fragrance Oils Set: This fragrance oil gift set includes 9 x 10ml bottles (Lime, Apple, Mango, Passion Fruit, Strawberry, Watermelon, Cherry, Coconut, Pineapple) and 2 droppers. With this essential oil set, you can enjoy different fruit fragrances every day
Step 5: Mix the Fragrance Oil with Wax
Editor’s Choice
Fragrance Essential Oils Set – 14pcs, Aromatherapy Oils for Skin, Diffus…

Yacumama Digital Water Thermometer for Liquid, Candle, Instant Read with…
SoftOwl Premium Soy Candle Making Kit – Full Set – Soy Wax, Big 7oz Jars…
Step 6: Pour the Wax into Containers
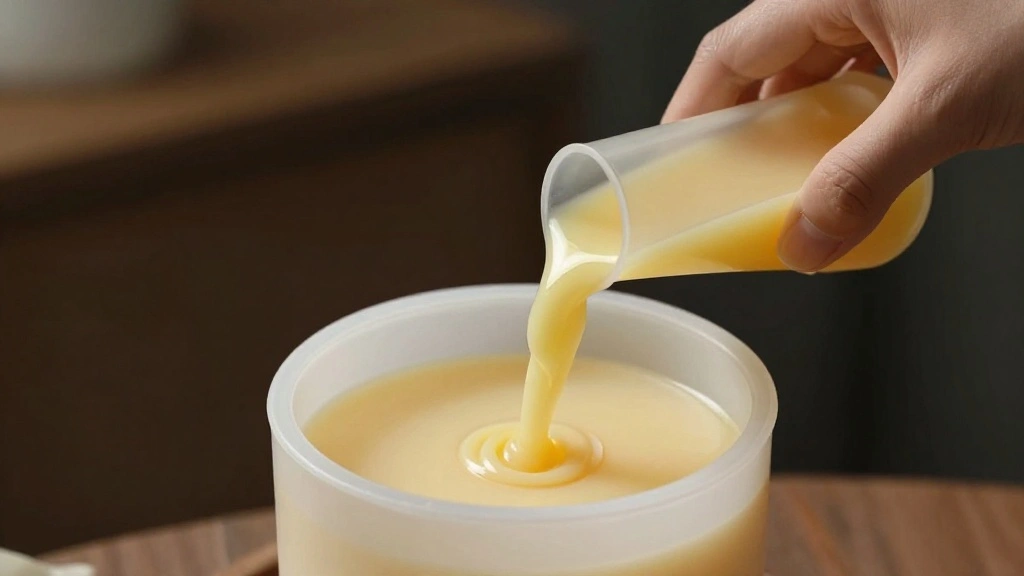
Now that your wax and fragrance are well mixed, it’s time to pour the wax into your containers. Here’s how:
- Ensure your containers are clean and dry.
- Carefully pour the wax into the containers, leaving a small amount of space at the top.
- Allow the candles to cool completely before moving them.
Pro Tip: Pour at a lower temperature (around 160°F or 71°C) for a smoother surface finish. Warning: Pouring at too high of a temperature can cause cracking in the wax as it cools.
Time estimate: 30 minutes.
Recommended Products

Wonderful Scent: MAYJAM fragrance oils are highly concentrated and features a soothing and pleasant fragrance. The scents of fragrance oils are extremely rich, complex, and long-lasting.

Lucas, 24 ounce, slick mist speed wax, a Polymer paint gloss intensifier, can be used on other surfaces such as glass, chrome & vinyl decals, a traditional wax

Description - This luxurious fragrance is inspired by the signature scent of an iconic New York luxury hotel—known for its crystal-clear elegance, timeless sophistication and warm opulence. It features notes of sandalwood, cedar, jasmine, musk, ambergris, iris, orchid and bergamot.
Step 6: Pour the Wax into Containers
Editor’s Choice

CasaCulina Candle Making Pouring Pot, 32oz Stainless Steel Wax Melting P…

EricX Light Candle Tin 24 Piece, 8 oz, for Candle Making
Pro Tips
- Test Different Scents: Experiment with various fragrance combinations to find unique blends.
- Keep Notes: Document your recipes and results to refine your process over time.
- Allow for Cure Time: Let your candles cure for at least 48 hours to enhance scent throw.
- Use Quality Ingredients: Invest in high-quality wax and fragrance oils for better results.
- Monitor Conditions: Pay attention to room temperature and humidity, as they can affect the candle-making process.
Recommended Products

𝗠𝗮𝘅 𝗖𝗮𝗽𝗮𝗰𝗶𝘁𝘆: Weigh objects as heavy as 22 lb/10 kg and as light as 2 g in increments of 1 g

【Precise Weight】 10kg/22lb capacity, 1g/0.1oz resolution, Great for cooking, baking, weight loss, Meal Prep, Coffee, Package, Postage.
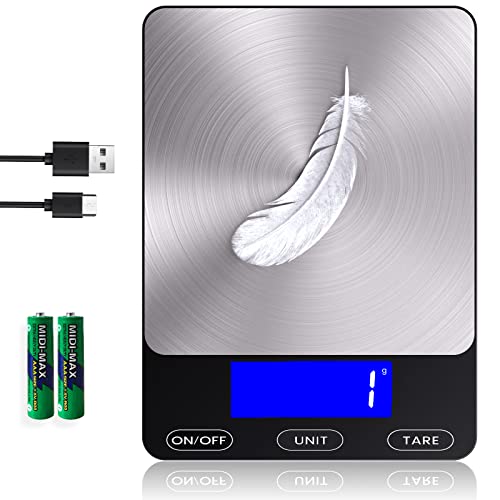
【Precise Weight Food Scale】Our Food Kitchen Scale equips four high-precision load sensors, waterproof Anti-collision glass weighing panel. Large measuring capacity with 1g precise graduation from 0.1oz/3g to 33 lbs/15kg.
Pro Tips
Editor’s Choice

PHATOIL 3.38FL.OZ Coconut & Vanilla Fragrance Oils for Aromatherapy, Ess…

Hearth & Harbor Organic Soy Candle Wax for Candle Making, 10 lbs Natural…
Common Mistakes to Avoid
Warning: Using too much fragrance oil can cause burning issues. Always stick to recommended loads.
Warning: Not checking the temperature of your wax can lead to poor adhesion and scent throw. Always use a thermometer.
Warning: Forgetting to mix fragrance oil thoroughly will result in uneven scent distribution. Stir for a few minutes.
Warning: Skipping the cure time means your candles may not smell as strong. Allow at least 48 hours.
Warning: Using containers that are not heat-resistant can lead to breakage. Always use appropriate materials.
Common Mistakes to Avoid
Editor’s Choice
Kitchen Craft Scale for Candle/Soap Making – Digital 1000g Weighing Mach…

MAQIHAN 1000pcs Sip Stirrers – Bamboo Coffee Stir Sticks Disposable Hot …

Digital Meat Food Thermometer for Candy Candle Milk BBQCooking Kitchen B…
Troubleshooting Section
Problem: Candle has no scent throw.
Solution: Ensure you’ve calculated the correct fragrance load and mixed thoroughly.
Problem: Candle wax is cracking.
Solution: Check pouring temperature and ensure it’s not too hot.
Problem: Candle burns too quickly.
Solution: Review wick size and type; a larger wick may be needed.
Problem: Fragrance oil separates from wax.
Solution: Ensure proper mixing and check the temperature when combining.
Problem: Candle tunneling occurs.
Solution: Ensure the wick size is appropriate for the candle diameter.
Troubleshooting Section
Editor’s Choice

10,000lb Precision Floor Scale Kit/Livestock Scale Kit with NTEP Indicator
Yacumama Digital Water Thermometer for Liquid, Candle, Instant Read with…
Variations/Alternative Methods
Consider these variations for different results:
- Use essential oils instead of fragrance oils for a more natural scent.
- Try layering scents by pouring multiple layers of different wax colors.
- Experiment with different wax types (e.g., coconut wax) for unique burning characteristics.
Each method has its pros and cons. Essential oils offer natural scents but may have lower throw compared to synthetic fragrances. Layering can create beautiful visual effects but requires more time and precision.
Variations/Alternative Methods
Editor’s Choice

Lagunamoon Essential Oils Aromatherapy Set – 6 Oils for Diffusers, Home …

EricX Light Candle Making Kit, 60pcs Candle Wicks, 60pcs Candle Wicks St…

Double Layer Rose Candle Mold; Resin Casting Silicone Mold for Home Deco…
FAQs
What if I don’t have a scale? You can use measuring cups, but a scale is more accurate for wax and fragrance ratios.
How long should I let my candles cure? Allow candles to cure for at least 48 hours for the best scent throw.
Is it safe to use fragrance oils in candles? Yes, as long as you use high-quality, candle-safe fragrance oils.
Can I mix different wax types? Mixing wax types is possible but may require adjustments in fragrance load.
What should I do if my candle burns unevenly? Check if the wick size is appropriate and adjust for your next batch.
FAQs
Editor’s Choice
SAEUYVB Candle Making Kit with Wax Melter, Candle Making Kit for Adults …
Fragrance Essential Oils Set – 14pcs, Aromatherapy Oils for Skin, Diffus…
Etekcity Food Kitchen Scale, Digital Grams and Ounces for Weight Loss, B…
Conclusion
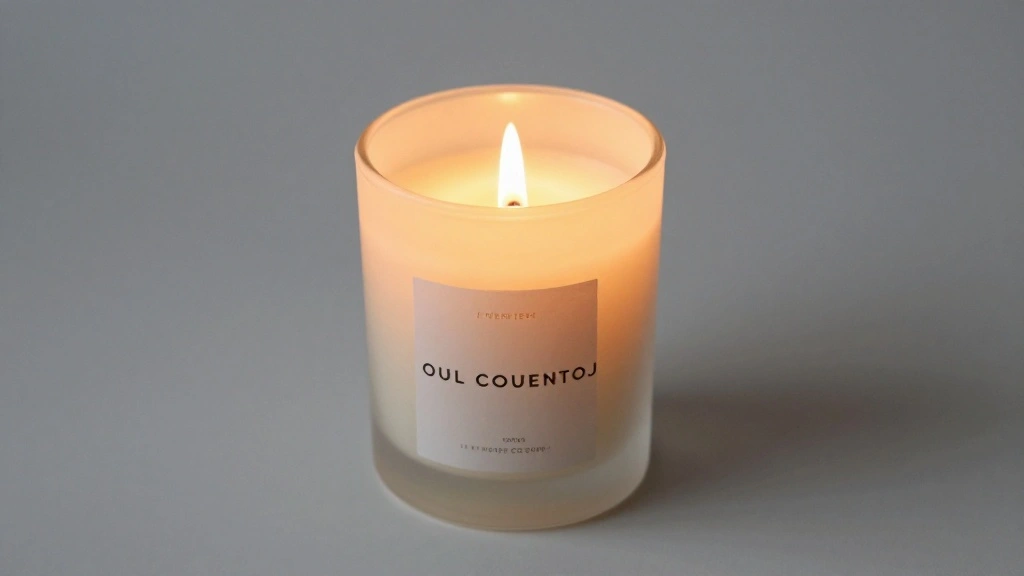
Congratulations on mastering the art of calculating fragrance loads for your homemade candles! You now have the skills to create beautifully aromatic candles that enhance your home. Remember to keep experimenting with different scents and techniques to find what works best for you.
For your next steps, consider exploring advanced candle-making techniques, or try making personalized candles as gifts. The possibilities are endless, and each candle can tell a story of its own. Happy candle-making!