
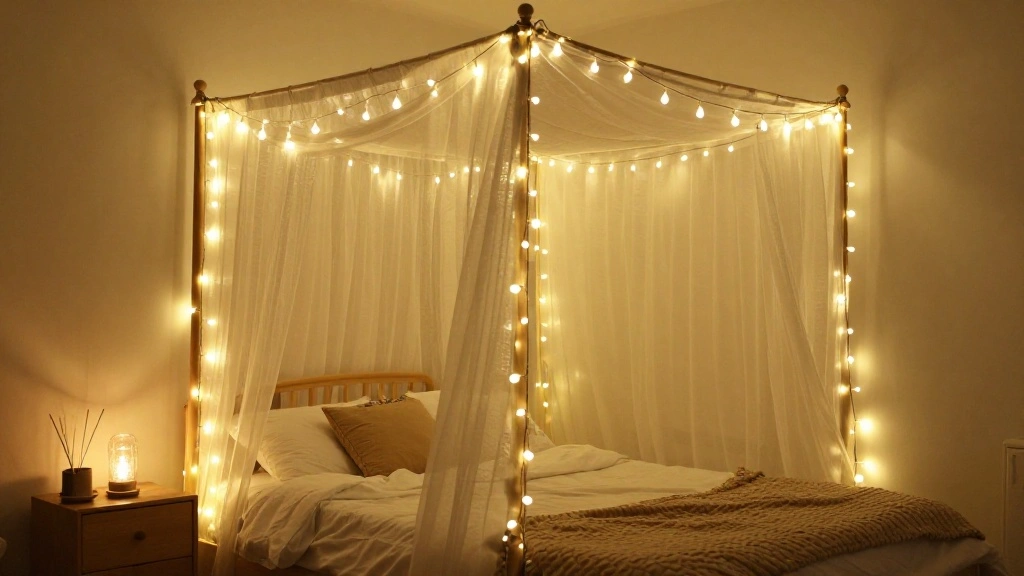
Are you looking to transform your bedroom into a cozy sanctuary? Drape string lights on your canopy bed to create a magical atmosphere that enhances your relaxation and comfort. This simple yet effective decor project can elevate your space, making it not just a room for sleep, but a personal retreat. By the end of this guide, you will know how to elegantly drape string lights across your canopy bed, adding a touch of whimsy and warmth.
In this guide, you will learn the step-by-step process of decorating your canopy bed with string lights, from selecting the right materials to achieving the perfect draping technique. You will also discover tips for safety and maximizing the aesthetic appeal of your lights. This project is designed for beginners and should take approximately 1-2 hours to complete, depending on your setup.
So, grab your string lights and let’s get started on turning your canopy bed into a dazzling focal point!
TL;DR Summary
- Gather materials like string lights, extension cords, and decorative clips.
- Plan the layout of the lights before installation.
- Secure the lights safely to avoid hazards.
- Adjust and test the lights to ensure they’re aesthetically pleasing.
Recommended Products

[USB Powered Fairy Lights] USB-powered design eliminates the hassle of battery replacements. Our 33ft fairy lights feature a high-compatibility USB plug, allowing you to power up with laptops, power banks, chargers, or USB sockets. 6.7 ft power cord and 100 warm white LED fairy lights are perfect for long-term decorations in dorms and bedrooms, balcony and patio, indoor and semi-outdoor, providing continuous, cost-effective starlight whenever you need it.

Bed Canopy with Star String Lights: Hanging the white canopy bed curtains with warm white star string lights in a girl's bedroom will create a warm and cozy atmosphere, promoting sweet sleep. Every bedroom can be transformed into a princess room

Star String Lights for Bedroom Decor: Features 100 warm white LED star fairy lights along a 33ft string. This longer length and higher star count let you wrap across bed canopies, vanity mirrors, or entire wall displays. The soft, cozy warm white glow creates a relaxing bedroom atmosphere perfect for winding down, bedtime stories, or daily ambient lighting
TL;DR Summary
Editor’s Choice

Brightown 300 LED Fairy Curtain Lights, 9.8ft x 9.8ft Warm White Curtain…


16/3 Short Extension Cord 6 FT, White Extension Cord Flexible & Durable,…

BIHRTC Pack of 25 Black Curtain Clips String Light Hangers Small Metal W…
Prerequisites/Materials Needed
- String lights: 1 set, preferably LED for safety and energy efficiency.
- Extension cord: 1, if the outlet is far from the bed.
- Decorative clips or hooks: 10-15, to secure the lights in place.
- Step ladder: 1, for reaching the top of the canopy.
- Scissors: 1 pair, for cutting any excess string if needed.
Recommended Products

9.8x9.8ft 300 LED Curtain Lights(unconnectable): The warm white LED fairy curtain lights feature 10 strings of lights, each with 30 LED bulbs. The 9.8x9.8 ft size is large enough to cover most windows and walls, creating a wider and more impressive lighting effect. The curtain lights are perfect for indoor and outdoor decorations, and will make your home shine! Please note that multiple sets of curtain lights cannot be connected.
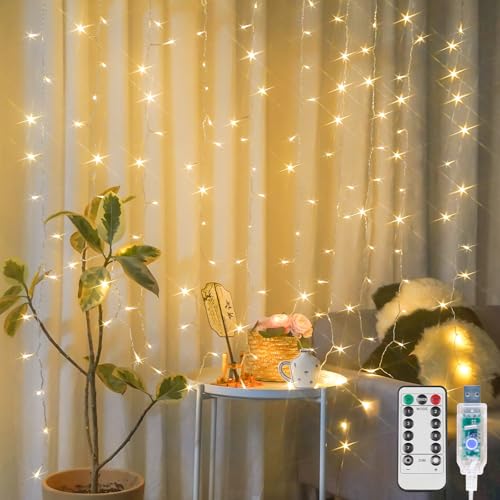
150LED 6.5x5FT Curtain Lights: Our fairy curtain lights features 10 transparent light strings and 150 warm white LED lights, making it easy to cover most windows. It projects a soft waterfall like light and shadow effect, perfect for adding warmth to any space and transforming ordinary spaces into enchanting fairylands.
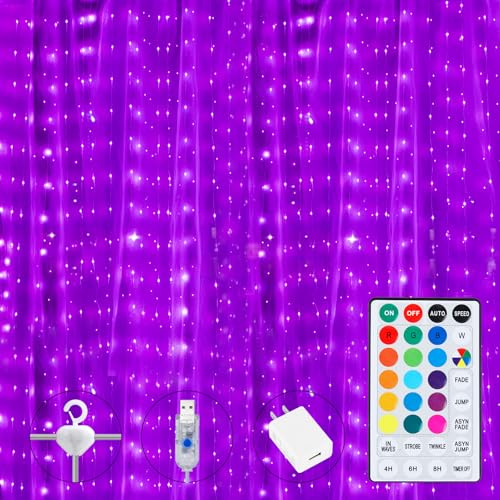
Multicolor - 16 wonderful colors and 3 colorful lights in one set, the curtain string lights are wonderful decor for indoor, outdoor, bedroom, window, dorm, party, wedding, birthday, Christmas.
Prerequisites/Materials Needed
Editor’s Choice

HBTower Folding Step Stool 9 Inch – Holds 600 lb, Non-Slip Surface & Car…

20 LED Photo Clip Starry Lights with Remote LED Fairy Twinkle Lights Hom…

JMEXSUSS USB Fairy Lights for Bedroom, 33ft 100 LED Twinkle Lights Plug …
Skill Level & Time Estimate
Skill Level: beginner
Total Time Estimate: 1-2 hours
Breakdown:
- Gathering materials: 15-20 minutes
- Planning the layout: 10 minutes
- Installing the lights: 30-60 minutes
- Adjusting and testing: 15-20 minutes
Recommended Products
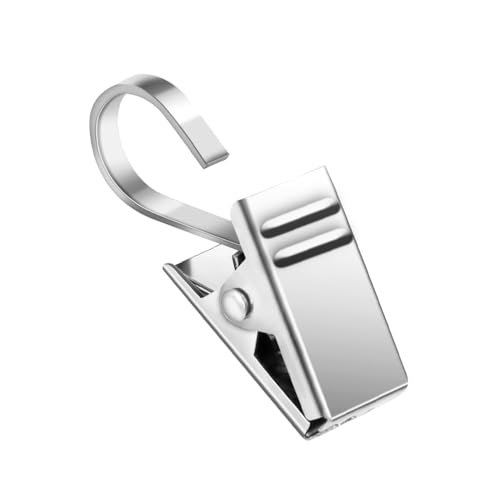
Stronger Clips With Hooks: Teenitor hanging clips are made from stainless steel, not easy to rust, strong and mighty, thickened and polished for long-lasting use. These clips are versatile and can be used for many different purposes

Military Quality: Small curtain hooks are made of 430 stainless steel with a thick black coating that adds a layer of protection to the hooks and clips, not easy to rust, can withstand serious winds and rain, indoor and outdoor use, can provide you with long-term service

These curtain clip hooks perfect for patio string lights, backyard pergolas, and humid bathroom environments without leaving rust stains on fabrics.
Skill Level & Time Estimate
Editor’s Choice

10Ft Extension Cord with Multiple Outlets, Flat Plug Surge Protector Pow…

Command Large Utility Hooks, 7-Hooks, 12-Strips, Organize Damage-Free
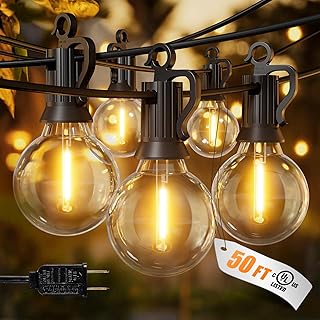
Brightown Outdoor String Lights, 50FT 25 G40 Bulbs Shatterproof Patio Li…
Step 1: Gather Your Materials
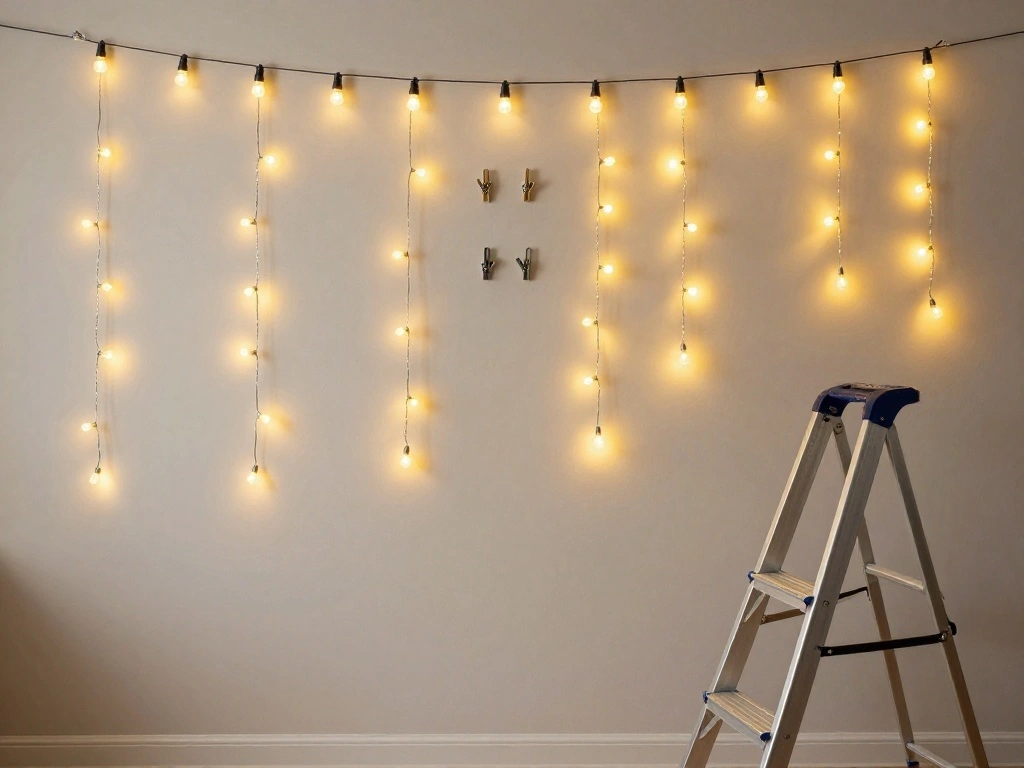
Begin by collecting all necessary materials. This ensures you have everything you need at hand, preventing interruptions during installation. Follow these sub-steps:
- Check your string lights to ensure they are in working condition.
- Gather your extension cord and decorative clips or hooks.
- Ensure you have a step ladder for easy access to the top of the canopy.
Pro Tip: Choose LED string lights as they are safer and consume less energy than traditional bulbs.
Why this matters: Having all materials ready streamlines the process and allows you to focus on the creative aspects of your project.
Time estimate: 15-20 minutes.
Recommended Products

【Simple Solution】: Add bright light to the place where no lamps, or you need overhead lighting, with on-off switch, you don’t have to plug and unplug to control bulb each time. This plug-in pendant light cord is also a nice socket for custom projects, make your room lighting more creative.

Convenient Switch: Total length 20ft, with an ON/OFF switch to control (4.9ft/1.5m long from the switch to the plug, it is very convenient for you to control the switch). Unlike other brands with the switch in the middle of the cord cable, which is too high to touch. Max power is 360 Wattage, working voltage range: 110V-250V.

🔹▶️Simple Solution: Add bright light to the place where no lamps, or you need overhead lighting, with on-off switch, you don’t have to plug and unplug to control bulb each time. This is also a nice socket for custom projects, make your room lighting more creative.
Step 1: Gather Your Materials
Editor’s Choice

Pink Step Ladder 3 Step Folding, Small Step Stool for Women to Reach Hig…

30 PCS Hooks for Outdoor String Lights, Heavy Duty Christmas Light Clips…

66Ft 200LED Pink Fairy Lights Plug in, Waterproof String Lights Outdoor …
Step 2: Plan Your Layout
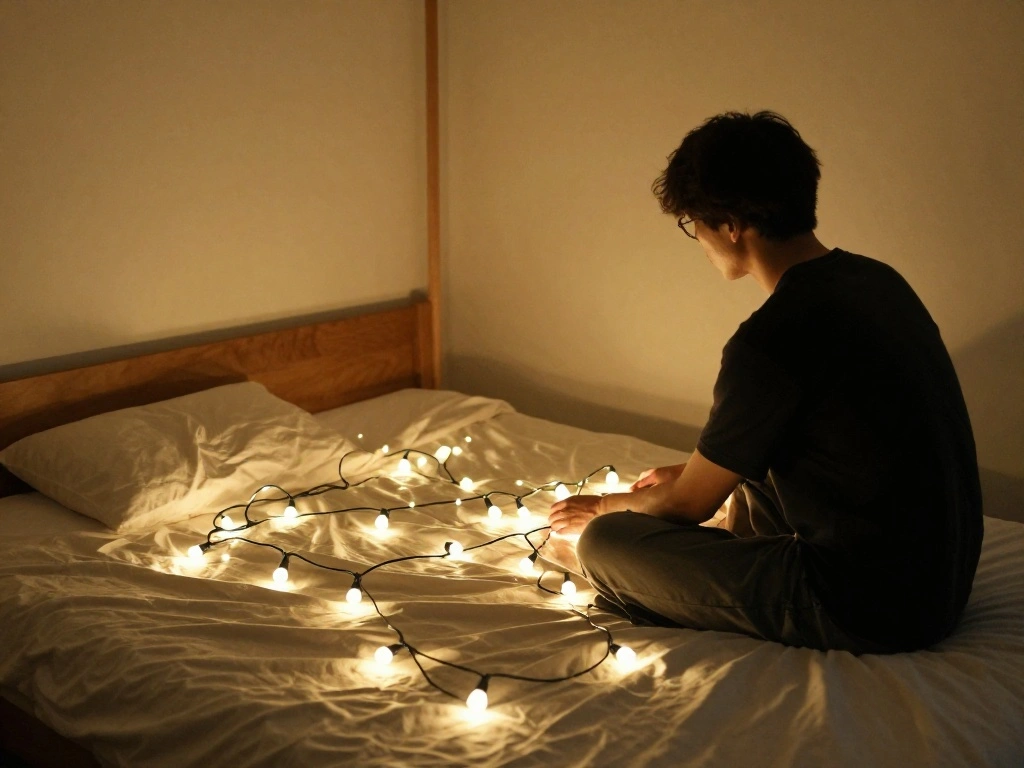
Before hanging the lights, visualize how you want them to drape over your canopy bed. A well-thought-out layout enhances the final look. Follow these steps:
- Stand back and observe your canopy bed from different angles.
- Decide if you want the lights to hang straight down, create patterns, or follow the edges of the canopy.
- Mark potential anchor points where you will attach the clips or hooks.
Warning: Avoid overcrowding the lights; this can create an overwhelming effect and may pose safety hazards.
Why this matters: Planning helps you visualize the end result, ensuring the lights complement your room’s aesthetic.
Time estimate: 10 minutes.
Recommended Products

FAIRY LIGHTS: Include 1x 33Ft/100LEDs multicolor fairy lights(USB PLUG EXCLUDED), 1x IR remote. Handy 44-key remote enable you to customize lighting easily. Light Colors: 20 colors. Voltage: 5V low voltage. Lighting up garden, bedroom, Christmas tree and patio with USB fairy lights. Make mundane fittings into glittering works.

Smart String Lights: 32.8Ft smart fairy lights with 66 LED acrylic star, feature frosted shell, which are non fragile and emit soft, non-dazzling light effect, create a more romantic,dreamy atmosphere in dark outdoor and indoor environ, perfect for decorating in kid's bedrooms, tents, garden,also perfect for Christmas Gift, Birthday Gift

Star String Lights for Bedroom Decor: Features 50 warm white LED star fairy lights along a 16.7ft string. This length and star count let you wrap across bed canopies, vanity mirrors, or entire wall displays. The soft, cozy warm white glow creates a relaxing bedroom atmosphere perfect for winding down, bedtime stories, or daily ambient lighting
Step 2: Plan Your Layout
Editor’s Choice
BIHRTC Pack of 25 Black Curtain Clips String Light Hangers Small Metal W…

Minetom Color Changing Fairy String Lights – 33 ft 100 LED USB Silver Wi…

Obrecis Bed Canopy with LED Star Lights, Princess Canopy Bed Curtain wit…
Step 3: Secure the Clips or Hooks
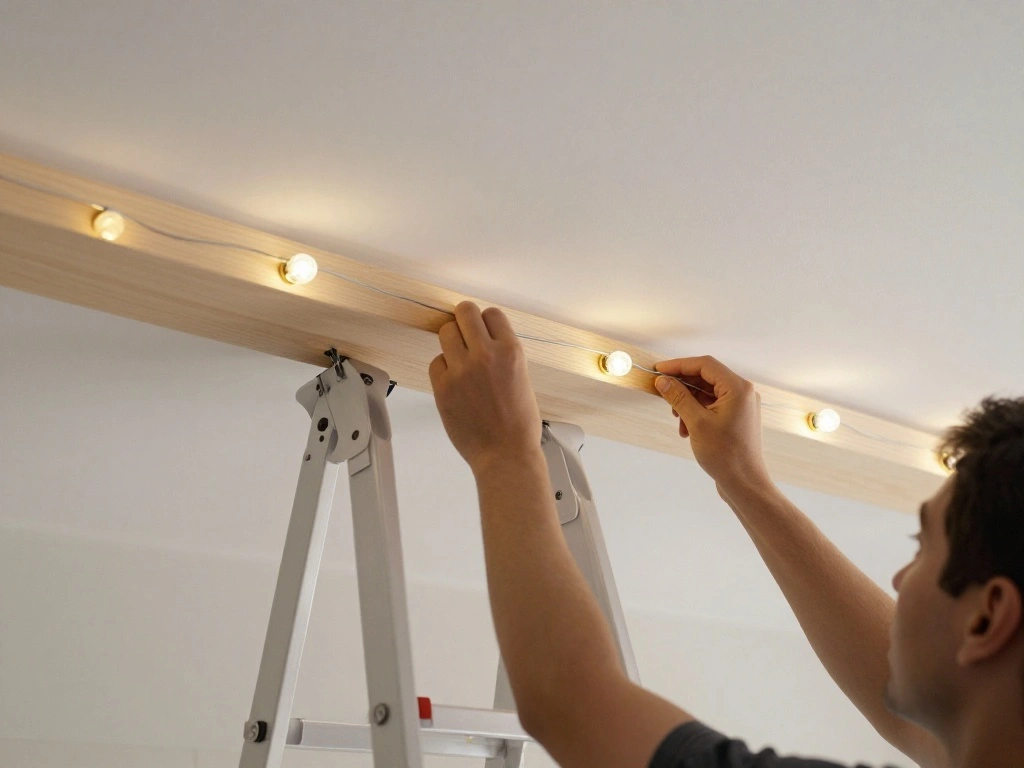
Now that you have a plan, it’s time to secure the clips or hooks to the canopy frame. This is crucial for ensuring that the lights stay in place. Follow these steps:
- Use the step ladder to reach the top of the canopy.
- Attach clips or hooks at your marked anchor points.
- Ensure they are firmly secured and can hold the weight of the lights.
Pro Tip: Space the clips evenly for a balanced look.
Why this matters: Properly securing the clips ensures that your lights won’t fall or sag, maintaining the visual integrity of your design.
Time estimate: 15-20 minutes.
Recommended Products

【100 LED Warm White Star String Lights】These star string lights feature 100 warm white LEDs with cute 1.18 in star-shaped bulbs, creating a soft and charming starry glow for daily decor and holiday displays. The 39FT total length includes 33FT lighted wire and a 6FT lead wire, with 4 in spacing between each star for a fuller, elegant hanging effect.

【50 LED Warm White Star String Lights】These star string lights feature 50 warm white LEDs with cute 1.18 in star-shaped bulbs, 19.7FT total length (16.4FT lighted wire and 3.3FT lead wire),creating a soft, dreamy starry glow for everyday room decor.

【2026 Specially Developed Battery Operated String Lights】Say goodbye to disposable batteries and embrace sustainability! Our rechargeable Type-C battery pack (cable included) powers the twinkle lights for 20+ hours, using a compact 500mAh rechargeable battery. When it’s time to recharge, detach the small, lipstick-sized battery pack—no need to move the entire string lights. This innovative rechargeable battery box offers a smarter, greener way to shine.
Step 3: Secure the Clips or Hooks
Editor’s Choice
20 LED Photo Clip Starry Lights with Remote LED Fairy Twinkle Lights Hom…

White Bed Canopy with 24 Colors Star Lights for Girls, 8 Corner Princess…

LEADALLWAY Lightweight 4 Step Closet Step Ladder for Women, White | Fold…
Step 4: Drape the String Lights
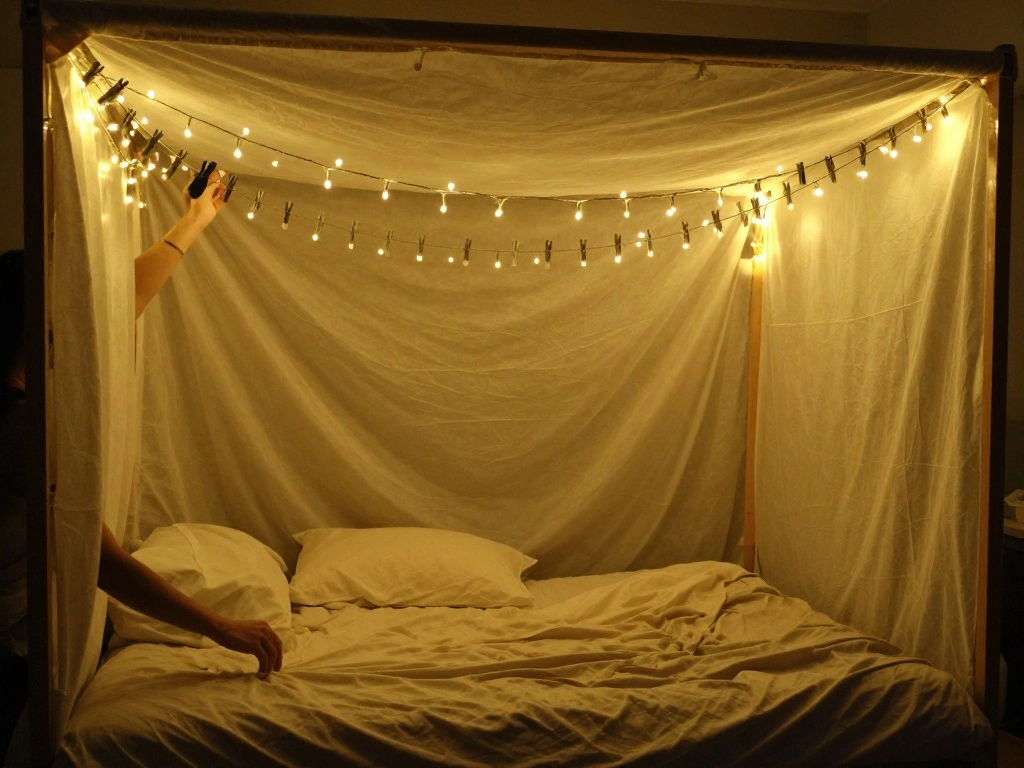
With the clips in place, it’s time to drape the string lights. This step is where your design comes to life. Follow these instructions:
- Start at one end of the canopy and carefully uncoil the string lights.
- Begin draping the lights over the clips, following your planned layout.
- Adjust the lights as you go to achieve the desired look.
Warning: Be gentle when handling the lights to avoid damaging the wiring.
Why this matters: Carefully draping the lights enhances the aesthetic and ensures that the final product is visually pleasing.
Time estimate: 20-30 minutes.
Recommended Products

8 MODES SETTINGS: This fairy curtain lights offer a range of adjustable settings to suit your desired atmosphere. Choose from combination, in waves, sequential, slogs, chasing/flash, slow fade, twinkle/flash, steady on. With these easy-to-adjust settings, you can effortlessly customize the lighting effects to match your desired atmosphere

4 Timing Modes: 2, 4, 6, 8 hours on, followed by 22, 20, 18, or 16 hours off—you can effortlessly set the perfect ambiance while saving energy; The 5V low voltage makes it safe to touch,and will not overheat for long use; Plus, these fairy lights covered in plastic, making them sturdier and longer-lasting than traditional thin copper wire lights
Step 4: Drape the String Lights
Editor’s Choice

Elegant Lace Princess 4 Corner Post Mosquito Net Romantic for Girls Wome…
Step 5: Secure the Lights
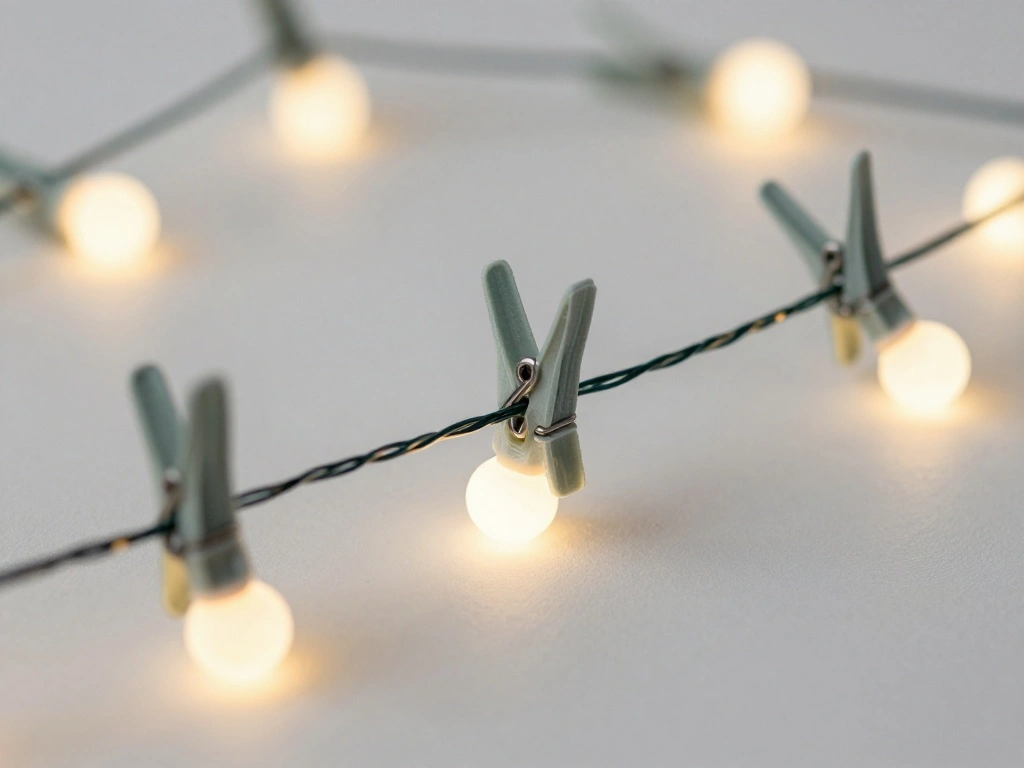
After draping, it’s essential to secure the lights to prevent any movement. This ensures a polished look. Follow these steps:
- Use additional clips or zip ties to secure loose sections of the lights.
- Check each section to ensure the lights are taut but not overly tight.
- Make adjustments as necessary to maintain the desired aesthetic.
Pro Tip: Use clear clips to keep the focus on the lights rather than the attachments.
Why this matters: Properly secured lights not only look better but also reduce the risk of damage or hazards.
Time estimate: 15 minutes.
Recommended Products

Package including: 25pcs stainless steel curtain clips with hooks,strong, very handy and practical little hangers with excellent quality!
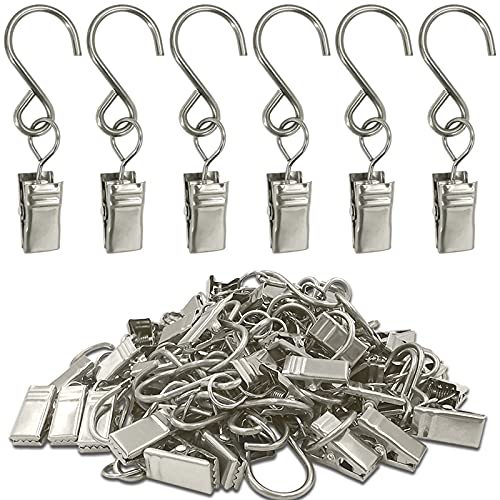
PACKAGE INCLUDES: 50 pack stainless steel Curtain Clip String Party Light Hanger clips Curtain hooks clips .
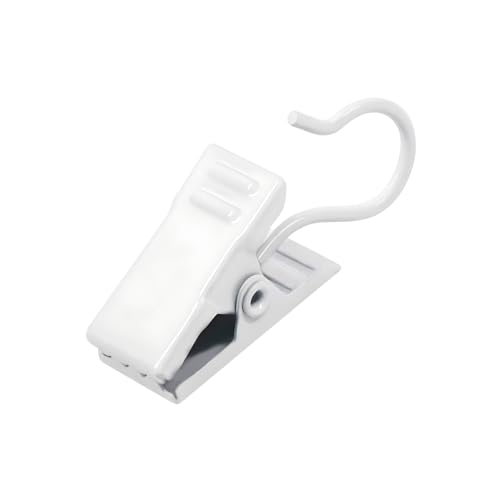
Strong and Stainless Alligator Clips - These steel clips have a strong spring that grips well. The end of the steel clip is serated to avoid stuff sliding out. Worked well to hang towels, cloth or lights. Durable and not easy to rust, can be applied for a long lasing time.
Step 5: Secure the Lights
Editor’s Choice

Ximimark 50 pcs Nylon Cable Zip Ties, Leaf Shape Zip Ties, Tensile Stren…
White Bed Canopy with 24 Colors Star Lights for Girls, 8 Corner Princess…

Wedding Hair Barrettes for Women Vintage Pink Flower Hair Clips Light De…
Step 6: Connect to Power
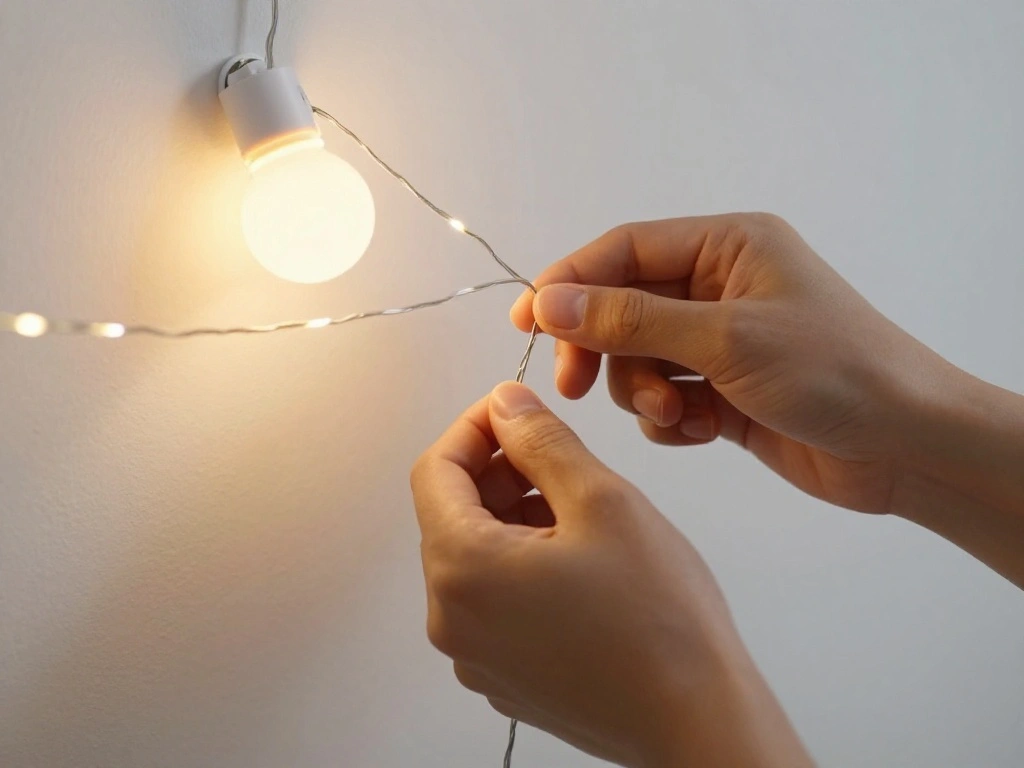
Now that your lights are draped and secured, it’s time to connect them to a power source. This is a crucial step for functionality. Follow these steps:
- Locate the nearest outlet to your canopy bed.
- If necessary, use an extension cord to bridge the gap.
- Carefully plug in the string lights, ensuring cords are not pinched or damaged.
Warning: Avoid running cords under rugs or furniture to prevent tripping hazards and potential damage.
Why this matters: Connecting the lights safely ensures you can enjoy your new setup without worrying about hazards.
Time estimate: 10 minutes.
Recommended Products

【Specification】 - 50FT, 5 bulbs,1 pack black outdoor extension cord safety cover included, 50 Watts, 4000 Lumen, 6500K cool daylight, 16 gauge wire.

【Hemp Rope Plug-in Pendant Light Cord】Enhance your home's lighting decor with our classic rural-style hemp rope plug-in pendant light. Designed to seamlessly blend with your family's style, it adds a touch of carefree attitude to any space. Rest assured, our hemp rope material has undergone rigorous testing for your peace of mind.

【DIY Your Lamp】1 Pack - 20 feet(6m) long electrical wire with On/Off switch and polarized plug, The light socket is standard e26 base. Each cord is supplied with 2 S hooks and 2 J hooks.
Step 6: Connect to Power
Editor’s Choice
Minetom Color Changing Fairy String Lights – 33 ft 100 LED USB Silver Wi…
![6Pack Cord Organizer, Chfeila Spring Cable Clips [1s Lock] Cable Managem...](https://m.media-amazon.com/images/I/81Rd3BLasBL._AC_UY218_.jpg)
6Pack Cord Organizer, Chfeila Spring Cable Clips [1s Lock] Cable Managem…

Cable Matters 2-Pack Computer to PDU Power Extension Cord – 6ft, IEC C14…
Step 7: Test the Lights
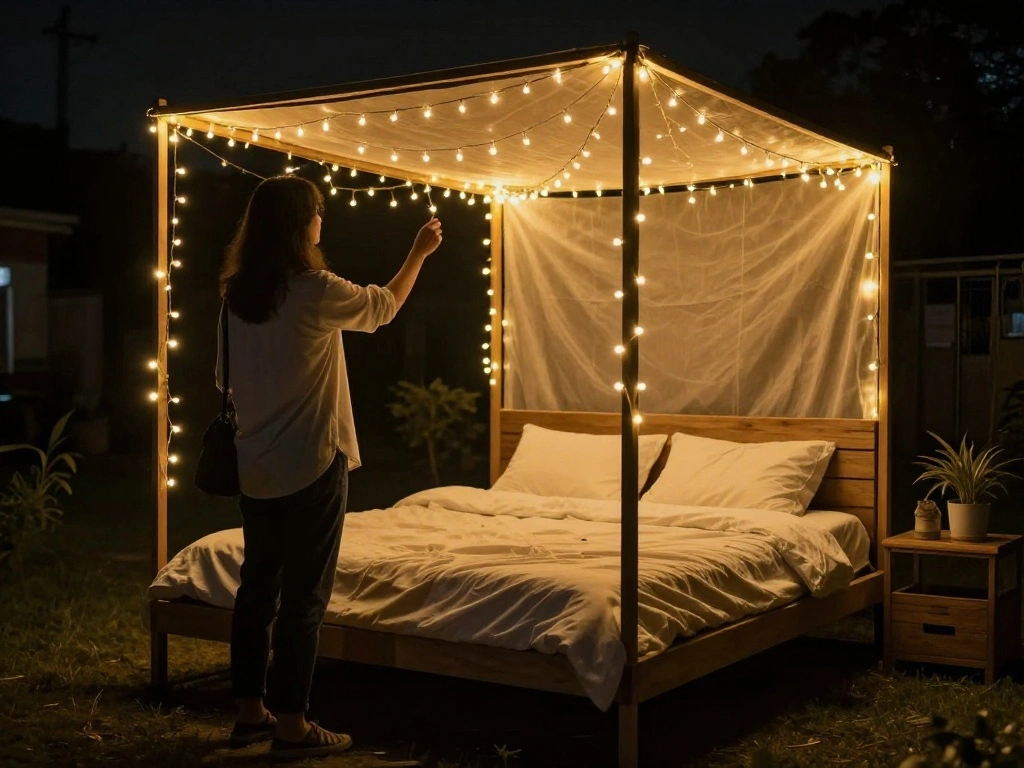
With everything set up, it’s time to test the string lights to ensure they function properly. This step ensures your hard work pays off. Follow these steps:
- Turn on the string lights and observe how they illuminate the canopy bed.
- Check for any dark spots or uneven lighting.
- Make adjustments to the draping or positioning as needed.
Pro Tip: Consider using a smart plug for added functionality, allowing you to control the lights remotely.
Why this matters: Testing ensures that your lighting is effective and enhances the overall ambiance of your room.
Time estimate: 10-15 minutes.
Recommended Products

【DIY Shaped Copper】Different from other curtain light, designed with flexible copper wire that you can bend it to any shape you like. This fairy light is ideal for your...
Step 7: Test the Lights
Editor’s Choice

Birthday Decorations Rose Lights – Wedding Decor Flower Fairy Lights – V…

DEWENWILS Outdoor Dimmer for String Lights, Remote Dimmer Switch, Weathe…

Amazon Smart Plug, Works with Alexa, Simple Setup, Endless Possibilities
Step 8: Final Adjustments
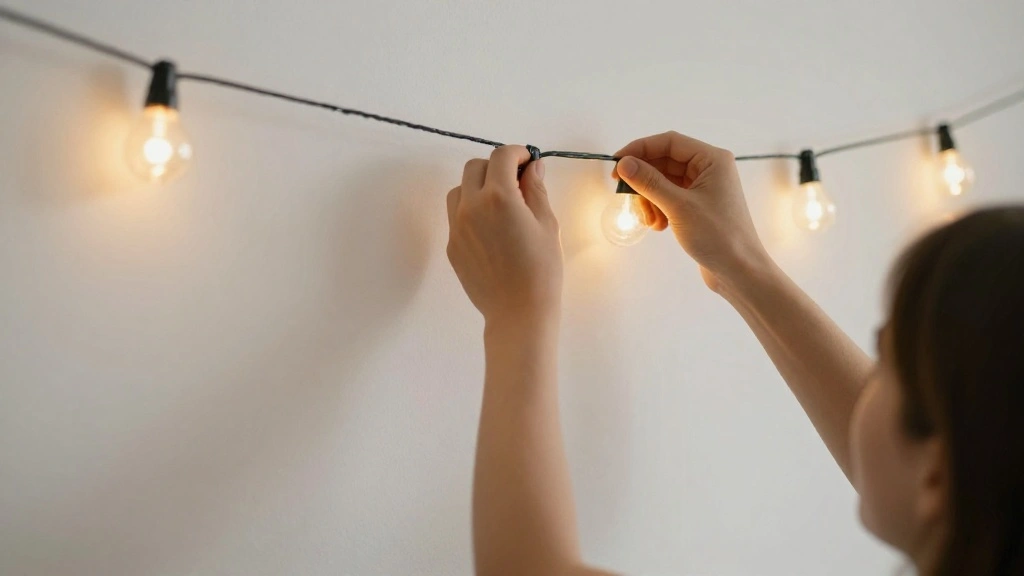
After testing, make any necessary final adjustments to achieve your desired look. This is the final touch to perfecting your setup. Follow these steps:
- Stand back and assess the overall appearance of the lights.
- Adjust any sections that may appear uneven or sagging.
- Secure any additional clips if needed for a polished finish.
Warning: Avoid over-tightening clips, as this may damage the lights.
Why this matters: Final adjustments ensure that your lighting looks intentional and beautifully enhances your canopy bed.
Time estimate: 15 minutes.
Step 8: Final Adjustments
Editor’s Choice
BIHRTC Pack of 25 Black Curtain Clips String Light Hangers Small Metal W…
Pro Tips
- Choose the Right Lights: Opt for battery-operated string lights to avoid dealing with cords if outlets are far away.
- Experiment with Patterns: Don’t hesitate to try different draping techniques to find what works best for your style.
- Layer with Fabrics: Consider adding sheer fabric alongside the lights for a more ethereal look.
- Use Dimmer Switches: Installing a dimmer switch can help create the perfect ambiance based on the time of day.
- Incorporate Other Decorations: Pair string lights with other decorative elements like flowers or photos for a cohesive look.
Pro Tips
Editor’s Choice

VISATOR Mosquito Net Bed Canopy for Girls,King Canopy Bed Curtains Queen…
Common Mistakes to Avoid
Warning: Avoid using non-LED lights, as they can get hot and pose a fire risk.
Warning: Don’t overcrowd the lights; this can create a cluttered appearance.
Warning: Ensure all clips are secure; loose lights can fall and cause injury or damage.
Warning: Avoid running cords under heavy furniture to prevent wear and tear.
Warning: Don’t forget to test the lights before finalizing your setup; it saves time on adjustments later.
Common Mistakes to Avoid
Editor’s Choice

KGROTE 60Pcs Christmas Light Clips, Hooks for Outdoor String Lights Clip…

Brightever LED Outdoor String Lights 100FT Patio Lights with 52 Shatterp…
Troubleshooting Section
Problem: Lights won’t turn on.
Solution: Check the power source and ensure the string lights are plugged in properly. If using batteries, replace them.
Problem: Uneven lighting.
Solution: Adjust the height of the draped lights, ensuring they are spaced evenly across the canopy.
Problem: Lights are too dim.
Solution: Replace with brighter LED lights or add more strands for a fuller effect.
Problem: Clips are falling off.
Solution: Use stronger adhesive or try different clips that fit better on your canopy.
Problem: Cords are visible.
Solution: Use fabric or decorative elements to cover the cords for a more polished appearance.
Troubleshooting Section
Editor’s Choice

JMEXSUSS Vine Lights for Bedroom, 200 LED Vines Fairy Lights, Artificial…

Minetom Star String Lights Battery Operated – 17 ft 50 LED Star Fairy St…
BIHRTC Pack of 25 Black Curtain Clips String Light Hangers Small Metal W…
Variations/Alternative Methods
1. Use Battery-Operated Lights: Ideal for areas without accessible outlets, battery-operated lights can be placed anywhere without the hassle of cords.
2. Fairy Lights in Jars: For a different look, place fairy lights in glass jars and hang them around the canopy for a whimsical touch.
3. Color-Changing Lights: Consider using color-changing string lights for a dynamic look that can match your mood or decor.
Variations/Alternative Methods
Editor’s Choice
Minetom Star String Lights Battery Operated – 17 ft 50 LED Star Fairy St…

Tulip Lamp Gifts for Women, Rechargeable Cordless Touch Night Light with…
FAQs
What if I don’t have enough outlets?
You can use an extension cord to reach the nearest outlet.
How long should I leave the lights on?
For safety, consider using a timer or smart plug to limit the hours they are on.
Is it safe to use string lights around fabric?
Yes, as long as you use LED lights that stay cool and avoid contact with flammable materials.
What if the lights are too bright?
Use a dimmer switch or select lights with adjustable brightness settings.
Can I leave the lights up year-round?
Yes, as long as they are safely installed and maintained.
FAQs
Editor’s Choice

16/3 Black Extension Cord 6 FT Indoor, Short Extension Cord for Laptops,…

TWINKVILLA Decorative String Lights Plug in with 10 Bulbs, Flower Garlan…
Amazon Smart Plug, Works with Alexa, Simple Setup, Endless Possibilities
Conclusion
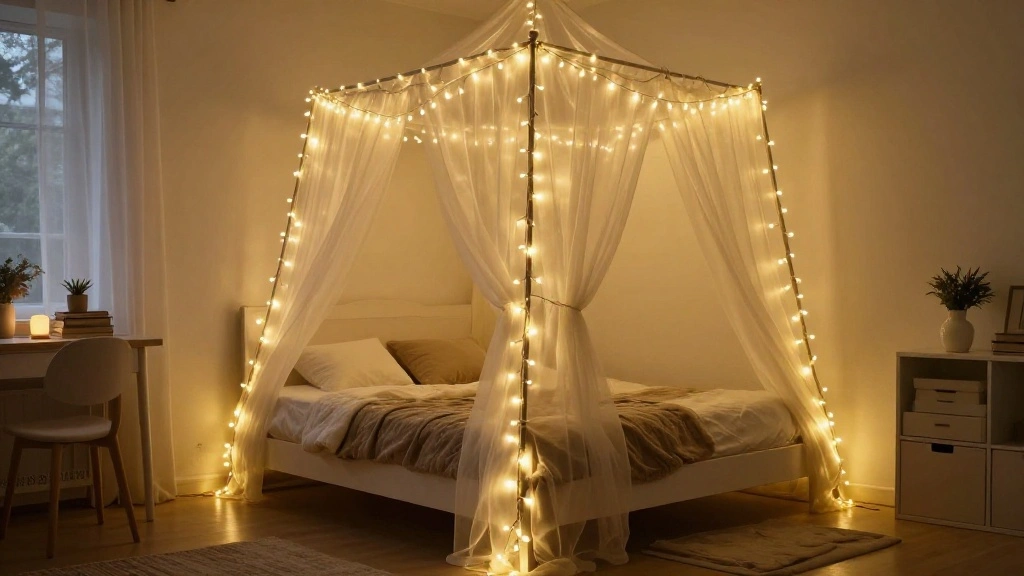
Congratulations! You’ve successfully draped string lights on your canopy bed, creating a stunning centerpiece in your bedroom. Now your space exudes warmth and charm, perfect for relaxation or entertaining guests.
As you enjoy your newly transformed room, consider exploring other decor projects or enhancements to further personalize your space. Whether adding cushions, artwork, or other lighting options, the possibilities are endless!
Now, go ahead and bask in the glow of your beautiful creation. Happy decorating!