
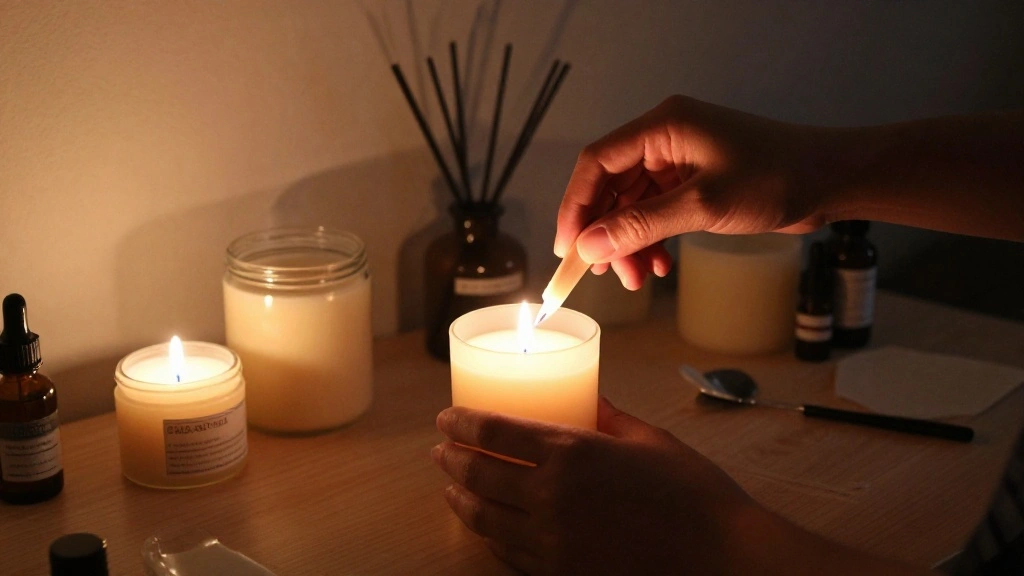
Are you tired of store-bought candles that burn quickly and have artificial scents? Do you want to create a calming atmosphere in your home with your own handmade candles? Making soy candles at home is not only a fun craft but also a rewarding experience that allows you to customize scents and styles to your liking. In this guide, you will learn how to make beautiful soy candles from scratch, giving you a unique way to express your creativity and fill your space with delightful aromas.
In this step-by-step guide, we’ll cover everything from gathering your materials to pouring the wax and adding your favorite scents. You’ll learn specific techniques that will ensure your candles burn evenly and smell fantastic. This project is perfect for beginners, and you can expect to spend around 2-3 hours to complete your first batch.
So, gather your materials and get ready to embark on a delightful journey of candle making!
TL;DR Summary
- Gather materials: soy wax, wicks, containers, and scents.
- Melt the wax, add fragrance, and attach the wick.
- Pour the wax into containers and let them cool.
- Enjoy your homemade soy candles!
Recommended Products
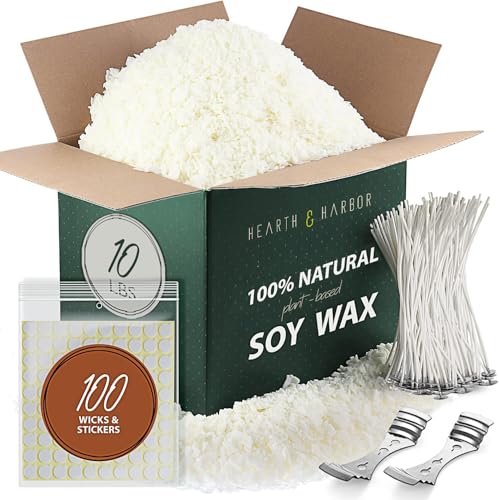
𝗔𝗹𝗹-𝗜𝗻-𝗢𝗻𝗲 𝗖𝗮𝗻𝗱𝗹𝗲 𝗠𝗮𝗸𝗶𝗻𝗴 𝗞𝗶𝘁 – Everything you need to dive into candle making! Includes 10 lbs soy wax for candle making, 100 cotton candle wicks, 100 wick stickers, and 2 wick holders. Wicks are 6" long and best for containers 2.75–3.15" in diameter.
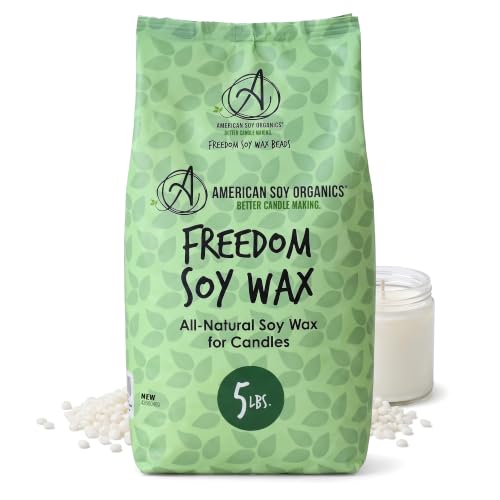
NATURAL SOY WAX BEADS, PARAFFIN-FREE: Freedom Soy Wax Beads are made from USA Midwest-grown soybeans, natural, paraffin-free, beeswax-free, and free of animal products. Soy burns cleaner and longer than paraffin, producing a safer candle your household can enjoy with confidence. Carefully sourced and proudly made in America for candlemakers who care about what goes into every pour and every burn.

Enjoy the time: DIY candles can enhance people's feelings, and friends and family together to make soy candles, enjoy a happy leisurely time, warm and interesting
TL;DR Summary
Editor’s Choice
![VINEVIDA [Set of 8] Clean Scents for Candle Making, Made in USA Candle F...](https://m.media-amazon.com/images/I/71MmlWrfZ9L._AC_UL320_.jpg)
VINEVIDA [Set of 8] Clean Scents for Candle Making, Made in USA Candle F…


EricX Light 100 Piece Natural Candle Wick, Low Smoke 6″ Pre-Waxed & 100%…

American Soy Organics Freedom Soy Wax Beads for Candle Making – Natural …
Prerequisites/Materials Needed
- Soy Wax: 1 lb
- Candle Wicks: 4-6 wicks (depending on the number of candles)
- Candle Containers: 4-6 jars (about 8 oz each)
- Fragrance Oils: 1-2 oz (your choice of scent)
- Double Boiler: for melting wax
- Thermometer: to monitor wax temperature
- Stirring Spoon: for mixing
- Wick Holder: to keep wicks centered
Recommended Products

Wicks Dimension - 6 inch length.Base dia:12.5mm.
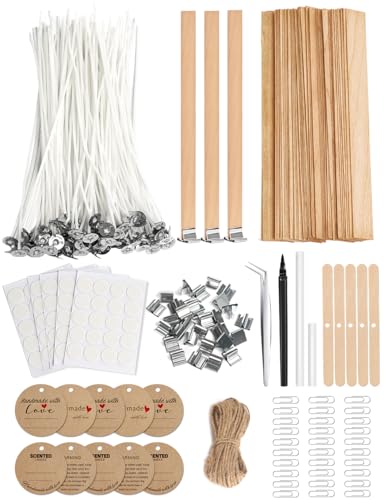
Ultimate Candle Making Kit - Includes 100 pre-waxed cotton wicks (4"), 30 wooden wicks (5"), 5 wick holders, 30 metal bases, 30 paper clips, 100 wick stickers, 2 wick placing tube, 10 candle tags, 1 pen, 6.6ft string & 1 tweezers. This complete kit provides everything required to begin crafting beautiful candles—perfect for both beginners and experienced makers. Includes high-quality materials and essential tools for a seamless candle-making experience.

Value Pack: 720 pieces candle wick stickers in one pack enough for a long time to use and candle making
Prerequisites/Materials Needed
Editor’s Choice

Hearth & Harbor Organic Soy Candle Wax for Candle Making, 10 lbs Natural…

Stainless Steel Double Boiler Pot for Melting Chocolate, Candy and Candl…
EricX Light 100 Piece Natural Candle Wick, Low Smoke 6″ Pre-Waxed & 100%…
Skill Level & Time Estimate
Skill Level: Beginner
Total Time Estimate: 2-3 hours
Here’s a breakdown of the time:
- Gather Materials: 15-30 minutes
- Melting Wax: 30-45 minutes
- Mixing and Pouring: 30 minutes
- Cooling: 1-2 hours (can be done while you clean up)
Recommended Products


100% NATURAL COCONUT SOY WAX BEADS, PARAFFIN-FREE: Freedom Coconut Soy Wax Beads are made from a blend of USA Midwest-grown soybeans and coconut wax, 100% natural, paraffin-free, beeswax-free, and free of animal products. This blend burns cleaner and longer than paraffin, producing a safer candle your household can enjoy with confidence. Carefully sourced and proudly made in America for candlemakers who care about what goes into every pour and every burn.

Skill Level & Time Estimate
Editor’s Choice
EricX Light 100 Piece Natural Candle Wick, Low Smoke 6″ Pre-Waxed & 100%…
VINEVIDA [Set of 8] Clean Scents for Candle Making, Made in USA Candle F…
Hearth & Harbor Organic Soy Candle Wax for Candle Making, 10 lbs Natural…
Step 1: Gather Your Materials
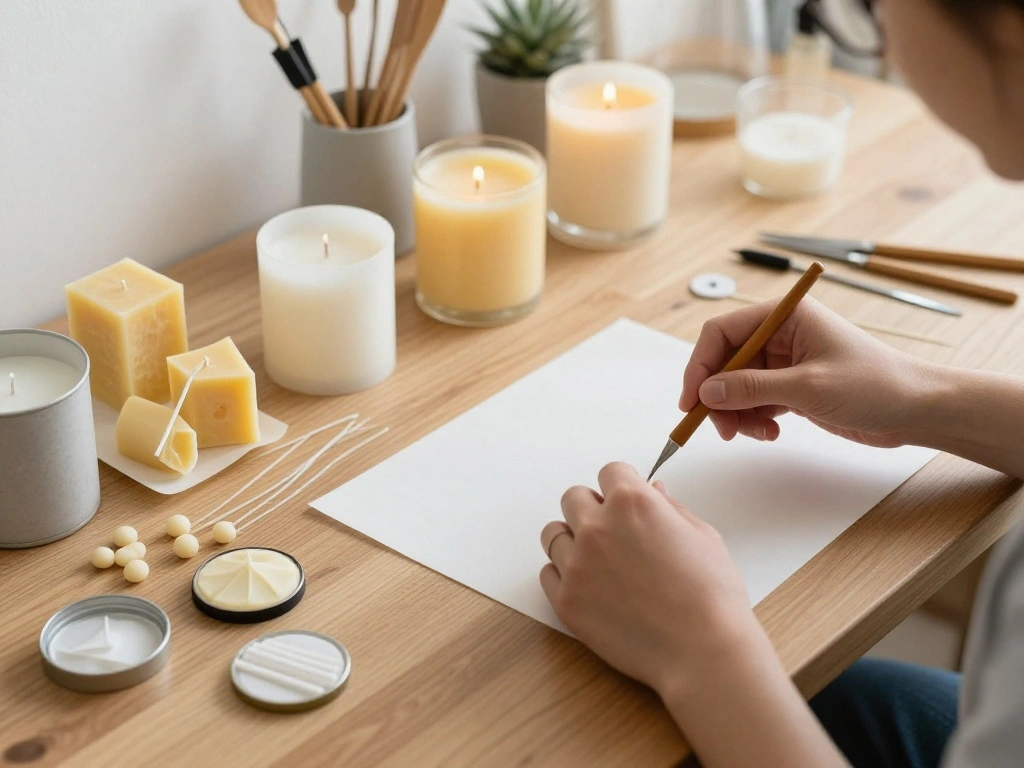
Start by collecting all your materials in one place. Having everything at hand will make the process smoother and more enjoyable. Pro Tip: Organize your workspace to avoid any last-minute searching for tools.
- Lay out your soy wax, wicks, containers, and fragrance oils.
- Set up the double boiler on your stove or a heat-safe surface.
- Prepare a stirring spoon and a thermometer for checking wax temperature.
Why this matters: Preparing your workspace minimizes distractions and helps you focus on the candle-making process.
Time estimate: 15-30 minutes.
Recommended Products

Oil Uses: Designed for but not limited to candle scents for candle making (especially works well with soy wax candle making), diffuser oil scents, freshie scents, oils for laundry, soap making supplies, slime scents, oils for skin, perfume oil, bath and body formulations, bath bombs, and many more essential DIYs.

OIL USES: Designed for but not limited to candle scents for candle making (especially works well with soy wax candle making), diffuser oil scents, freshie scents, oils for laundry, soap making supplies, slime scents, oils for skin, perfume oil, bath and body formulations, bath bombs, and many more essential DIYs.

Fragrance Profile: Juicy tropical fruits, ripened peach, delicious pear, combined with Rose, Violet, Waterlily, Cyclamen, featured in base notes of Sandalwood, Green Foliage, and Rosewood
Step 1: Gather Your Materials
Editor’s Choice

American Soy Organics Freedom Soy Wax Beads for Candle Making – Natural …
Step 2: Measure the Soy Wax
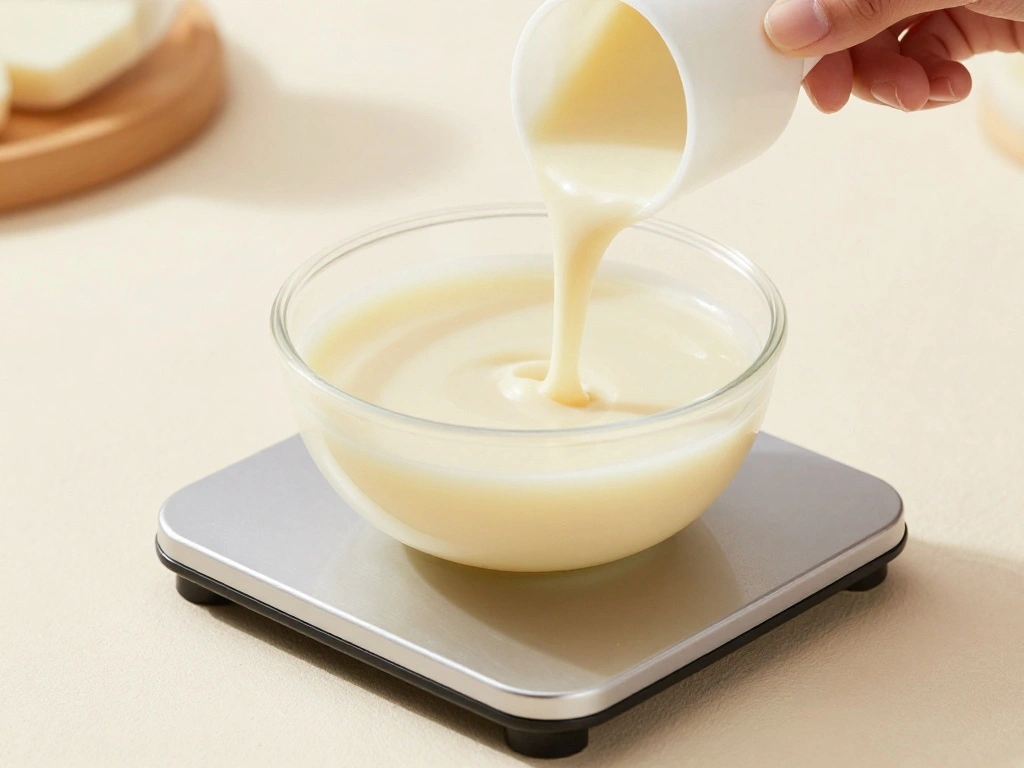
Using a kitchen scale, measure out the amount of soy wax you need based on the size of your containers. A general rule of thumb is to use 1 pound of wax for every 4-6 jars of 8 oz. Pro Tip: It’s better to have a little extra wax than not enough, as you can always melt down leftover wax for future candles.
- Place your container on the scale and zero it out.
- Add the soy wax until you reach the desired weight.
Why this matters: Accurate measurements ensure that your candles burn evenly and last longer.
Time estimate: 5-10 minutes.
Recommended Products
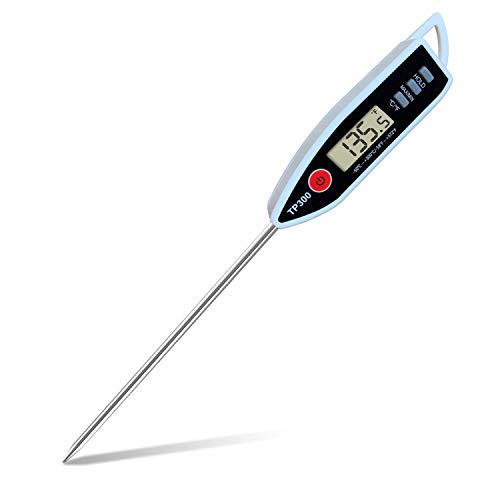
HOLD button keeps the teperature reading until it is pressed again; ℃/℉ button makes Celsius/Fahrenheit switchable; Power button function also with power-off feature after 10 minutes when there is no other operations
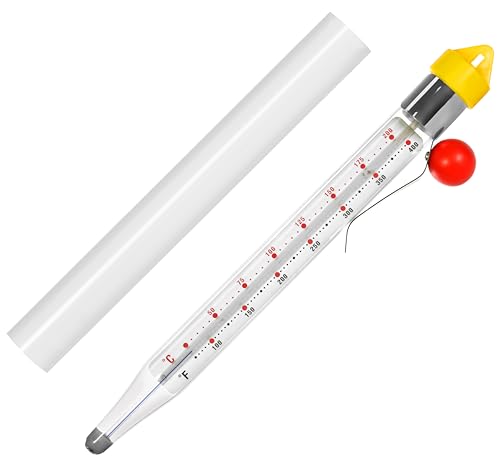
🌈 ESSENTIAL CANDLE MAKING TOOL: For candles that look great, and smell heavenly, the VViViD wax thermometer lets you measure the temperature of the wax to prevent overheating / scorching it, ensure the wax is below the fragrance oil’s flash-point temperature, and make sure it’s at the correct temperature to pour.
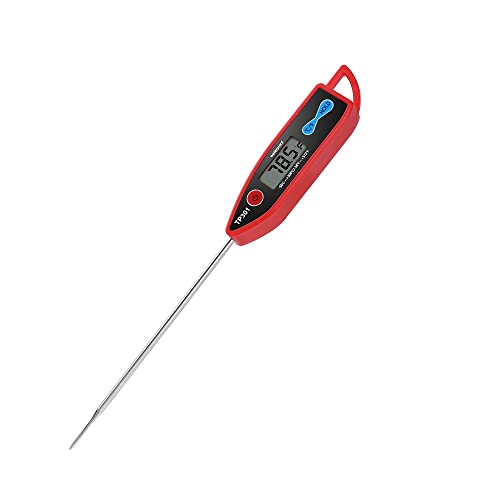
WATERPROOF - IPX7 waterproof. No worry on the rinse or wash under running water after measuring, easy clean and keep your digital food thermometer always in good shape!
Step 2: Measure the Soy Wax
Editor’s Choice

CasaCulina Candle Making Pouring Pot, 32oz Stainless Steel Wax Melting P…
Step 3: Melt the Wax
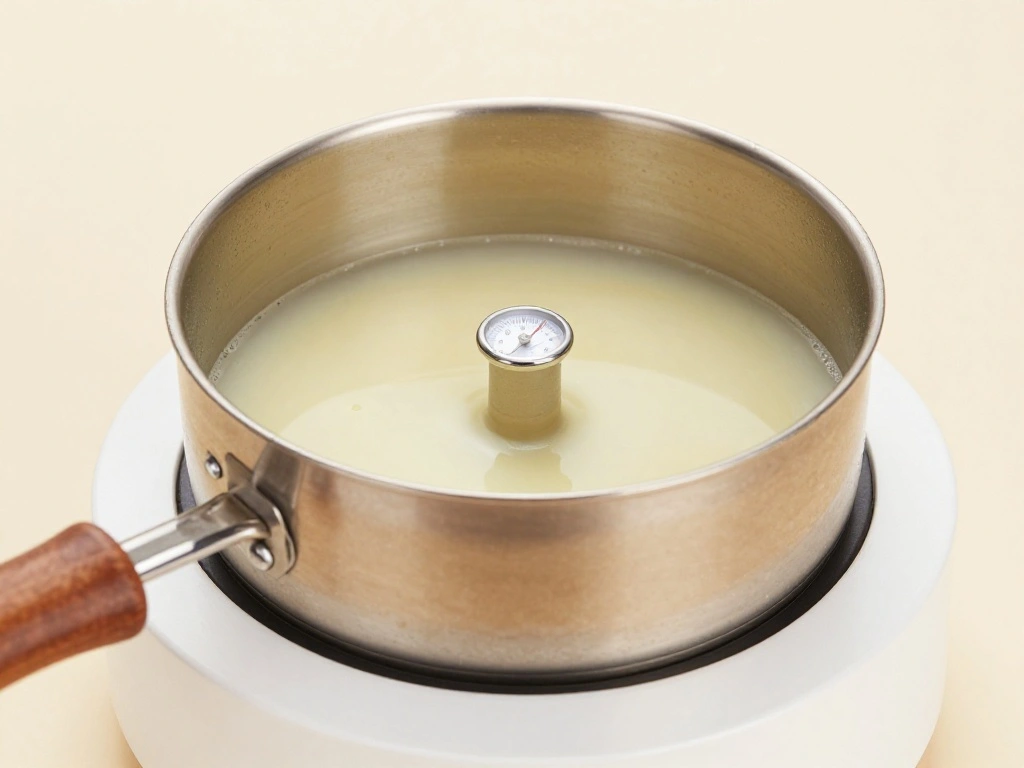
Now, it’s time to melt your soy wax. Using a double boiler, gently heat the wax until it reaches around 170°F. Pro Tip: Stir the wax occasionally to help it melt evenly.
- Fill the bottom pot of the double boiler with water and place it on the stove.
- Put the measured wax into the top pot and heat it slowly.
- Use a thermometer to monitor the temperature.
Why this matters: Melting the wax properly prevents it from burning and ensures a smooth pour.
Time estimate: 20-30 minutes.
Recommended Products

𝗔𝗹𝗹-𝗜𝗻-𝗢𝗻𝗲 𝗖𝗮𝗻𝗱𝗹𝗲 𝗠𝗮𝗸𝗶𝗻𝗴 𝗞𝗶𝘁 – Everything you need to dive into candle making! Includes 10 lbs soy wax for candle making, 100 cotton candle wicks, 100 wick stickers, and 2 wick holders. Wicks are 6" long and best for containers 2.75–3.15" in diameter.

16 Vibrant Candle Dyes for Candle Making: set of 16 individually wrapped candle dye chips for soy, paraffin, beeswax, palm, and more. Melt smoothly and blend evenly. Ideal for beginners and experienced candle makers.
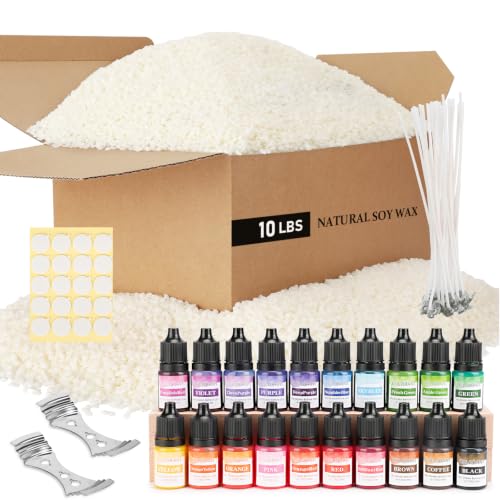
Complete Candle Making Kit: This candle making kit includes basic necessary candle making supplies to start your DIY candle making: 1 x 10 pound bag of natural wax granules, 20 bottles of vibrant liquid dye (5 milliliters per bottle), 20 pure cotton candle wicks (5.9 in), 20 candle wick stickers, and 2 centering devices. No need to purchase additional accessories for beginners and experienced candle makers, saving you time and effort in preparing materials
Step 3: Melt the Wax
Editor’s Choice

Double Boiler Pot Set, Stainless Steel Melting Pot with Silicone Spatula…
American Soy Organics Freedom Soy Wax Beads for Candle Making – Natural …
Step 4: Add Fragrance Oils
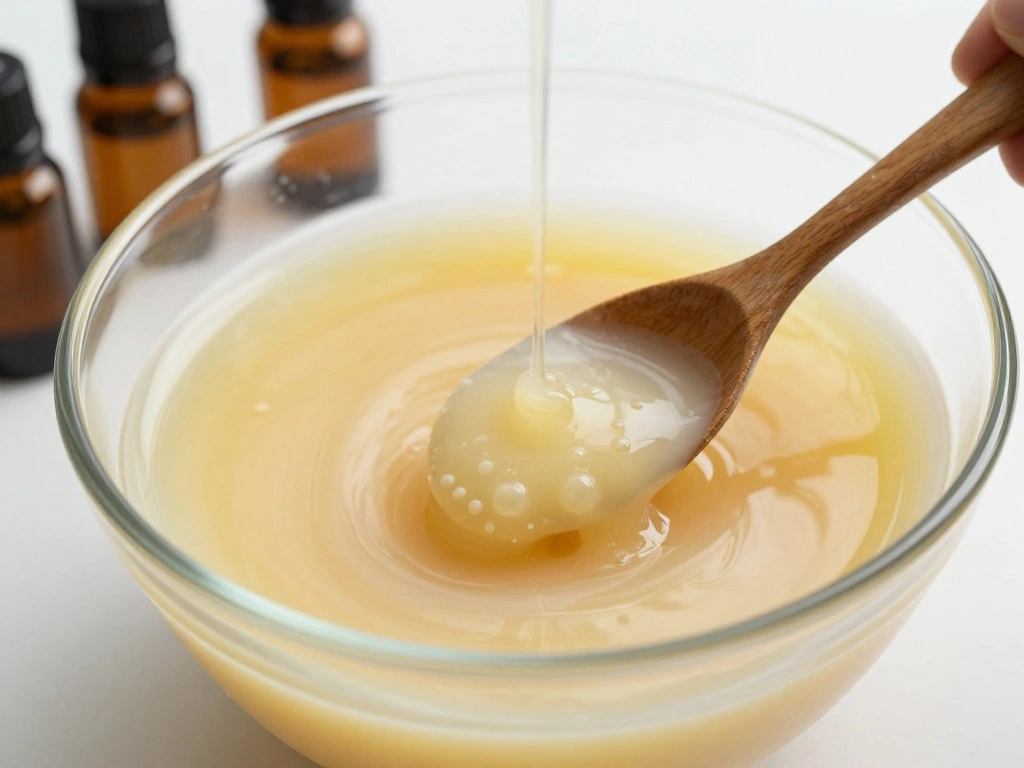
Once your wax has melted, remove it from heat and let it cool briefly before adding fragrance oils. The ideal temperature is around 160°F. Pro Tip: Add 1 oz of fragrance oil for every pound of wax for a good scent throw.
- Carefully measure your fragrance oils.
- Pour the oils into the melted wax.
- Stir the mixture for 2-3 minutes to ensure it’s thoroughly blended.
Why this matters: Properly incorporating fragrance oils enhances the scent throw of your candles.
Time estimate: 10-15 minutes.
Recommended Products

value pack:There are 3 different sizes of 4 "+6"+8 ", each with 100 pieces, including 10pcs of wooden wick fixators and 100pcs of double-sided tape, enough for your use

SIZE AND QUANTITY: Candle wick base approximately 1/2 inch or 12.5mm in diameter. These candle wick sustainer tabs are perfect for tealight and small enough to fit most candle jars. The hole is measured with 2.9mm which is suitable for most size of candle wicks. 100 pcs candle wick tabs in a pack.

SIZE AND QUANTITY: Candle wick approximately 8 inch or 20 cm in length, base diameter 12mm Perfect for candle making especially for making a wide variety of candle sizes, just cut the cotton wick to get the desired length. Pack includes 150pcs candle wick.
Step 4: Add Fragrance Oils
Editor’s Choice

Digital Meat Food Thermometer for Candy Candle Milk BBQCooking Kitchen B…

Bakery Essential Oils Set,Premium Fragrance Oil for Diffusers, Scents fo…
Step 5: Prepare the Wick
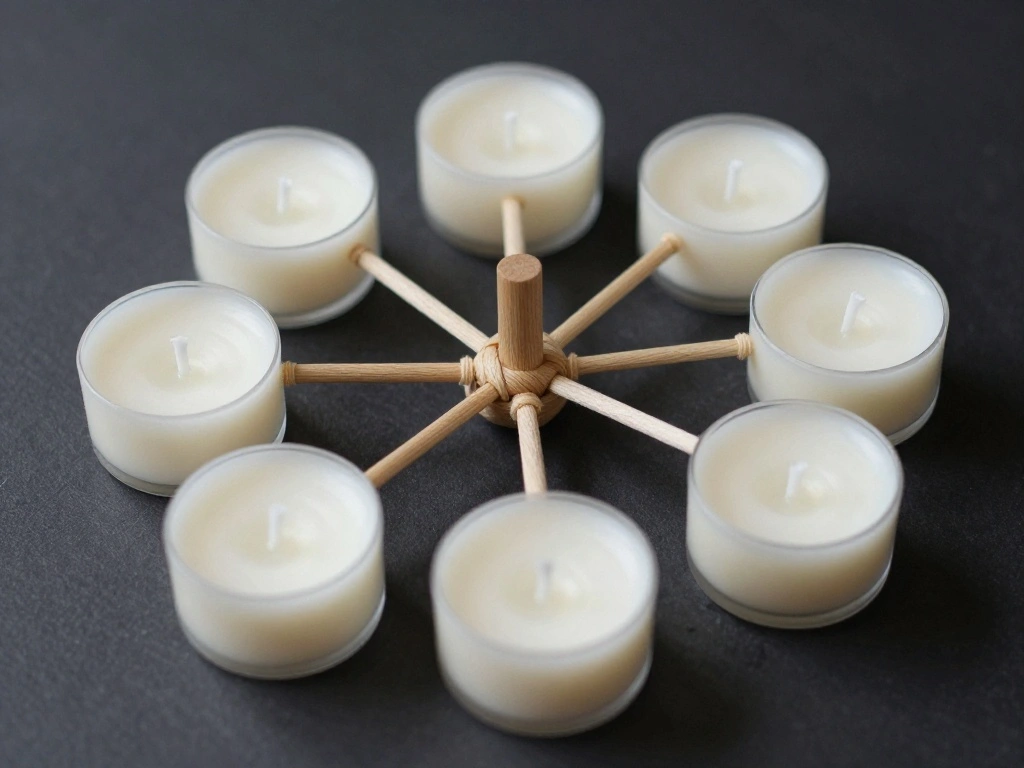
While the wax cools, prepare your wicks. Secure the wick at the bottom of each container using a bit of melted wax or a wick sticker. Warning: Ensure the wick is centered for an even burn.
- Dip the bottom of the wick in melted wax.
- Press it down into the center of the container.
- Use a wick holder to keep it upright while pouring.
Why this matters: A properly secured wick prevents it from shifting when you pour the wax.
Time estimate: 10-15 minutes.
Recommended Products
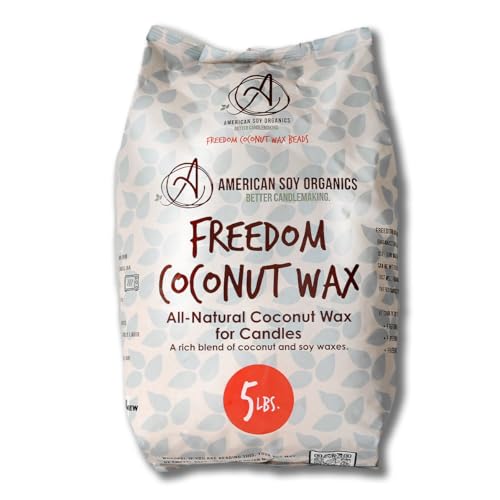
100% NATURAL COCONUT SOY WAX BEADS, PARAFFIN-FREE: Freedom Coconut Soy Wax Beads are made from a blend of USA Midwest-grown soybeans and coconut wax, 100% natural, paraffin-free, beeswax-free, and free of animal products. This blend burns cleaner and longer than paraffin, producing a safer candle your household can enjoy with confidence. Carefully sourced and proudly made in America for candlemakers who care about what goes into every pour and every burn.

NATURAL SOY WAX BEADS - Best candle making supplies make the best soy candles! These safe, ethically produced, microwavable and paraffin-free soy wax beads are smooth and creamy in appearance, perfect for container candles, tealights and melts.

PACKING: Including 2 pound soy wax, 100% natural and premium quality
Step 5: Prepare the Wick
Editor’s Choice

720PCS Candle Wicks for Candle Making, Candle Wick Stickers, Heat Resist…

BOOWAN NICOLE Universal Wick Centering Setter Tool for Candle Making – C…
Step 6: Pour the Wax
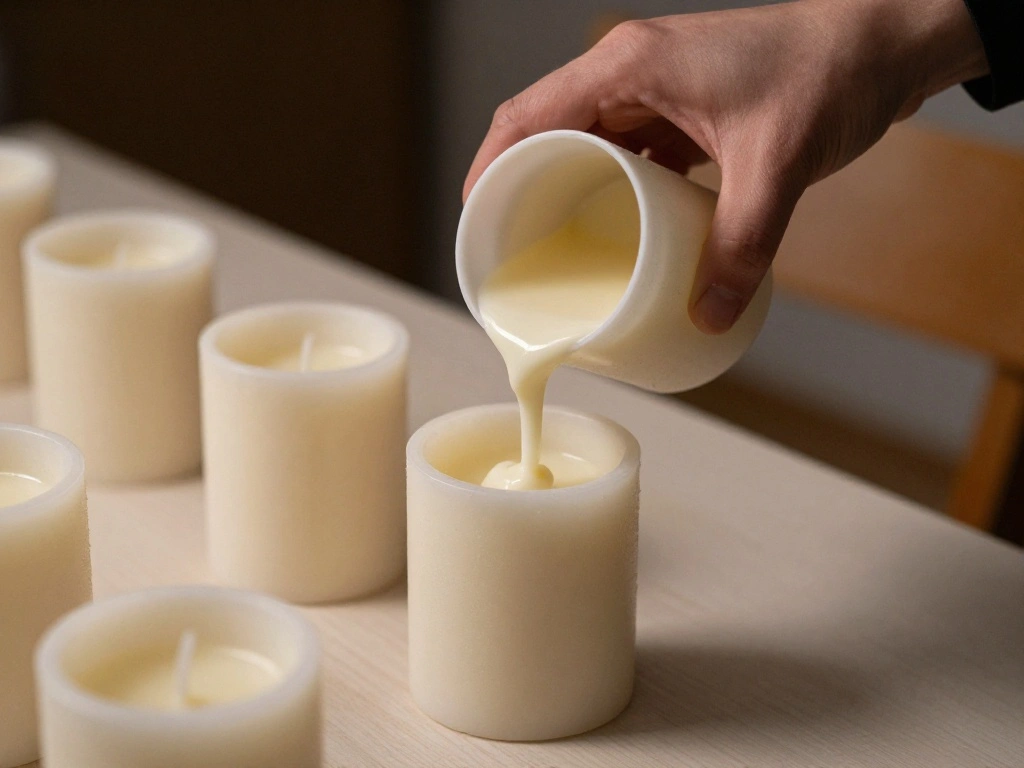
Now, it’s time to pour the wax into your prepared containers. Ensure the wax is around 140°F for the best results. Pro Tip: Pour slowly to avoid air bubbles.
- Carefully pour the wax into each container, leaving about 1/2 inch from the top.
- Adjust the wick if necessary to keep it centered.
Why this matters: Pouring at the right temperature helps prevent shrinking and cracking as the candle sets.
Time estimate: 15-20 minutes.
Recommended Products


Oil Uses: Designed for but not limited to candle scents for candle making (especially works well with soy wax candle making), diffuser oil scents, freshie scents, oils for laundry, soap making supplies, slime scents, oils for skin, perfume oil, bath and body formulations, bath bombs, and many more essential DIYs.

OIL USES: Designed for but not limited to candle scents for candle making (especially works well with soy wax candle making), diffuser oil scents, freshie scents, oils for laundry, soap making supplies, slime scents, oils for skin, perfume oil, bath and body formulations, bath bombs, and many more essential DIYs.
Step 6: Pour the Wax
Editor’s Choice
Hearth & Harbor Organic Soy Candle Wax for Candle Making, 10 lbs Natural…

3 Wick Candle Holder, Golden Shell Design Candle Jar Holder for 4-Inch D…
Digital Meat Food Thermometer for Candy Candle Milk BBQCooking Kitchen B…
Step 7: Allow Candles to Cool
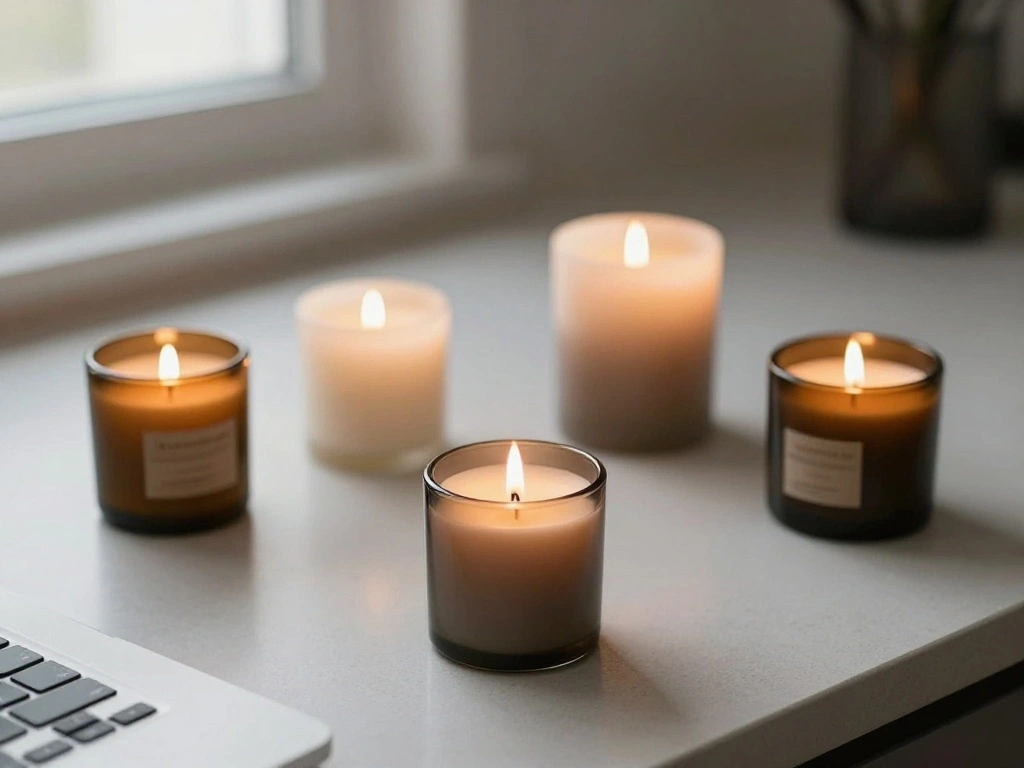
After pouring, let your candles cool completely. This may take 1-2 hours. Warning: Do not move the candles during this time, as it may cause uneven surfaces.
- Place the containers in a cool, draft-free area.
- Check the candles periodically to ensure they cool evenly.
Why this matters: Allowing ample time for cooling results in a better finish and longer-lasting burn.
Time estimate: 1-2 hours.
Recommended Products
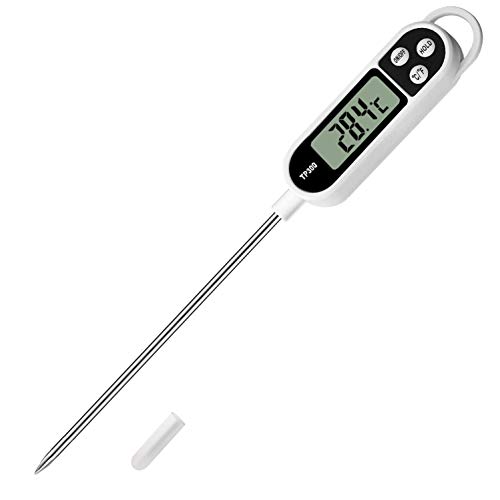
HOLD button keeps the teperature reading until it is pressed again; ON/OFF is the power switch function and it is with automatic power-off function after 10 minutes when there is no operation to extend your battery life
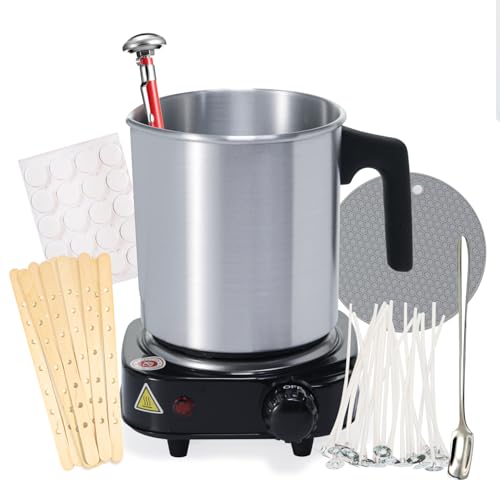
Candle Making Supplies: Candle making starter kit includes 40oz/1200ml candle wax melting pot, 500w hot plate, 20x candle making wicks, 20x wick stickers, stirring spoon, thermometer, heat resistant mat, wick centering device, user manual

ESSENTIAL CANDLE MAKING SUPPLIES - Our 175mm probe wax candle making thermometer will assist with all types of candle making and is one of those great accessories to compliment your candle making kit.
Step 7: Allow Candles to Cool
Editor’s Choice
CasaCulina Candle Making Pouring Pot, 32oz Stainless Steel Wax Melting P…
Hearth & Harbor Organic Soy Candle Wax for Candle Making, 10 lbs Natural…

TempPro TP01A Digital Meat Thermometer for Cooking Candle Liquid Deep Fr…
Step 8: Trim the Wick and Enjoy!
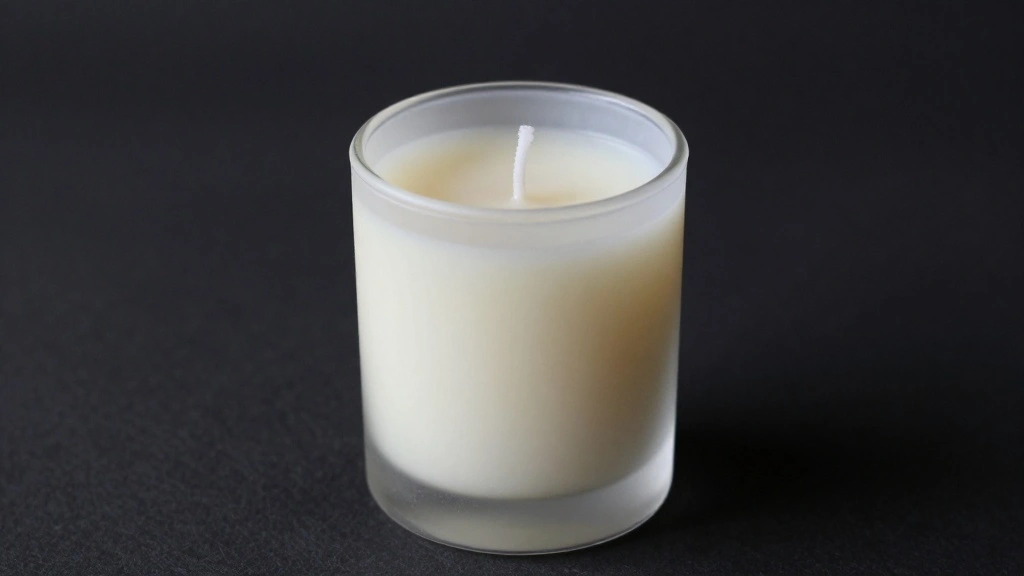
Once your candles have cooled, trim the wicks to about 1/4 inch above the wax. This allows for a clean burn and prevents excessive smoking. Pro Tip: Always trim wicks before lighting.
- Use scissors to carefully cut the wick.
- Light your candle and enjoy the ambiance!
Why this matters: Proper wick length ensures your candles burn efficiently and safely.
Time estimate: 10 minutes.
Step 8: Trim the Wick and Enjoy!
Editor’s Choice
American Soy Organics Freedom Soy Wax Beads for Candle Making – Natural …

SoftOwl Premium Soy Candle Making Kit – Full Set – Soy Wax, Big 7oz Jars…
Pro Tips
- Mix Scents: Blend different fragrance oils for unique combinations.
- Color Your Candles: Add dye chips for visually appealing candles.
- Test Burn: Always test a small candle before making a larger batch.
- Keep Records: Document your fragrance ratios and techniques for future reference.
- Storage: Store candles in a cool, dry place to maintain quality.
Pro Tips
Editor’s Choice
American Soy Organics Freedom Soy Wax Beads for Candle Making – Natural …

Fragrance Essential Oils Set – 14pcs, Aromatherapy Oils for Skin, Diffus…

Candle Dye for Soy Wax – 16 Colors Candle Wax Dye for Candle Making – …
Common Mistakes to Avoid
Warning: Avoid pouring wax that is too hot, as this can cause cracks in the finished candle. Always check the temperature before pouring.
Warning: Using too much fragrance oil can lead to poor burning. Stick to recommended ratios.
Warning: Not securing the wick properly can cause it to shift during pouring. Always use a wick holder.
Common Mistakes to Avoid
Editor’s Choice
American Soy Organics Freedom Soy Wax Beads for Candle Making – Natural …

DINGPAI 100pcs Wooden Candle Wick Holders, Candle Wick Centering Devices…

Bakery Essential Oils Set, Premium Fragrance Oil for Diffusers, Scented …
Troubleshooting Section
Problem: Candles have a weird smell when burned.
Solution: Check your fragrance oil quality and ensure you used the right amount.
Problem: Candles burn unevenly.
Solution: Check if the wick is centered and trimmed correctly.
Problem: Wax shrinks away from the container.
Solution: Pour the wax at the right temperature and allow it to cool slowly.
Variations/Alternative Methods
Option 1: Beeswax Candles: Use beeswax instead of soy for a natural alternative with a unique scent.
Option 2: Scentless Candles: Create simple candles for ambiance without added scents.
Option 3: Layered Candles: Pour in layers of different colors and scents for a visually stunning effect.
Variations/Alternative Methods
Editor’s Choice

Candle Dye – 36 Colors Candle Making Dye, Highly Concentrated Liquid Oil…

Complete Candle Making Kits for Adults Beginners, DIY Candle Making Supp…
FAQs
What if I don’t have a double boiler?
Use a microwave-safe bowl to melt the wax in short bursts, stirring in between.
How long should I let my candles cure?
Let candles cure for at least a week for the best scent throw.
Is it safe to use essential oils?
Yes, but make sure they are suitable for candle making.
FAQs
Editor’s Choice

SAEUYVB Candle Making kit with Hot Plate,Candle Making Supplies,Candle M…
Hearth & Harbor Organic Soy Candle Wax for Candle Making, 10 lbs Natural…
![VINEVIDA [Set of 8] Floral Scents for Candle Making, Made in USA Candle ...](https://m.media-amazon.com/images/I/71uJfPSfY9L._AC_UL320_.jpg)
VINEVIDA [Set of 8] Floral Scents for Candle Making, Made in USA Candle …
Conclusion
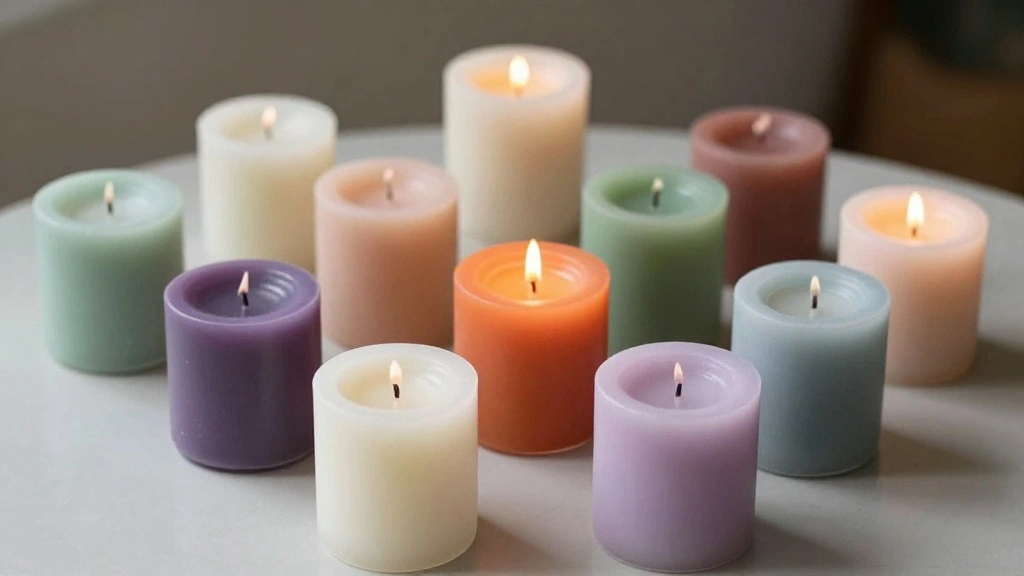
Congratulations! You’ve successfully made your own soy candles at home! You should feel proud of your creation. Now that you have the basics down, feel free to experiment with different scents, colors, and container styles.
Consider making candles as gifts or for special occasions. You can also explore more advanced techniques as you gain confidence in your candle-making skills. Happy crafting!