
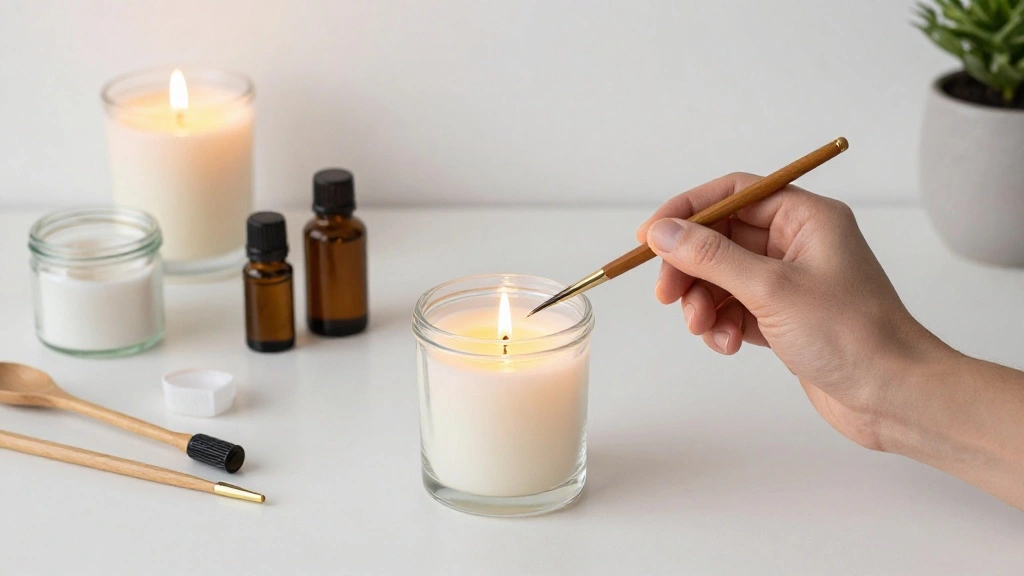
Have you ever walked into a room and felt immediately uplifted by a delightful scent? Scented candles can transform any space into a relaxing sanctuary. But did you know that making your own scented candles with essential oils can be a rewarding and cost-effective solution? In today’s fast-paced world, creating a calming atmosphere at home is more essential than ever.
In this guide, you will learn how to craft your own scented candles, allowing you to fill your home with personalized fragrances that resonate with your mood and style. By following the steps outlined here, you will discover how to blend essential oils to create unique scents, ensuring each candle is a reflection of your personality.
This is a beginner project that you can complete in approximately 2-3 hours. No prior candle-making experience is necessary! Get ready to unleash your creativity and enjoy the satisfaction of having your own homemade candles.
TL;DR Summary
- Learn to make scented candles using essential oils.
- Gather materials and follow simple steps for a personalized touch.
- No prior experience required; suitable for beginners.
- Enjoy a calming atmosphere at home with your unique creations.
TL;DR Summary
Editor’s Choice

SAEUYVB Candle Making Kit with Wax Melter, Candle Making Kit for Adults …


Essential Oils Set by Pure Aroma – Top 6 Aromatherapy Oils Gift Set-6 Pa…

RESINWORLD Set of Large + Medium + Small 3D Skull Resin Molds, Flexible …
Prerequisites/Materials Needed
- Candle Wax: 1 pound (soy wax is recommended)
- Essential Oils: 1-2 ounces (choose your favorite scents)
- Candle Wicks: 5-10 wicks, depending on the number of candles
- Containers: 5 small glass jars or tins
- Double Boiler: for melting wax
- Thermometer: for checking wax temperature
- Stirring Utensil: wooden stick or spoon
- Scale: for measuring wax
- Color Dyes (optional): for adding color to candles
Prerequisites/Materials Needed
Editor’s Choice

Fragrance Essential Oils Set – 14pcs, Aromatherapy Oils for Skin, Diffus…

EricX Light 100 Piece Natural Candle Wick, Low Smoke 6″ Pre-Waxed & 100%…
Skill Level & Time Estimate
Skill Level: beginner
Total Time Estimate: 2-3 hours
Here is a breakdown of the time required:
- Gathering materials: 15-30 minutes
- Melting wax: 15-20 minutes
- Mixing essential oils: 10 minutes
- Pouring candles: 20-30 minutes
- Cooling: 1-2 hours
Step 1: Gather Your Materials
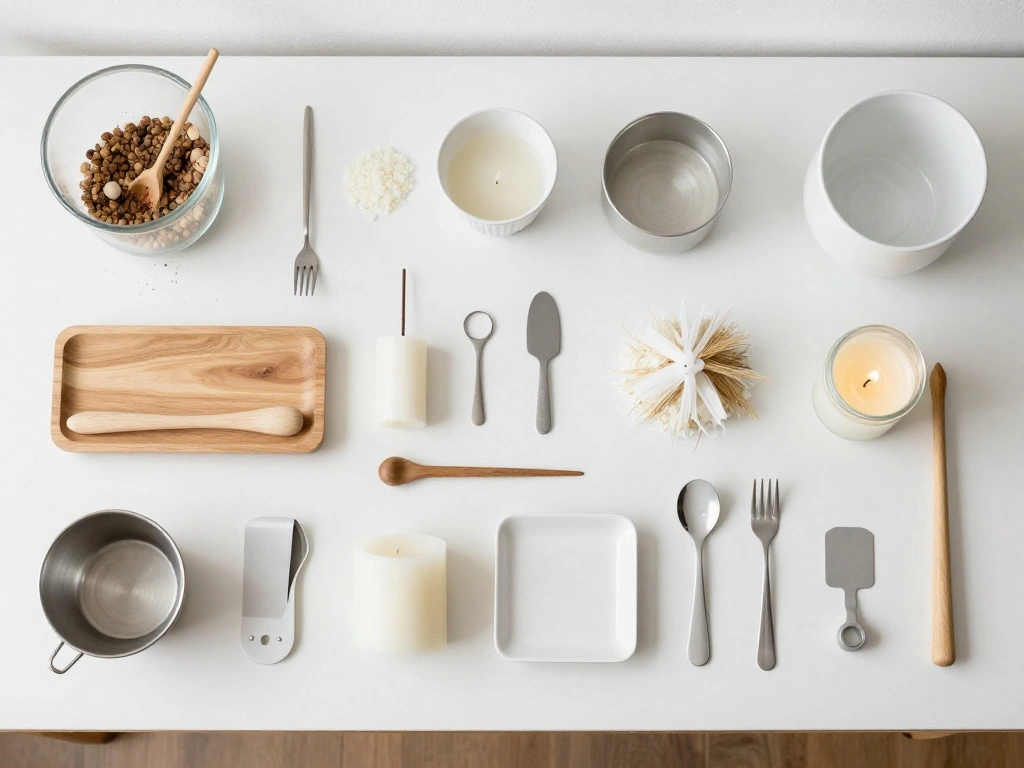
Start by assembling all the materials you need for candle-making. This will make the process smoother and more enjoyable.
- Find a clean, flat workspace to prevent spills.
- Collect all the items listed in the prerequisites section.
- Ensure your containers are clean and dry.
Pro Tip: Organize your workspace to minimize distractions and maximize efficiency.
Why this matters: Having everything ready at hand will allow you to focus on creating without interruptions.
Time estimate: 15-30 minutes.
Step 1: Gather Your Materials
Editor’s Choice

Hearth & Harbor Organic Soy Candle Wax for Candle Making, 10 lbs Natural…
Step 2: Melt the Wax
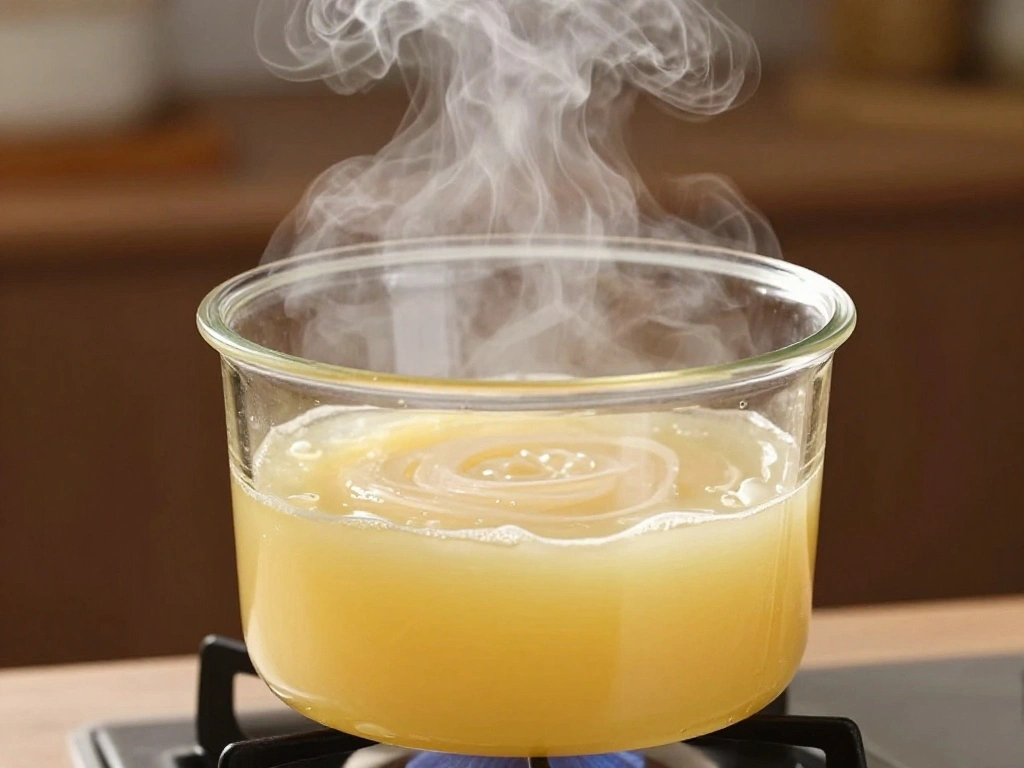
Now it’s time to melt the wax. This step is crucial for ensuring that your candles set properly.
- Fill the bottom pot of your double boiler with water and place it on the stove.
- Add your wax to the top pot and turn the heat to medium.
- Stir occasionally until the wax is completely melted, reaching about 180°F (82°C).
Warning: Avoid direct heat to prevent the wax from burning.
Why this matters: Proper melting ensures a smooth blend with the essential oils, leading to a high-quality candle.
Time estimate: 15-20 minutes.
Step 2: Melt the Wax
Editor’s Choice

Yacumama Digital Water Thermometer for Liquid, Candle, Instant Read with…
Hearth & Harbor Organic Soy Candle Wax for Candle Making, 10 lbs Natural…

Double Boiler Pot Set, Stainless Steel Melting Pot with Silicone Spatula…
Step 3: Add Essential Oils
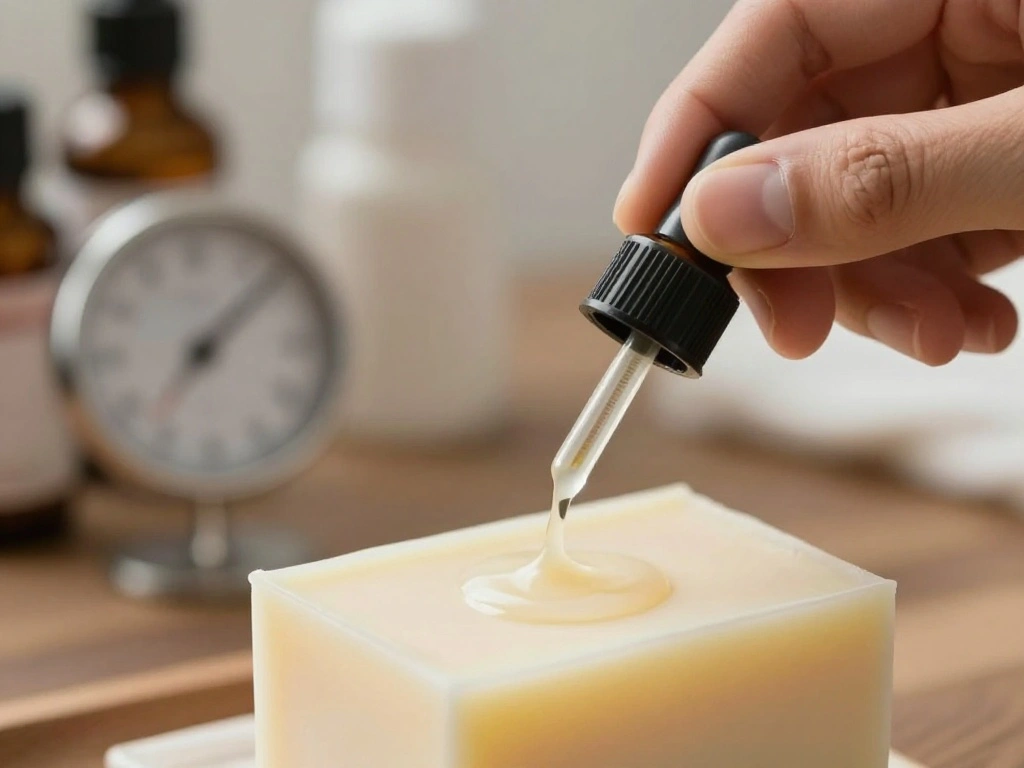
Once your wax is melted, it’s time to infuse it with your chosen essential oils.
- Remove the melted wax from heat and let it cool slightly to around 160°F (71°C).
- Add your essential oils while stirring gently.
- Use about 1 ounce of essential oil per pound of wax for a strong scent.
Pro Tip: Experiment with different combinations of oils for unique scents.
Why this matters: Proper blending allows the fragrance to disperse evenly throughout the candle, enhancing the overall scent experience.
Time estimate: 10 minutes.
Step 3: Add Essential Oils
Editor’s Choice

GODONLIF Candle Warmer Lamp with Cycle Timer, Birthday Gifts for Women M…

Essential Oils Roll On Set (Pack of 8) 8 Scent, Relaxing, Self Care Gift…
Step 4: Prepare Your Containers
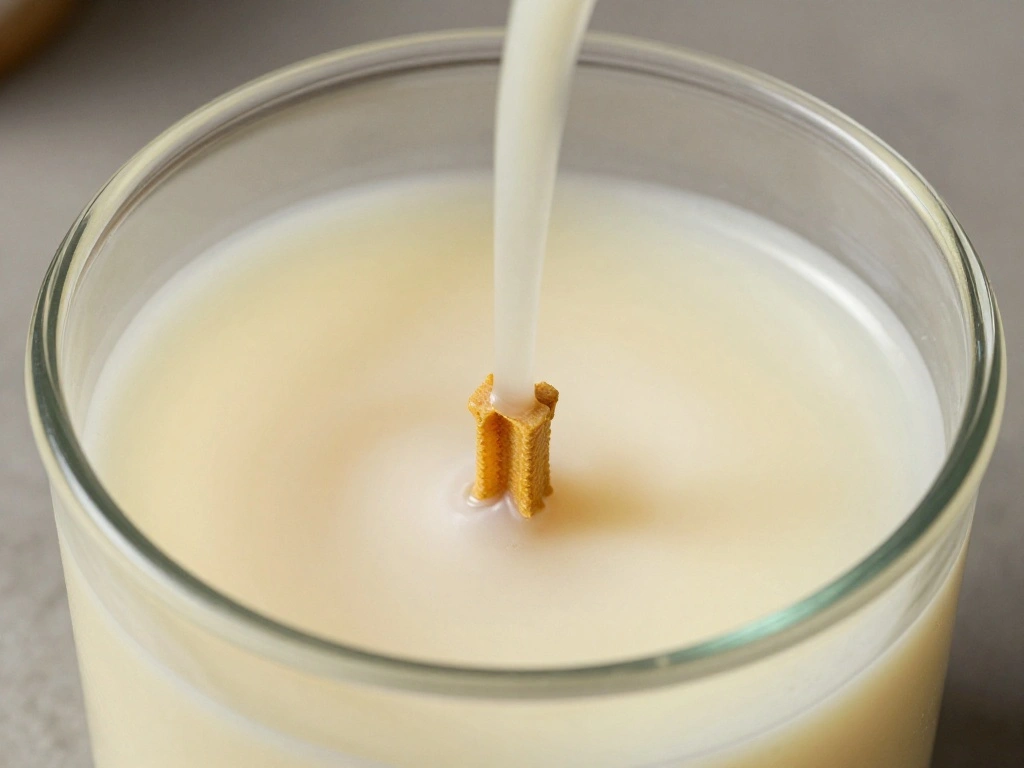
Before pouring the wax, prepare your containers to ensure your candles set correctly.
- Place the wick in the center of each container, securing it with a bit of melted wax.
- Use a wick holder or pencil to keep the wick centered while pouring.
- Ensure the wick is upright and straight.
Warning: Ensure the wick is secured to prevent it from drifting during the pouring process.
Why this matters: A well-centered wick ensures even burning and a great scent throw.
Time estimate: 10-15 minutes.
Step 4: Prepare Your Containers
Editor’s Choice

CasaCulina Candle Making Pouring Pot, 32oz Stainless Steel Wax Melting P…
Hearth & Harbor Organic Soy Candle Wax for Candle Making, 10 lbs Natural…
EricX Light 100 Piece Natural Candle Wick, Low Smoke 6″ Pre-Waxed & 100%…
Step 5: Pour the Wax
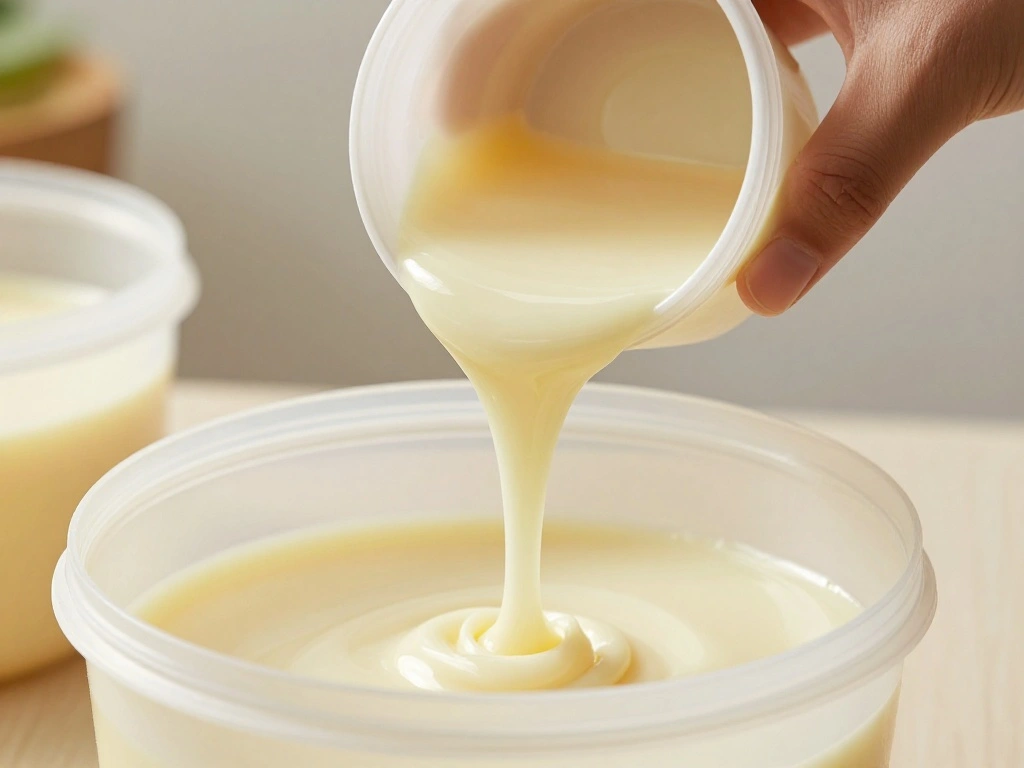
Now you’re ready to pour the wax into your prepared containers!
- Carefully pour the melted wax into each container, leaving about 1/2 inch from the top.
- Ensure the wick remains centered while pouring.
- Tap the container gently to release any air bubbles.
Pro Tip: Pour slowly to avoid spills and mess.
Why this matters: Proper pouring technique helps avoid imperfections and ensures an even set.
Time estimate: 15-20 minutes.
Step 5: Pour the Wax
Editor’s Choice
Hearth & Harbor Organic Soy Candle Wax for Candle Making, 10 lbs Natural…

20 pcs Metal Candle Wick Holders, Upgraded Candle Wick Centering Devices…
Step 6: Allow to Cool
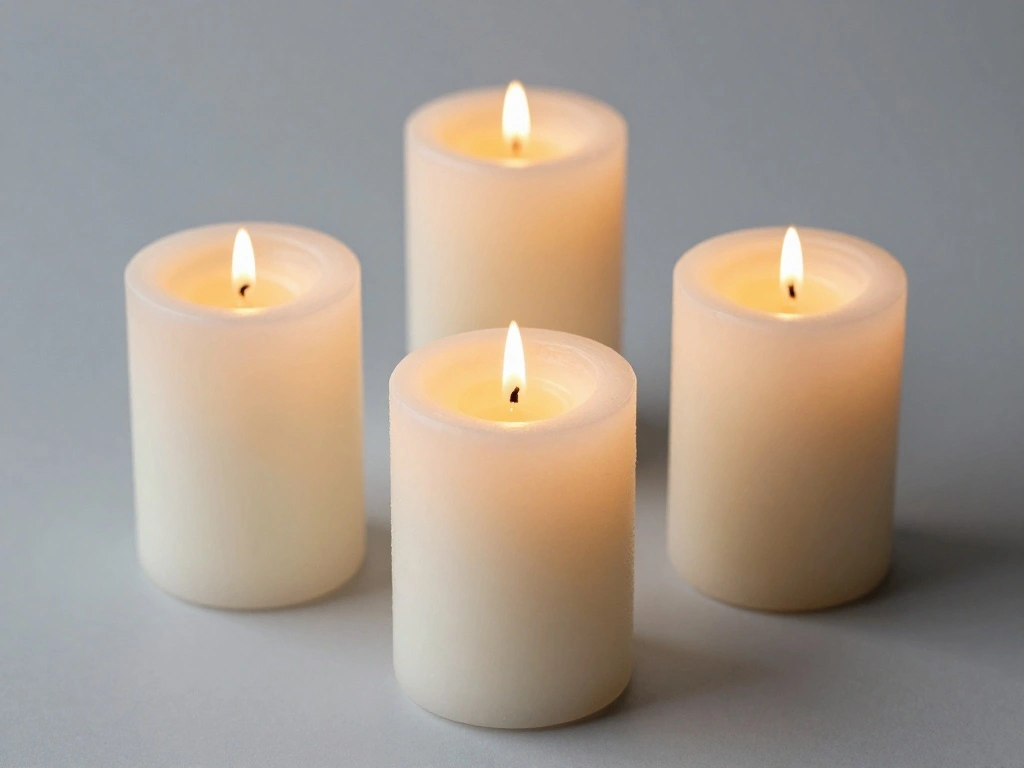
After pouring, it’s crucial to let your candles cool properly.
- Leave the candles at room temperature for 1-2 hours.
- Avoid moving them during this time to prevent uneven setting.
- Once cooled, trim the wick to about 1/4 inch above the surface.
Warning: Do not rush this process; moving them could lead to imperfections.
Why this matters: Cooling properly ensures a smooth finish and prevents cracking.
Time estimate: 1-2 hours.
Step 7: Test the Candles
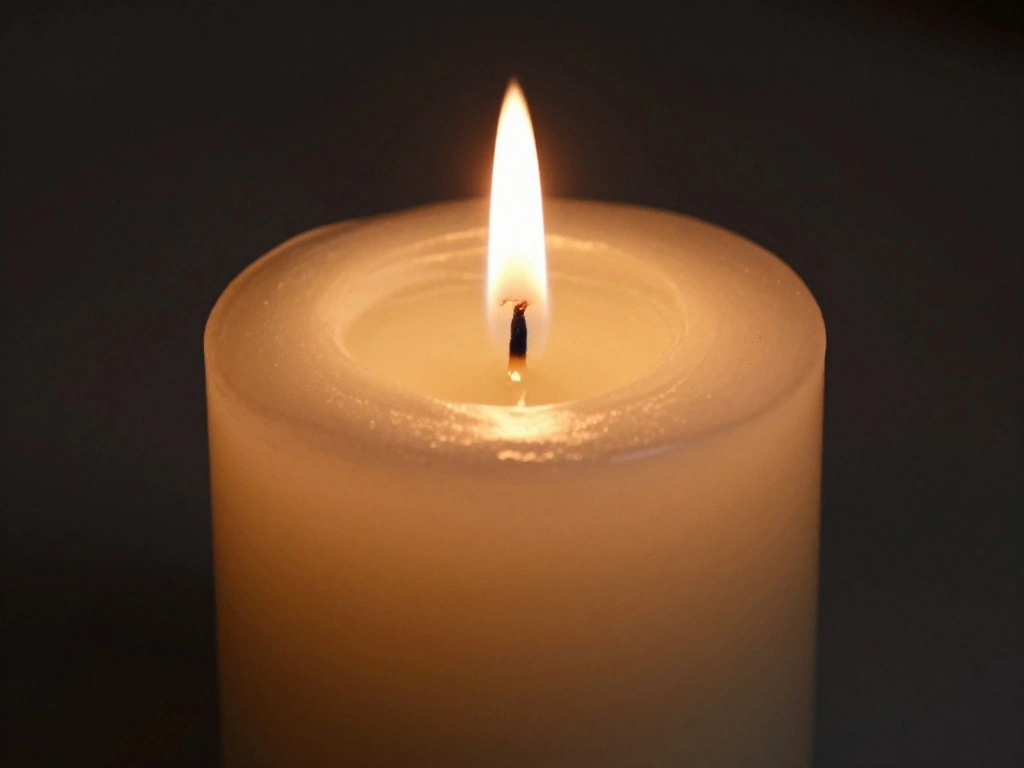
Before you light your creations, it’s essential to test the candles for quality.
- Light a candle and observe how it burns.
- Check for an even melt pool and a consistent scent throw.
- Take notes on your findings for future reference.
Pro Tip: Test different wick sizes if your candle doesn’t burn evenly.
Why this matters: Testing ensures your candles are safe and enjoyable to use.
Time estimate: 15-30 minutes.
Step 7: Test the Candles
Editor’s Choice

3 in 1 Candle Accessory Set,Candle Care Kit,Candle Wick Trimmer,Wick Dip…
Step 8: Label and Store Your Candles
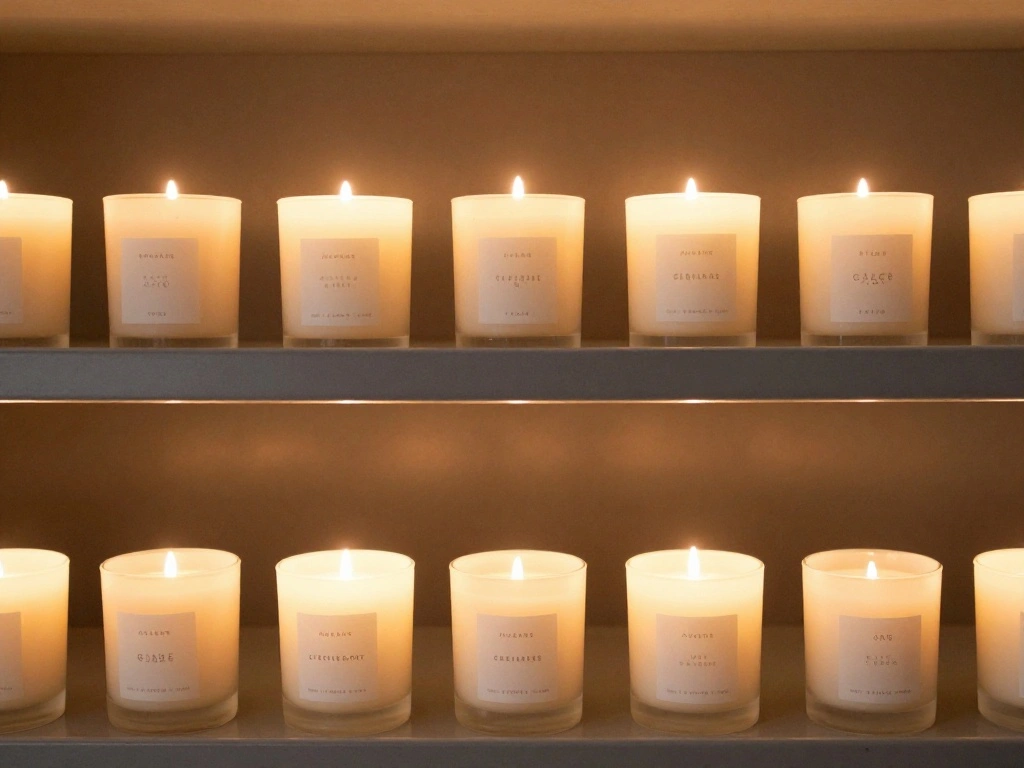
Once you’ve tested your candles, it’s time to label and store them properly.
- Create labels with the scent and date made for easy identification.
- Store candles in a cool, dark place to preserve the scent.
- Keep them away from direct sunlight to prevent fading.
Pro Tip: Personalize your labels for gifting or showcasing at home.
Why this matters: Proper storage ensures your candles last longer and retain their fragrance.
Time estimate: 15-20 minutes.
Step 8: Label and Store Your Candles
Editor’s Choice

Essential Oil Roll On for Self Care – Aromatherapy Oil Gift for Women Me…

Mobiusea Creation Candle Label Roll | 300pcs Rose Gold Labels for Candle…

pad and tampon organizer for bathroom,Sanitary Napkin Holder, Pad and Ta…
Step 9: Enjoy Your Candles!
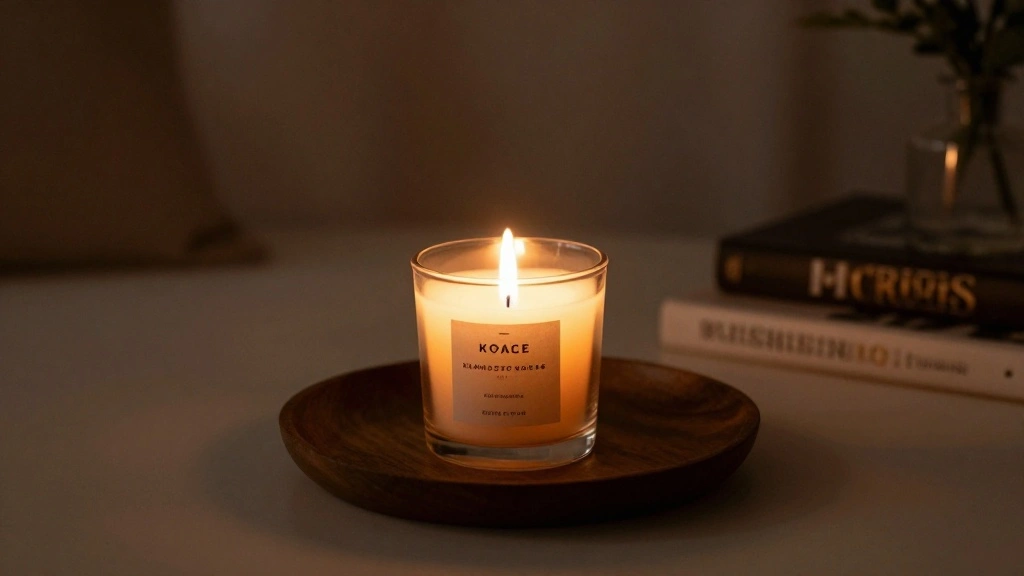
Now that your candles are complete, it’s time to enjoy them!
- Light a candle in your favorite room to fill the space with its unique scent.
- Share your creations with friends and family.
- Consider experimenting with new scents as you become more comfortable.
Pro Tip: Create themed candles for special occasions to enhance the atmosphere.
Why this matters: Enjoying your candles is the ultimate reward for your hard work and creativity!
Time estimate: Ongoing.
Step 9: Enjoy Your Candles!
Editor’s Choice

CONNOO 15 Pack 4 OZ Clear Glass Candle Jars with Airtight Bamboo Lids fo…

5 Pack Angel Silicone Candle Molds Silicone Resin Molds for DIY Cake Can…

Lagunamoon Essential Oils Aromatherapy Set – 6 Oils for Diffusers, Home …
Pro Tips
- Blend Scents: Mix different essential oils to create a unique fragrance profile.
- Use Color Dyes: Add color to your candles for visual appeal.
- Experiment with Sizes: Try making various candle sizes for different settings.
- Store Wax Properly: Keep unused wax in a cool, dark place to extend its shelf life.
- Keep Notes: Document your successful recipes for future reference.
Pro Tips
Editor’s Choice

Complete Candle Making Kits for Adults Beginners, DIY Candle Making Supp…

Candle Dye for Soy Wax – 16 Colors Candle Wax Dye for Candle Making – …

Soy Candles Set of 4, 9oz Natural Soy Wax Aromatherapy Candles, Home Sce…
Common Mistakes to Avoid
Warning: Avoid these common pitfalls to ensure your candles are successful:
- Skipping the thermometer: Not checking the temperature can result in poor scent throw.
- Pouring too quickly: This can lead to air bubbles and uneven surfaces.
- Using too much essential oil: Overdoing it can cause the wax to not set properly.
Common Mistakes to Avoid
Editor’s Choice
Yacumama Digital Water Thermometer for Liquid, Candle, Instant Read with…
Troubleshooting Section
Problem: Candles have an uneven surface.
Solution: Allow them to cool undisturbed and check your pouring technique.
Problem: Candles burn too quickly.
Solution: Test different wick sizes to find the right fit.
Problem: Scent is too weak.
Solution: Increase the amount of essential oil used in the next batch.
Troubleshooting Section
Editor’s Choice

MAYJAM Tea Tree 20 Pcs Pure Essential Oil Gift Set, for Diffuser, Humidi…
ZEROMX Candle Making Kit for Adults Beginners – 1200g Soy Wax, Digital…
EricX Light 100 Piece Natural Candle Wick, Low Smoke 6″ Pre-Waxed & 100%…
Variations/Alternative Methods
Consider these variations to expand your candle-making skills:
- Layered Candles: Pour different colored wax layers for a visually striking effect.
- Beeswax Candles: Use beeswax for a natural, sweet scent and longer burn time.
- Container Candles: Experiment with different container shapes and materials for unique aesthetics.
Variations/Alternative Methods
Editor’s Choice
SAEUYVB Candle Making Kit with Wax Melter, Candle Making Kit for Adults …

FROKO White Natural Beeswax Pellets 1LB, Organic Beeswax, Beeswax for Ca…

FansArriche Candle Dye – 18 Colors Liquid Oil-Based Dye for Candle Wax, …
FAQs
What if I don’t have a double boiler?
You can use a heat-safe bowl placed over a pot of simmering water instead.
How long should I let my candles cool?
Allow them to cool for 1-2 hours for best results.
Is it safe to use essential oils?
Yes, but ensure they are skin-safe and suitable for candle use.
FAQs
Editor’s Choice
SAEUYVB Candle Making Kit with Wax Melter, Candle Making Kit for Adults …

Stainless Steel Double Boiler Pot for Melting Chocolate, Candy and Candl…
Fragrance Essential Oils Set – 14pcs, Aromatherapy Oils for Skin, Diffus…
Conclusion
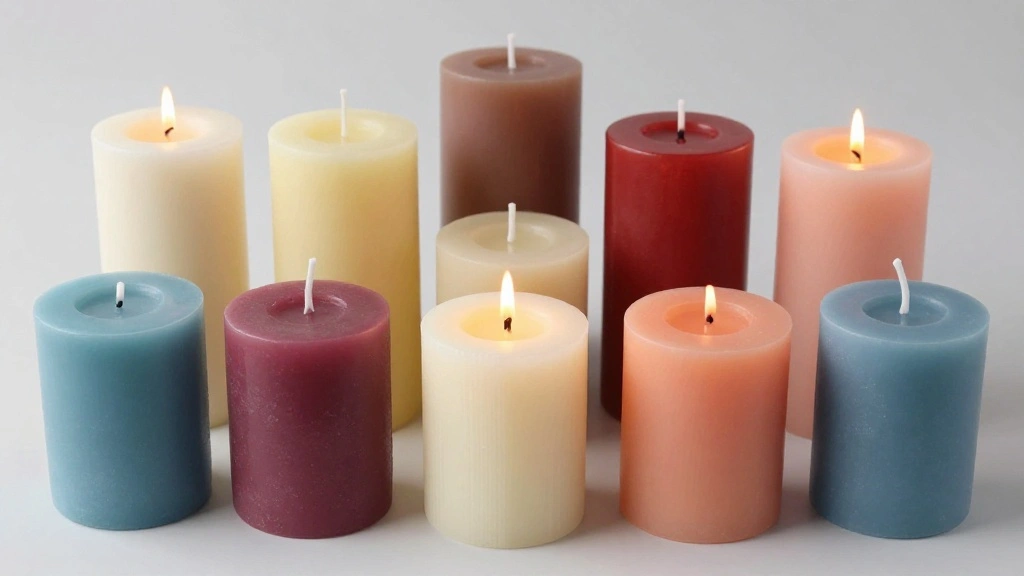
Congratulations! You’ve successfully made your own scented candles with essential oils. Take a moment to admire your creations and think about the wonderful atmosphere they will bring to your home.
Now that you’re familiar with the basics, consider experimenting with different scents and styles. You can even gift these candles to friends and family, spreading warmth and joy. Keep honing your skills, and soon you’ll be crafting candles like a pro!