
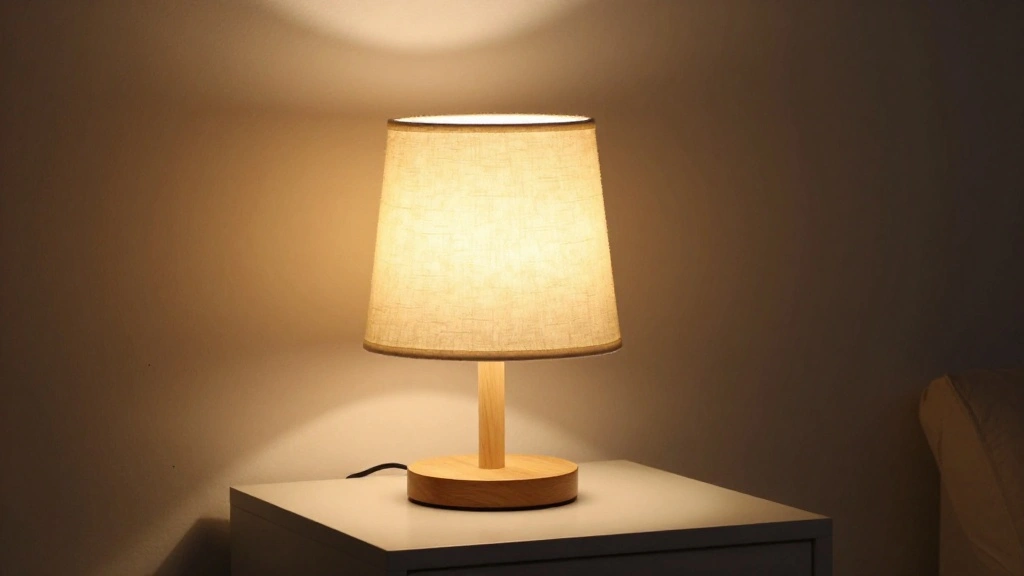
Have you ever encountered a lamp that flickers or doesn’t turn on at all? This common problem often stems from faulty wiring, which can pose a safety hazard if not addressed properly. In fact, ignoring such issues can lead to electrical fires or electrocution. Taking the initiative to rewire a lamp not only ensures a safe lighting experience but also revitalizes your favorite pieces.
In this guide, you will learn the step-by-step process to safely rewire a lamp, transforming it into a reliable source of light. By the end of this tutorial, you’ll have the skills to replace old wiring, ensuring your lamp works as intended. This process is beginner-friendly, making it accessible for anyone willing to learn.
Expect to spend approximately 1-2 hours on this project, depending on your familiarity with the tools and materials involved. Let’s light up your space safely and effectively!
TL;DR Summary
– Rewiring a lamp improves safety and functionality.
– Gather necessary materials before starting.
– Follow the step-by-step guide to complete the task safely.
– Spend about 1-2 hours for wiring and assembly.
TL;DR Summary
Editor’s Choice

1000V Insulated Electrician Screwdriver Set – 13-Piece Professional Elec…


WGGE WG-015 Professional 8-inch Wire Stripper/Crimping Tool, Cable Cutte…

Lamp Rewire Kit – 3-Way Socket With Matching Cord and Harp Set for Table…
Prerequisites/Materials Needed
- Replacement lamp socket
- Electrical cord (with plug)
- Screwdriver (flat and Phillips)
- Wire stripper
- Electrical tape
- Safety goggles
- Work gloves
Prerequisites/Materials Needed
Editor’s Choice
WGGE WG-015 Professional 8-inch Wire Stripper/Crimping Tool, Cable Cutte…

Vockjour 6 ft 14/3 Appliance and Power Tool Cord, 14 AWG 3 Prong Black H…
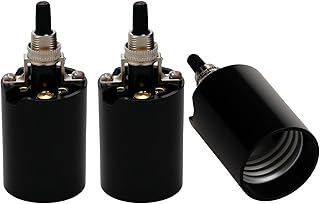
E26 Light Socket,JNXQWE Phenolic (Bakelite) Medium Base E26 Fixture Sock…
Skill Level & Time Estimate
Skill Level: beginner
Total time estimate: 1-2 hours
Skill Level & Time Estimate
Editor’s Choice
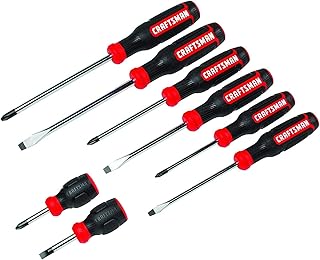
CRAFTSMAN Screwdriver Set, Bi-Material, 8 Piece Set (CMHT65075N)
Lamp Rewire Kit – 3-Way Socket With Matching Cord and Harp Set for Table…

Klein Tools 11063W Wire Cutter/Stripper, Heavy Duty Automatic Tool for 8…
Step 1: Unplug the Lamp
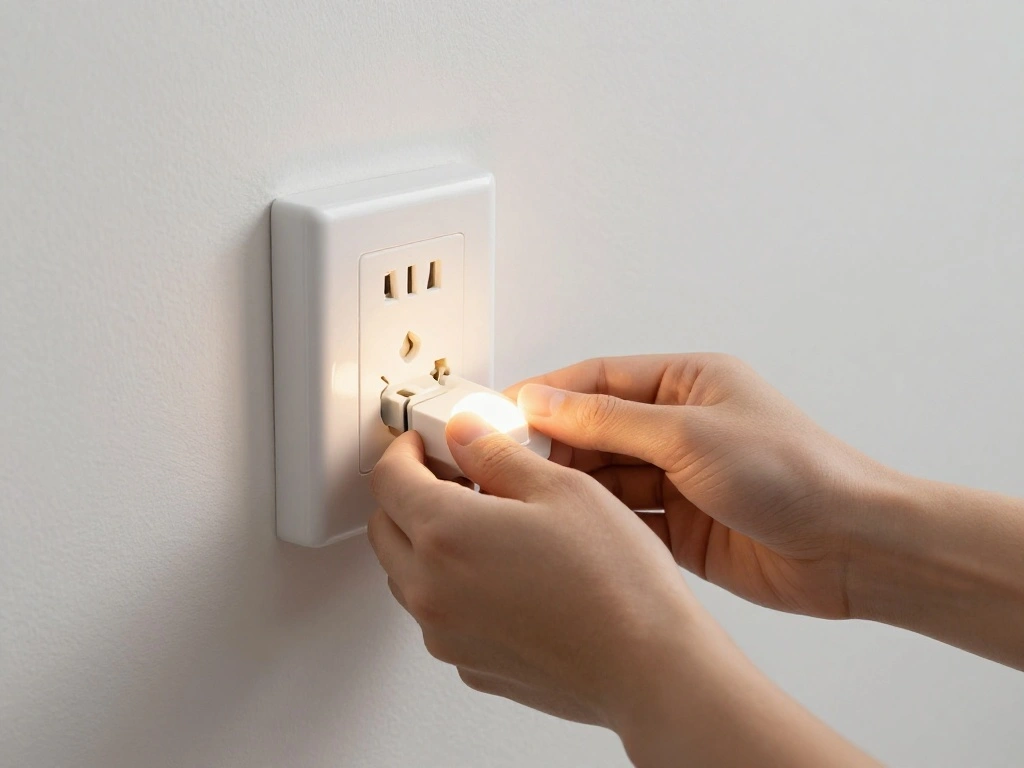
To begin the rewiring process, you need to ensure your safety by unplugging the lamp from any electrical outlet. This is a critical first step that prevents any risk of electric shock while you work on the lamp.
1. Locate the lamp’s plug and firmly pull it out of the socket.
2. Ensure that the lamp is completely disconnected from power.
Warning: Never attempt to rewire a lamp while it is plugged in. This can result in serious injuries or electrical accidents.
Time estimate for this step: 5 minutes.
Step 1: Unplug the Lamp
Editor’s Choice

Fanttik E1 Max Electric Screwdriver, Mini Precision Screwdriver Set, 50 …
Step 2: Disassemble the Lamp
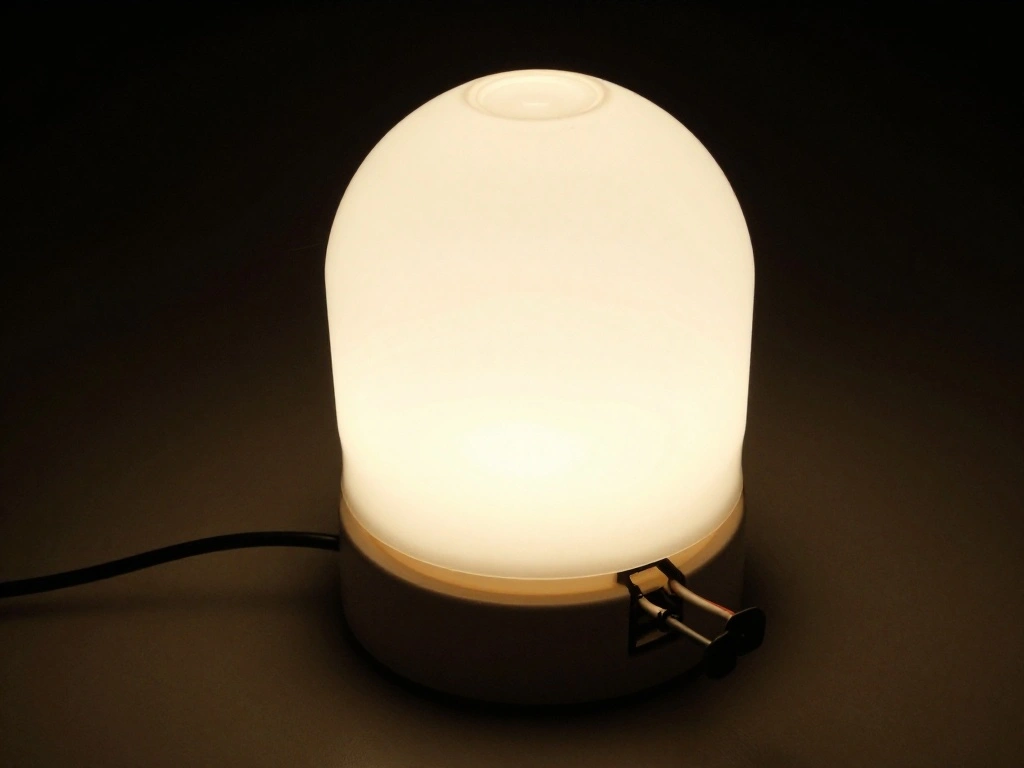
Once the lamp is unplugged, it’s time to disassemble it carefully. This will give you access to the old wiring that needs replacing. Understanding how the lamp is assembled will also help you put it back together correctly.
1. Remove the lampshade and bulb to expose the socket.
2. Use a screwdriver to unscrew the socket from the lamp base.
3. Carefully detach any wires connected to the socket.
Warning: Be gentle when removing the socket to avoid breaking any components.
Time estimate for this step: 10-15 minutes.
Step 2: Disassemble the Lamp
Editor’s Choice

Ioffersuper 12Pcs Wire Clay Cutter with Wood Handle Easy to Use Steel Wi…
Lamp Rewire Kit – 3-Way Socket With Matching Cord and Harp Set for Table…

Klein Tools 80209 Precision Multi-Bit Screwdriver Set, 31-Piece, Cushion…
Step 3: Remove Old Wiring
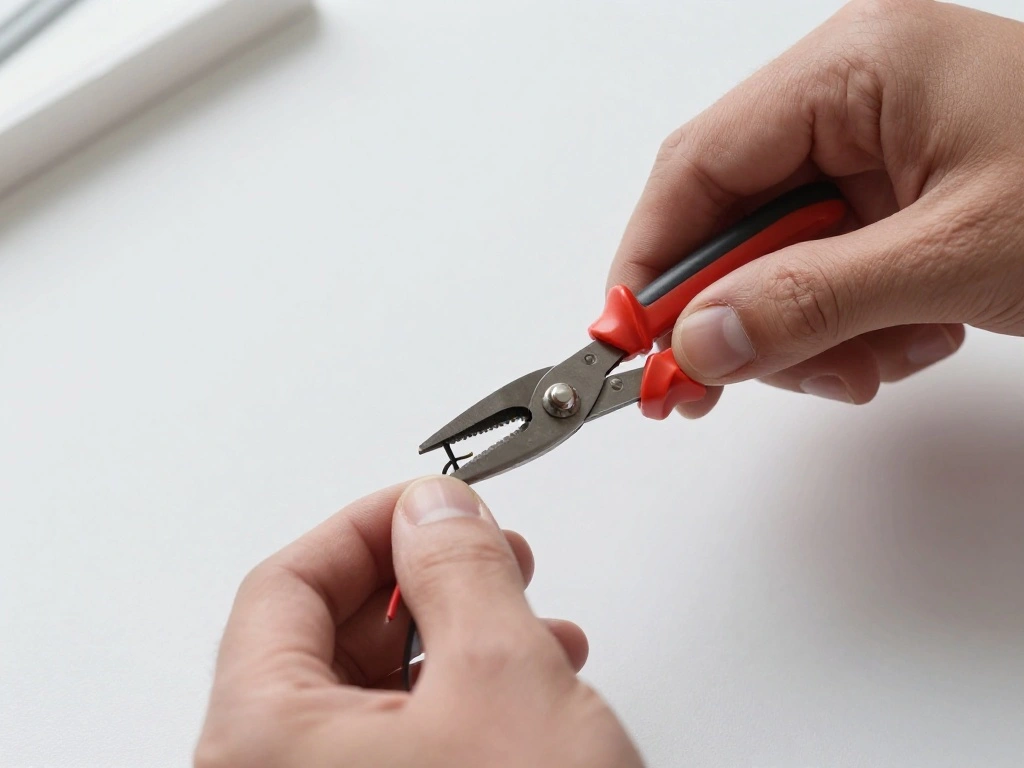
After disassembling the lamp, the next step is to remove the old wiring. This is essential to ensure that the new wiring functions properly without any issues.
1. Locate the wires that connect the socket to the lamp base.
2. Use wire strippers to cut the old wires, leaving enough length to attach new ones.
3. Remove any insulation from the ends of the wires for the new connections.
Pro Tip: Take a photo of the wiring setup before removing it. This will serve as a helpful reference for reconnecting the new wires.
Time estimate for this step: 15-20 minutes.
Step 3: Remove Old Wiring
Editor’s Choice

3M Scotch Super 33+ Electrical Tape – 3/4 in x 52 ft, Premium Grade All-…

YIHUA 926 III 60W Digital Display Soldering Iron Station Kit w 2 Helping…
WGGE WG-015 Professional 8-inch Wire Stripper/Crimping Tool, Cable Cutte…
Step 4: Install New Wiring
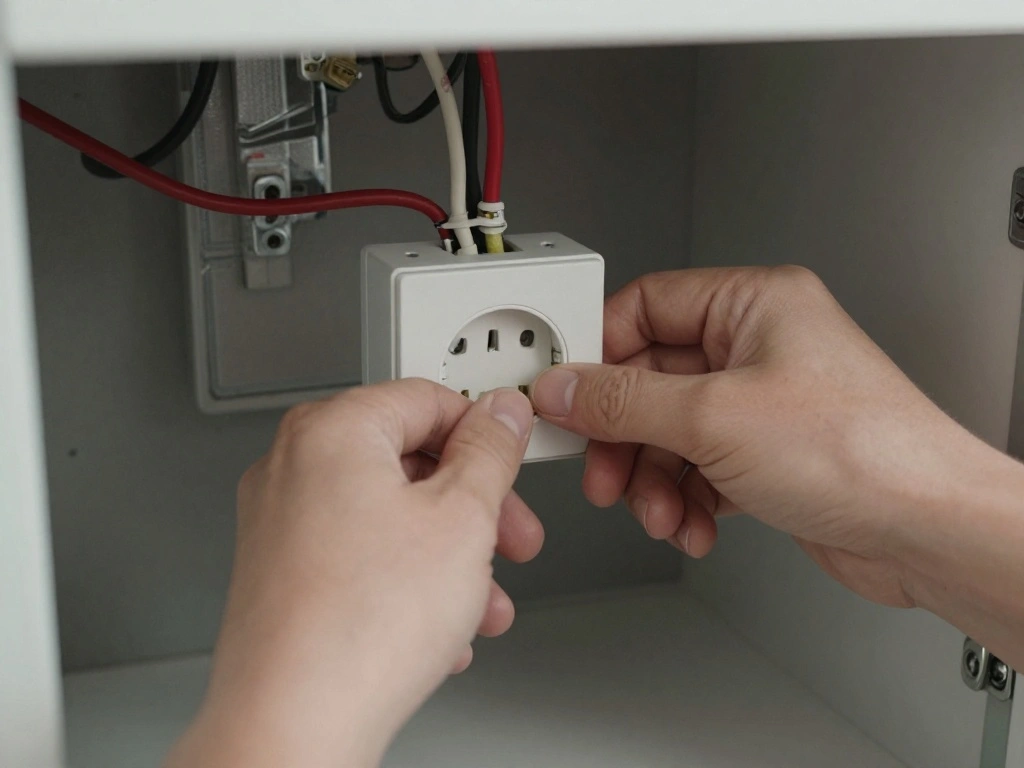
Now it’s time to install the new wiring. This step is crucial as it ensures that your lamp will operate safely and efficiently.
1. Take the new electrical cord and feed it through the lamp base.
2. Attach the wires from the new cord to the socket, matching the color-coded wires (usually black to brass, white to silver).
3. Secure the connections with electrical tape to prevent any exposure.
Pro Tip: Ensure the wire connections are tight and secure to avoid any electrical issues.
Time estimate for this step: 20-30 minutes.
Step 4: Install New Wiring
Editor’s Choice

XFasten Wire Harness Tape, 3/4-Inch x 50-Foot (5-Pack), High Temp Wiring…
WGGE WG-015 Professional 8-inch Wire Stripper/Crimping Tool, Cable Cutte…

GE Power Gear 8 Ft Lamp Cord, Polarized Molded Plug, 2-Prong, DIY Repair…
Step 5: Reassemble the Lamp
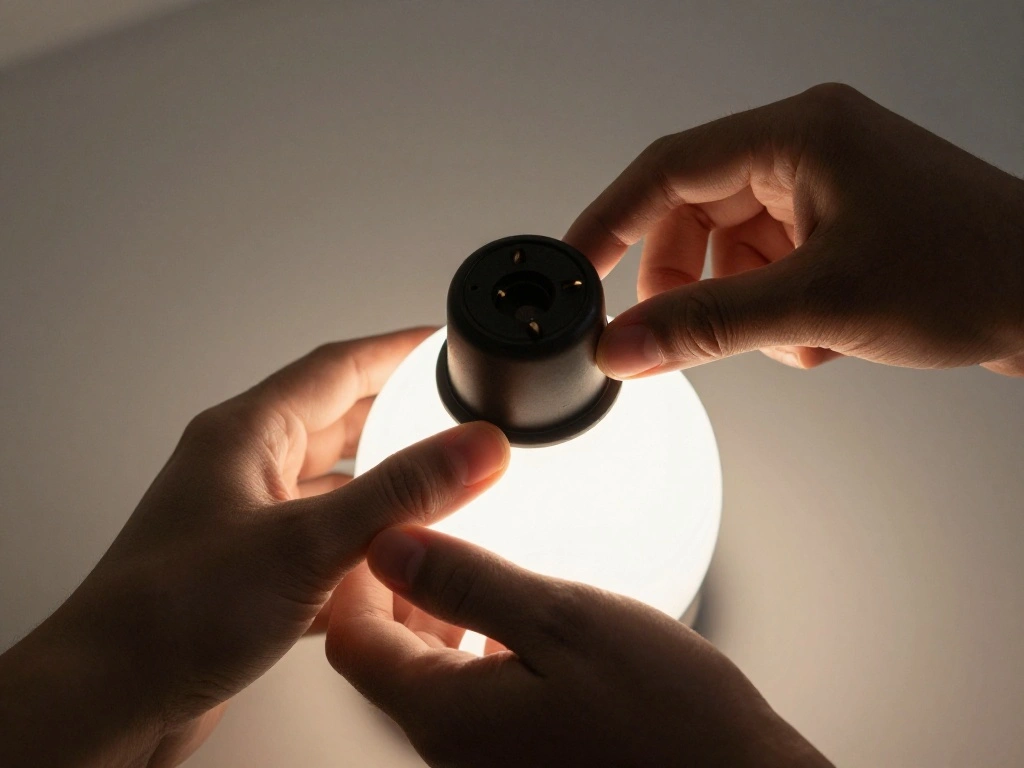
With the new wiring installed, it’s time to reassemble your lamp. This ensures that everything is put back in its place and ready for use.
1. Carefully reattach the socket to the lamp base.
2. Place the bulb and lampshade back onto the lamp.
3. Ensure all components are secure and stable before proceeding.
Warning: Double-check all connections and the stability of the lamp before plugging it back in.
Time estimate for this step: 15-20 minutes.
Step 5: Reassemble the Lamp
Editor’s Choice

JOREST 40Pcs Small Precision Screwdriver Set with Torx Triwing Phillips,…
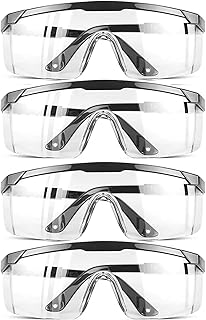
Safety GlassesClear Anti-Fog Goggles Over-Spec Glasses Protective Eye We…
Lamp Rewire Kit – 3-Way Socket With Matching Cord and Harp Set for Table…
Step 6: Test the Lamp
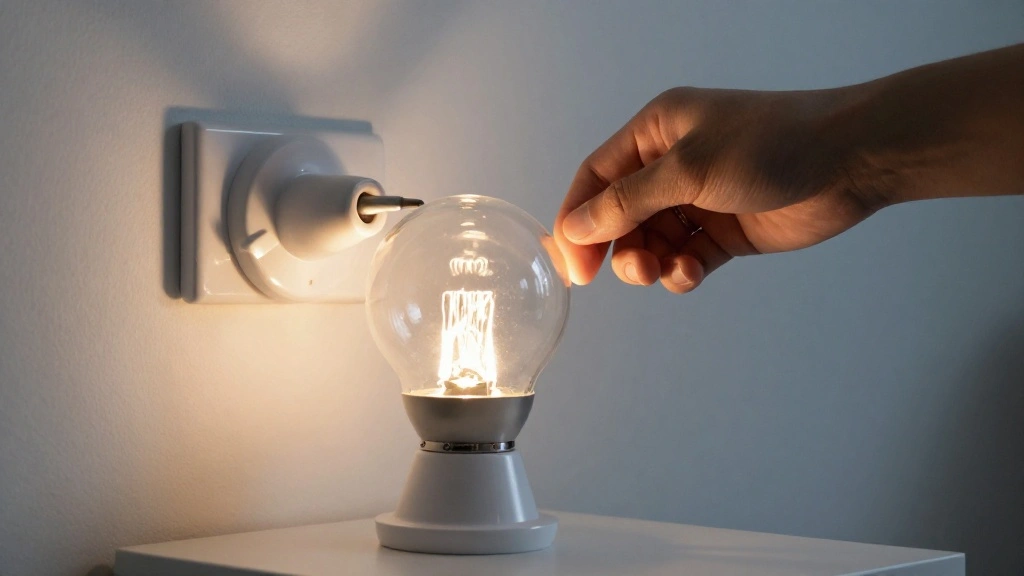
Finally, it’s time to test your rewired lamp to ensure everything works correctly. This is the moment of truth where you can see the results of your hard work.
1. Plug the lamp back into the electrical outlet.
2. Turn the lamp on and check for proper functionality.
3. If the lamp doesn’t turn on, double-check all connections.
Pro Tip: If the lamp doesn’t work, consider consulting a professional before proceeding with further repairs.
Time estimate for this step: 10-15 minutes.
Step 6: Test the Lamp
Editor’s Choice
WGGE WG-015 Professional 8-inch Wire Stripper/Crimping Tool, Cable Cutte…

Klein Tools MM325 Multimeter, Digital Manual-Ranging 600V AC/DC Voltage …

UL Listed E26 Light Socket, Threaded Lamp Socket Replacement with ON/Off…
Pro Tips
- Use Quality Materials: Always choose high-quality wiring and sockets to ensure longevity and safety.
- Label Wires: When removing wires, label them to avoid confusion during reinstallation.
- Work in a Well-Lit Area: Good lighting helps you see connections clearly and prevents mistakes.
- Keep Tools Organized: Use a tray or toolbox to keep all your tools and parts within reach.
- Consult Online Videos: Watching instructional videos can give you a visual reference to complement this guide.
Pro Tips
Editor’s Choice

300 Pcs Cable Labels, JIQEZNL Premium 10 Colors Wire Labels Electrical, …

10000LM LED Work Light: Portable Work Light with 5FT Cord, IP66 Waterpro…
Lamp Rewire Kit – 3-Way Socket With Matching Cord and Harp Set for Table…
Common Mistakes to Avoid
Warning: Not securing wire connections properly can lead to electrical shorts or fires.
Warning: Forgetting to unplug the lamp before starting can lead to serious injury.
Warning: Using the wrong type of socket can result in malfunction.
Warning: Neglecting to test the lamp before reassembly may lead to frustration if it doesn’t work.
Warning: Rushing through the process can lead to mistakes and unsafe wiring setups.
Common Mistakes to Avoid
Editor’s Choice

Manual Wire Stripping Machine Gauge Wire 0.06-1”, Scrapping Copper Wire…
Lamp Rewire Kit – 3-Way Socket With Matching Cord and Harp Set for Table…
3M Scotch Super 33+ Electrical Tape – 3/4 in x 52 ft, Premium Grade All-…
Troubleshooting Section
Problem: Lamp does not turn on.
Solution: 1. Check if the bulb is working.
2. Ensure the plug is fully inserted into the outlet.
3. Re-examine wire connections for any loose ends.
Problem: Flickering light.
Solution: 1. Inspect the socket for damage.
2. Ensure wires are securely connected.
3. Replace the bulb if necessary.
Problem: Smell of burning plastic.
Solution: 1. Unplug the lamp immediately.
2. Check for faulty wiring or connections.
3. Replace any damaged components.
Troubleshooting Section
Editor’s Choice
Klein Tools MM325 Multimeter, Digital Manual-Ranging 600V AC/DC Voltage …

180 PCS Wire Connectors, Insulating Insert Twist Electrical Wire Connect…
UL Listed E26 Light Socket, Threaded Lamp Socket Replacement with ON/Off…
Variations/Alternative Methods
If you’re looking for alternatives, consider these methods:
- Using a plug-in switch instead of rewiring the entire lamp, which can simplify the process.
- Upcycling old lamps by replacing the entire base instead of just wiring.
- Hiring a professional electrician if you feel uncomfortable with any step of the process.
Variations/Alternative Methods
Editor’s Choice
Lamp Rewire Kit – 3-Way Socket With Matching Cord and Harp Set for Table…
UL Listed E26 Light Socket, Threaded Lamp Socket Replacement with ON/Off…

Philips Grounded Plug with Braided Cord, 6 Ft Long Power Cable, ON/Off S…
FAQs
What if I don’t have a wire stripper? You can use scissors carefully, but a wire stripper is recommended for safety and precision.
How long should I wait before testing the lamp? Test it immediately after reassembly, but ensure all components are secure first.
Is it safe to use a lamp with damaged wiring? No, using a lamp with damaged wiring can pose serious safety risks.
What type of socket should I use for my lamp? Use a socket that matches your bulb type and wattage for safety.
Can I rewire a lamp with a dimmer switch? Yes, but ensure you follow the specific instructions for dimmer switches.
FAQs
Editor’s Choice
Lamp Rewire Kit – 3-Way Socket With Matching Cord and Harp Set for Table…
WGGE WG-015 Professional 8-inch Wire Stripper/Crimping Tool, Cable Cutte…
3M Scotch Super 33+ Electrical Tape – 3/4 in x 52 ft, Premium Grade All-…
Conclusion
Congratulations! You have successfully rewired your lamp and ensured its safety and functionality. This accomplishment not only improves your lighting but also enhances your DIY skills.
Now that you have completed this project, consider exploring other electrical projects or even customizing your lamp with paint or new shades. Remember, safety first!