
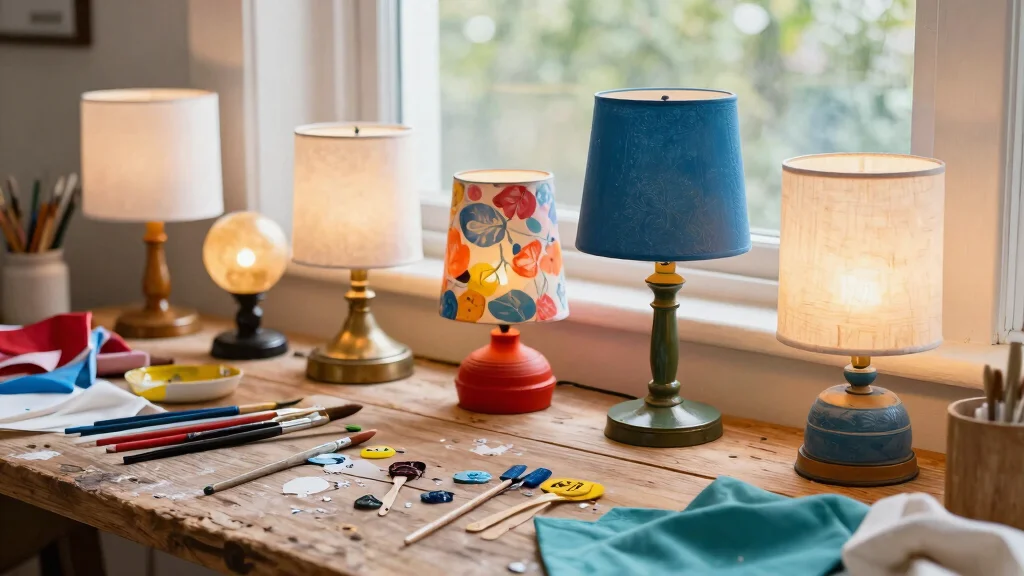
Revamping old lamps can be an exciting and rewarding project. If you’ve ever looked at a dusty lamp sitting in the corner of your room and thought it could use a little love, you’re not alone. This post is for anyone wanting to breathe new life into their home lighting decor. With DIY lamp makeover ideas, you can transform tired pieces into vibrant, eye-catching accessories that showcase your unique style.
Whether you’re a seasoned DIY enthusiast or just dipping your toes into home improvement, these creative lamp projects offer something for everyone. You’ll find affordable and fun ways to personalize your lamps without breaking the bank. From adding color with chalk paint to wrapping shades in fabric, you’ll discover how simple changes can make a big impact. Let’s get started on these nine lamp upcycling ideas to refresh your space and give your home an inviting glow.
Key Takeaways
– Discover creative lamp projects that help you turn old lamps into stylish decor for any room.
– Learn techniques like using chalk paint and fabric to transform lamp shades and bases.
– Find practical and budget-friendly ideas, ensuring that lamp upcycling doesn’t strain your wallet.
– Explore options to add personal touches, making your lamps truly unique and reflective of your style.
– Gain inspiration to tackle DIY home accessories, enhancing your overall home lighting decor.
1. Color Splash with Chalk Paint
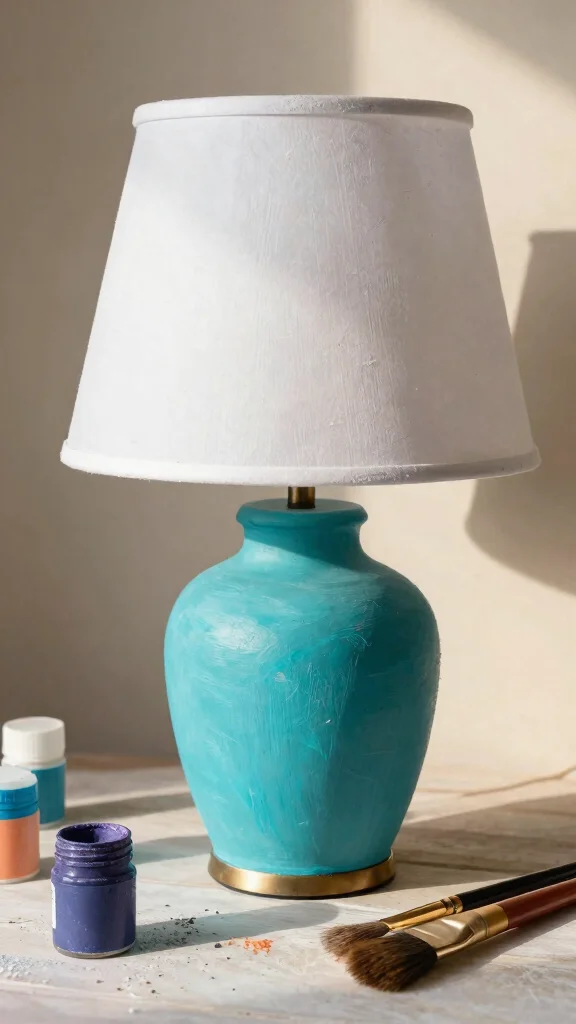
Chalk paint offers a refreshing take on lamp makeovers, adding a chic matte finish that can breathe new life into vintage pieces. This versatile medium adheres wonderfully to various surfaces, making it perfect for a splash of color in your home. Opt for bold hues like royal blue or soft pastels such as blush pink to harmonize with your room’s decor. Begin by thoroughly cleaning your lamp, then apply a base coat for a smooth starting point. Once dried, use a fine brush to create textures or patterns for added interest.
Consider a two-tone design to elevate your lamp’s appeal. Paint the base one color and the lampshade another for a striking effect. For a unique twist, lightly sand the edges after the paint dries to reveal the original material underneath, adding vintage charm.
Maximize this technique with these ideas:
– Pair vibrant chalk paint with a neutral lampshade
– Use stencils for intricate designs on the shade
– Incorporate metallic accents for a modern touch
– Finish with a sealant for durability
This approach not only enhances visual interest but also showcases your personal style through color and texture.
Color Splash with Chalk Paint
Editor’s Choice

Rust-Oleum Chiffon Cream Chalked All-in-One Ultra Matte Paint | One Coat…


AMY HOWARD AT HOME Chalk-Based One Step Paint for Furniture, Cabinetry, …

AMY HOWARD AT HOME Chalk-Based One Step Paint for Furniture, Cabinetry, …

Chalky Chicks 16 Fl Oz Matte Twilight Teal Blue Chalk Paint for Furnitur…

Country Chic All-in-One Chalk Paint for Furniture, Cabinets, Home Decor,…
2. Fabric Wrapped Shades
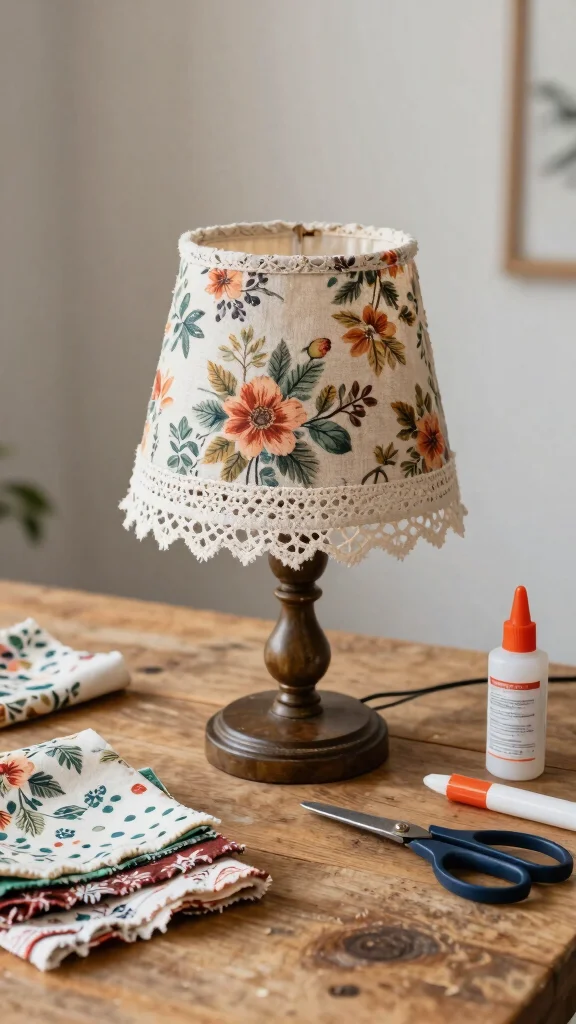
Transforming an ordinary lampshade into a fabric-wrapped beauty is an exciting DIY project! Utilize leftover fabric or thrifted finds to give your lamp a fresh, inviting appearance. Start by measuring the fabric to fit your shade, then cut it out accordingly. Adhere the fabric with spray adhesive or fabric glue for a seamless finish that adds warmth to the room.
For a layered look, combine different fabrics like lace and burlap for added depth. This method not only helps in upcycling but also allows you to refresh your lamp to match seasonal decor trends.
Consider these tips for your fabric makeover:
– Use vibrant patterns for a bold statement
– Layer different textures for visual interest
– Wrap the fabric tightly for a smooth finish
– Add trim or ribbon for a polished look
This cozy, fabric-wrapped lampshade can become a charming focal point, enhancing your home’s ambiance with its unique style.
Fabric Wrapped Shades
Editor’s Choice


SpraynBond Quilt Basting Adhesive Spray, Temporary Fabric Adhesive, 7.2 …

Odif 505 Spray Baste for Quilting (7.2 oz) with Pixiss Small Clothes Pin…

Ribbons for Crafts Wrapping Ribbon Fabric Ribbon Hair Ribbons for Girls …

Fabric Ribbon for Mums Fabric Trim Pack Hair Ribbons for Girls Decorativ…
3. Upcycled Jar Lanterns
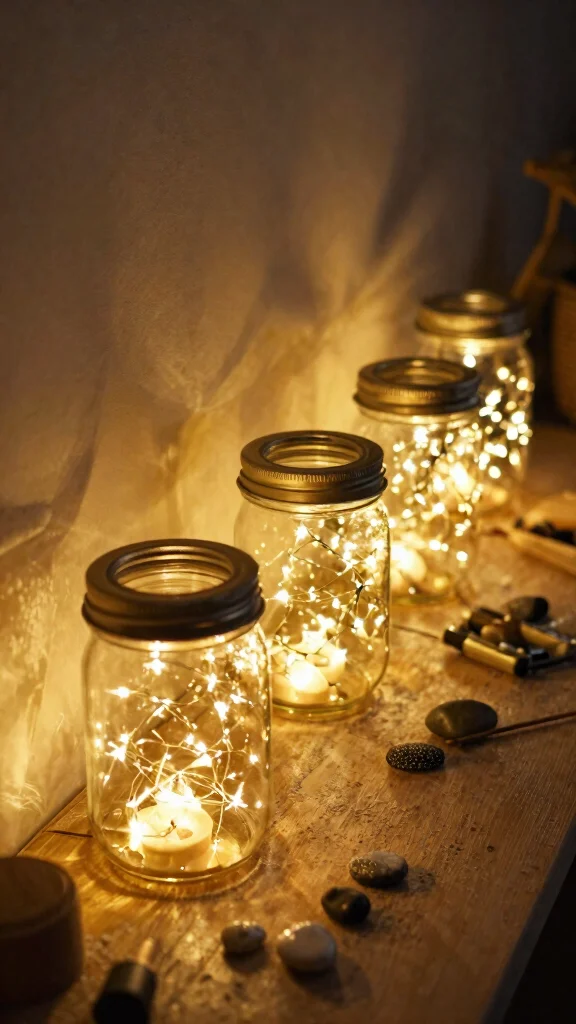
Mason jars can be a creative and eco-friendly alternative for lamp bases! Their simple design makes them suitable for various decor styles, from rustic to contemporary. Attach a lamp kit to the jar’s base, fill it with fairy lights or decorative stones, and watch it transform into an enchanting lantern.
Try different jar sizes for a tiered effect, or use tinted jars for a colorful glow. This affordable project is perfect for adding charm to both indoor and outdoor spaces, creating a cozy atmosphere wherever they are placed.
Here are some ideas to enhance your jar lanterns:
– Fill jars with seasonal elements like pinecones or flowers
– Use twine to wrap around the jar for a rustic touch
– Incorporate battery-operated lights for safety
– Arrange multiple jars together for a stunning display
These jar lanterns not only illuminate your space but also add a personal, handcrafted touch to your decor.
Did you know upcycled mason jars can cut lighting costs by up to 40% with string lights? This easy trick is a win for diy lamp makeover ideas, turning simple jars into cozy, eye-catching lanterns in minutes.
Upcycled Jar Lanterns
Editor’s Choice

National Artcraft Farmhouse-Style Plug-In Mason Jar Hanging Pendant Lamp…


4. Stylish Rope Wrap
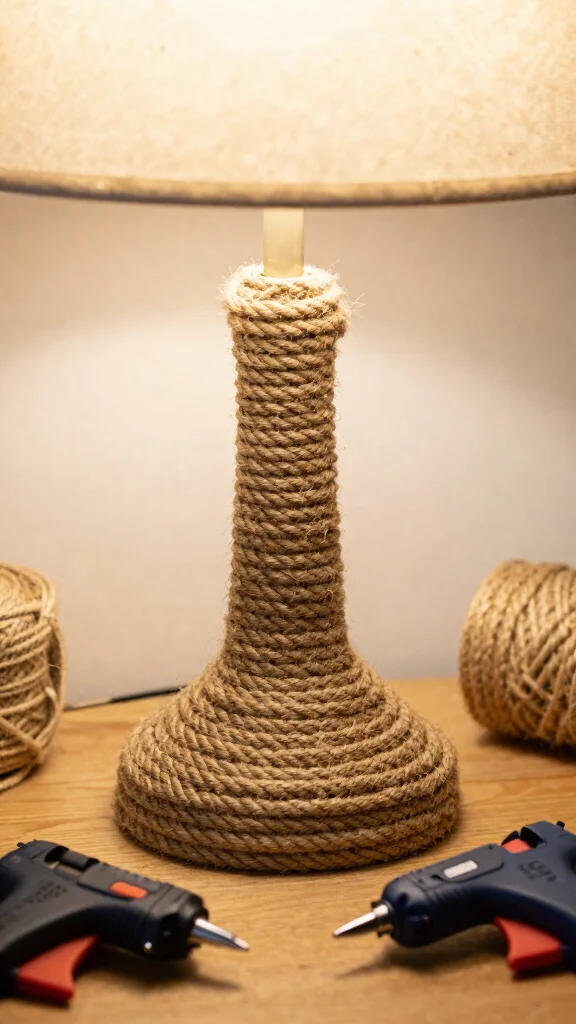
Rope-wrapping is a trendy way to infuse your lamp with a coastal vibe. Choose thick rope or jute twine that complements your design aesthetic. Start wrapping at the base, securing the rope with hot glue as you go, and continue up to the lampshade for a warm, organic finish.
Experiment with different rope thicknesses for varied textures, or paint the rope beforehand for a pop of color. This simple DIY project adds a natural element to your lighting decor, ideal for achieving a rustic or beachy aesthetic.
Enhance your lamp with these tips:
– Use contrasting rope colors for visual interest
– Incorporate shells or driftwood for thematic decoration
– Wrap unevenly for a more relaxed look
– Combine with natural materials like wood for cohesion
This technique not only beautifies your lamp but also brings the essence of nature indoors.
5. Mosaic Magic
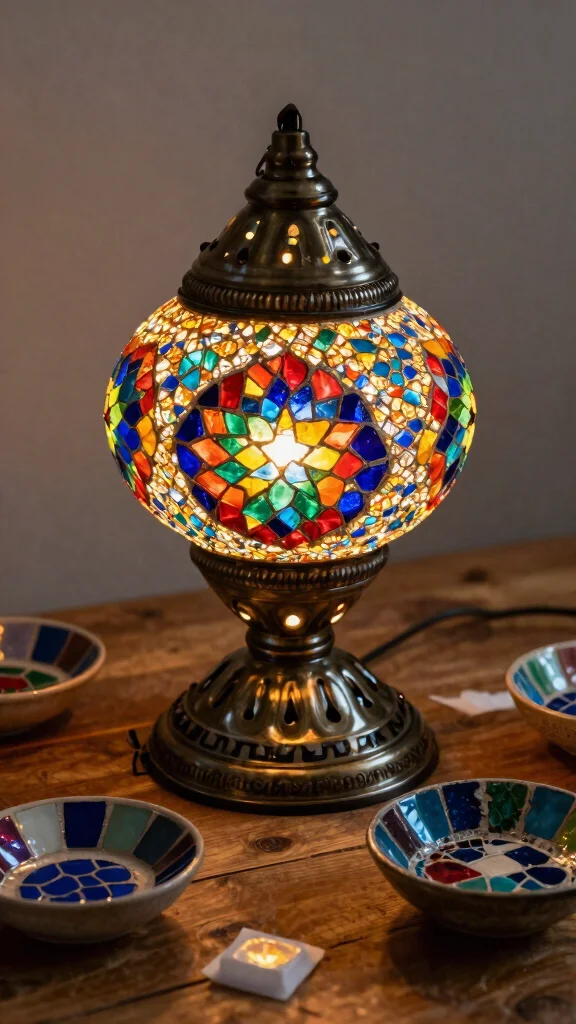
If you’re feeling adventurous, creating a mosaic lamp is a delightful project! Use colorful tiles or glass pieces to craft a stunning artistic design on your lamp base or shade. Start by choosing a pattern or image that inspires you, then gather your mosaic materials for the fun part.
Prepare the surface by cleaning it thoroughly and applying adhesive. Place each tile carefully, ensuring that the surface is fully covered for a vibrant effect. Seal your mosaic with a clear coat to protect it, especially if the lamp will be used often.
Try these tips to elevate your mosaic project:
– Mix different tile shapes for interest
– Use a theme like nature or abstract for inspiration
– Incorporate mirrored pieces for added sparkle
– Experiment with color gradients for a unique look
This vibrant lamp can become a statement piece that reflects your creativity and personal flair.
Mosaic magic turns a tired lamp into art. Start with a pattern you love, lay vibrant tiles, and seal for a durable, glow-worthy finish. With DIY lamp makeover ideas, you’ll create gallery-worthy lighting in hours.
6. Vintage Wallpaper Revamp
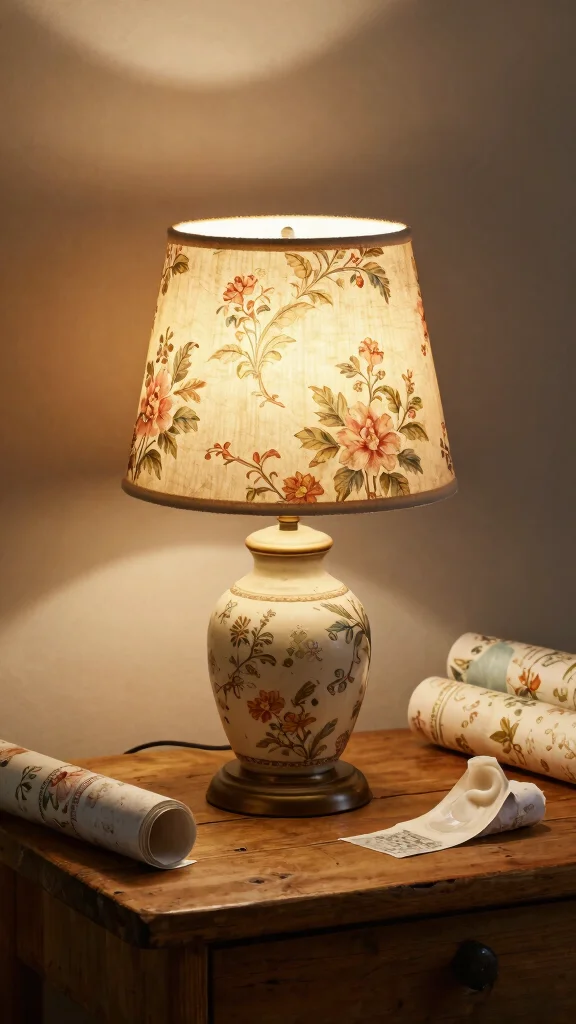
For a nostalgic touch, consider revamping your old lamp with vintage wallpaper! This technique allows you to infuse stylish patterns and textures into your decor. Select wallpaper that complements your existing style and cut it to fit your lamp shades or bases.
Apply decoupage glue to adhere the wallpaper securely, sealing it for a long-lasting finish. Feel free to mix and match patterns for an eclectic vibe that adds character to your lighting decor.
Here are some suggestions for your wallpapered lamp:
– Choose bold patterns for a statement piece
– Layer different wallpapers for a unique effect
– Incorporate coordinating trims for added detail
– Use wallpaper remnants for a sustainable approach
This charming lamp can elevate your space, becoming a delightful focal point that showcases your love for vintage aesthetics.
📹 Related Video: DIY Wallpaper Lampshade Makeover with Rachel Moore
7. Playful Spray Paint Patterns
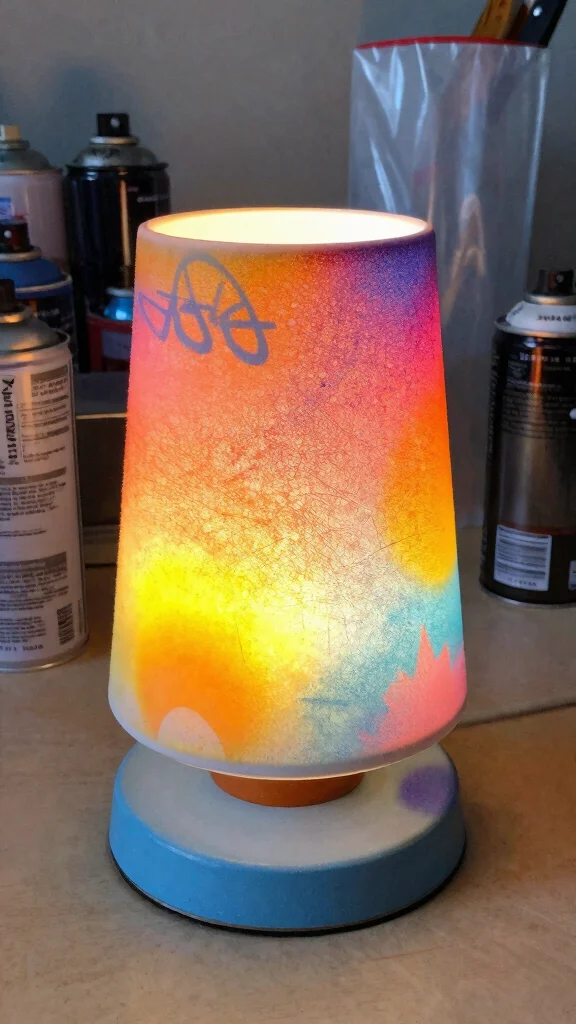
Spray paint can dramatically transform your lamp with minimal effort! It’s one of the easiest ways to refresh an old lamp. Use stencils to create unique patterns, or experiment with an ombre effect by blending colors gradually. Start by disassembling the lamp and covering any areas you don’t want to paint.
Choose spray paint designed for plastics if your lamp is made from that material. Allow the paint to dry completely before reassembling to ensure a flawless finish.
Consider these techniques for your spray paint project:
– Create fun patterns using household stencils
– Blend colors for a trendy ombre effect
– Use painter’s tape for clean lines
– Add a glossy finish for a polished look
This method can turn even the most tired lamps into stylish statement pieces that elevate your decor.
Spray painting a lamp is your fast track to a fresh look—no heavy overhaul needed. Start with light coats, use stencils for patterns, and test on plastics first. With a little patience, your diy lamp makeover ideas will glow with personality.
Playful Spray Paint Patterns
Editor’s Choice

Spray Paint, 12 oz, 6-Pack (High Visibility Mix: Orange, Yellow, Gloss W…
PINTY PLUS Aqua Mini Spray Paint – Art Set of 6 Water Based 4.2oz Cans. …


Rust-Oleum 299887-2PK Painter’s Touch 2X Ultra Cover Spray Paint, 12 oz,…

ScotchBlue Original Multi-Surface Painter’s Tape, 1.88 Inches x 60 Yards…
8. Faux Metal Finishes
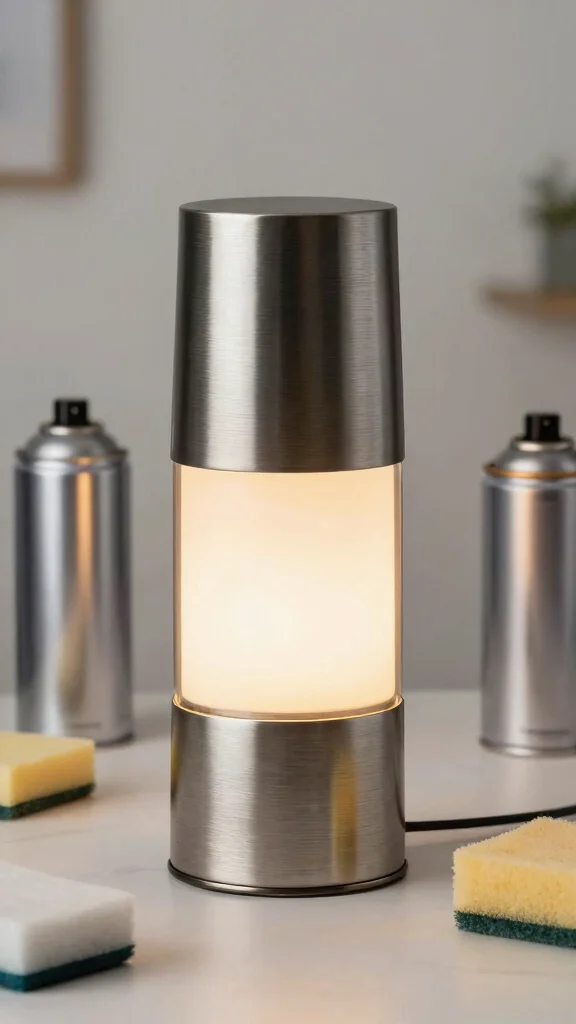
If you adore the look of metal but want to save money, consider creating a faux metal finish! This technique uses metallic spray paint or tape to mimic the appearance of metal on your lamp. Choose a contrasting base color for a striking visual effect.
For a more textured appearance, dab the paint on with a sponge instead of spraying. This creates a brushed metal look that adds sophistication without breaking the bank.
Try these tips for your faux metal finish:
– Choose metallic shades like gold or silver for glam
– Experiment with different painting techniques for texture
– Combine with other finishes for depth
– Use metallic tape for precise detailing
This trick allows you to achieve a sleek, modern vibe that seamlessly integrates into your contemporary home decor.
How To Choose the Right Lamp Makeover Project
Choosing the right DIY lamp makeover project can be exciting yet overwhelming. You want to pick a project that fits your style, skills, and budget. Here’s how to make that decision easier:
1. Assess Your Skill Level
Before diving into a project, consider your DIY skills. Are you a beginner or a pro? Some projects may require advanced techniques like wiring, while others involve simple painting or wrapping. If you’re new to crafting, start with a fabric-wrapped shade or playful spray paint patterns. These projects are not only easy but also rewarding, giving you a great introduction to lamp upcycling.
2. Consider the Lamp Style
Look at the lamp you want to revamp. Is it a vintage find or a modern piece? The style will guide your makeover. For vintage lamps, consider using elements like mosaic magic or vintage wallpaper revamps to enhance its charm. For modern lamps, a sleek faux metal finish or fabric wrap might be more appropriate. Match the makeover to the lamp’s original design for a cohesive look.
3. Determine Your Budget
Setting a budget helps narrow down choices. Some projects, like fabric-wrapped shades, might only cost a few dollars, while others, like a full mosaic makeover, could require more investment. Plan for materials like paint, fabric, tools, or additional decor elements. Stick to your budget to ensure you enjoy the process without financial stress.
4. Identify Your Desired Style
Think about how you want the lamp to fit into your home lighting decor. Do you lean towards bohemian, modern, or rustic styles? Choosing a style will help you select colors, materials, and techniques. If you love natural elements, a rope wrap or nature-inspired details could enhance your space. Keep your overall home decor in mind for a seamless blend.
5. Gather Materials and Tools
Make a list of materials and tools needed for your chosen project. For instance, a fabric-wrapped shade will require fabric, a hot glue gun, and scissors. A mosaic lamp makeover will need tile pieces, adhesive, and grout. Gather everything before starting to keep the momentum going. Prepare a dedicated workspace to keep all items organized and easily accessible.
6. Plan for Time Commitment
Consider how much time you can dedicate to your DIY lamp makeover. Some projects might take a few hours, while others could take a weekend. Factor in drying times for paint or glue. If a project seems too time-consuming, it might be best to choose a quicker option, like playful spray paint patterns, to keep it manageable.
Pro Tip: Start with small projects to build your confidence. Once you feel comfortable, you can tackle more complex makeovers. Don’t rush the process; take your time to enjoy each step and let your creativity shine! 🚀
9. Nature-Inspired Elements
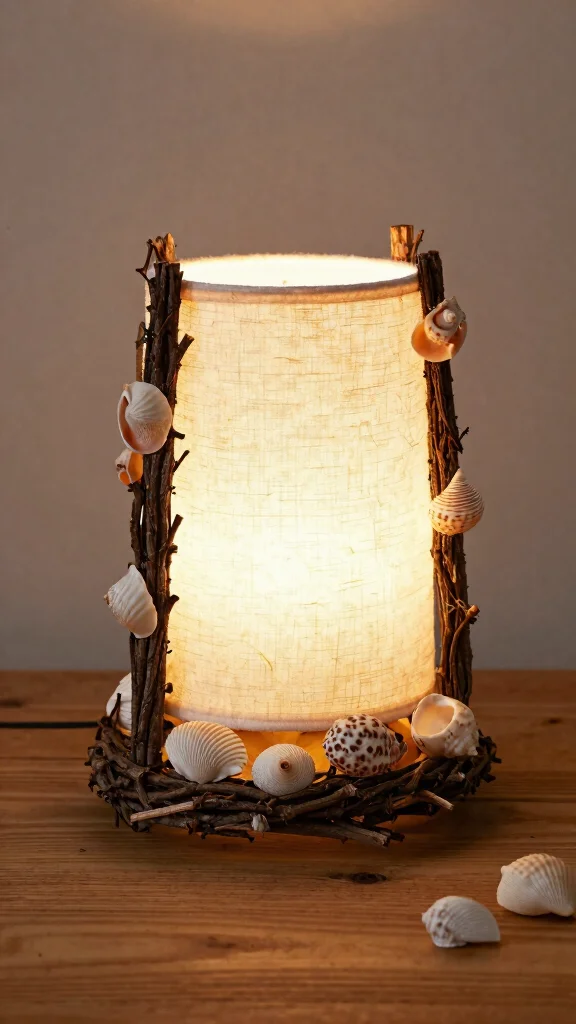
Embrace the beauty of nature by incorporating natural elements into your lamp makeover! Use twigs, leaves, or seashells to create a rustic, organic feel. Start by gathering your materials and securely attaching them around the lamp base with glue.
For a seasonal touch, swap out the natural elements based on the time of year—think pinecones in winter or fresh flowers in spring. This charming idea enhances your home decor with textures and colors inspired by the earth.
Consider these creative suggestions:
– Use seasonal foliage for a fresh look
– Layer different materials for depth
– Incorporate small stones for a grounded feel
– Create a themed lamp for each season
This concept not only beautifies your lamp but also brings a refreshing, earthy vibe to your home lighting decor.
Nature-Inspired Elements
Editor’s Choice
Gorilla Hot Glue Gun Kit (Pack of 1 Full Size Hot Glue Gun and 45 Sticks…

Arrow Full Size Dual Temp Glue Gun Kit with 12 Sticks – Professional, Hi…

Artificial Italian Ruscus Greenery Stems, 20 Pack Faux Green Leaf Garlan…

WEAUSUP 21 Bundles Artificial Outdoor Flowers Fake Plants & Greenery | P…

Pulovin 20 lbs River Rocks for Landscaping, 2″-3″ Natural Rocks for Aqua…
Conclusion
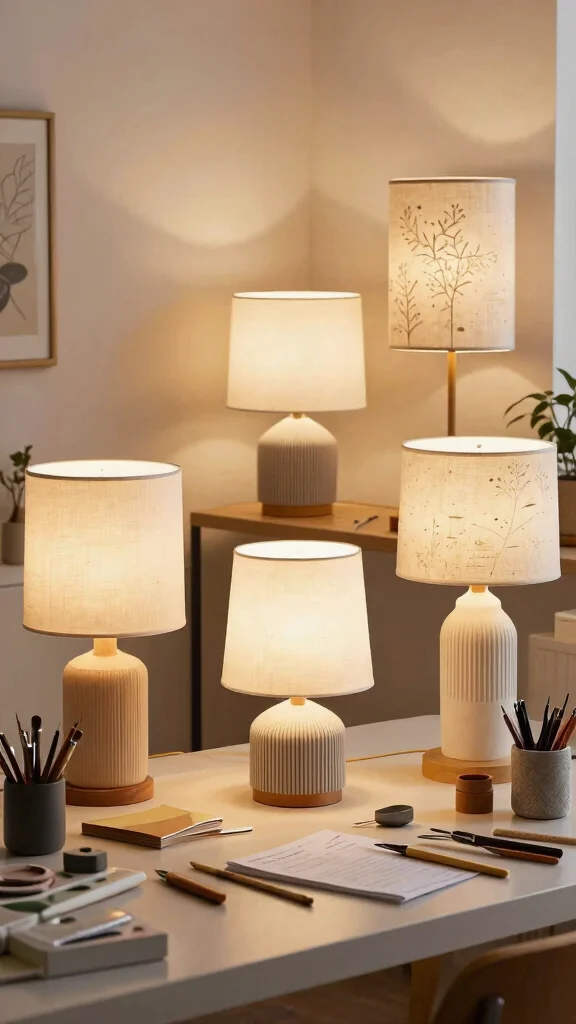
Revamping old lamps with these DIY makeover ideas adds a personal touch to your home decor. Each project not only transforms the lamp but also reflects your unique style and creativity. Whether you’re using paint, fabric, or natural elements, the process of upcycling can be incredibly rewarding. So gather your supplies, unleash your imagination, and start crafting your very own lighting masterpieces!
Note: We aim to provide accurate product links, but some may occasionally expire or become unavailable. If this happens, please search directly on Amazon for the product or a suitable alternative.
This post contains Amazon affiliate links, meaning we may earn a small commission if you purchase through our links, at no extra cost to you.
Frequently Asked Questions
What are some beginner-friendly diy lamp makeover ideas to refresh old lamps?
Start with a bold refresh: repaint the base with chalk-style paint or spray paint in a fresh color.
Swap the lampshade for a new look, or wrap the base with fabric, rope, or decoupage to add texture and personality.
Update hardware like the finial and switch, and consider a cord cover for a cleaner finish.
Finish with an energy-efficient LED bulb to complete the look. These diy lamp makeover ideas are perfect for lamp upcycling on a budget and can dramatically boost your home lighting decor.
How can I upcycle vintage lamps on a budget without sacrificing style?
Shop secondhand or free finds, then give them a fresh life with simple updates.
Paint the base, add a chic new shade, and use decorative accessories like jute twine or decoupage to personalize. Reuse safe wiring if it’s in good condition; otherwise replace the cord set for a small cost.
With thoughtful details, you can achieve high-end vibes through lamp upcycling and affordable home improvements while keeping DIY home accessories on budget.
What tools and materials do I need for a creative lamp project at home?
Keep this starter kit handy: a screwdriver, wire stripper/pliers, masking tape, sandpaper, and a clean workspace.
Materials can include spray paint and primer, chalk paint, fabric or paper for shades, rope or wrap for texture, decoupage medium, glue, and a new cord set or plug.
Optional extras: LED bulbs, a dimmer, a shade extender, and safety gear like gloves and eye protection. This setup supports creative lamp projects and DIY home accessories that elevate home lighting decor.
How can I choose the right shade and lighting to improve home lighting decor with a makeover?
Match the shade shape to the lamp base and room style—drum and empire shades are versatile, while pleated shades add softness.
Consider color and material to control light quality; warmer tones create cozy spaces, while white or metallic shades feel modern. Use warm-white LEDs and a dimmer to adjust mood and highlight your lamp upcycling work without overpowering the room. This is all part of thoughtful DIY lamp makeover ideas for home lighting decor.
Are there safe steps to refurbish old lamps without damaging electrical components?
Yes—start by unplugging the lamp and inspecting the cord and plug for cracks or wear.
If wiring looks frayed or the switch feels loose, replace the cord set or have a pro rewire it. Use the correct wattage rating for the socket and bulbs, and avoid exotic modifications that override safety.
When in doubt, consult a qualified electrician. Safe lamp upcycling ensures your affordable home improvements stay both stylish and secure.
Related Topics
diy lamp makeover
lamp upcycling
home lighting decor
vintage style
creative lamp projects
affordable home improvements
beginner friendly
easy decor hacks
budget friendly
upcycled decor
interior styling
quick updates