
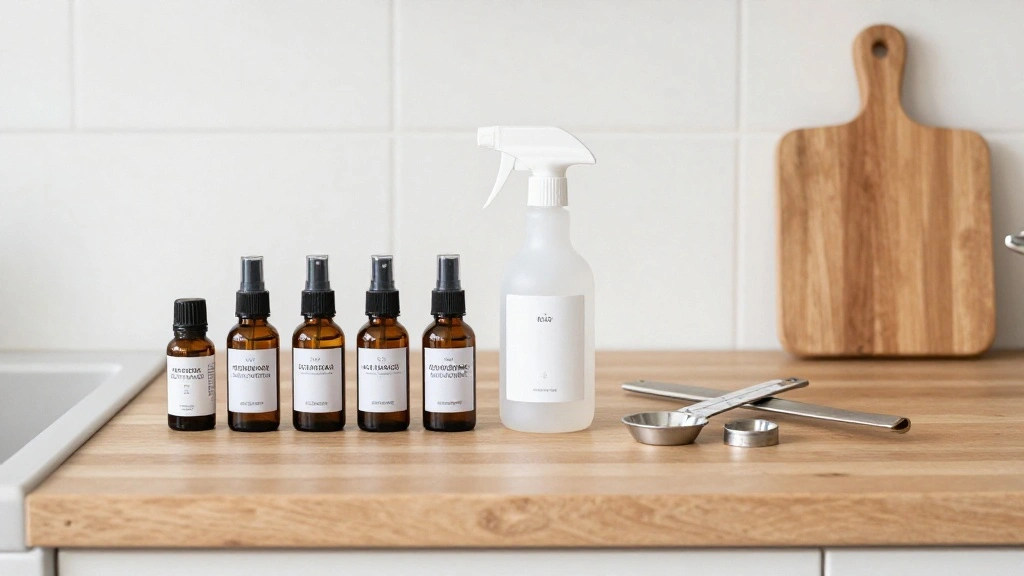
Are you tired of synthetic air fresheners filled with chemicals that can harm your health and the environment? It’s time to take action! A DIY room spray with essential oils not only freshens up your space but also promotes a calming and uplifting atmosphere. By creating your own room spray, you can choose your favorite scents, customize the strength, and avoid harmful additives.
In this guide, you will learn how to create your very own room spray using essential oils, simple ingredients, and common household items. You will accomplish the task of making a natural air freshener that will leave your home smelling delightful and inviting. This beginner-friendly project will take just about 30 minutes of your time.
Throughout this article, we will walk you through each step, from gathering your materials to mixing and bottling your room spray. Get ready to transform your living space with gentle, natural fragrances!
Difficulty Level: Beginner
Estimated Time: 30 minutes
TL;DR Summary
- Make a refreshing DIY room spray using essential oils.
- Customize scents and avoid harmful chemicals.
- Follow a simple, beginner-friendly process.
- Complete the project in about 30 minutes.
Recommended Products
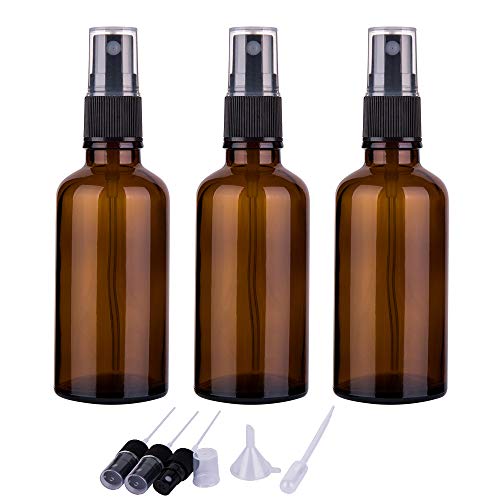
GREAT VALUE - Includes 2oz Amber glass spray bottlex3, mist sprayerx6, Funnelx1, Dropperx1, Labelx6
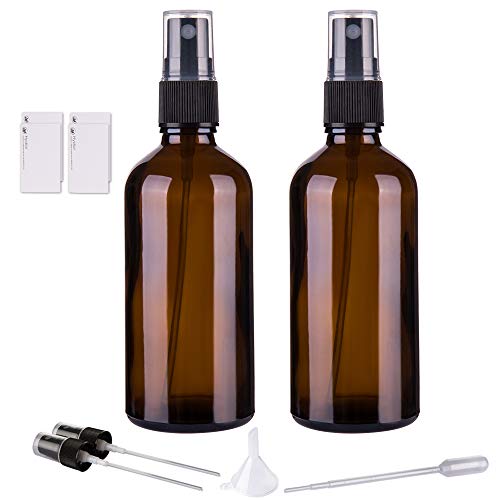
★DESIGN FEATURES – Solid amber small glass spray bottle, Empty, Refillable, Leak proof, UV Protection

GREAT VALUE – Includes 2oz amber glass spray bottle x 18, black mist sprayer x 18
TL;DR Summary
Editor’s Choice

1 Pack Empty Perfume Spray Bottles, 50ML Ribbed Glass Atomizer Spray Bot…

HIQILI Women Fragrance Oil 6x10ml, Essential Oils for Candle Scents Soap…

PU essential Oil Carrying Case – Holds 12 Bottles (5ml-15ml, Including R…
Prerequisites/Materials Needed
- Essential oils (e.g., lavender, lemon, eucalyptus) – 10-20 drops each
- Distilled water – 1 cup
- Witch hazel or vodka – 2 tablespoons
- Glass spray bottle (8 oz) – 1
- Measuring spoons – 1 set
- Funnel – 1
Recommended Products

Note: The spray nozzle is not suitable for dense liquids, such as olive oil, thick essential oil, dense liquids can clog the sprayer and cause the sprayer not work.

Material and Construction: Amber glass body with black atomizer spray and clear cap for light-sensitive liquid protection

Amber Glass, UV Protection: The spray bottle is made from high-quality amber glass, which provides UV protection to preserve the contents from light degradation, making it ideal for essential oils, cleaning solutions, and more.
Prerequisites/Materials Needed
Editor’s Choice

2oz Amber Glass Spray Bottles for Essential Oils, Small Empty Spray Bott…

Amazing Woman Measuring Spoon Set, Decorative Gifts and Kitchen Accessor…

Essential Oils Roll On Set (Pack of 8) 8 Scent, Relaxing, Self Care Gift…
Skill Level & Time Estimate
Skill Level: Beginner
Total time estimate: 30 minutes
Time Breakdown:
- Gathering materials: 5 minutes
- Mixing ingredients: 10 minutes
- Bottling and labeling: 15 minutes
Recommended Products

ALCOHOL-FREE, GENTLE FORMULA: Enjoy the trusted cleansing power of T.N. Dickinson’s Witch Hazel with an extra-gentle, alcohol-free formula that won’t sting or dry out your skin.

One 16-ounce bottle of Witch Hazel U.S.P. Astringent

COOLING RELIEF: Need some quick, soothing “down there” relief? Earth Mama’s Herbal Perineal Spray features refreshing organic witch hazel and cooling cucumber, along with organic essential oils for anyone who needs a little nether region soothing, including during pregnancy and postpartum.
Skill Level & Time Estimate
Editor’s Choice
Cliganic Organic Aromatherapy TOP 12 Essential Oils Set, 100% Pure – Pep…

Plastic Spray Bottles Empty Spray Bottle 16.9oz/500ml 2 Pack Heavy Duty …

Nelko Label Maker Machine with Tape, P21 Bluetooth Label Printer, Wirele…
Step 1: Gather Your Materials
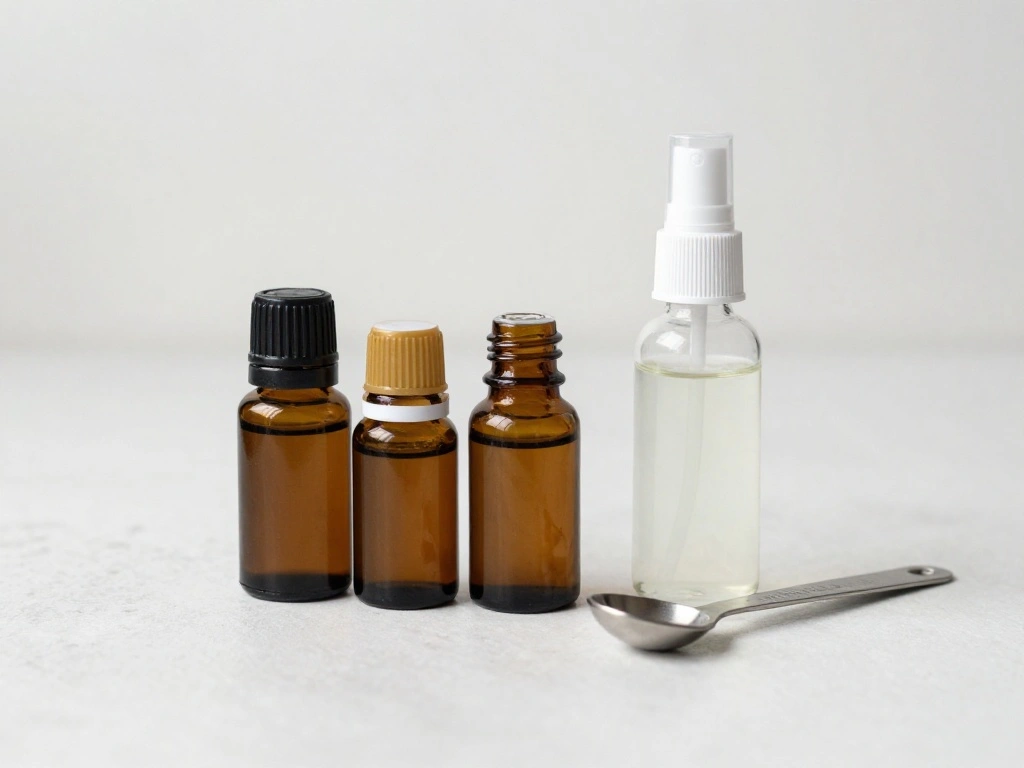
To start your DIY room spray, gather all the necessary materials listed in the prerequisites. This step is crucial because having everything on hand makes the process smoother and more enjoyable. Ensure you have the following:
- Essential oils
- Distilled water
- Witch hazel or vodka
- Glass spray bottle
- Measuring spoons
- Funnel
Pro Tip: Choose essential oils based on your mood or desired effect. For relaxation, use lavender. For an energizing scent, go with citrus oils.
Estimated time for this step: 5 minutes.
Recommended Products

Vermouth Mist for Classic Cocktails: The 30ml cocktail atomizer gives a light spray of vermouth over the glass, helping you control aroma and flavor without over-pouring

Ultra-Fine No Drench Mist. Built with advanced vaporization technology, this handheld device releases an ultra-fine, cool nano mist that quickly blankets target areas uniformly. It avoids messy water accumulation, creating a gentle layer suitable for delicate residential and office environments.

Usage: Transfer your favorite fragrance into the atomizer using the included funnel
Step 1: Gather Your Materials
Editor’s Choice
Amazing Woman Measuring Spoon Set, Decorative Gifts and Kitchen Accessor…
Essential Oils Roll On Set (Pack of 8) 8 Scent, Relaxing, Self Care Gift…
2oz Amber Glass Spray Bottles for Essential Oils, Small Empty Spray Bott…
Step 2: Measure Your Ingredients
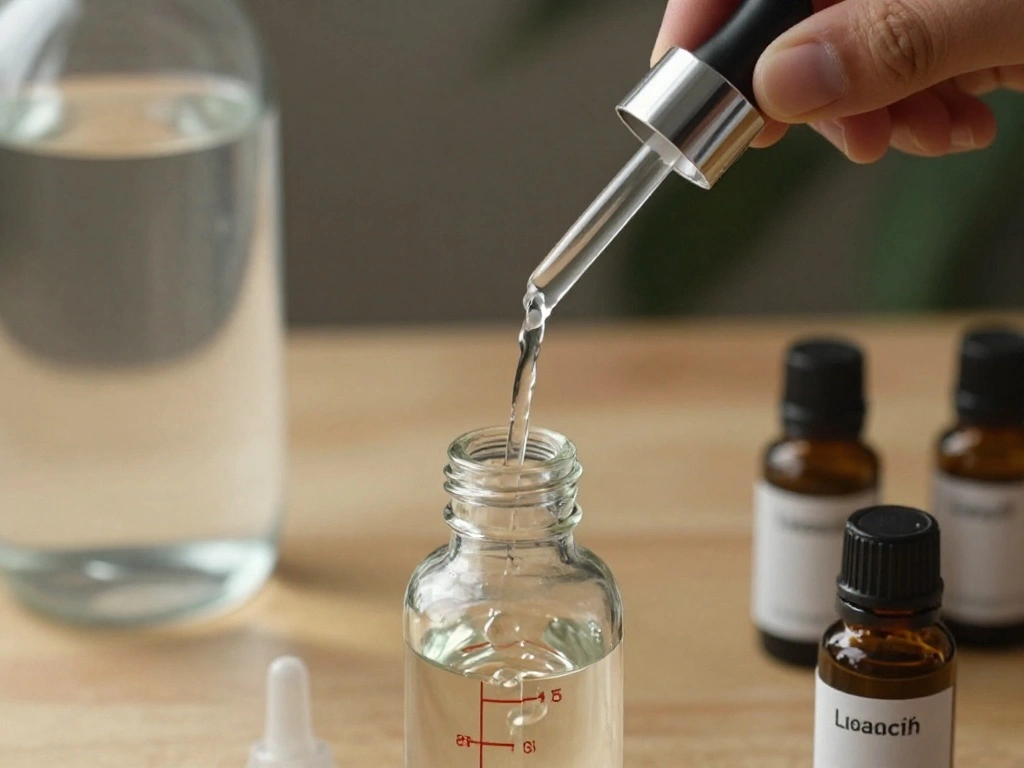
Now that you have all your materials, it’s time to measure the ingredients accurately. This step is vital because the right proportions affect the scent strength and effectiveness of the spray. Follow these instructions:
- Using the measuring spoons, pour 2 tablespoons of witch hazel or vodka into the glass spray bottle.
- Next, add 1 cup of distilled water.
- Finally, select your essential oils and add 10-20 drops of each oil into the mixture.
Warning: Avoid using tap water, as impurities can affect the scent and longevity of your spray.
Estimated time for this step: 10 minutes.
Recommended Products

100% PURE AND NATURAL LEMON EUCALYPTUS OIL – Brooklyn Botany essential oils are all natural with no additives or dilution. Therefore, they can provide their maximum benefits and are extremely potent.

100% PURE & NATURAL LEMON EUCALYPTUS OIL - Handcraft Blends oils are exactly that! Many oils being sold make that claim but are in fact made of natural isolates and mixtures. Each essential oil is tested by an independent lab which is why every bottle comes with a Quality Guaranty.

100% PURE & NATURAL EUCALYPTUS OIL - Majestic Pure Blends oils are exactly that! Many oils being sold make that claim but are in fact made of natural isolates and mixtures. Each essential oil is tested by an independent lab which is why every bottle comes with a Quality Guaranty.
Step 2: Measure Your Ingredients
Editor’s Choice

JUYRLE Perfume Making Kit- DIY Roller Perfume Making Kits for Women, Mak…
Amazing Woman Measuring Spoon Set, Decorative Gifts and Kitchen Accessor…

Perineal Peri Squirt Bottle, Postpartum Vaginal Lavette Irrigation, Femi…
Step 3: Mix the Ingredients
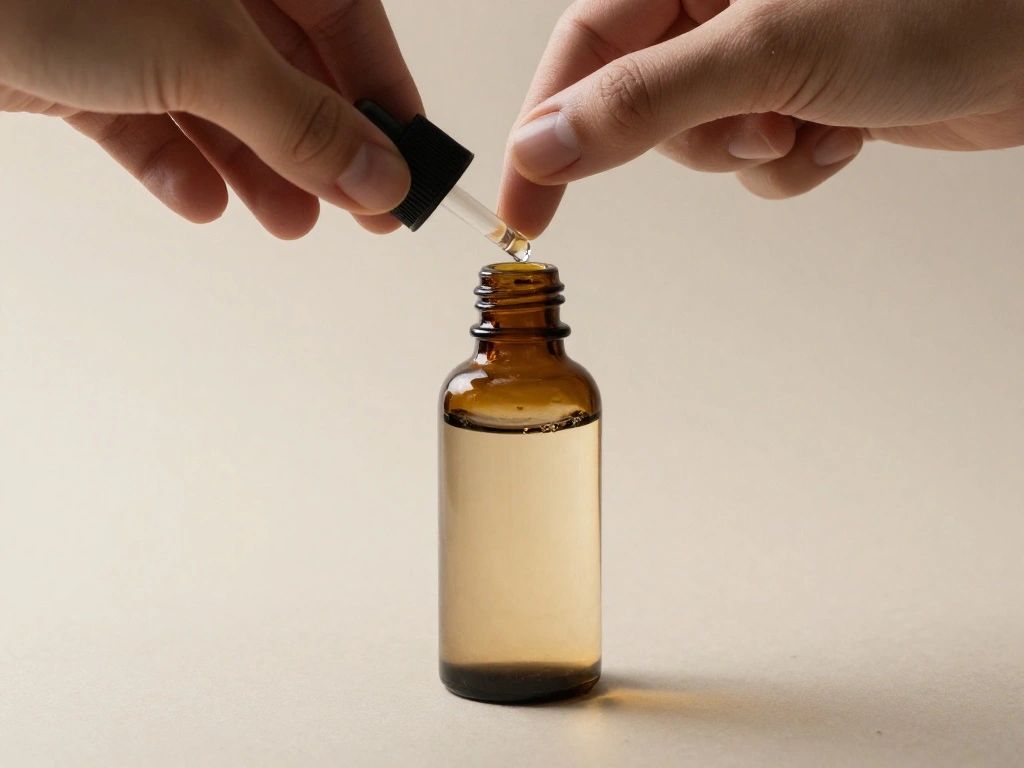
With your ingredients measured, it’s time to mix them together. This step is essential for ensuring that the essential oils blend well with the water and witch hazel. Follow these instructions:
- Using the funnel, carefully pour the witch hazel and distilled water into the spray bottle.
- Add the essential oils you selected.
- Secure the spray bottle cap tightly.
Pro Tip: Shake the bottle gently to combine the ingredients, but avoid vigorous shaking, as it may cause the bottle to leak.
Estimated time for this step: 5 minutes.
Recommended Products

PACKAGE INCLUDES: 4 pack small spray bottles 4 oz + 2 large funnels + 4 labels + 1 marker + 1 extra sprayer + 1 pipette. Bottles are packaged in bubble wrap and thick carton box to prevent damage

【Important Usage Warnings】Compatible Liquids: Recommended for low-viscosity water-based liquids such as toners, hydrosols, alcohol-based disinfectants, and diluted cleaning solutions. Do NOT use with: High-viscosity oils, thick serums, or liquids with suspended particles (may clog the nozzle). Strong acids, bases, corrosive chemicals, or harsh solvents (may damage the glass or pump components).

PACKAGE INCLUDED--4 spray bottles.Each bottle comes with a spray head and cap,bottle size: 1.89“ x 5.67“.Holds 120ml/4 oz.come with 2 funnel,2 pipettes for easiling load the liquid in the bottles;
Step 3: Mix the Ingredients
Editor’s Choice

T.N. Dickinson’s Witch Hazel Alcohol Free Moisturizing Astringent | 100%…

Essential Oil Roll On for Self Care – Aromatherapy Oil Gift for Women Me…
2oz Amber Glass Spray Bottles for Essential Oils, Small Empty Spray Bott…
Step 4: Test the Scent
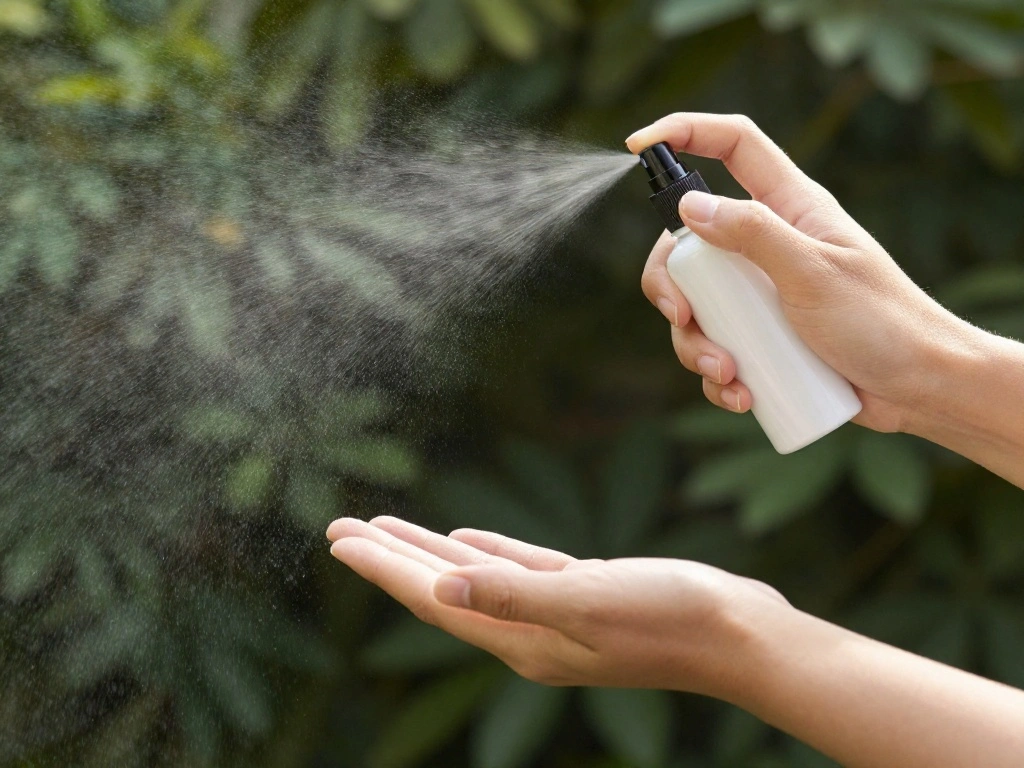
Before you bottle your DIY room spray, it’s a good idea to test the scent. This ensures that you love the fragrance before committing to it. Here’s how to do it:
- Spray a small amount into the air to evaluate the scent.
- If you wish to adjust the fragrance, add more drops of essential oils until you achieve your desired scent.
Warning: Remember that the scent may change slightly after it settles, so wait a few minutes before making final adjustments.
Estimated time for this step: 5 minutes.
Recommended Products

Package Includes:6 Pcs 1.7oz/50ml square amber glass spray bottles,with fine mist sprayer and black cap ,2 Funnels ,2 Dropper,8 labels
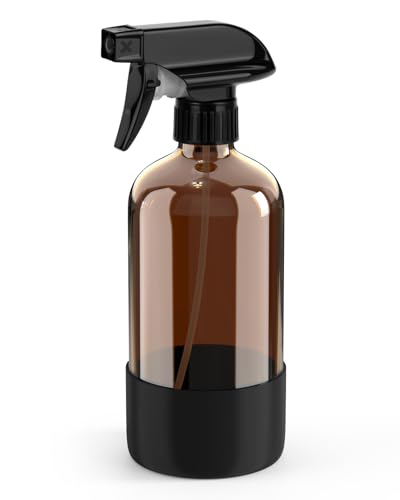
Premium Amber Glass & UV Protection: Made of high-quality amber glass that effectively blocks light damage, preventing light-sensitive liquids (like essential oils, aromatherapy blends, or homemade cleaners) from deteriorating. Keep your solutions fresh and potent for longer.
Step 4: Test the Scent
Editor’s Choice
HIQILI Women Fragrance Oil 6x10ml, Essential Oils for Candle Scents Soap…

SAEUYVB Candle Making Kit with Wax Melter, Candle Making Kit for Adults …
Step 5: Label Your Bottle

Labeling your spray bottle is an important step for several reasons. It not only helps you remember the scent but also ensures safe storage. Here’s how to label:
- Use a permanent marker or label maker to write the name of the scent on the bottle.
- Include the date you made the spray.
Pro Tip: You can also decorate the bottle to make it visually appealing or match your decor.
Estimated time for this step: 5 minutes.
Recommended Products

Postpartum Essential: Sitz Bath Spray is a convenient spray version of a traditional sitz bath soak for postpartum care and comfort

GENTLY CLARIFIES & REFRESHES SKIN: This witch hazel toner spray clarifies skin by removing excess oil and aids in clearing pores, while also balancing and hydrating the skin for a clear, even complexion.
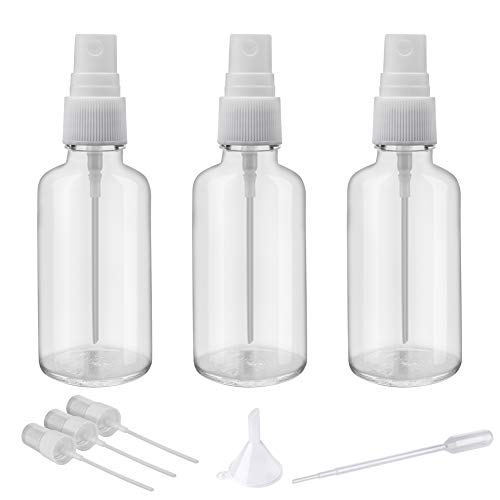
GREAT VALUE : 2oz clear small glass spray bottle with white plastic sprayer 3 pack. Extra included 3 white plastic sprayer, 1 funnel, 1 pipette , 6 labels
Step 6: Store Your Room Spray
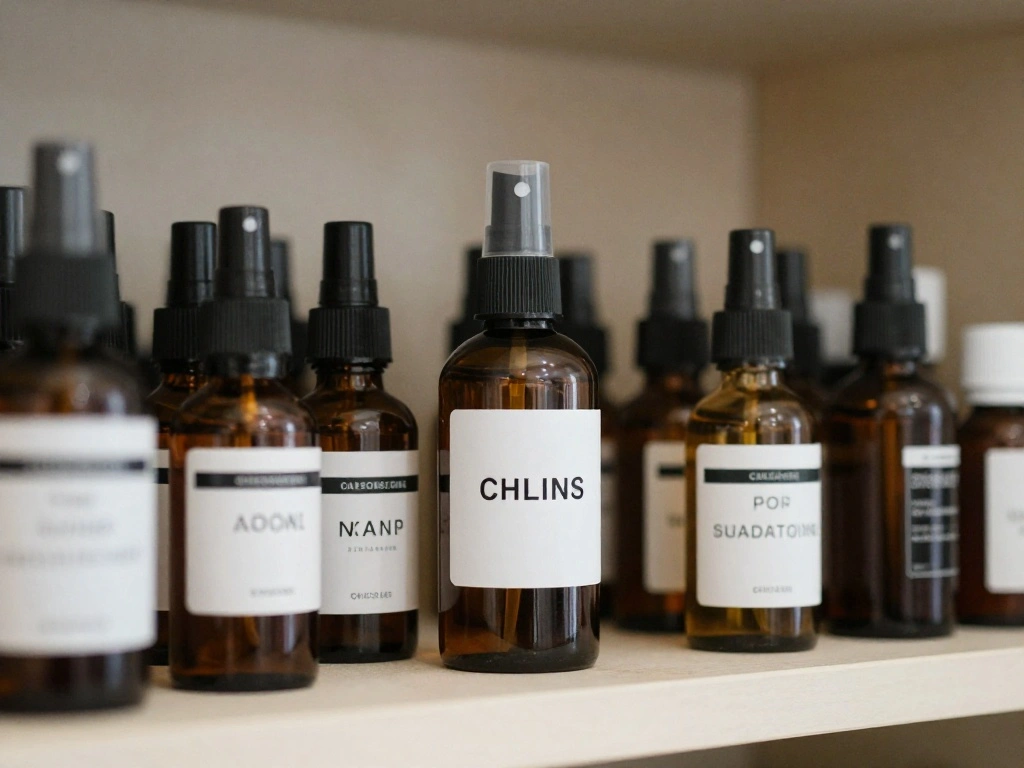
After labeling, it’s crucial to store your room spray properly to maintain its effectiveness. Follow these guidelines:
- Keep the spray bottle in a cool, dark place to prevent the essential oils from degrading.
- Store it away from direct sunlight and heat sources.
Warning: Do not store the spray in the bathroom, as moisture can affect the mixture.
Estimated time for this step: 5 minutes.
Recommended Products
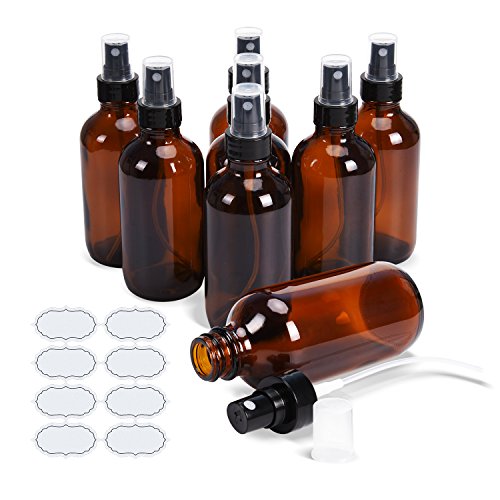
BPA & Lead-free - Our reusable glass bottles do not contain chemicals or compounds like BPA or lead,thus, your liquid sprays can be stored effectively and safely without worring affect the performance. For cleaning, you just need to put the bottles in a dishwasher after taking apart the black sprayers, or simply wash them in hot water, save time and energy.

Opens the Heart to Love, Compassion and Grace. Refreshing, Uplifting, Gentle and Purifying.

Mini Spray Bottle Set: 20 packs 10ml small spray bottle, great quantity for daily uses. The size of our perfume atomizer is 5.31*0.5*0.5 inch, handy and portable, fit in your purse, pack, handbag, makeup bag to carry on-the-go. The travel spray bottle is transparent, so you can see the remaining amount of perfume or other water-based liquids clearly
Step 6: Store Your Room Spray
Editor’s Choice

Bontip Glass Spray Bottle, Amber Glass Spray Bottle Set & Accessories Re…

TORIBIO Essential Oil Storage Box for 40 Bottles, Wooden Essential Oils …
Step 7: Use Your DIY Room Spray
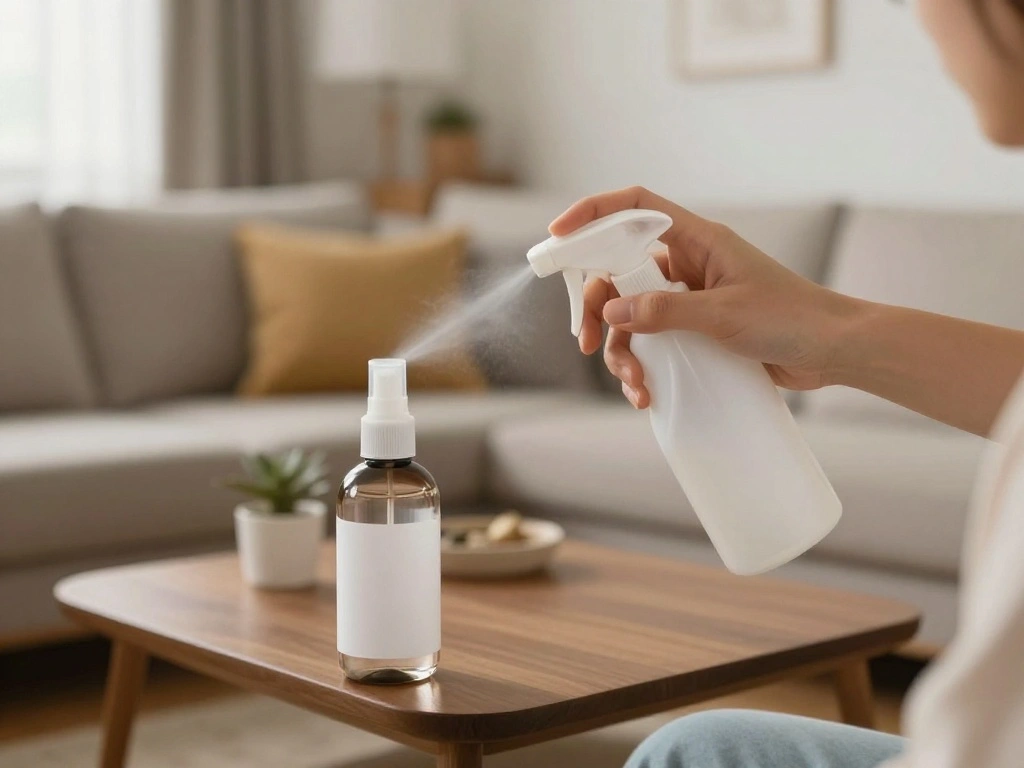
Now that your DIY room spray is ready, it’s time to put it to use! Here’s how to enjoy your creation:
- Spray the mixture into the air to freshen up any room in your home.
- Use it to eliminate odors in your living space, car, or fabric.
Pro Tip: Shake the bottle gently before each use to ensure the oils are evenly distributed.
Estimated time for this step: Immediate!
Recommended Products
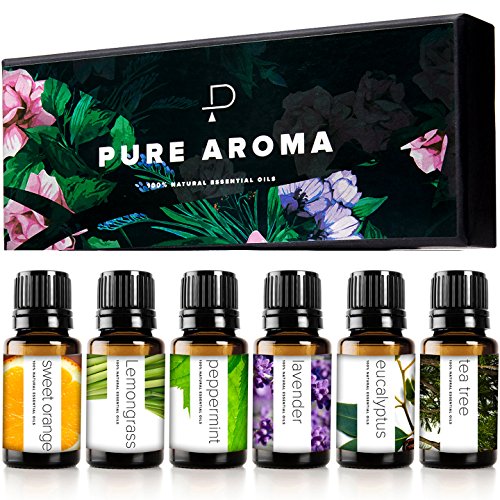
Discover the natural benefits of aromatherapy with our Pure Aroma Essential Oil Set. This curated collection of 6 x 10ml bottles contains pure, essential oils, perfect for both beginners and experienced users. Perfect for diffusers, creating homemade candles, soaps, bath bombs, or blending.

Step 7: Use Your DIY Room Spray
Editor’s Choice

Cocorrína Reed Diffuser Set, Clean Linen 6.7 fl oz Scented Diffuser wit…
HIQILI Women Fragrance Oil 6x10ml, Essential Oils for Candle Scents Soap…
Step 8: Enjoy the Benefits of Aromatherapy
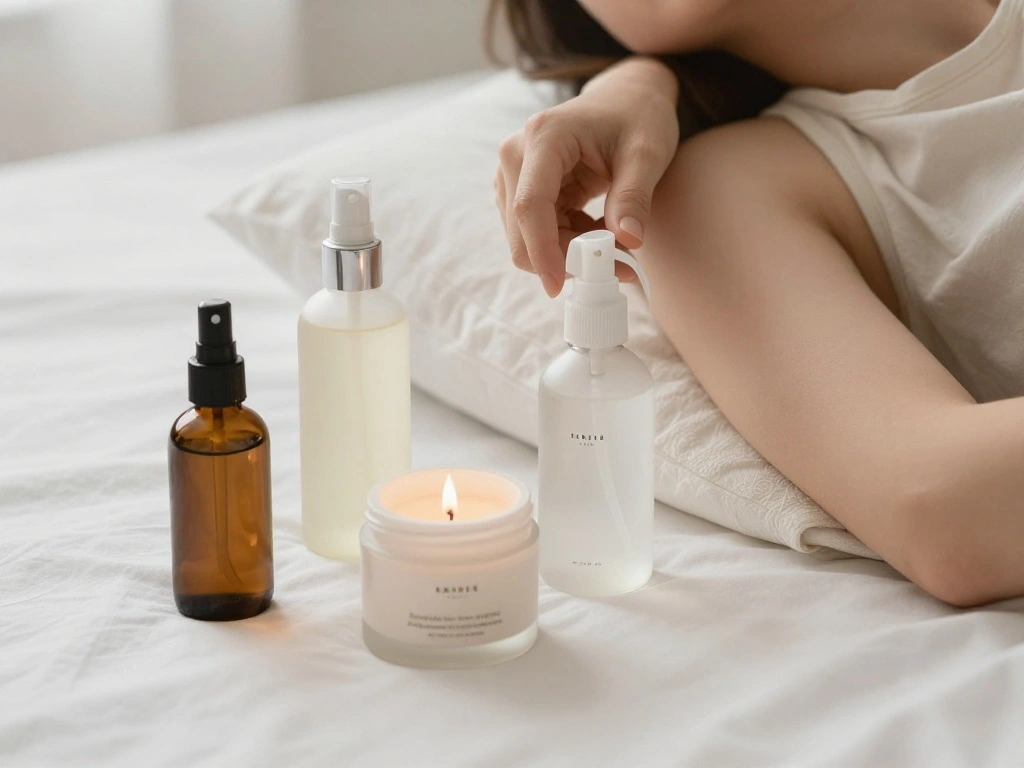
In addition to freshening your space, your DIY room spray offers aromatherapy benefits. Here’s how to maximize these effects:
- Use uplifting scents like citrus during the day to boost your mood.
- Opt for calming scents like lavender in the evening to help you relax.
Pro Tip: Experiment with different essential oils to find combinations that enhance your well-being.
Estimated time for this step: Ongoing!
Step 8: Enjoy the Benefits of Aromatherapy
Editor’s Choice

Essential Oil Diffuser for Women, 500ml Aromatherapy Diffuser:14-Color L…
Step 9: Refill When Necessary

As you use your room spray, you’ll eventually need to refill it. Here’s how to make the process easy:
- When the bottle is nearly empty, repeat the mixing steps outlined earlier.
- Consider adjusting the essential oil proportions based on your experience.
Pro Tip: Keep a small notebook to jot down your favorite combinations for future batches.
Estimated time for this step: 5 minutes.
Step 9: Refill When Necessary
Editor’s Choice

LUXJA Essential Oil Carrying Case – Holds 30 Bottles (5ml-30ml, Also Fit…

56 Pcs Perfume Making Kit – Includes 100 Fragrance Test Strips, 20 Sampl…

Hydior Amber Glass Spray Bottles for Essential Oils, 4oz Empty Small Fin…
Pro Tips
- Choose Quality Oils: Invest in high-quality essential oils to ensure your spray is effective and safe.
- Experiment with Blends: Mix different essential oils to create unique scents that suit your preferences.
- Adjust for Strength: If the scent is too weak, increase the number of drops; if it’s too strong, reduce the drops.
- Use Distilled Water: Always use distilled water to maximize shelf life and fragrance.
- Keep Away from Pets: Some essential oils can be harmful to pets, so research before using them in your home.
Pro Tips
Editor’s Choice
Bontip Glass Spray Bottle, Amber Glass Spray Bottle Set & Accessories Re…
Purified Water (16.9 fl. oz., 40 pk.) TOTAL 200 BOTTLES

Essential Oils Set by Pure Aroma – Top 6 Aromatherapy Oils Gift Set-6 Pa…
Common Mistakes to Avoid
Warning: Do not use too many essential oils, as this can lead to overpowering scents. Stick to 10-20 drops total.
Warning: Avoid using plastic spray bottles, as essential oils can degrade plastic over time.
Warning: Do not skip the witch hazel or vodka, as they help emulsify the oils in water and enhance the scent longevity.
Common Mistakes to Avoid
Editor’s Choice
2oz Amber Glass Spray Bottles for Essential Oils, Small Empty Spray Bott…
T.N. Dickinson’s Witch Hazel Alcohol Free Moisturizing Astringent | 100%…

8 Pcs×10ml Pure Essential Oils for Diffuser for Home Care, Perfume, Can…
Troubleshooting Section
Problem: The scent is too weak.
Solution: Add more essential oils in small increments until you achieve the desired strength.
Problem: The spray clogs.
Solution: Clean the nozzle with warm soapy water and ensure no essential oil residue is blocking it.
Problem: The scent fades quickly.
Solution: Store the spray in a cool, dark place to prolong its effectiveness.
Troubleshooting Section
Editor’s Choice
2oz Amber Glass Spray Bottles for Essential Oils, Small Empty Spray Bott…
HIQILI Women Fragrance Oil 6x10ml, Essential Oils for Candle Scents Soap…

Hipiwe Hard Shell Essential Oil Carrying Case Holds 12 Bottles (Can hold…
Variations/Alternative Methods
For a fun twist on your room spray, consider these variations:
- Use dried herbs or flowers in the spray for added texture and scent.
- Create a seasonal blend, such as cinnamon and clove for fall.
- Experiment with different alcohol bases, like vodka or rum, for unique results.
Variations/Alternative Methods
Editor’s Choice
2oz Amber Glass Spray Bottles for Essential Oils, Small Empty Spray Bott…

Yoni Steam Herb for Women pH Balance, Natural Feminine Vaginal Herbs Cle…
HIQILI Women Fragrance Oil 6x10ml, Essential Oils for Candle Scents Soap…
FAQs
What if I don’t have witch hazel? You can use vodka as a substitute to help emulsify the essential oils.
How long should I let the spray sit before using? It’s best to let the mixture sit for at least 24 hours to enhance the scent.
Is it safe to use essential oils around pets? Some essential oils can be harmful to pets, so make sure to research which oils are safe before use.
FAQs
Editor’s Choice

Cynpel Peri Bottle – Postpartum and Perineal Care – Portable Travel Bide…
HIQILI Women Fragrance Oil 6x10ml, Essential Oils for Candle Scents Soap…

vH essentials Personal Cleansing Spray, pH Balancing Lactic Acid, Sting-…
Conclusion

Congratulations! You’ve successfully created your own DIY room spray with essential oils. Not only have you enhanced the ambiance of your home, but you’ve also taken a step towards a healthier lifestyle by avoiding synthetic fragrances.
Your next steps could involve experimenting with different scent combinations or trying out other DIY projects using essential oils. Keep exploring and enjoy the refreshing scents you’ve created!