
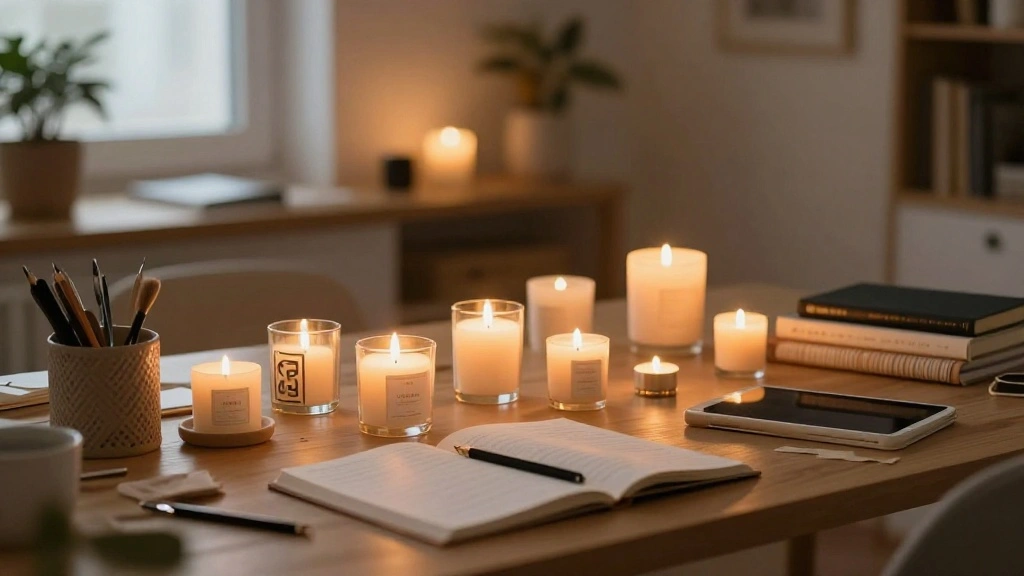
Are you tired of bland, uninspired candles that don’t reflect your personality? You’re not alone! Many people crave a touch of creativity in their home decor, and candles are the perfect medium. With the right decorating techniques, you can transform simple candles into stunning pieces that elevate your space. In this guide, you will learn how to creatively style candles to suit your unique taste and home environment.
By the end of this tutorial, you will have a variety of decoration techniques at your disposal, from using natural elements to incorporating colors that pop. This is a beginner-friendly project that anyone can do, regardless of experience level, and you can achieve beautiful results in just a short time. Estimated time: 2-3 hours.
Let’s get started on this exciting journey of candle decorating!
TL;DR Summary
- Learn simple techniques to decorate candles creatively.
- Gather necessary materials and tools before starting.
- Follow step-by-step instructions for effective results.
- Achieve beautiful candle decor in 2-3 hours.
TL;DR Summary
Editor’s Choice

SAEUYVB Candle Making Kit with Wax Melter, Candle Making Kit for Adults …


Complete Candle Making Kits for Adults Beginners, DIY Candle Making Supp…

African Woman Candle Holder Statue – Tribal Resin Figurine for Tea Lig…
Prerequisites/Materials Needed
- Candles: 3-5 different styles (pillar, tea light, votive)
- Decorative elements:
- Ribbons (various colors)
- Dried flowers or herbs
- Glitter or sequins
- Adhesives:
- Hot glue gun and glue sticks
- Double-sided tape
- Tools:
- Scissors
- Paintbrush (for glue)
- Spray sealant (optional)
Prerequisites/Materials Needed
Editor’s Choice

Hot Glue Gun, 20V Pink Cordless Glue Gun with 30 PCS Full Size Glue Stic…

5 in 1 Candle Accessory Kit, Gold Candle Wick Trimmer Set with Rechargea…
Skill Level & Time Estimate
Skill Level: Beginner
Total time estimate is 2-3 hours. Here’s a quick breakdown:
- Gathering materials: 15-30 minutes
- Decorating candles: 1-2 hours
- Drying time (if needed): 30 minutes
Skill Level & Time Estimate
Editor’s Choice

FansArriche Candle Dye – 18 Colors Liquid Oil-Based Dye for Candle Wax, …

Candle Making Kit,Candle Making Supplies Include 2.12lb Soy Wax for Cand…
Step 1: Gather Your Materials
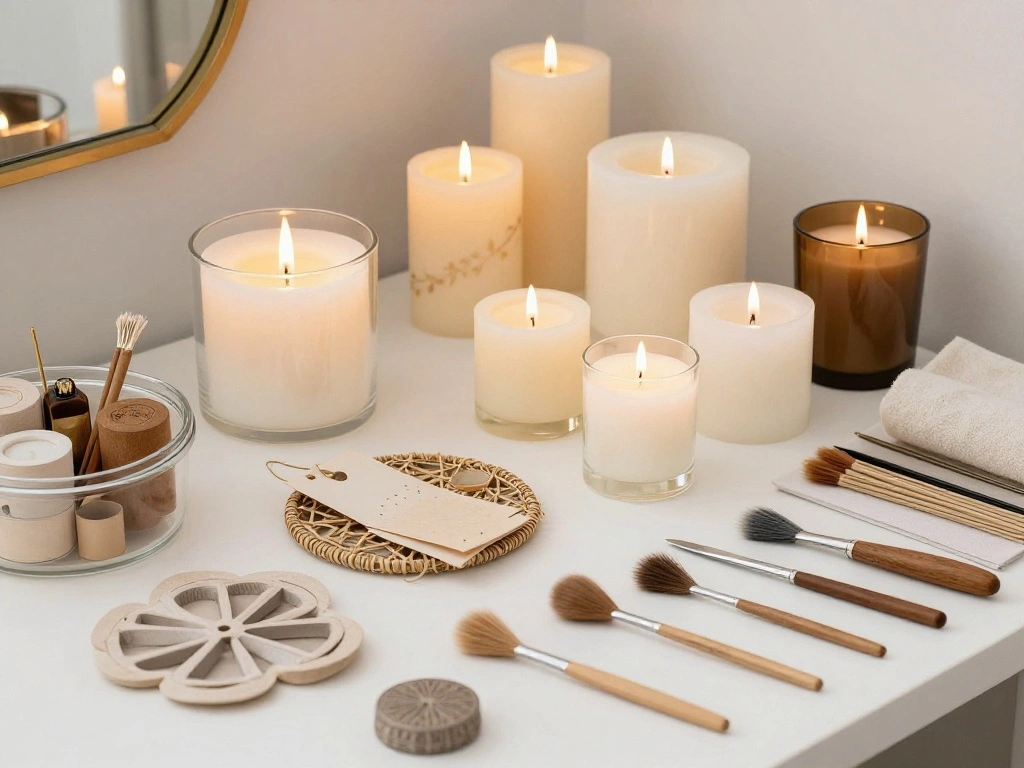
Start your candle decorating project by gathering all your materials in one place. This will help streamline the decorating process and ensure you have everything on hand. Pro Tip: Organize your workspace to avoid distractions.
Here’s how to do it:
- Find a clean, flat surface to work on.
- Lay out all your candles in one area.
- Arrange decorative elements nearby for easy access.
Why this matters: Having everything organized will save you time and frustration during the decorating process.
Estimated time for this step: 15-30 minutes.
Step 1: Gather Your Materials
Editor’s Choice

FAIRYELF Premium Candle Making Kit with Wax Melter, DIY Starter Scented …

CHEFBEE Candle Wick Trimmer, Black Polished Stainless Steel Wick Clipper…
Step 2: Choose Your Color Scheme
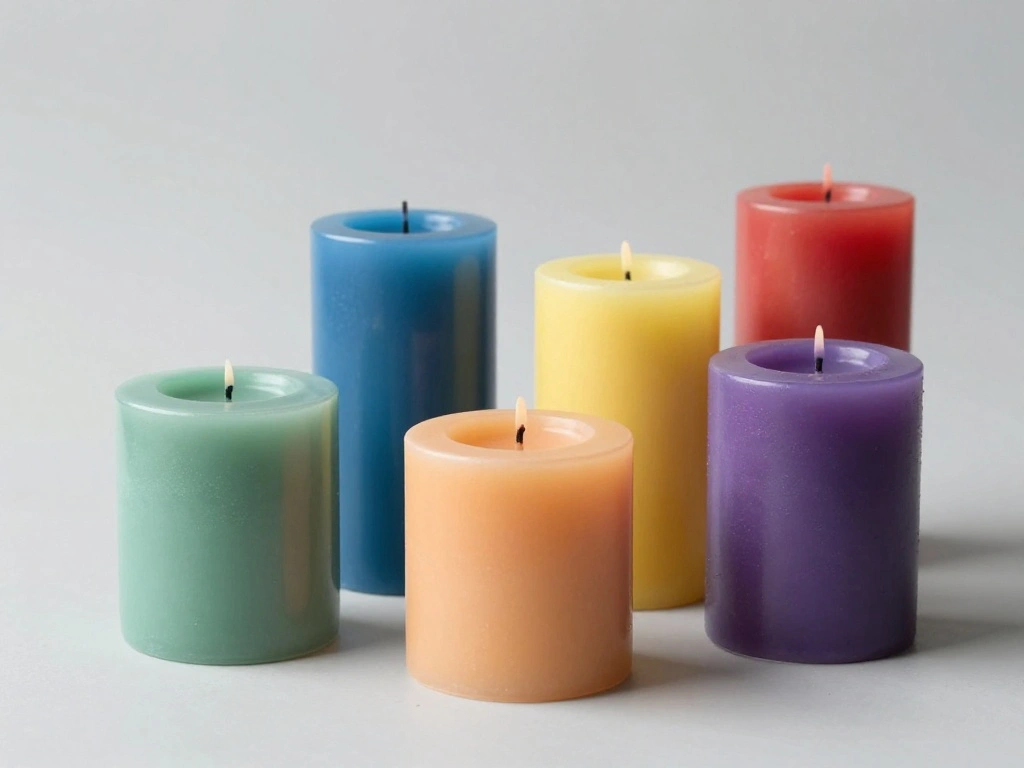
Selecting a color scheme is essential for creating visually appealing candle decor. Think about where you’ll place the candles and what colors will complement your space. Warning: Avoid using too many clashing colors as it may create a chaotic look.
Follow these steps:
- Review your home decor and identify existing color themes.
- Select 2-3 colors that complement or contrast with your decor.
- Gather decorative elements in those colors.
Why this matters: A harmonious color scheme enhances the overall aesthetic of your space.
Estimated time for this step: 20-30 minutes.
Step 2: Choose Your Color Scheme
Editor’s Choice

African Woman Candle Holder Statue – Tribal Resin Figurine for Tea Lig…

Scented Candles Gift Set for Women, 4 Pack Soy Wax Candles in Classic Bo…
Step 3: Prepare the Candles
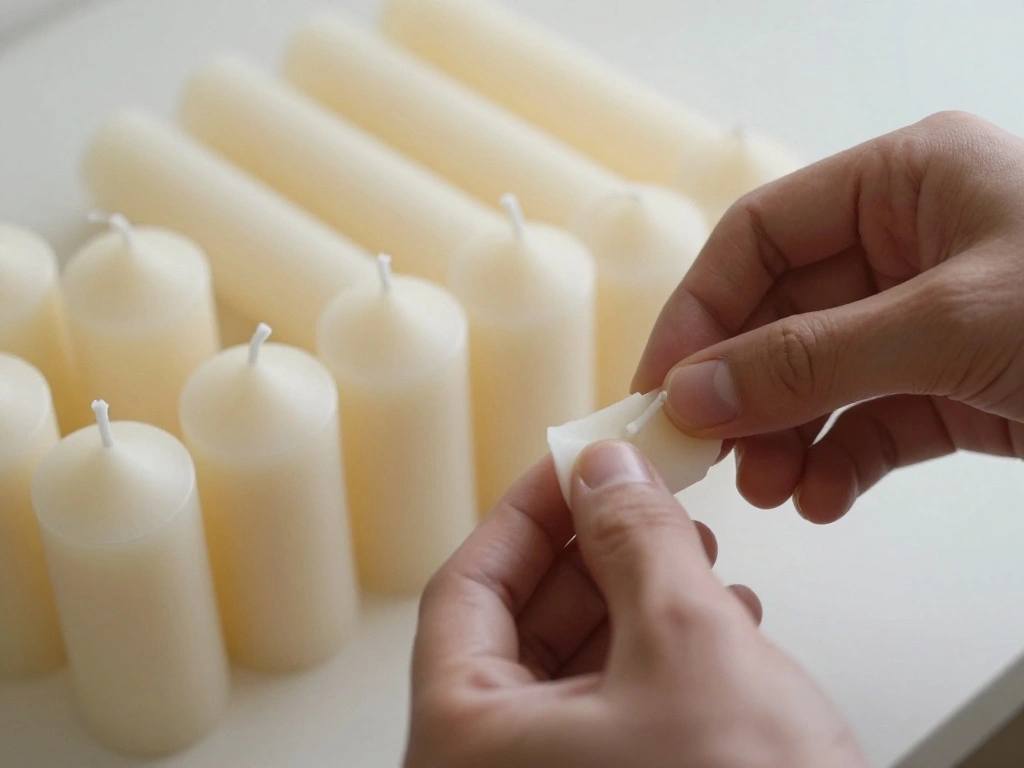
Before you begin decorating, it’s crucial to prepare your candles. This step ensures that the decorations adhere properly. Pro Tip: Clean the surface of the candles to remove dust or oils.
Here’s how to prepare your candles:
- Wipe the surface of each candle with a clean cloth.
- If using a pillar candle, gently rub the surface to create a slight texture.
- Allow the candles to dry completely before decorating.
Why this matters: Properly prepared candles allow decorations to stick better and look more polished.
Estimated time for this step: 15-20 minutes.
Step 4: Apply Base Decorations
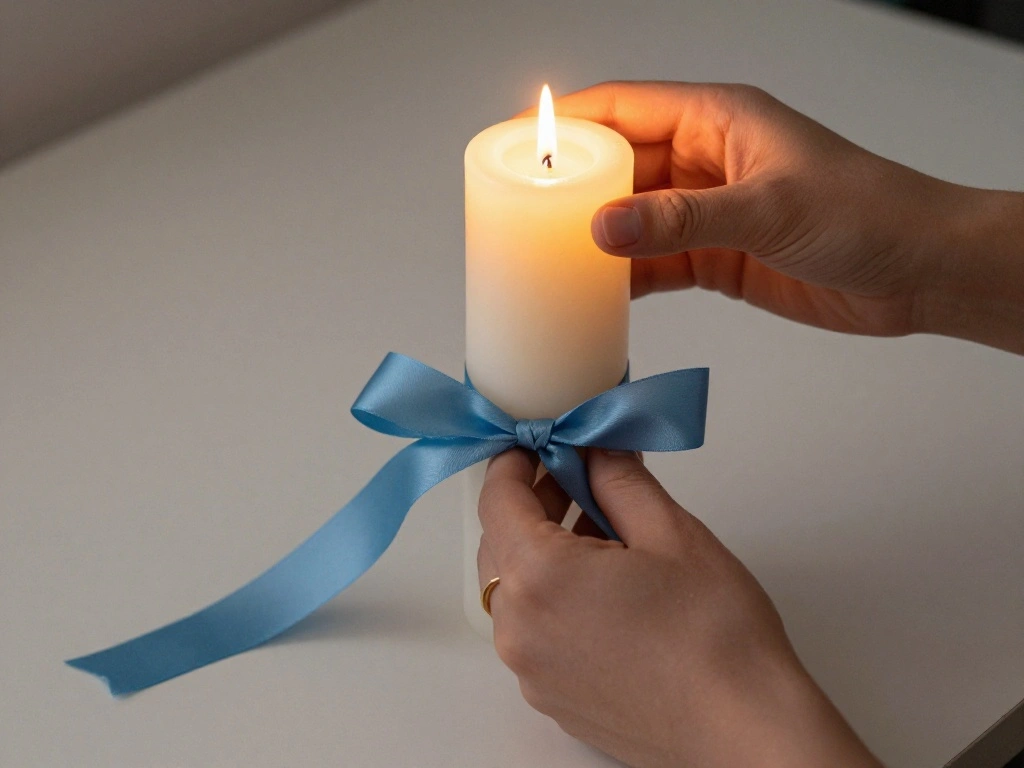
Now it’s time to add the first layer of decorations. Base decorations set the tone for your candles and can include ribbons or fabric. Warning: Ensure that any materials used are heat-resistant.
Follow these steps:
- Cut ribbons or fabric to the desired length.
- Wrap the material around the candle and secure it with hot glue or double-sided tape.
- Make sure the decoration is straight and evenly placed.
Why this matters: Base decorations provide a foundation for more intricate designs and enhance the candle’s look.
Estimated time for this step: 30 minutes.
Step 4: Apply Base Decorations
Editor’s Choice
Hot Glue Gun, 20V Pink Cordless Glue Gun with 30 PCS Full Size Glue Stic…

100 Pieces Sliver Satin Awareness Ribbons with Safety Pins 1.4 * 3 inch
Double Sided Tape for Crafts, Double-Sided Tape for Arts, Scrapbook Supp…
Step 5: Add Decorative Elements
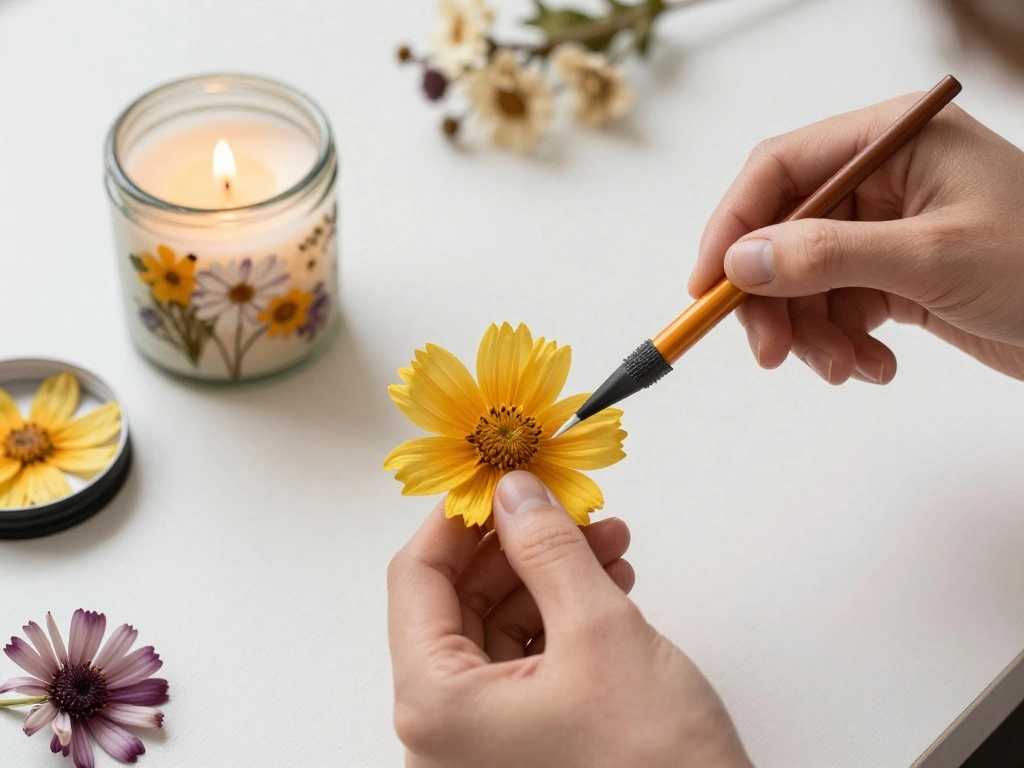
With the base layer complete, it’s time to incorporate decorative elements like dried flowers or glitter. This adds personality and visual interest to your candles. Pro Tip: Mix and match materials for a unique look.
Here’s how to add decorative elements:
- Select the decorative elements you wish to use.
- Apply hot glue to the back of each element.
- Press the elements onto the candle, arranging them as desired.
Why this matters: Decorative elements bring your candles to life and allow you to express your creativity.
Estimated time for this step: 30-45 minutes.
Step 5: Add Decorative Elements
Editor’s Choice

GRENPRO Pink Tool Set Drill Set, 188PCS Tool Kit For Home with Pink Cord…
U-RIGHT Cute Retractable Ballpoint Pens for Women Girls, Fancy Decorativ…
Step 6: Seal Your Work (Optional)
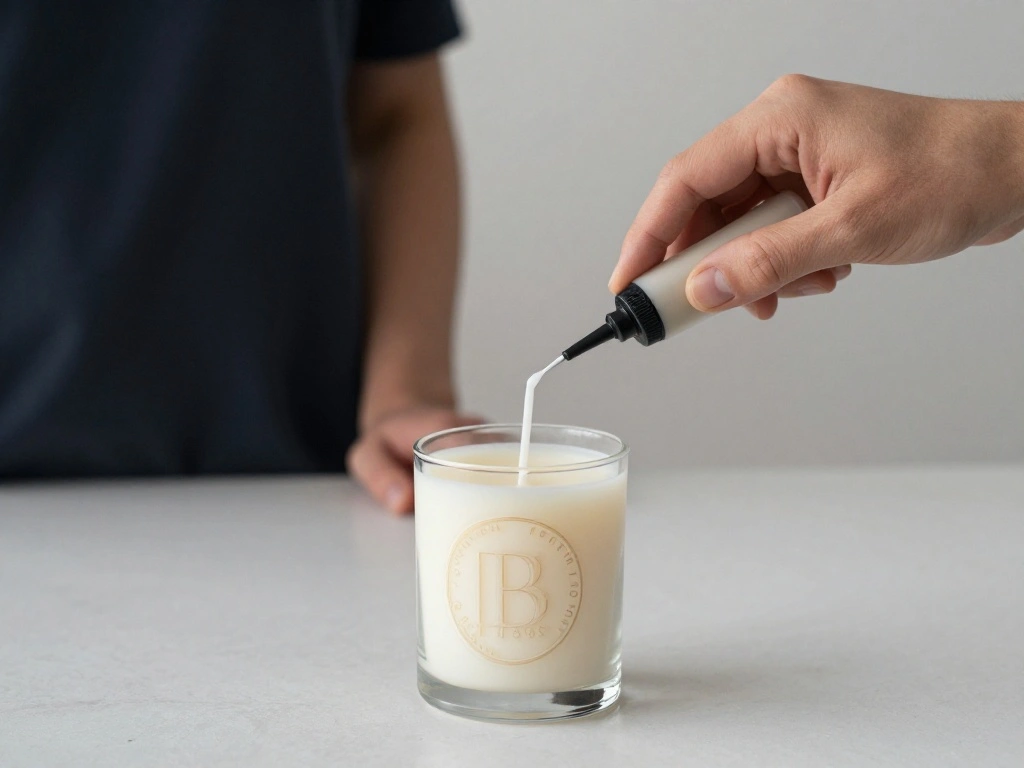
If you used materials that might come loose over time, sealing your decorations can help maintain their appearance. This step is optional but highly recommended for longevity. Warning: Ensure the sealant is safe for use on candles.
To seal your work:
- Choose a suitable spray sealant.
- Hold the can about 12 inches away from the candle.
- Spray a light, even coat over the decorated areas and allow it to dry.
Why this matters: Sealing your decorations prevents them from falling off and keeps your candles looking fresh.
Estimated time for this step: 15-20 minutes.
Step 6: Seal Your Work (Optional)
Editor’s Choice

Krylon Spray Paint, Clear, Gloss, Solvent, 11 oz K01305007-1 Each
Step 7: Display Your Candles
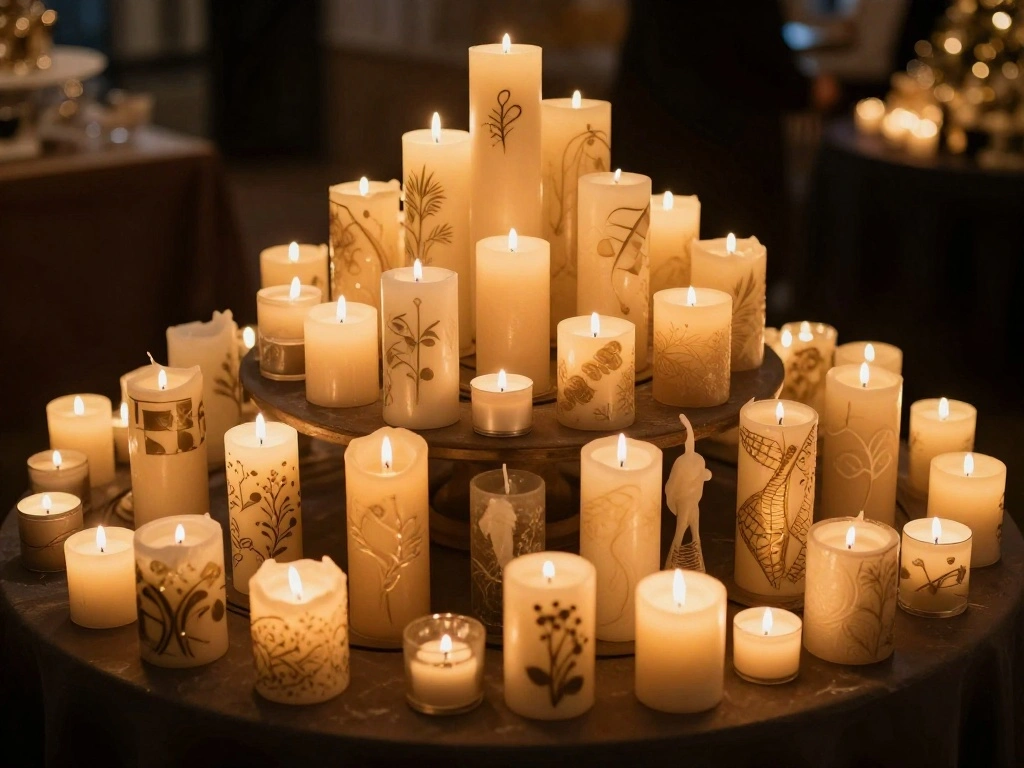
Now that your candles are beautifully decorated, it’s time to display them! Consider the arrangement and placement for maximum impact. Pro Tip: Use varying heights and shapes for visual interest.
Here’s how to display your candles:
- Choose a surface like a table or shelf.
- Arrange candles in clusters or as standalone pieces.
- Add additional decor like trays or mirrors to enhance the display.
Why this matters: A well-thought-out display can transform a simple area into a stunning focal point.
Estimated time for this step: 20-30 minutes.
Step 7: Display Your Candles
Editor’s Choice

Birthday Gifts for Women Friendship, Candle Holders for Friend, Thankgiv…

CCINPPY Ceramic Jewelry Tray Trinket Dish, Decorative Cloud Vanity Key T…

Besdomus Gold Scalloped Mirror for Dresser: 35″x26″ Modern Wooden Mantel…
Step 8: Enjoy Your Creations
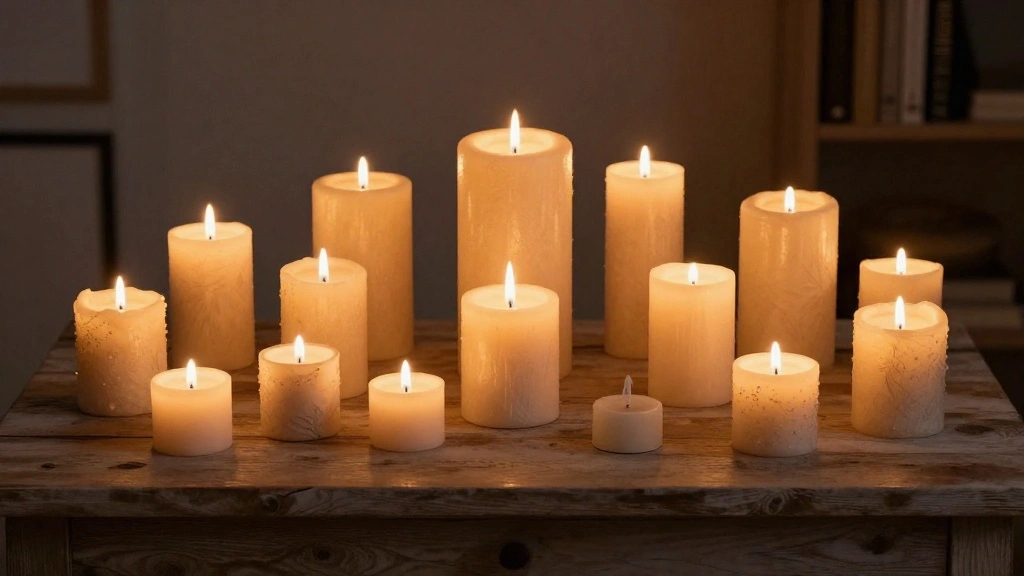
Your candle decorating project is complete! Take a moment to appreciate your hard work and creativity. Consider lighting the candles to add a warm ambiance to your space. Warning: Always practice candle safety when lighting candles.
To enjoy your creations:
- Light your candles in a safe, monitored environment.
- Invite friends or family to admire your work.
- Consider making more candles as gifts!
Why this matters: Enjoying your creations enhances the satisfaction of your project and can inspire future decorating endeavors.
Estimated time for this step: 10 minutes.
Pro Tips
- Color Theory: Use a color wheel to choose complementary colors for your candles.
- Texture Play: Mix materials like burlap and lace for a unique look.
- Layering: Stack multiple elements (like flowers and ribbons) for depth.
- Seasonal Themes: Change decorations based on seasons or holidays for fresh looks.
- Gift Wrapping: Consider decorating candles as gifts and wrapping them beautifully.
Pro Tips
Editor’s Choice

Chenkou Craft Random 20 Yards 1″ 25MM Mix Lots Spring Summer Organza Rib…

Color Mixing Recipes for Portraits: More than 500 Color Combinations for…

SAEUYVB Candle Making Kit for Adults with Hot Plate, DIY Starter Soy Can…
Common Mistakes to Avoid
Warning: Avoid using non-heat resistant materials, which can catch fire. Stick to fabric, paper, or natural elements.
Warning: Don’t overcrowd decorations, as it can make candles difficult to light. Keep it simple.
Warning: Avoid placing candles near flammable items. Ensure a safe environment for lighting candles.
Troubleshooting Section
Problem: Decorations are falling off.
Solution: Reapply glue and allow it to dry completely before handling.
Problem: Colors clash with decor.
Solution: Reassess color choices and consider removing or replacing elements.
Problem: Candles don’t burn evenly.
Solution: Trim candle wicks to about 1/4 inch before lighting to ensure an even burn.
Variations/Alternative Methods
Consider using different materials like paint or decoupage for a unique look.
For seasonal changes, try themed decorations like pinecones in winter or flowers in spring.
Using LED candles with decorations can be a safer alternative, especially in homes with children or pets.
Variations/Alternative Methods
Editor’s Choice

MTLEE Pearled Candle 2.2 Lb/35oz Sandalwood Rose Scented Sand Candle Kit…

Whimsical Women Collage Paper: 25 Mixed Media Portraits & Backdrop Pages…

Baquler Wildflowers Floral Glass Flameless Candles with Remote Timer Bat…
FAQs
What if I don’t have hot glue? You can use double-sided tape or craft glue as alternatives.
How long should I let the glue dry? Allow at least 30 minutes for the glue to set properly before handling.
Is it safe to light decorated candles? Yes, as long as all materials used are heat resistant and securely attached.
FAQs
Editor’s Choice

SoftOwl Premium Soy Candle Making Kit – Full Set – Soy Wax, Big 7oz Jars…

emmoolife 50 Rolls Skinny Washi Tape Set 3mm Wide, Gold Foil Print Maski…

Bearly Art Precision Craft Glue – The Mini – 2fl oz with Tip Kit – Acid …
Conclusion
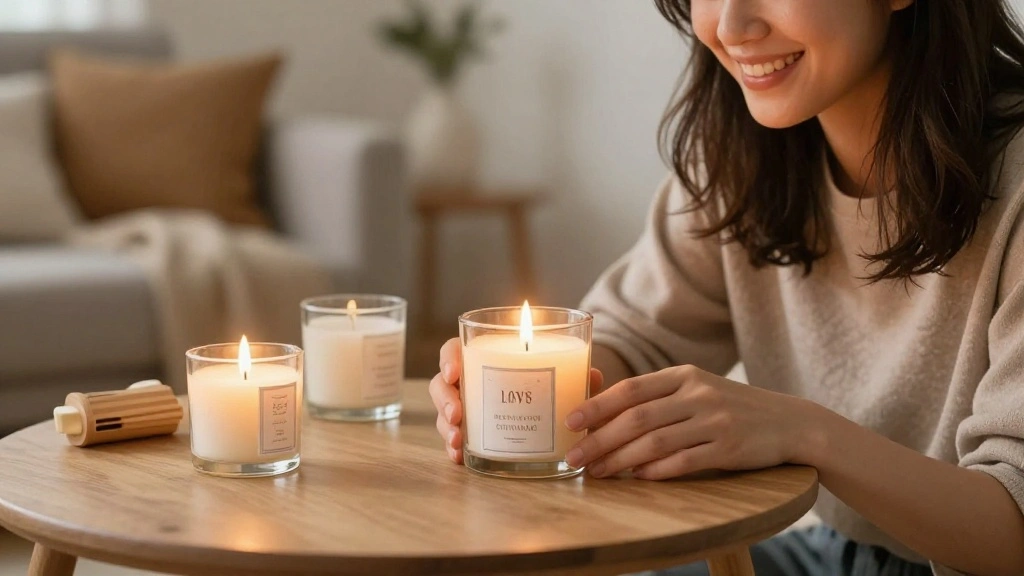
Congratulations on completing your candle decorating project! You’ve transformed simple candles into beautiful decor pieces that reflect your personal style. Consider trying out new techniques and materials for future projects.
Next, think about where else you can apply your newfound decorating skills. Perhaps try your hand at other home decor items or even gifts for friends. Keep experimenting, and enjoy the creative process!