
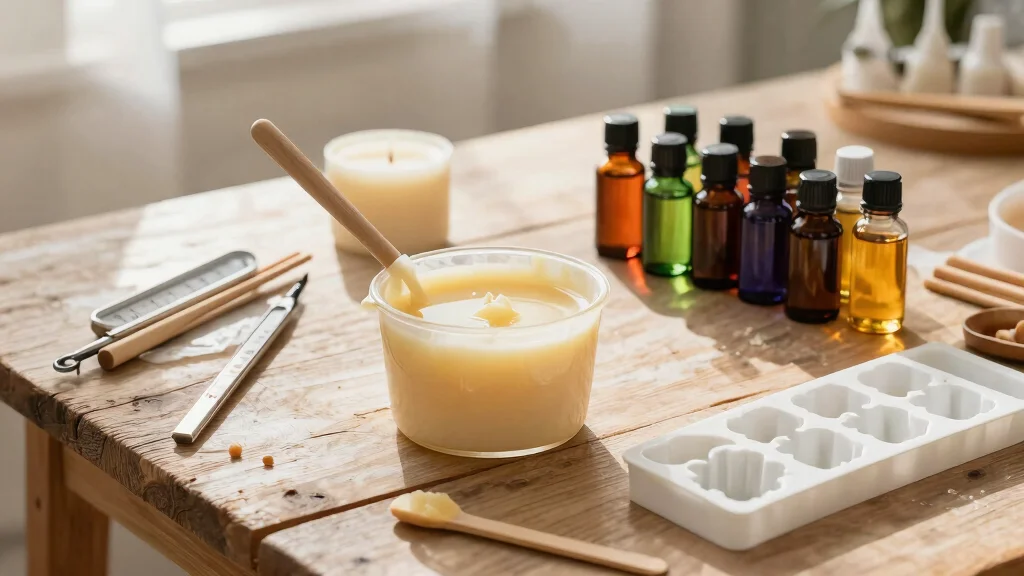
Making candles can be a fun and fulfilling hobby, especially if you’re using natural ingredients. There’s something magical about the warm glow of a candle in your home, and the soothing scents can transform your space. However, if you’re just starting out, you might find yourself facing common candle making mistakes that can dampen your enthusiasm. That’s why I created this post—to help you avoid the pitfalls that many beginners stumble into.
If you love the idea of crafting your own candles but feel a bit lost, you’re not alone. Many new crafters dive in without fully understanding the nuances, leading to frustration and wasted materials. Whether you want to decorate your home or create unique gifts for friends and family, this guide is tailored for you. It’s packed with essential tips that will enhance your candle making journey.
By the end of this post, you’ll have a clearer understanding of the common errors in candle making and how to steer clear of them. You’ll learn about the types of wax, the importance of wick selection, and the role of fragrance oils. With these insights, you’ll create beautiful, fragrant candles that light up your space—and your life!
Key Takeaways
– Know Your Wax: Selecting the right type of wax is crucial for achieving a quality candle. Different waxes have unique melting points and scent throw capabilities.
– Wick Matters: The wick you choose can greatly affect how your candle burns. Make sure to match the wick size to the diameter of your candle for optimal burning.
– Temperature is Key: Monitoring your pouring temperature can prevent issues like sinkholes or uneven surfaces. A thermometer can be your best friend during the process.
– Measure Accurately: Always measure your fragrance oils carefully. Using too much or too little can lead to poor scent throw or even cause the candle not to set properly.
– Patience Pays Off: Allow your candles to cure for the recommended time before lighting them. This will enhance the fragrance and improve the overall burn quality.
1. Ignoring the Importance of Wax Type

The type of wax you choose is foundational to your candle-making success. Each wax type—be it paraffin, soy, or beeswax—offers unique qualities that can enhance your candles’ aesthetic and performance. For instance, soy wax is celebrated for its eco-friendliness and clean burn, while beeswax provides a warm, natural fragrance that complements rustic themes beautifully.
To achieve the best results, consider the specific attributes of each wax type. Soy wax is a fantastic choice for beginners, and it’s often more budget-friendly than beeswax. If you’re aiming for a natural touch, explore local suppliers for organic options that suit your style.
Consider these tips to select the right wax:
– Choose soy wax for easy handling and excellent scent throw.
– Use beeswax for its natural aroma and longer burn time.
– Research paraffin blends for a variety of textures and finishes.
Choosing the appropriate wax not only impacts your candle’s look but also its overall effectiveness and charm in home decor.
Spot common candle making mistakes: ignoring wax type. The right wax—soy for clean burns, beeswax for natural richness—can transform scent throw and appearance. Nail your wax choice and turn simple candles into cozy, lasting decor.
2. Overlooking Wick Selection
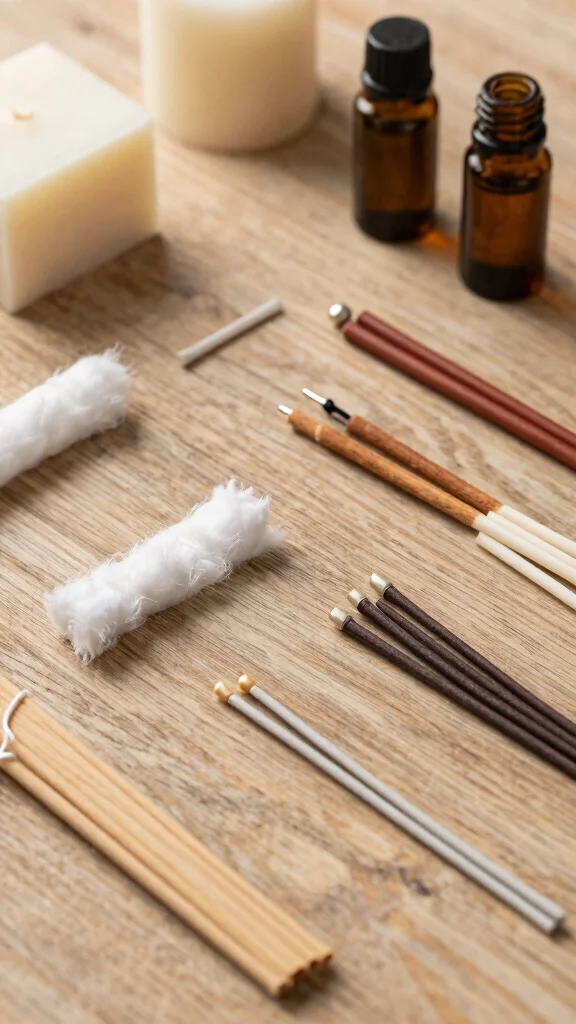
Selecting the right wick is essential for a successful candle. Many beginners unknowingly use wicks that are too small or too large, which can hinder the candle’s performance. A properly sized wick ensures a steady flame that melts the wax evenly, leading to a more satisfying fragrance experience.
For natural waxes like soy and beeswax, consider using cotton or wooden wicks. These materials align beautifully with eco-friendly designs, enhancing both the candle’s appearance and its burn quality.
Keep these tips in mind for choosing wicks:
– Check manufacturer guidelines for appropriate wick sizes.
– Experiment with different wick types to achieve optimal results.
– Ensure the wick supports a flame that maintains the wax pool temperature.
Taking the time to select the correct wick can significantly improve your candle-making results and elevate the quality of your creations.
Getting the wick right is the little choice that changes everything. A properly sized wick means a steady flame, even melt, and a stronger scent. For natural waxes like soy or beeswax, cotton or wooden wicks are your best friend—eco-friendly and beautiful.
Overlooking Wick Selection
Editor’s Choice

528 Foot Spool – Size #2/0-100% Cotton Square Braid Candle Wick – Unprim…



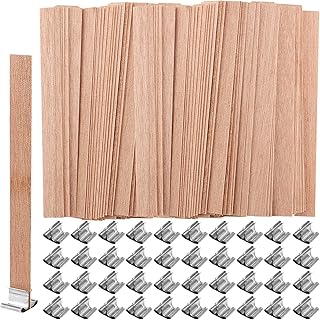
400 Pcs 0.5 × 5.1 Inches Wooden Candle Wicks, Crackling Wood Wicks with …

Ohcans Candle Making Kit Supplies for Beginners, Soy Wax DIY Candle Maki…
3. Skipping Temperature Checks
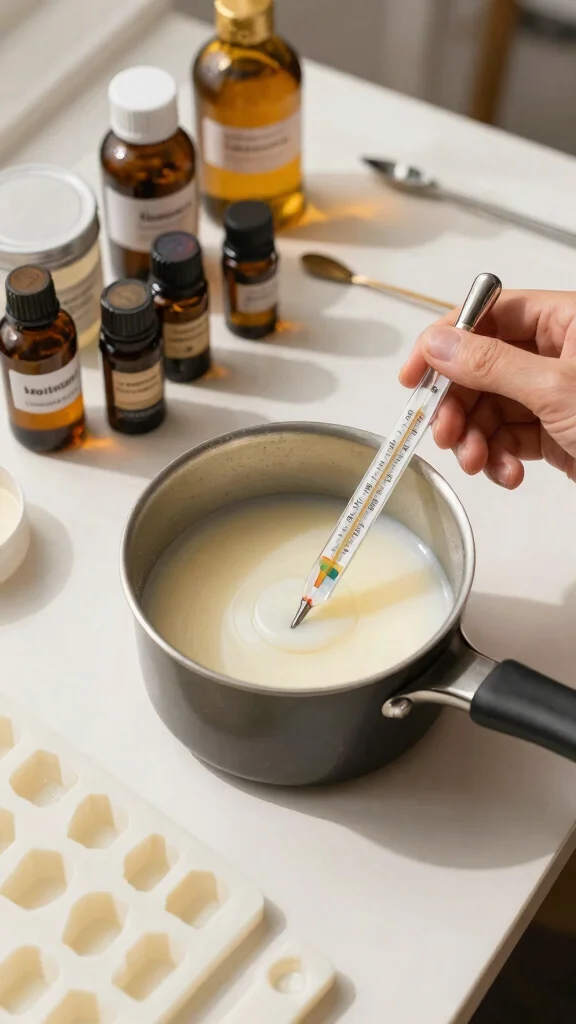
Temperature control is a crucial yet often overlooked aspect of candle making. Beginners may unintentionally skip temperature checks during melting and pouring, leading to poor scent integration and unsatisfactory results. Correct temperatures ensure that wax and fragrance oils blend seamlessly, enhancing the final product’s quality.
For instance, soy wax should be poured between 120°F and 140°F, while beeswax typically requires a higher temperature. Using a thermometer helps maintain the right conditions for optimal results.
Follow these guidelines for temperature management:
– Utilize a thermometer to prevent overheating or underheating.
– Monitor the workspace temperature to avoid fluctuations.
– Document successful pouring temperatures for future reference.
Never underestimate the significance of temperature control; it can drastically affect the final quality of your candles.
Skipping Temperature Checks
Editor’s Choice

ThermoWorks Thermapen ONE, No. 1 Recommended Instant-Read Thermometer – …


Candle Wax Melter with Pour Spout, Candle Making Kit for Adult Beginners…

Yuuchail Touchscreen Wax Melting Pot, Digital Temperature Control (120°F…

📹 Related Video: Candle Making Controversy: What Temperature to Add Fragrance Oil & How Long to Stir?
4. Neglecting to Measure Fragrance Oils
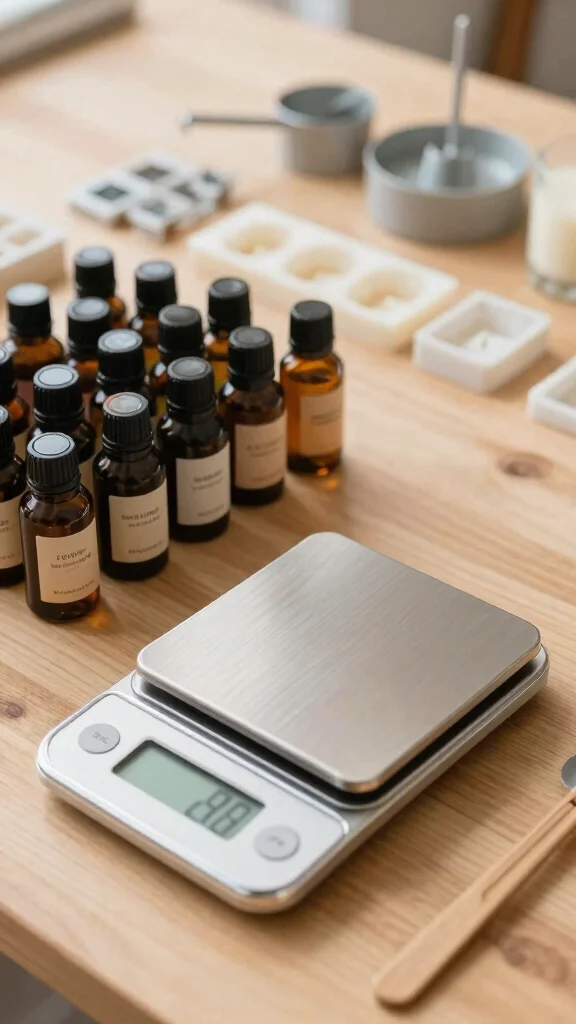
Achieving the perfect scent is a balancing act in candle making. Many beginners make the mistake of not measuring fragrance oils accurately, leading to candles that are too strong or too faint. A well-measured fragrance load—typically around 6-10%—is essential for the ideal aromatic experience.
Using a digital scale for precise measurements ensures consistency in your batches. This attention to detail can significantly enhance the sensory appeal of your candles.
Keep these points in mind for fragrance oil measurement:
– Test various fragrance loads to discover your candle’s ideal balance.
– Acknowledge that essential oils may require adjustments compared to synthetic scents.
– Avoid adding excessive fragrance, which can affect burning quality.
By carefully measuring your fragrance oils, you can create candles that are visually stunning and richly aromatic.
5. Not Allowing Proper Cure Time
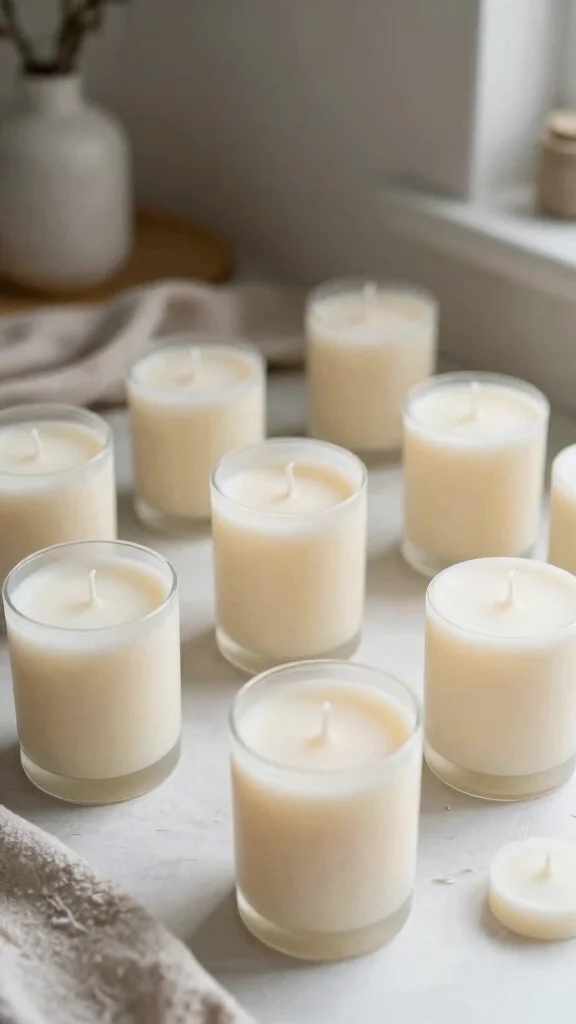
Curing time is an essential phase in candle making that many novices overlook. After pouring, your candles need sufficient time to cool and set, which allows the wax and fragrance to meld beautifully. Rushing this step can lead to disappointing outcomes with your candles.
For natural waxes, a curing period of 24 to 48 hours is generally recommended. This time allows for an even burn and improved scent throw when lit.
Consider these recommendations for proper curing:
– Avoid testing candles too soon to appreciate full fragrance potential.
– Store candles in a cool, dry location to aid setting.
– Keep track of your curing times for consistent results.
Patience during the curing phase can greatly enhance your final products, making them perfect additions to your home decor.
Not Allowing Proper Cure Time
Editor’s Choice

SoftOwl Premium Soy Candle Making Kit – Full Set – Soy Wax, Big 7oz Jars…

SoftOwl Premium Soy Candle Making Kit with Electric Melter – Soy Wax, Bi…
Geoynas 128pcs Candle Making Kit for Adults & Beginners–Soy Wax Candle M…
ZEROMX Candle Making Kit for Adults Beginners – 1200g Soy Wax, Digital W…

SUPERSUN Candle Making Kit for Adults, DIY Candle Making Supplies for Ad…
6. Ignoring Safety Precautions
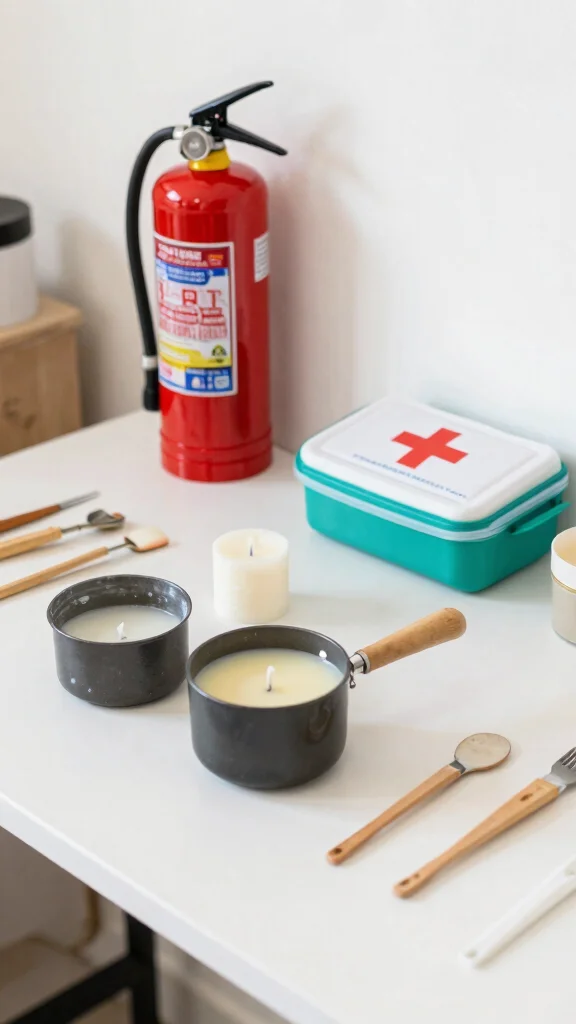
When venturing into candle making, safety must always come first. Many beginners neglect essential safety precautions, which can lead to accidents or injuries during the process. Ensuring a safe workspace is vital for enjoying your candle-making journey.
Always wear heat-resistant gloves when handling melted wax and keep flammable materials away from your work area. A well-ventilated space is crucial, especially when working with fragrance oils that might produce strong fumes.
Implement these safety measures:
– Keep a fire extinguisher nearby and know how to use it.
– Have a first-aid kit on hand just in case.
– Follow manufacturer instructions for all materials to avoid accidents.
Prioritizing safety ensures a fun and stress-free candle-making experience.
Fun fact: 60% of candle making mistakes happen when safety rules are skipped. Always wear heat-resistant gloves and work in a ventilated space to avoid burns and fumes. Protect your candles—and yourself—by creating a safe, calm workspace before you pour.
Ignoring Safety Precautions
Editor’s Choice

GRILL HEAT AID Extreme Heat Resistant BBQ Gloves – 1472°F Grill Gloves H…

Kidde FA110G Multi Purpose Fire Extinguisher, Wall Mount, for Home/Offic…

Prepared Hero Emergency Fire Blanket – 2 Pack – Fire Suppression for Kit…

First Aid Only 91248 OSHA-Compliant First Aid Kit, All-Purpose 50-Person…

First Alert Fire Extinguisher for Home, Standard Rechargeable Compliance…
7. Lack of Enjoyment
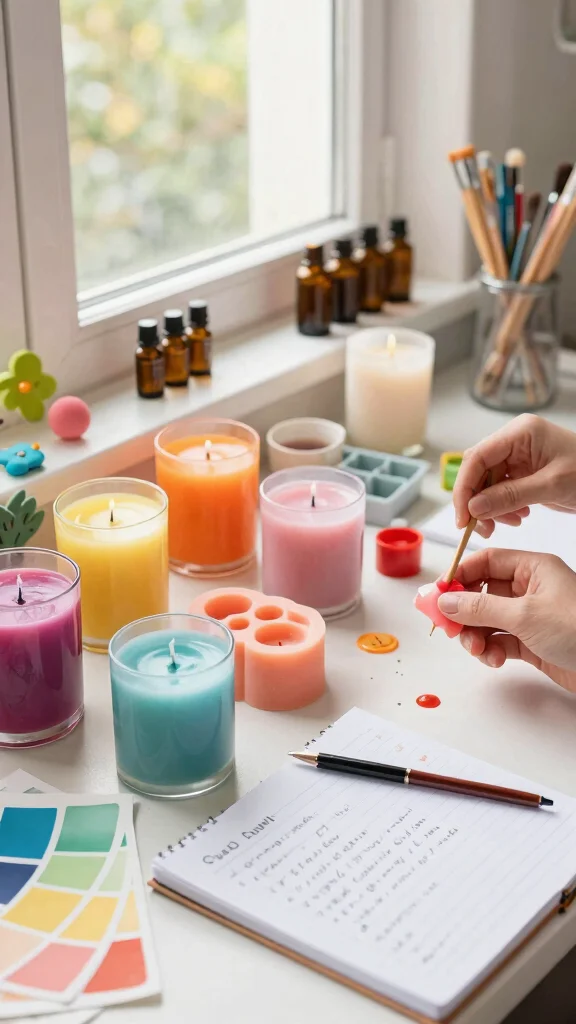
Candle making should be a joyful endeavor! Beginners often forget to enjoy the creative process, becoming too focused on following instructions and losing sight of the fun. Embracing the journey can lead to delightful surprises and unique creations.
Think of candle making as a form of self-care. Experiment with colors and scents that resonate with you. Don’t hesitate to embrace mistakes; they can lead to wonderful discoveries.
Here are some ideas to enhance your enjoyment:
– Experiment with color blends and various wax types.
– Use this time to relax and connect with your materials.
– Invite friends for a candle-making session to share ideas and creativity.
Each candle you create reflects your personal style, and every mistake is an opportunity to learn and grow in your craft.
Lack of Enjoyment
Editor’s Choice
SoftOwl Premium Soy Candle Making Kit – Full Set – Soy Wax, Big 7oz Jars…

FAIRYELF Premium Candle Making Kit with Wax Melter, DIY Starter Scented …

SAEUYVB Candle Making Kit – DIY Starter Soy Candle Making Supplies/Kit -…

SHOWIN Candle Making Kit, DIY Candle Making Supplies for Adults, Starter…

Aroparc Complete Candle Making Kit for Adults, Complete Candle DIY for B…
Assessment Checklist: What to Check Before You Start
Before diving into candle making, it’s important to assess your setup and materials. This checklist will help you avoid common candle making mistakes and ensure a smoother experience. Let’s break it down!
□ Wax Type – Choose the right wax for your project. Whether it’s soy, beeswax, or paraffin, each type has unique properties that affect burn time and fragrance throw. Selecting the wrong wax can lead to poor results.
□ Wick Size – Check the wick size based on your candle’s diameter. A wick that’s too small won’t burn well, while one that’s too large may cause excessive soot. Using a wick guide can help you pick the right size.
□ Fragrance Load – Measure your fragrance oils accurately. Too much fragrance can cause the candle to smoke, while too little can leave it unscented. Aim for about 6-10% of the wax weight in fragrance oil for optimal scent.
□ Pouring Temperature – Use a thermometer to check the pouring temperature of your wax. Pouring too hot can create surface cracks, while pouring too cool can prevent proper adhesion of layers. Generally, a pouring temperature of 130-160°F works well for most wax types.
□ Cure Time – Allow your candles to cure for at least 48 hours after pouring. This time lets the wax and fragrance bind properly, ensuring a better scent throw when burned. Rushing this process can lead to disappointing results.
□ Workspace Safety – Ensure your workspace is safe and well-ventilated. Have a fire extinguisher nearby and work on a non-flammable surface. Safety should always be a priority, especially when working with hot wax.
□ Colorant Compatibility – If you plan to add color, make sure your colorants are compatible with the wax you’re using. Some dyes can behave unpredictably, affecting the appearance and burn quality of your candle.
Why This Matters: Completing this checklist helps you catch potential problems before they start. By checking these key elements, you can avoid common candle making mistakes. This preparation paves the way for a successful candle-making experience, ensuring that your candles not only look great but also burn beautifully. Happy crafting! 🚀
Conclusion
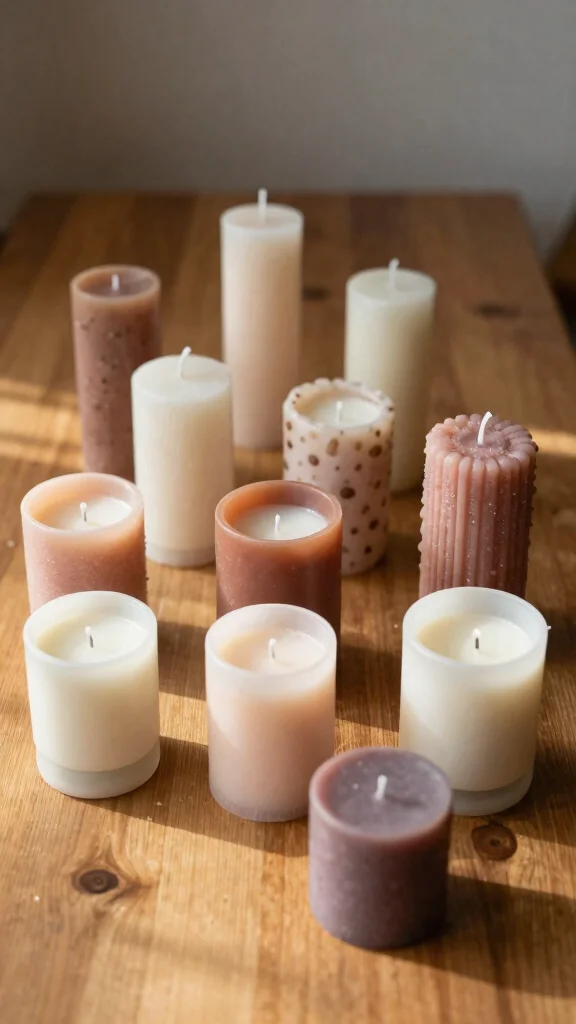
Learning to make candles is a journey filled with creativity and personal expression. By avoiding these common candle making mistakes, you can craft beautiful, natural candles that not only brighten your home but also provide a sense of accomplishment. Embrace the art of candle making, and remember that every candle you create is a step towards honing your skills. Happy crafting!
Take a moment to reflect on your own candle-making experiences and share your stories. What have you learned? What tips can you offer to fellow beginners?
Note: We aim to provide accurate product links, but some may occasionally expire or become unavailable. If this happens, please search directly on Amazon for the product or a suitable alternative.
This post contains Amazon affiliate links, meaning we may earn a small commission if you purchase through our links, at no extra cost to you.
Frequently Asked Questions
Why do beginners often make candle making mistakes, and how can I avoid candle making mistakes in my first batches?
Candle making can feel like a science experiment—you’re juggling heat, wax, wicks, and fragrance.
Common rookie missteps include the wrong wick size (common candle making errors), pouring at the wrong temperature, and loading too much fragrance.
To avoid candle making mistakes, start with a proven beginner candle making formula, weigh every ingredient, and run a quick test burn. If you’re aiming for natural ingredients, pick a compatible wax and wick combo and keep fragrance low to ensure a good scent throw.
How can I choose the right wax and wick for beginner candle making with natural ingredients to prevent common candle making errors?
For natural ingredients, start with a simple wax like soy or a soy-beeswax blend and a tested wick size.
Always check the wax manufacturer’s wick chart and run a small test before scaling up.
Keep your fragrance load modest (often around 6-10% for soy) to avoid poor burn or tunneling.
These are essential candle making tips for candle making for beginners.
Why do candles frost, tunnel, or have weak scent throw, and how can I fix these issues in beginner candle making?
Frosting and uneven surfaces happen when cooling temps, wax crystallization, or mis-matched wicks occur.
Poor scent throw often comes from too little fragrance or using a wax that doesn’t hold fragrance well.
Fixes: keep your pour and cure temps within the wax spec, do a proper cure time, test burn, and adjust wick size in future batches.
This is a common candle making errors you can fix with candle making tips and careful testing.
What safety steps should I follow to avoid risks when making candles at home with natural ingredients?
Safety first: melt wax in a dedicated pot, use a thermometer, work in a well-ventilated area, and never leave melting wax unattended.
Use heat-proof jars, keep a lid handy, and store fragrances away from heat.
Wear heat-resistant gloves when handling hot containers and clean up spills immediately.
Following these tips helps you stay safe during candle making for beginners and avoid candle making mistakes.
What are some beginner-friendly natural candle recipes or starter ideas to kick off candle making for beginners with natural ingredients?
Start with a simple soy wax candle: around 6-10% natural fragrance oil, a single wick size tested for your jar, and a clear container.
Heat to the recommended pouring temperature, stir gently, pour, and let cure for 1–2 weeks.
If you want color, use natural mineral-based dyes sparingly.
These starter ideas are perfect for candle making for beginners and candle making tips that emphasize natural ingredients.
Related Topics
candle making mistakes
beginner candle making
natural ingredients
common errors
candle making tips
DIY candles
home decor
sustainable candles
easy candle making
fragrance oils
beginner friendly
homemade candles