
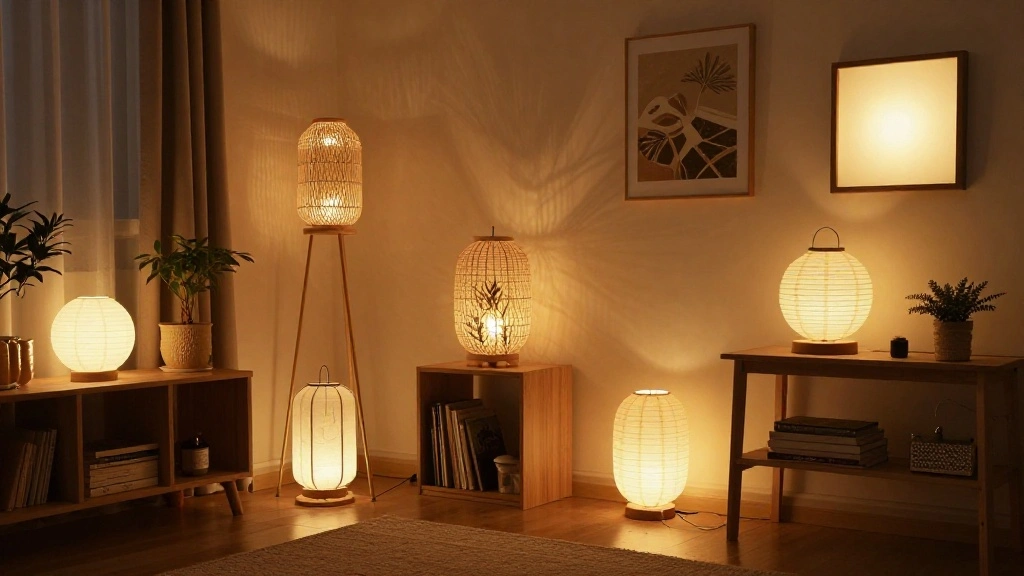
Are you tired of dimly lit spaces in your home? Poor lighting can make a space feel uninviting and even impact your mood. Fortunately, you can easily enhance your environment with DIY lighting projects that are both fun and functional. In this guide, you will learn how to create stunning lighting features that elevate your home decor and improve visibility.
By the end of this guide, you will be able to create basic lighting fixtures, install them safely, and understand the essential tools needed for your DIY lighting journey. You will gain knowledge about wiring, bulb types, and the correct safety measures to take when working with electricity. This guide is designed for beginners and will take you approximately 2-3 hours to complete.
Join us as we illuminate your path to DIY lighting mastery!
TL;DR Summary
- Learn essential tools and safety basics for DIY lighting.
- Follow step-by-step instructions to create your own lighting.
- Discover common mistakes and troubleshooting tips.
- Gain confidence in managing DIY electrical projects.
TL;DR Summary
Editor’s Choice

Amazon Basics Smart A19 LED Light Bulb, Color Changing, 9W (60W Equivale…


VMAN Ratchet Screwdriver Set, magnetic Screwdriver sets, S2 Steel Bits, …

haisstronica Self-Adjusting Wire Stripper, 3 in 1 Stripper/Cutter/Crimpi…
Prerequisites/Materials Needed
- Tools:
- Screwdriver (flathead and Phillips)
- Wire cutters/strippers
- Electrical tape
- Voltage tester
- Materials:
- Light bulbs (LED or CFL)
- Lamp socket
- Electrical wire (14/2 gauge)
- Light fixture or lamp base
Prerequisites/Materials Needed
Editor’s Choice

XFasten Transparent Window Weather Sealing Tape, 2-Inch x 30 Yards (50.8…

Klein Tools NCVT1P Voltage Tester, Non-Contact Low Voltage Tester Pen, 5…

WGGE WG-015 Professional 8-inch Wire Stripper/Crimping Tool, Cable Cutte…
Skill Level & Time Estimate
Skill Level: beginner. This guide is tailored for those new to DIY projects and electrical work.
Total time estimate: 2-3 hours. This includes gathering materials, following the steps, and ensuring safety throughout the process.
Step 1: Gather Your Tools and Materials
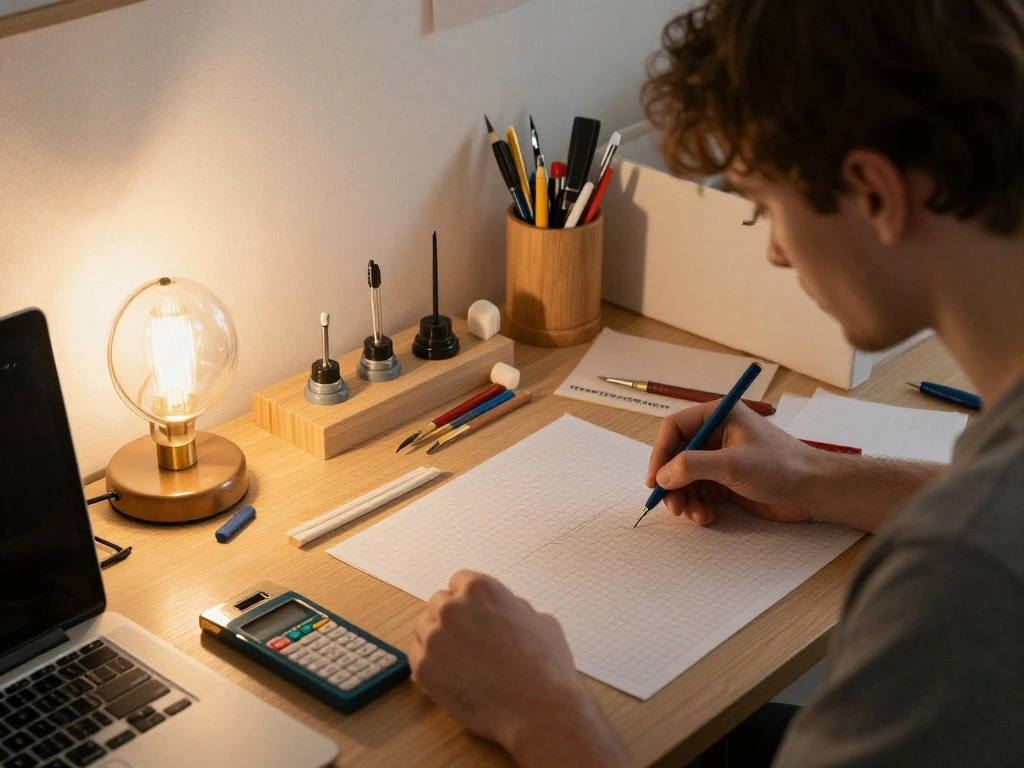
Begin by collecting all necessary tools and materials. This step is crucial to avoid interruptions during your project. Follow these sub-steps:
- Check your checklist to ensure you have all items.
- Organize tools in a designated workspace.
- Set up a safe area to work, away from pets and distractions.
Pro Tip: Keep a clean workspace to avoid losing small parts. Why this matters: Being organized saves time and reduces the risk of accidents.
Time estimate: 15 minutes.
Step 1: Gather Your Tools and Materials
Editor’s Choice
Safety GlassesClear Anti-Fog Goggles Over-Spec Glasses Protective Eye We…

TICONN Tool Pouches with Zipper, 1680D Oxford Small Tool Bags, Waterproo…
120W Solar Rechargeable Work Light, 144 LED 10000LM Led Work Light with …
Step 2: Understand Basic Electrical Safety
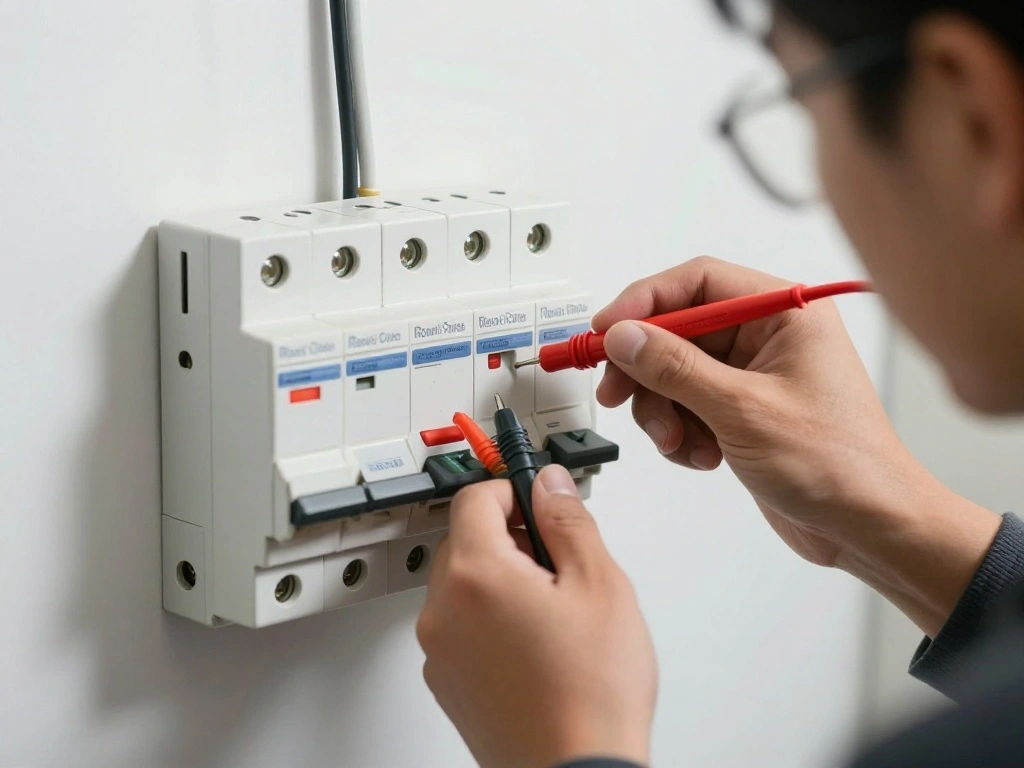
Before you begin working with electricity, familiarize yourself with safety practices. This step is vital to ensure your safety. Follow these sub-steps:
- Turn off the power at the circuit breaker.
- Use a voltage tester to confirm that the power is off.
- Wear rubber-soled shoes and gloves for extra protection.
Warning: Always assume wires are live until proven otherwise. Why this matters: Proper safety measures prevent electrical shocks and accidents.
Time estimate: 20 minutes.
Step 2: Understand Basic Electrical Safety
Editor’s Choice

Bruvoalon Winter Gloves for Women & Men, 3M Thermal Insulation, Lycra Fa…

Skechers Men’s Cankton Steel Toe Construction Shoe – Electrical Hazard R…

Fluke 1AC II VoltAlert Non-Contact Voltage Tester, Pocket-Sized, 90-1000…
Step 3: Choose Your Lighting Design
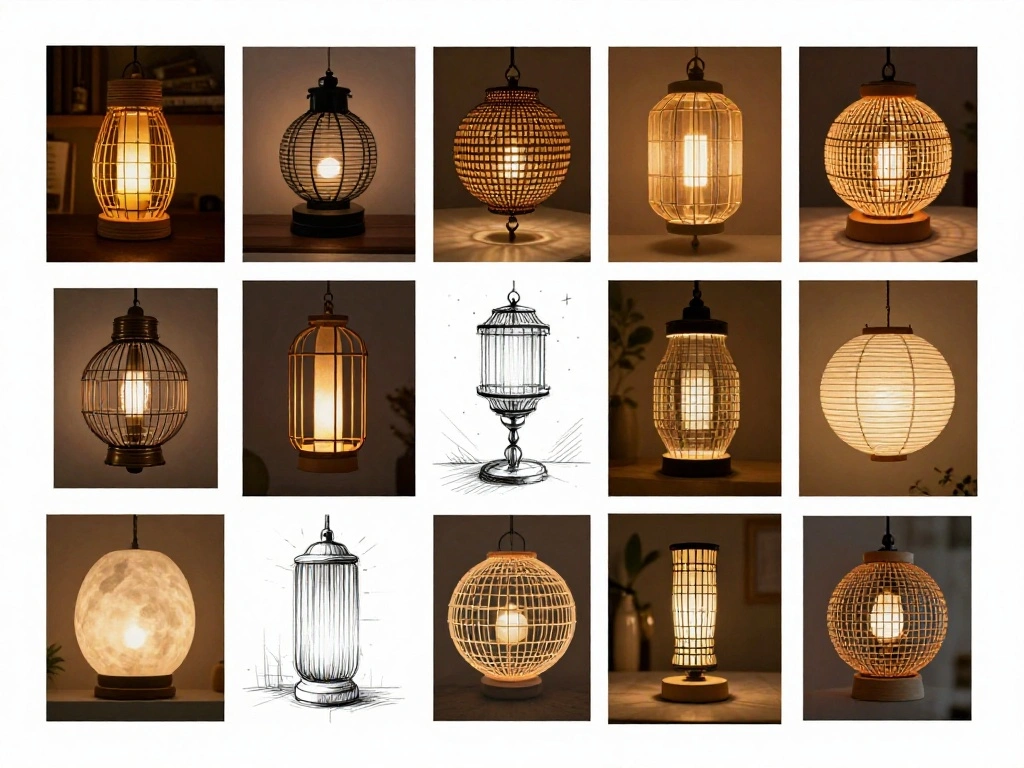
Decide on the type of lighting fixture you want to create. This choice impacts your project’s style and functionality. Follow these sub-steps:
- Consider the room’s purpose and ambiance.
- Research different lighting designs (e.g., pendant, wall-mounted, or table lamps).
- Sketch a simple design to visualize the final product.
Pro Tip: Look for inspiration online or in home decor magazines. Why this matters: A well-planned design ensures your fixture fits the space and meets your needs.
Time estimate: 30 minutes.
Step 3: Choose Your Lighting Design
Editor’s Choice

Modern Walnut Wood Wall Sconce Light, Iron Frame, 15.74×3.94 Inch, G9 Bu…

LED Desk Lamp with USB Ports,Touch Desk Lamps for Home Office with 5 Col…
Step 4: Assemble the Fixture
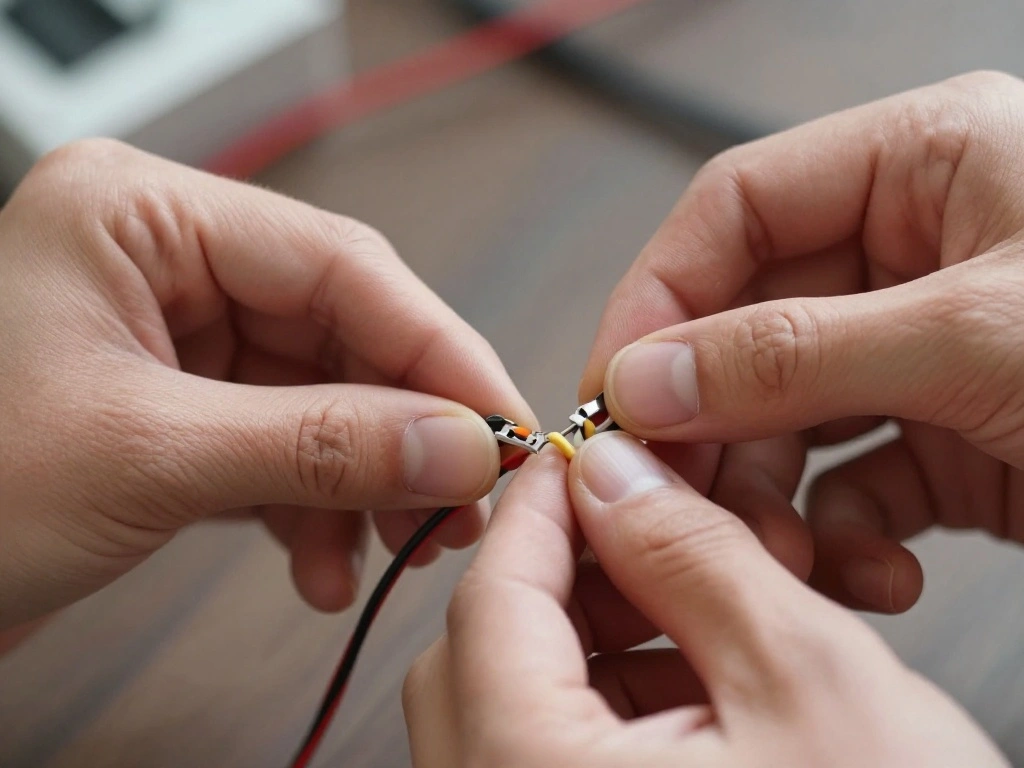
Now it’s time to put your design into action by assembling the lighting fixture. This step requires attention to detail to ensure everything fits together correctly. Follow these sub-steps:
- Attach the lamp socket to the light fixture base.
- Connect the electrical wires based on the manufacturer’s instructions.
- Secure all connections with electrical tape.
Pro Tip: Double-check your connections before proceeding. Why this matters: Proper assembly prevents future issues with the fixture.
Time estimate: 45 minutes.
Step 4: Assemble the Fixture
Editor’s Choice

Manual Wire Stripper Machine, 0.06″-1.38″ Wire Stripping Machine, Wire S…
Step 5: Install the Fixture
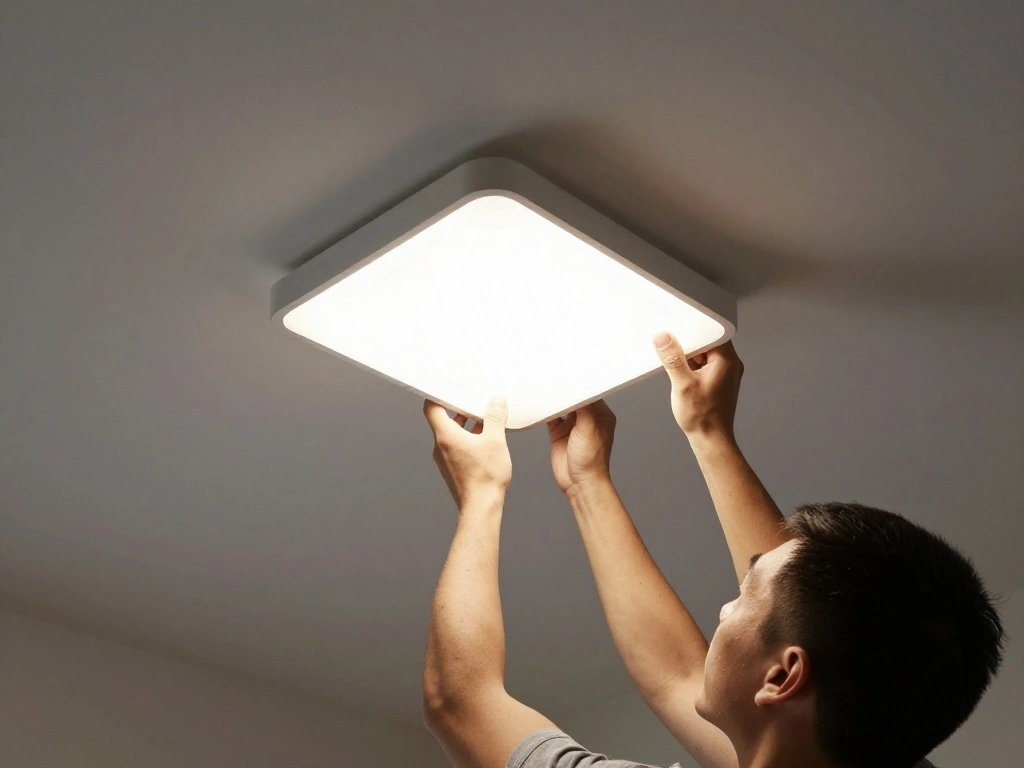
Once your fixture is assembled, it’s time to install it in its designated location. This step ensures that your lighting is secure and functional. Follow these sub-steps:
- Mount the fixture to the ceiling or wall, ensuring it is level.
- Secure with screws, making sure it is tightly fastened.
- Connect the fixture to the power source following local electrical codes.
Warning: If you are unsure about wiring, consult a professional electrician. Why this matters: Proper installation ensures safety and functionality.
Time estimate: 30 minutes.
Step 5: Install the Fixture
Editor’s Choice

Klein Tools 11061 Self-Adjusting Stripper / Cutter, Heavy Duty, for 10-2…

Klein Tools 80025 Outlet Tester Kit with GFCI Tester and Non-Contact Vol…

SKIL Twist 2.0 Rechargeable 4V Screwdriver with Pivoting Head, Torque Se…
Step 6: Test the Lighting
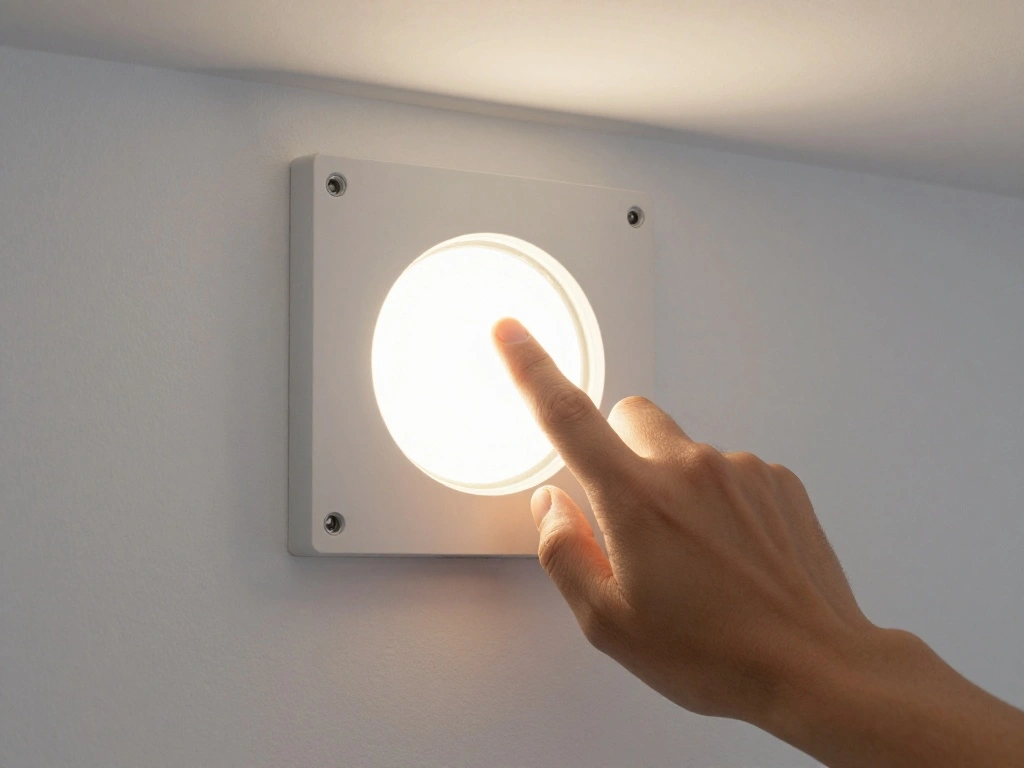
Before finishing up, it’s crucial to test the lighting to ensure everything works properly. This step confirms your hard work has paid off. Follow these sub-steps:
- Turn the power back on at the circuit breaker.
- Use the light switch to test the new fixture.
- Check for flickering or unusual sounds.
Pro Tip: If there are issues, turn the power off again and check your connections. Why this matters: Testing ensures your fixture operates safely and as intended.
Time estimate: 15 minutes.
Step 6: Test the Lighting
Editor’s Choice

3M Scotch Super 33+ Electrical Tape – 3/4 in x 52 ft, Premium Grade All-…

KAIWEETS Electrical Test Kit KIT01, Digital Multimeter, Smart Non-Contac…

Manual Wire Stripping Machine Gauge Wire 0.06-1”, Scrapping Copper Wire…
Step 7: Final Touches

Now that your lighting fixture is installed and functioning correctly, it’s time to add the final touches. This step enhances the aesthetic appeal of your lighting. Follow these sub-steps:
- Clean the fixture with a soft cloth to remove fingerprints.
- Add decorative elements, like shades or covers, if desired.
- Arrange the surrounding decor to complement your new light.
Pro Tip: Use dimmable bulbs for adjustable brightness. Why this matters: Final touches enhance the overall look and functionality of your space.
Time estimate: 20 minutes.
Step 7: Final Touches
Editor’s Choice

HOMEXCEL Microfiber Cleaning Cloth 210GSM, Pack of 12, Size:11.5″ x 11.5…

3 Pack Frosted Opal White Glass Lamp Shade, Lip-less Cylinder Glass Ligh…
Pro Tips
- Choosing the Right Bulb: Opt for LED bulbs for energy efficiency and longevity.
- Wiring Safety: Always use the correct gauge wire to match the fixture’s requirements.
- Use a Helper: Having someone assist you can make installation safer and easier.
- Consider Dimmers: Adding a dimmer switch can enhance the ambiance of your space.
- Research Local Codes: Ensure your project complies with local electrical codes for safety.
Pro Tips
Editor’s Choice

evelor 6-Packs A19 LED Light Bulbs,100 Watt Equivalent Daylight 5000K Br…

Lutron Diva Smart Dimmer Switch Starter Kit for Caséta Smart Lighting, …
WGGE WG-015 Professional 8-inch Wire Stripper/Crimping Tool, Cable Cutte…
Common Mistakes to Avoid
Warning: 1. Not turning off the power: Always turn off the circuit before working. This can lead to severe electrical shocks.
2. Using incorrect tools: Ensure you have the right tools to avoid damaging components.
3. Ignoring local codes: Failing to comply can lead to safety hazards and fines.
4. Overloading circuits: Ensure your fixture doesn’t exceed the circuit’s wattage.
5. Poorly securing connections: Loose connections can cause flickering or fire hazards.
Common Mistakes to Avoid
Editor’s Choice
XFasten Transparent Window Weather Sealing Tape, 2-Inch x 30 Yards (50.8…
Klein Tools NCVT1P Voltage Tester, Non-Contact Low Voltage Tester Pen, 5…
haisstronica Self-Adjusting Wire Stripper, 3 in 1 Stripper/Cutter/Crimpi…
Troubleshooting Section
Problem: The light flickers.
Solution: Check the bulb and ensure it is properly seated. If the issue persists, check the wiring connections.
Problem: The light doesn’t turn on.
Solution: Verify that the power is on and check the circuit breaker. If necessary, inspect the wiring connections.
Problem: The fixture is too dim.
Solution: Replace the bulb with a higher wattage or use more efficient bulbs.
Problem: Heat buildup around the fixture.
Solution: Ensure the fixture is rated for the bulb wattage and consider using LED bulbs.
Problem: Constantly tripping circuit breaker.
Solution: Check for overloaded circuits and redistribute the load evenly.
Troubleshooting Section
Editor’s Choice

MXCOIRTP Voltage Tester, Non-Contact Voltage Detector, Electrical Tester…
evelor 6-Packs A19 LED Light Bulbs,100 Watt Equivalent Daylight 5000K Br…
WGGE WG-015 Professional 8-inch Wire Stripper/Crimping Tool, Cable Cutte…
Variations/Alternative Methods
1. Solar-Powered Lights: Great for outdoor spaces and eco-friendly. Ideal when wiring is impractical.
2. Battery-Operated Fixtures: Perfect for areas without electrical access, but may require frequent battery changes.
3. Smart Lighting: Allows for remote control via smartphone, perfect for tech-savvy users. Each method has its pros and cons depending on your needs.
Variations/Alternative Methods
Editor’s Choice

Govee Smart Light Bulbs, Color Changing Light Bulb, Work with Alexa and …

Amazon Basics LED Puck Lights, Battery Operated, 50 Lumens, Under Cabine…

Mancra Solar Pathway Lights, 8 Pack LED Solar Lights Outdoor Waterproof,…
FAQs
What if I don’t have a voltage tester? You can use a multimeter to check for power, or borrow one from a neighbor or local hardware store.
How long should I wait after installing before testing? You can test immediately after installation, as long as you are sure everything is secure.
Is it safe to work on older wiring? If you are unsure of the wiring’s condition, consult a professional electrician.
Can I use outdoor lights indoors? Yes, but ensure they are rated for indoor use to avoid safety issues.
What if my fixture doesn’t match my décor? Consider painting it or adding decorative elements to blend it with your space.
FAQs
Editor’s Choice

AstroAI Digital Multimeter Tester 2000 Counts with DC AC Voltmeter and O…
Fluke 1AC II VoltAlert Non-Contact Voltage Tester, Pocket-Sized, 90-1000…
Conclusion
Congratulations! You’ve successfully completed your DIY lighting project, transforming your space with functional and stylish lighting. Take a moment to admire your hard work and enjoy the new ambiance in your home.
As a next step, consider exploring further DIY projects or enhancing your skills with more complex lighting installations. Your journey in DIY lighting has just begun!