
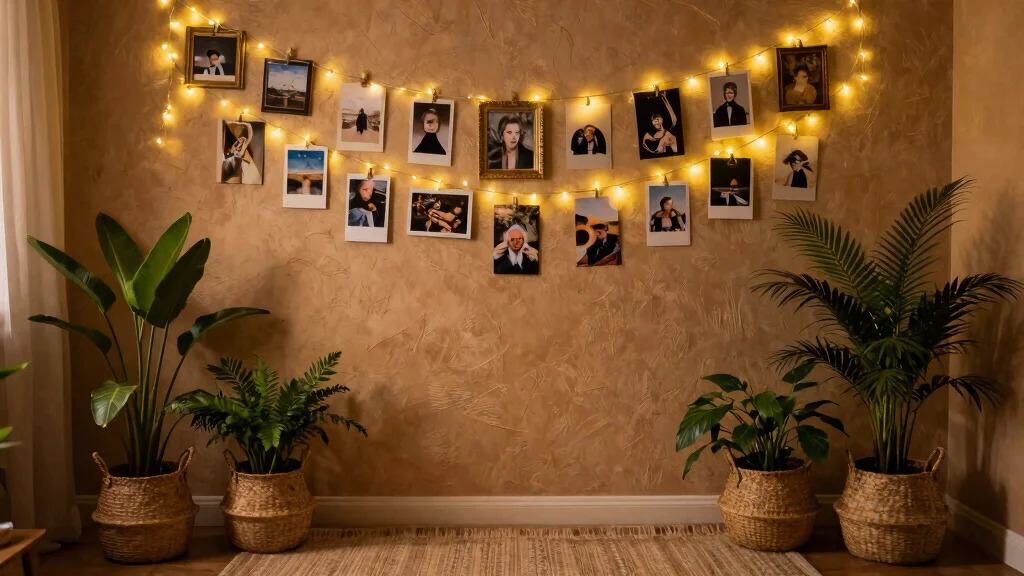
Creating a fairy light photo wall can be a delightful way to showcase your favorite memories and add a touch of magic to your space. With the glow of fairy lights, you can transform an ordinary wall into an extraordinary display of love and creativity. I made this post because I know how much we all cherish those moments captured in photos, and what better way to highlight them than with these charming light displays?
If you’re someone who loves home decor or enjoys DIY projects that brighten up your living space, this guide is for you. Whether you’re decorating a cozy bedroom, a lively living room, or a whimsical nursery, the ideas in this post can help you create a photo wall that reflects your unique style. Get ready to be inspired, as I’ve pulled together eight fairy light photo wall and gallery ideas that are fun, creative, and perfect for making your memories shine.
From layered photo grids to interactive displays, you’ll find practical tips and innovative designs that will make your walls come alive with warmth and nostalgia. Let’s dive in and explore how to turn your walls into a captivating gallery that flickers with personality and charm.
Key Takeaways
– Discover creative ways to arrange your photos using string lights decor to create visually stunning displays.
– Learn how to layer different materials and styles for a unique fairy light photo wall that adds depth and interest.
– Get inspired by seasonal themes that can refresh your photo wall and keep it relevant throughout the year.
– Explore interactive ideas that engage family and friends, making your wall a dynamic part of your home.
– Find out how to incorporate various types of fairy lights decoration to enhance the atmosphere of your space.
1. Layered Fairy Light and Photo Grid
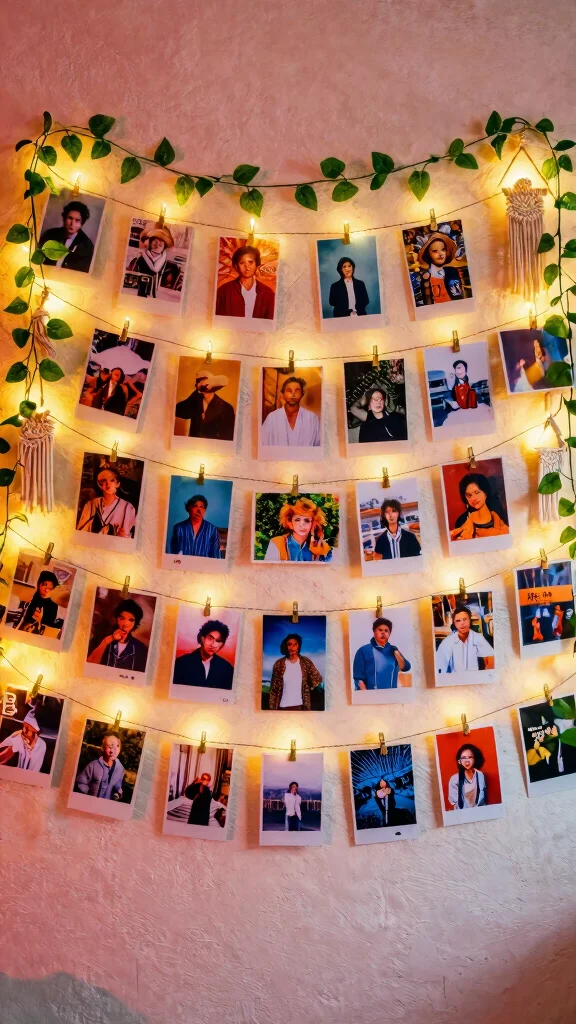
A layered grid of fairy lights and photographs can infuse your living area with an exhilarating charm. By draping strands of fairy lights horizontally across your wall, you create a stunning canvas that invites personal expression. Attaching varied-sized photos with decorative clips or washi tape adds a delightful charm, allowing you to refresh your display whenever inspiration strikes.
To achieve this eye-catching look, focus on these practical tips: Select a wall that serves as a stunning focal point, ensuring it enhances the overall design of your room. Combine different photo styles and sizes to create visual interest, and don’t hesitate to add small accents like macramé hangers or lightweight garlands that enhance a bohemian feel.
Consider these ideas to elevate your design:
– Choose a focal wall to enhance your room’s aesthetic
– Mix various photo sizes for dynamic displays
– Add small macramé hangers for a playful touch
– Incorporate greenery for added depth and warmth
This enchanting display not only tells a story but also bathes your memories in a soft, inviting glow, creating a whimsical atmosphere.
Layered Fairy Light and Photo Grid
Editor’s Choice

Homecor Hanging Photo Display Wall Decor, Macrame Wall Hanging Boho Room…


Clean Girl Cozy Room Decor for Women, White Heart Shelf Heart Wall Grid …

Wire Wall Grid Panel for Photo Display, DIY Iron Picture Frames Collage …

Photo Display Board with 30 Clips,Picture Frames Collage Wall Decor for …

CJIAWYS Picture Frames Collage Wall Decor Hanging Photo Display Frame Fe…
2. Spiral Photo String Lights
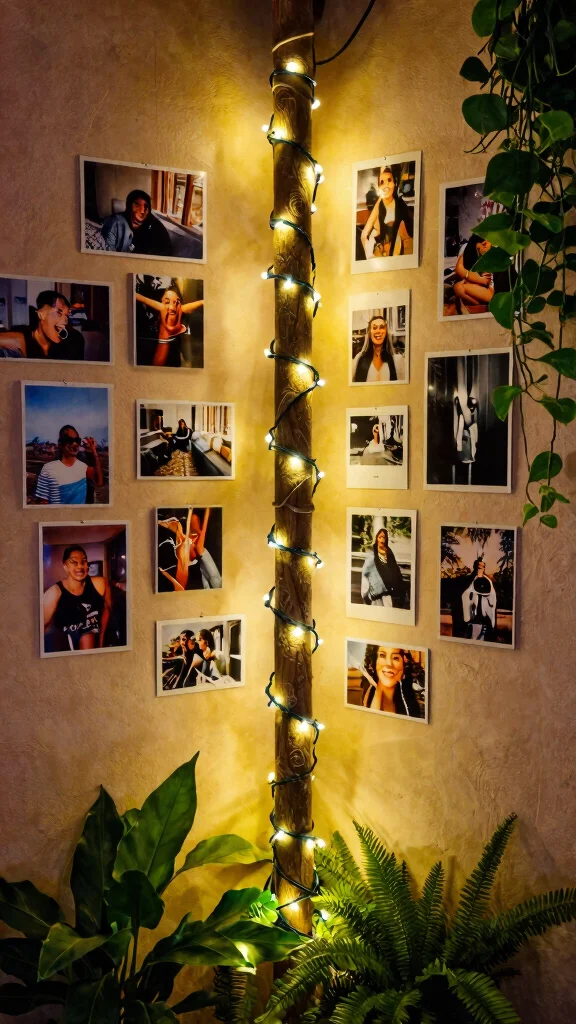
For a captivating twist, spiral your fairy lights around a central feature or along the edges of a gallery wall. This approach adds a sense of movement, drawing the eye into the space. Cluster your photos at various heights to mimic the organic flow of nature, creating a lively and inviting ambiance.
To master this technique, start by choosing a central point—perhaps a floor plant or decorative pole. Hang your photos at different heights to build layers and maintain a balanced design by distributing the lights and images evenly. Consider using themed photos that create a narrative for a cohesive look.
Try these suggestions to perfect your spiral design:
– Select a central point for visual interest
– Hang photos at varying heights for dimension
– Balance the spiral with even distribution
– Use themed photos for storytelling and unity
This playful arrangement not only beautifies your wall but also adds a touch of whimsy and adventure to your decor.
Fun fact: spiraling fairy lights around a central feature can visually increase ceiling height by up to 20%. When you cluster photos at varied heights along the curve, your fairy light photo wall feels more dynamic and inviting.
Spiral Photo String Lights
Editor’s Choice

Dailyart Fairy Lights Plug in, 200 Led Twinkle String Light with Remote …

Homecor Boho Wall Hanging Photo Display Holder Set, with LED String Ligh…

EZVALO Picture Light for Wall, 4800mAh Rechargeable Wireless Remote Batt…

13″ Aluminum Wireless Picture Lights for Wall, 5000mAh Rechargeable Batt…

Wireless Picture Light for Wall, Rechargeable Light for Pictures with Re…
3. Fairy Light Photo Collage
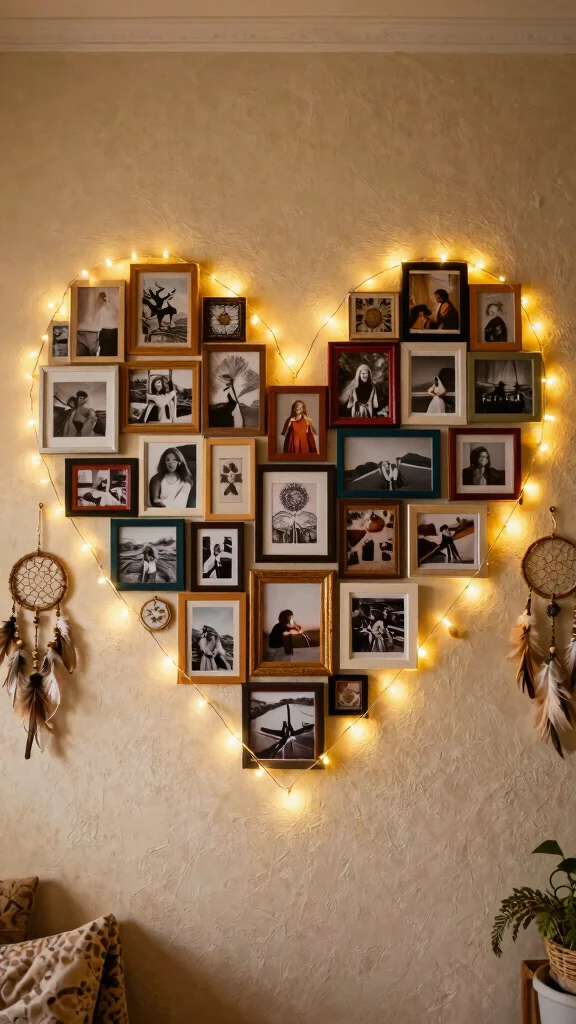
Creating a fairy light photo collage is an engaging way to showcase your cherished memories. This artistic display allows you to present a variety of photos in a harmonious arrangement, all beautifully illuminated by fairy lights. Opt for unique shapes, like hearts or stars, to frame your collage and enhance its visual appeal.
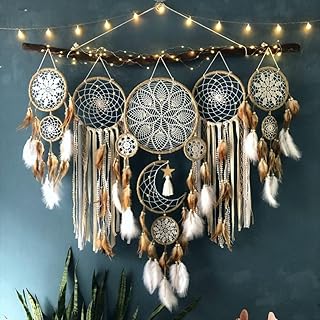
To craft your collage, start by deciding on a shape that resonates with you. A heart shape conveys love, while a star evokes a sense of wonder. Mix different frame styles for a bohemian touch, and accent your design with decorative items like small dreamcatchers or feathers to complement the lights.
Consider these tips for your collage:
– Choose a shape that speaks to your style
– Use a mix of frame styles for a unique effect
– Accent with dreamcatchers or feathers for flair
– Play with photo colors for visual contrast
This delightful setup serves not only as a stunning focal point but also as a conversation starter, inviting guests to share in your cherished memories.
Fun fact: A well-lit fairy light photo wall boosts cozy vibes by up to 60% in a room. When you build a photo collage in heart or star shapes, memories glow and feel instantly more personal.
Fairy Light Photo Collage
Editor’s Choice
Dailyart Fairy Lights Plug in, 200 Led Twinkle String Light with Remote …

TWINKVILLA Decorative String Lights Plug in with 10 Bulbs, Flower Garlan…

MELANNCO Collage Picture Frame 18×23 Inch Black – Holds 12 Photos in 4×6…

Umbra Luna Collage Picture Frame Holds Nine 4×6 Photos, Large 22-Inch Di…
5 Pack Moon Phase Dreamcatcher Set Boho Wall Decor for Witchy Gifts,Macr…
4. Ceiling Fairy Light Display
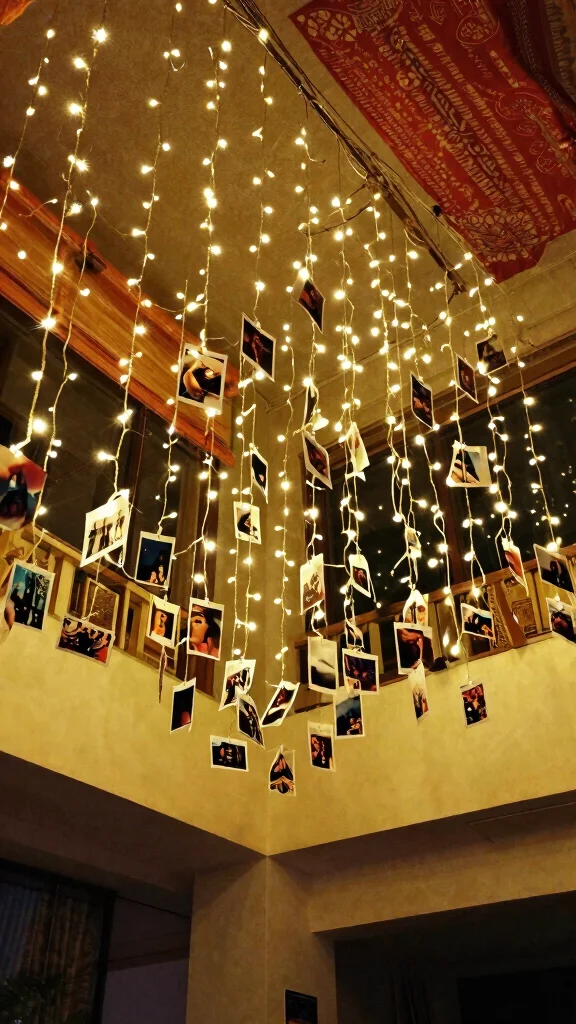
Elevate your fairy light photo wall by extending the magic to your ceiling! This stunning setup draws the eye upward, expanding the cozy atmosphere throughout the room. Hanging photos from the lights using clear fishing line creates an enchanting floating effect that captivates everyone who enters.
To create this breathtaking display, start by selecting a room with high ceilings or lofted areas to maximize impact. Secure hooks to the ceiling to hang your lights, and vary the lengths of the photos for an ethereal effect. Opt for battery-operated fairy lights that twinkle or fade for added dynamism.
Utilize these ideas to enhance your ceiling display:
– Choose a room with height for dramatic effect
– Install hooks for secure hanging of lights
– Vary photo lengths for an ethereal look
– Use twinkling lights for added magic
This approach transforms your space into a dreamy escape, making it feel even more inviting and magical.
5. Rustic Wooden Frame with Fairy Lights
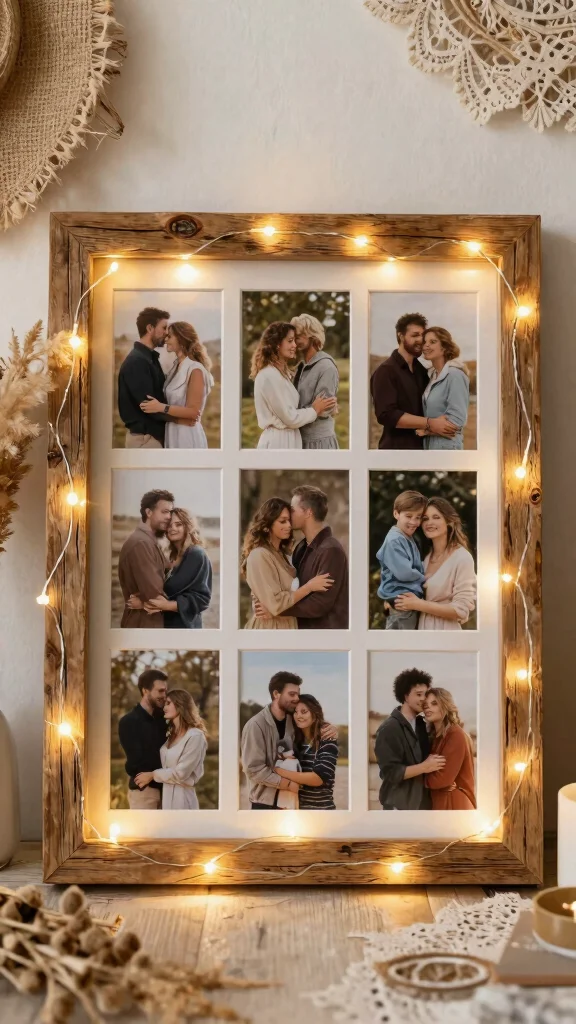
Combining rustic wood elements with fairy lights creates a warm and inviting atmosphere. Utilize a large wooden frame as the foundation for your photo wall, wrapping it with fairy lights for a softly glowing border. This design not only serves as a captivating focal piece but also brings in a touch of nature that feels cozy and welcoming.
To achieve this charming look, start with a rustic wooden frame, perhaps salvaged wood or an old door. Wrap the fairy lights evenly around the frame, and consider incorporating natural elements such as burlap or dried flowers to enhance the bohemian vibe. Layer different photos within the frame for added depth and interest.
Try these steps to create your rustic frame:
– Select a rustic wooden frame for authenticity
– Wrap lights evenly around the frame for balance
– Mix in natural elements like burlap or lace
– Layer photos for dimension and visual appeal
This design invites guests to linger, creating a homey atmosphere filled with warmth and charm.
6. Seasonal Fairy Light Display
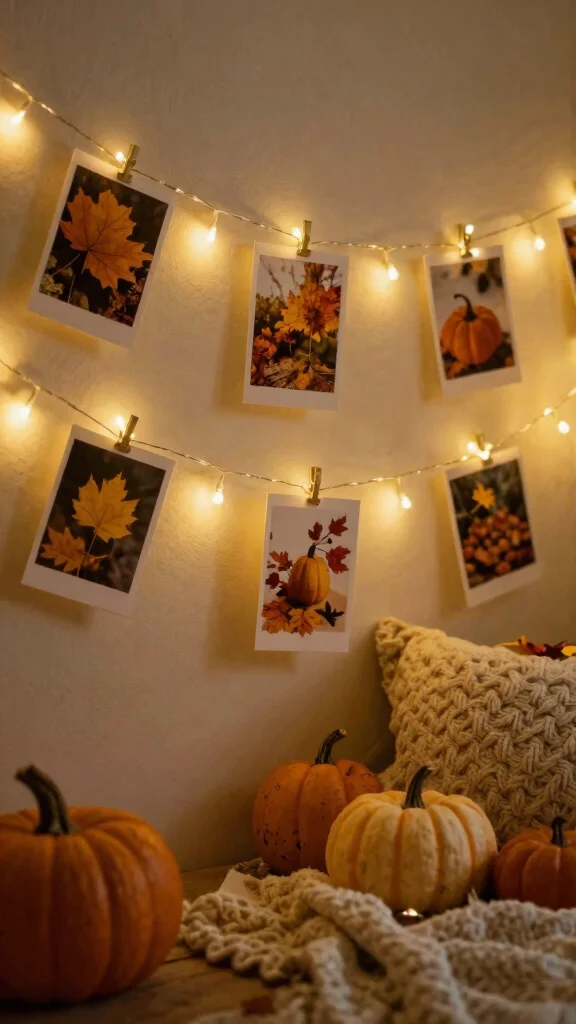
Infuse your space with seasonal joy by switching out your photos and fairy lights throughout the year. Using warm white lights in fall, vibrant hues in summer, and soft pastels in spring keeps your decor fresh and reflects the changing moods of each season.
To get started, choose themes that resonate with each season, like autumn leaves or spring blooms. Rotate your photos to highlight memories that align with the time of year, allowing your decor to flow with nature. Incorporate colored bulbs or themed string lights for an extra seasonal touch, and add small decor items like pinecones or flowers to complete the look.
Consider these ideas for your seasonal display:
– Choose a seasonal theme for your decorations
– Rotate photos that resonate with each season
– Mix in colored bulbs for festive flair
– Add seasonal accessories for a cohesive look
This approach personalizes your space, making it feel alive and vibrant throughout the year.
Seasonal Fairy Light Display
Editor’s Choice
Dailyart Fairy Lights Plug in, 200 Led Twinkle String Light with Remote …
TWINKVILLA Decorative String Lights Plug in with 10 Bulbs, Flower Garlan…

LitHome 66FT Fairy Lights Plug in, 200LED Color Changing Fairy Lights wi…

BrizLabs July 4th Fairy Lights, 66ft 200 LED Color Changing Fairy Lights…

suddus Solar Garden Lights Outdoor Waterproof Decorative, 2Pack 150LED F…
📹 Related Video: How to Add Fairy Lights to Wood Cutout Art (Easy Tutorial)
How To Choose Fairy Lights for Your Photo Wall
When it comes to creating a stunning fairy light photo wall, selecting the right lights is essential. The right fairy lights will enhance your photos, set the mood, and complement your decor. Let’s break down the key factors to consider when choosing the perfect fairy lights for your photo wall.
1. Light Type
You have various options when it comes to the type of light sources—LED, incandescent, or solar. LED lights are energy-efficient and long-lasting, making them the most popular choice. They are available in different colors and styles, allowing for versatile decor. Incandescent lights provide a warm glow but consume more energy. Solar lights are great for outdoor settings, but their brightness varies based on sunlight exposure.
2. Length and Coverage
Consider the size of your wall. Measure the area where you plan to hang the fairy lights to determine the appropriate length. Fairy lights typically come in strings ranging from 10 to 50 feet or more. If you want to create intricate designs or patterns, opt for longer strings. Also, think about how densely you want the lights to be; a tighter string will create a more luminous effect.
3. Power Source
Decide whether you prefer battery-operated or plug-in lights. Battery-operated options offer flexibility in placement, as you won’t be limited by outlet locations. However, they require regular battery changes. Plug-in lights provide a constant power source, but make sure you have access to an outlet nearby. Think about your setup and choose what fits best for your needs.
4. Color and Style
Fairy lights come in various colors and styles, from warm white to multi-colored options. Warm white lights create a cozy atmosphere, perfect for a bohemian aesthetic. Multi-colored lights can add a playful touch and are great for festive occasions. Additionally, consider the design of the lights—some may come in unique shapes like stars or globes that can enhance your photo wall’s overall look.
5. Additional Features
Some fairy lights come with extra features that can elevate your display. Look for options with dimming capabilities, timers, or remote controls for convenience. String lights with built-in patterns or customizable settings can also help you create different moods, whether you want a soft glow for relaxation or a vibrant light show for parties.
6. Budget
Finally, set a clear budget for your fairy light purchase. Prices can vary widely based on length, type, and additional features. Compare different brands and styles to find the best option within your budget. Remember, investing a little more in quality lights can pay off in the long run, as they’ll last longer and look better.
Pro Tip:
Consider combining different types of fairy lights for added depth and texture. Mixing warm white and colorful lights can create a dreamy effect on your photo wall. Play around with different arrangements until you find the look that best suits your space!
7. Artistic Fairy Light Backdrop
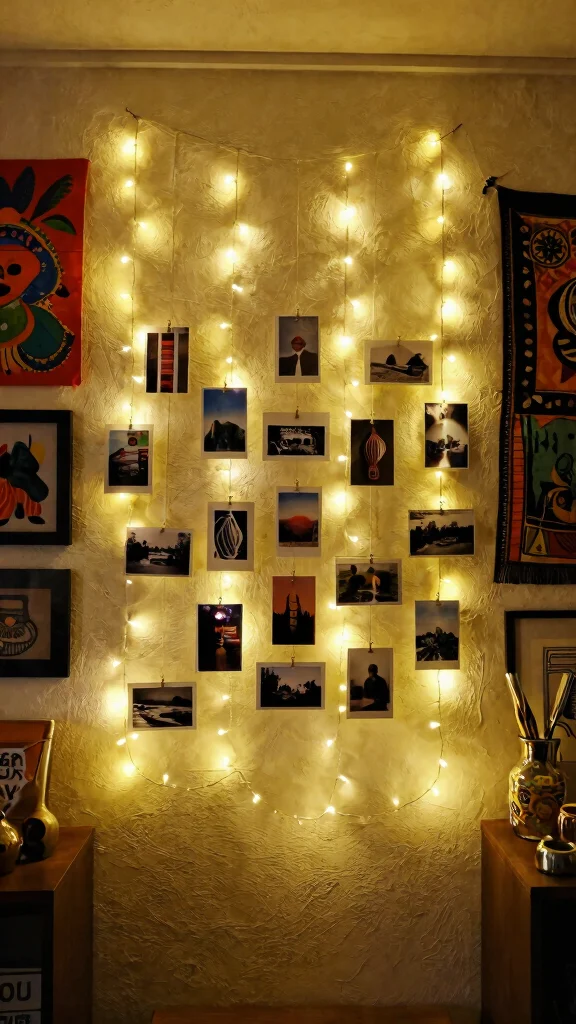
For those with a creative flair, transform your wall into a canvas using fairy lights! Arrange the lights in unique shapes or patterns and layer your photos in front to create an illuminated backdrop that feels like an art installation. This bold idea makes a statement that suits any room perfectly.
To bring your artistic vision to life, start by sketching your design on paper. Securely attach the fairy lights to the wall using adhesive hooks or strips, and arrange your photos in various sizes and orientations for an eye-catching collage. Feel free to include other art pieces, such as paintings or tapestries, for a mixed-media effect.
Follow these steps to create your artistic backdrop:
– Plan your design on paper for clarity
– Use hooks to secure lights firmly on the wall
– Layer photos creatively for visual interest
– Incorporate additional art for a mixed-media look
This captivating approach showcases your creativity and perfectly complements an eclectic bohemian vibe.
Fun fact: A well-planned fairy light photo wall can transform a room with just 20–40 LED points, creating an art-install vibe without heavy costs. Sketch your design, attach lights with adhesive hooks, then layer photos for a bold, share-worthy backdrop.
8. Interactive Light and Photo Wall
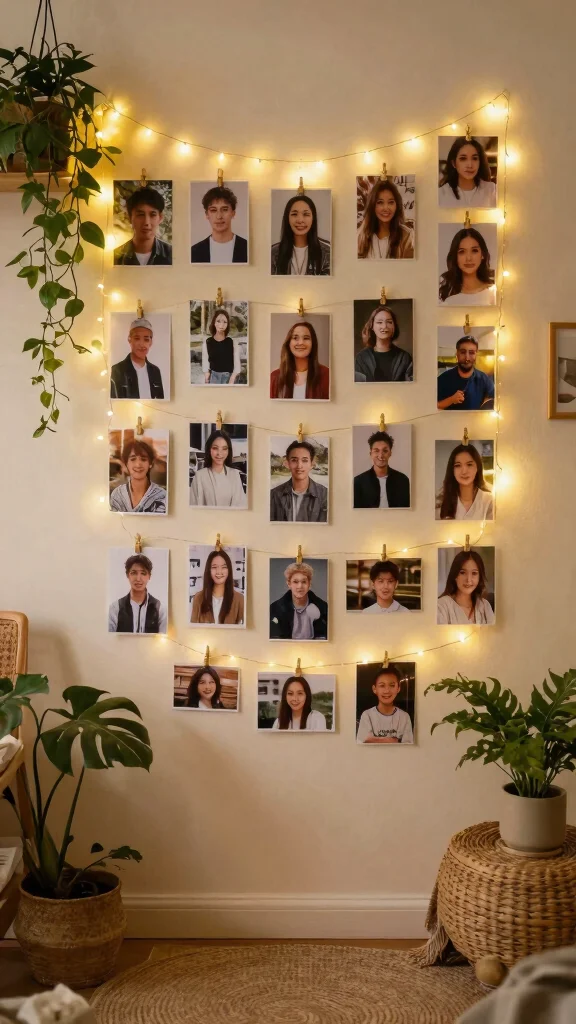
Transform your space into an interactive experience by inviting guests to contribute their own photos to your fairy light display! Using clips or magnetic strips encourages friends to leave memories behind during their visits, personalizing your decor and creating a beautiful, evolving gallery.
To set this up effectively, designate a specific area on your fairy light wall for guest photos. Provide a basket filled with clips, washi tape, or magnets for easy access, and encourage creativity by inviting guests to bring their own photos or craft something special during gatherings. Regularly rotate old photos for fresh memories that keep the display lively.
Implement these ideas for your interactive wall:
– Designate a space for guest contributions
– Provide supplies for easy access
– Encourage guests to bring special photos
– Rotate photos regularly to keep it fresh
This interactive wall becomes an ever-changing piece of art, fostering connections through shared memories and enriching your space.
Interactive Light and Photo Wall
Editor’s Choice

Decute 50LED Photo Clips String Lights Holder Timer Function 8 Modes Dim…

Dingion 12 Pack 82 ft Dormitory Photo Decor Leaves Dorm Hanging Picture …
Homecor Hanging Photo Display Wall Decor, Macrame Wall Hanging Boho Room…

| 2×6 Flexible Magnetic Photo Booth Picture Frames (100 Count) | Crystal…

200 Pcs Magnetic Photo Booth Frame Flexible Magnetic Picture Frame with …
Conclusion
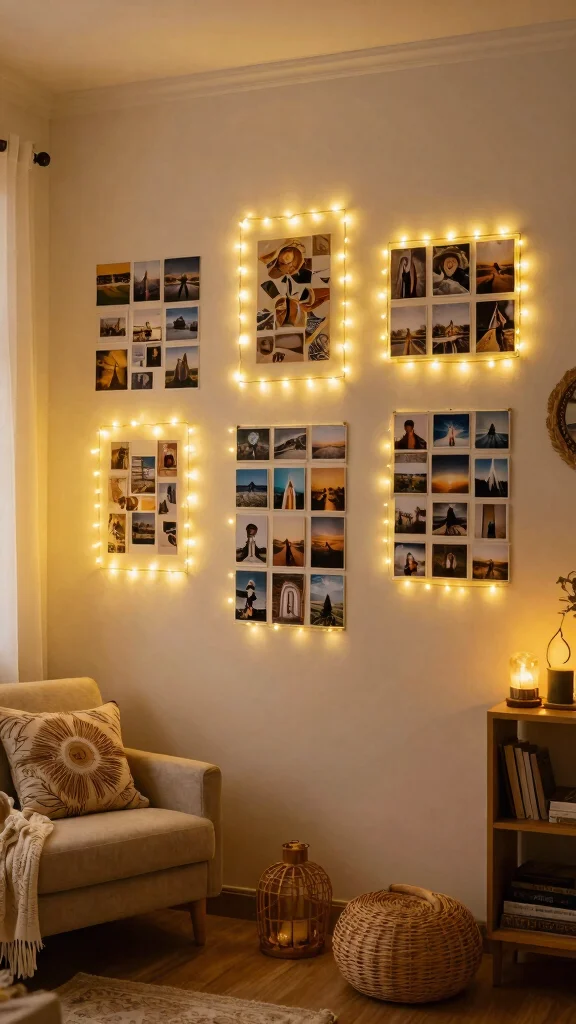
Fairy light photo walls are a perfect way to showcase your memories while adding a touch of enchantment to your home decor. Each of these ideas allows you to personalize your space and embrace the whimsical nature of bohemian style. Whether you choose a simple grid or an intricate installation, the glow of fairy lights will surely make your home feel warm and inviting. So, gather your photos and start experimenting with these creative ideas to bring a magical touch to your walls!
Note: We aim to provide accurate product links, but some may occasionally expire or become unavailable. If this happens, please search directly on Amazon for the product or a suitable alternative.
This post contains Amazon affiliate links, meaning we may earn a small commission if you purchase through our links, at no extra cost to you.
Frequently Asked Questions
How can I create an affordable fairy light photo wall that looks stunning?
To create an affordable yet stunning fairy light photo wall, start with a plan. Choose a wall, measure the space, and lay out a few photo wall ideas on the floor before you commit. Use warm white string lights decor and simple clips or clothespins to hang photos; print a cohesive set so the gallery reads as one piece. Reuse thrifted frames or DIY simple frames to cut costs, and keep power simple with a nearby outlet or battery-operated fairy lights decoration. When you switch on the lights, you’ll turn the space into a cozy LED photo display and a gallery wall inspiration magnet.
What are some bohemian fairy light photo wall ideas I can try?
Try these bohemian-friendly ideas: go for an loose, asymmetrical cluster instead of a rigid grid; mix photo sizes and add natural textures like woven tapestries, macrame, or dried botanicals; hang photos at varying heights to create a flowing line that feels organic. Incorporate small shelves or ledges to display tiny decor pieces and accent with warm brass or wood-toned frames to enhance the boho vibe. Let the string lights decor trace a gentle curve, spiral, or zigzag to frame the display and achieve gallery wall inspiration with a carefree, festival-ready mood.
How do I safely attach photos and lights to avoid wall damage?
Safety first: plan your layout on the floor, then mark where hooks go. Use removable options like Command strips, picture-hanging strips, or mini clothespins so you don’t damage walls. Route cables neatly along crown molding or behind furniture; choose battery-operated fairy lights decoration if outlets are far away. Clip photos securely with small clips or binder clips that won’t bend photos, and avoid overheating by avoiding dense packing of lights. This keeps your fairy light photo wall gorgeous and safe.
Can I mix different light colors and frame styles on a fairy light photo wall?
Yes, you can mix colors and frame styles, but keep a cohesive look. Opt for a single color temperature (warm white) and limit colored lights to small accents rather than the entire wall. Choose frames in similar tones or a unified material (wood or black metal) to tie diverse styles together. Place brighter frames where the light hits and use clear clips to minimize glare, turning the arrangement into a warm gallery wall inspiration and avoiding a chaotic look. This keeps your fairy lights decoration inviting and readable.
How can I refresh or rearrange my fairy light photo wall over time without starting from scratch?
Refresh your fairy light photo wall by rotating images seasonally or whenever you want a new vibe. Store extra photos in a labeled box so you can swap them in easily, or keep a small digital library and print fresh favorites. Use adjustable hangers or clips that let you move photos quickly, and consider adding a new element like a small shelf, dreamcatcher, or plant to alter the mood. A light rotation plan keeps your gallery wall inspiration alive and your fairy light photo wall feeling new.
Related Topics
home decor
bohemian style
fairy light photo wall
string lights decor
gallery wall inspiration
LED photo display
DIY decor
easy projects
bedroom aesthetics
creative displays
photo wall ideas
ambient lighting