
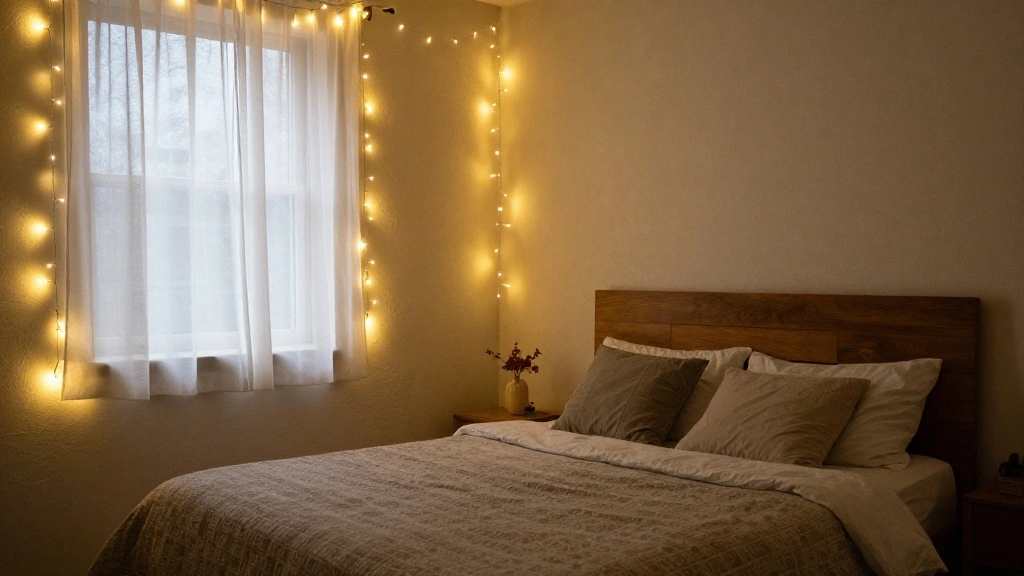
Are you looking to elevate the ambiance of your bedroom but not sure where to start? Fairy lights can transform your space from mundane to magical, but hanging them can seem daunting. Fear not! This guide will walk you through the process step-by-step, ensuring you achieve a beautiful and cozy atmosphere. By the end of this article, you will successfully hang fairy lights on your bedroom wall, creating a warm and inviting space.
In this guide, you will learn about the materials needed, various hanging techniques, and tips for achieving the best results. This project is designed for beginners, and you can accomplish it in approximately 1-2 hours. So, grab your fairy lights and let’s get started on this enchanting journey!
TL;DR Summary
- Gather all necessary materials for hanging fairy lights.
- Select your desired wall design and prepare the surface.
- Secure the lights using appropriate hanging methods.
- Step back and admire your beautifully lit bedroom!
Recommended Products

Bright: Led christmas lights are composed of warm white micro LEDs with big chips, brighter than others' led fairy lights. Perfect decoration for weddings, parties and kids' rooms

Battery Operated String Lights: Powered by 3*AA battery (batteries NOT included). The battery box is not waterproof, please keep it away from water

LED Silver Lights: 65.2 feet 200 LED USB operated copper string lights, with USB adapter, 3 silver copper wires reinforced design, 17 inches PVC intensified lead cord, epoxy wrapped LED beads with 4 inch spacing, better waterproof and not easy to break, wonderful for DIY crafting, shaping desired art figures and patterns, come with gift box, a nice Christmas lights for family, friends, colleague or yourself
TL;DR Summary
Editor’s Choice

20 lb X-Large Picture Hanging Strips, 16 Pairs White Command Strips Heav…


AMWGIMI Sunflowers Flower Lamp,Rechargeable Cordless Touch Table Lamp,3-…

16 Pack Crystal Clear Adhesive Hooks for Hanging, Heavy Duty 22lb Sticky…
Prerequisites/Materials Needed
- Fairy lights (1-2 sets, depending on room size)
- Command hooks or adhesive hooks (10-15, depending on spacing)
- Measuring tape (1 piece)
- Scissors (1 pair)
- Extension cord (if needed)
- Clear tape (optional)
Recommended Products
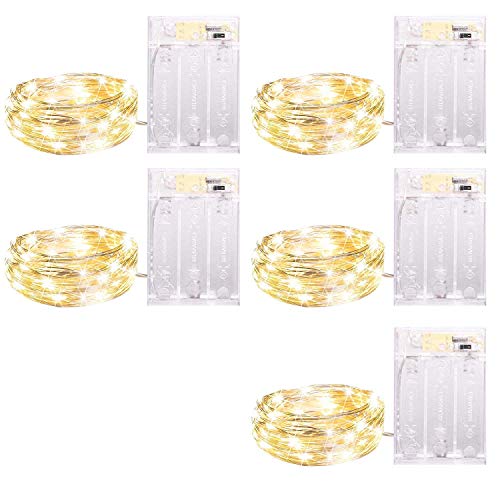
Warm white micro leds are super bright, creating warm atmosphere. The led bulbs create a 360° sparkling glowing. The effect is much better than incandescent lights
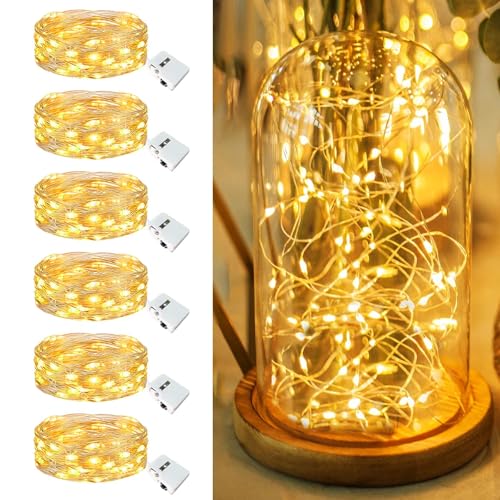
【Long-Lasting Battery Life】Our small battery fairy lights come with 3 pre-installed 180mAh high-capacity LR44 batteries, totaling 540mAh. Enjoy up a long time of constant lighting, perfect for decorating various items. No need to buy extra batteries like with other brands, saving you time and money. Illuminate your mason jar, vase, crafts, parties, and more with ease(Actual battery life may vary depending on usage)
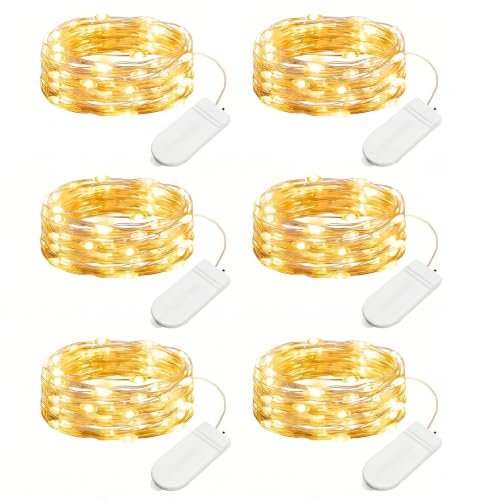
【 6 Pack Battery Operated LED Fairy Lights 】- Powered by 2 CR2032 batteries (included), the 7 feet micro fairy light with 20 upgraded energy-efficient LEDs is perfect for both everyday decorations as well as holiday decor. The thin copper wiring and small-sized LED bulbs will add a delicate and cozy touch to your personal space.
Prerequisites/Materials Needed
Editor’s Choice

SOFFEE DESIGN 2PCS Golden Flower Metal Hooks, Heavy Duty Coat Hanger for…

WORKPRO 25FT Pink Tape Measure, Dual Lock Tape Measure with Fractions Ev…

6 Pack Fairy Lights Battery Operated – 7ft 20 Led Twinkle Lights 3 Modes…
Skill Level & Time Estimate
Skill Level: Beginner
Total Time Estimate: 1-2 hours
Recommended Products

【USB Plug in Fairy Lights】This string light consists of a 33 feet flexible silver wire, a 6.7 feet power cord, and 100 energy-efficient LED bulbs. USB powered, it emits a soft, warm glow suitable for both indoor and outdoor use. With the remote control, you can easily turn the lights on and off, adjust the brightness, and switch lighting modes, making it the perfect accent to your home decorations

【 USB End + Control Button 】- The USB plug enables you to plug the string lights into the USB hub, power adapter, laptop, tv or power bank. Pressing the button can change the color and light modes

【Bright and Warm Christmas String Lights】Our Outdoor Christmas lights use higher brightness LED bulbs, while the plug power supply greatly improves the stability of the bulb brightness, making each of our LED bulbs shine 360 degrees, providing you with a constant crystal clear glow! These Plug in Christmas lights are very warm, soft, and non-dazzling, adding a classic and charming glow to your Christmas decorations.
Skill Level & Time Estimate
Editor’s Choice

Globe String Lights 20ft 40 LED USB Powered Warm White Fairy Lights for …
Step 1: Choose Your Fairy Lights
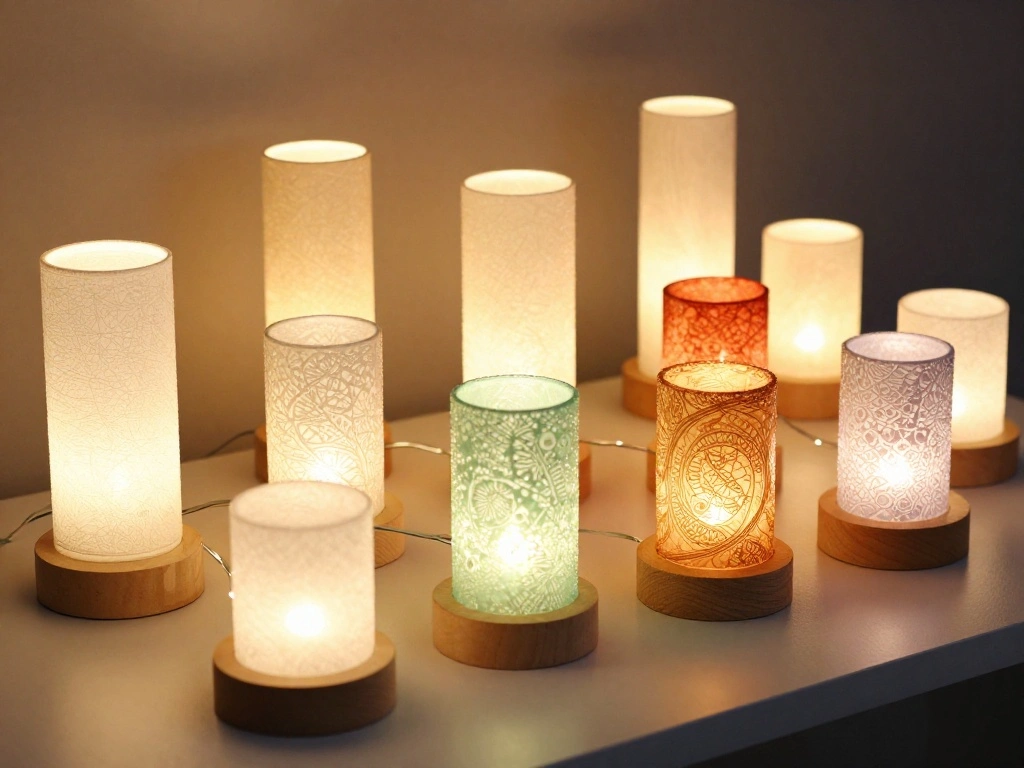
First, select the type of fairy lights that suit your bedroom’s aesthetic. You can choose from various styles, such as warm white, multicolored, or even solar-powered options. Why this matters: The right lights will enhance your room’s theme and create the desired mood.
- Visit a local store or browse online to compare options.
- Look for lights with a good length to cover your desired area.
- Check for features such as dimming or twinkling modes.
Warning: Ensure the lights are rated for indoor use if you are hanging them inside. This will prevent any safety hazards.
Time Estimate: 15-30 minutes
Recommended Products

ONE LIGHT CLIP FOR EVERY TWO FEET OF LIGHTS: One package of Command Indoor Mini Light Clips includes 45 clips and 54 small Command Strips; use one light clip for every two feet of lights

60 PCS Light Hooks Clips Per Box: Length 16mm/0.63inch, Width 15mm/0.59inch, Height 8mm/0.31inch; Suitable for cables with a diameter (maximum) of 5 mm/0.2 inches, size fits most wires, small size and space saving.

Compatible Surfaces: Adheres securely to smooth, non-porous surfaces including painted walls gloss/satin finish, glass, metal, finished wood, and tile.NEVER use on Fabric, wallpaper, peeling paint,unpainted drywall, or other delicate surfaces.
Step 1: Choose Your Fairy Lights
Editor’s Choice

EDOF 6 Pack Sunflower with Firefly Lights,Solar Lights Outdoor Garden De…

Flower Crowns for Women with Colorful Fairy Light,Headband Hair Wreath…
Step 2: Plan Your Design
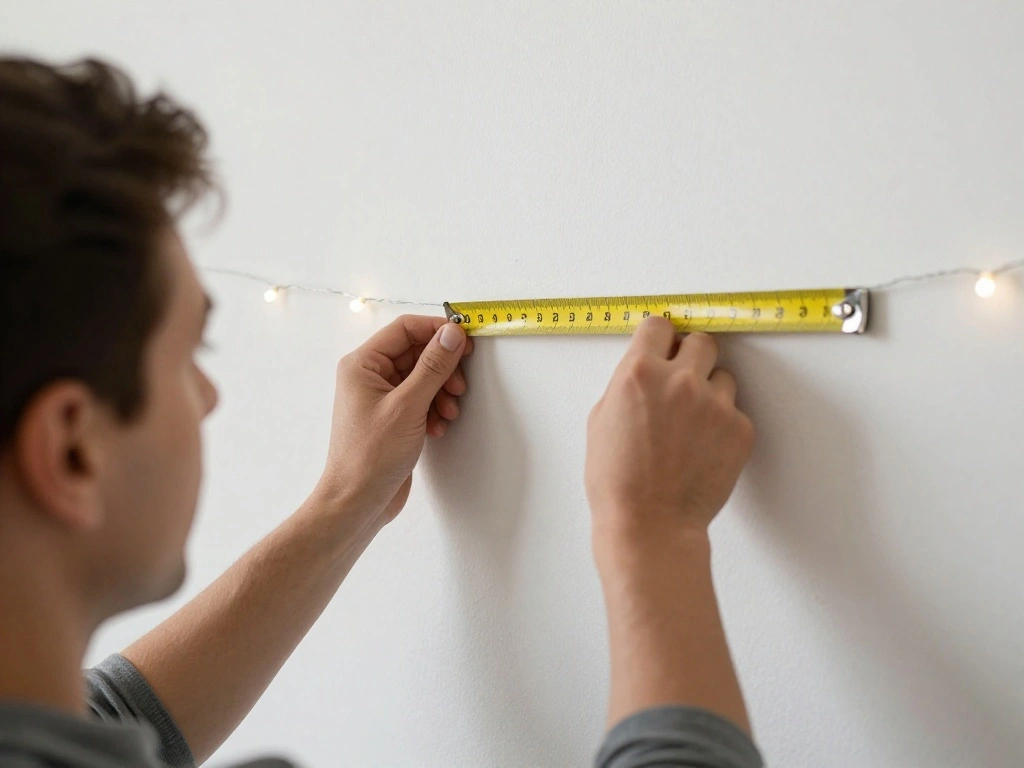
Before you start hanging lights, plan out how you want to arrange them on your wall. Why this matters: A well-thought-out design will help you achieve a balanced and visually appealing look.
- Decide if you want to outline a shape (like a heart or star) or create a random pattern.
- Use the measuring tape to estimate the length of the area you plan to cover.
- Sketch your design on paper or visualize it mentally.
Pro Tip: Use painter’s tape to mark where the lights will go on your wall for a visual guide.
Time Estimate: 15-20 minutes
Recommended Products

DAMAGE-FREE PICTURE HANGERS: Includes 12 pairs (24 strips) of White Command Medium (10lb) and 16 pairs (32 strips) of White Command Large (15lb) Picture Hanging Strips, unique hassle-free wall hangers for hanging pictures without nails or damage


Step 2: Plan Your Design
Editor’s Choice

Fuxi 9″ x 12″ Sketch Book, Top Spiral Bound Sketch Pad, 100 Sheets 68lb/…

Cute Decorative Lights Fairy String Light Horse Gifts for Women Novelty …
WORKPRO 25FT Pink Tape Measure, Dual Lock Tape Measure with Fractions Ev…
Step 3: Prepare the Wall Surface
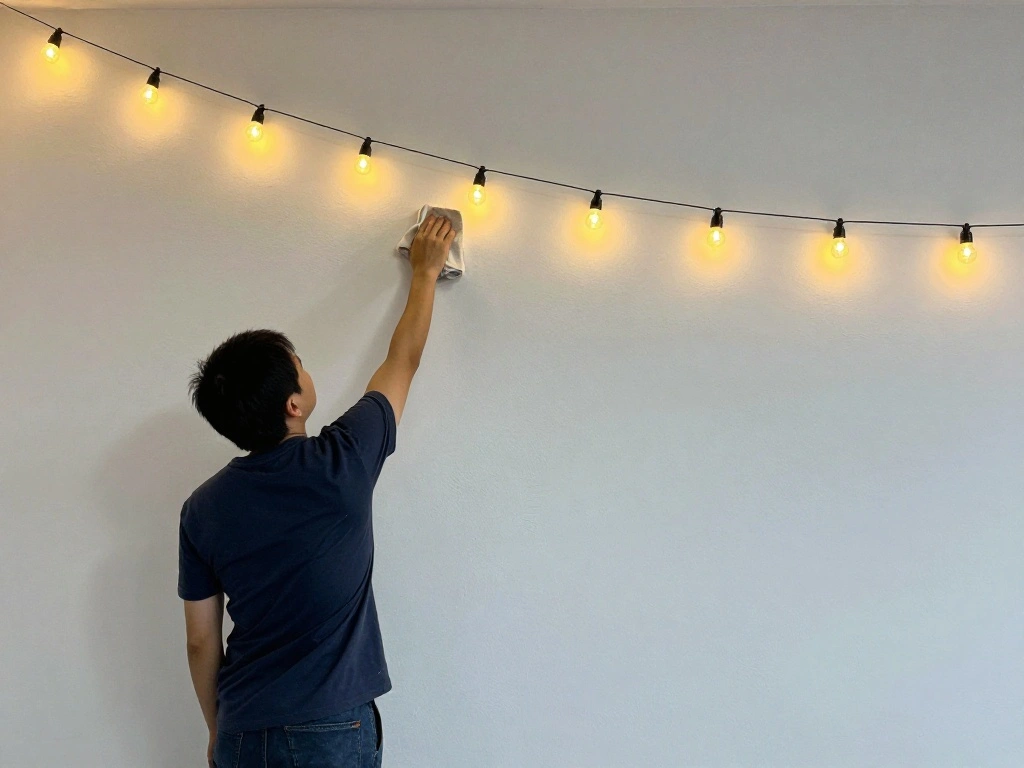
Ensure the wall surface is clean and dry before applying hooks or tape. Why this matters: A clean surface allows for better adhesion, which helps keep your lights securely in place.
- Dust the area where you plan to hang the lights.
- If needed, wipe down the wall with a damp cloth and let it dry completely.
Warning: Avoid using harsh chemicals that can damage your paint or wallpaper.
Time Estimate: 10-15 minutes
Recommended Products

[USB Powered Fairy Lights] USB-powered design eliminates the hassle of battery replacements. Our 33ft fairy lights feature a high-compatibility USB plug, allowing you to power up with laptops, power banks, chargers, or USB sockets. 6.7 ft power cord and 100 warm white LED fairy lights are perfect for long-term decorations in dorms and bedrooms, balcony and patio, indoor and semi-outdoor, providing continuous, cost-effective starlight whenever you need it.

【Globe String Lights】The Led string lights come with frosted globes can create a soft, cosy light to take care of your eyes. So the lighting effect of the frosted ball is irreplaceable by other LED string lights. The cute string lights indoor provide a fun feel for room aesthetic to the bedroom, dorm, classroom, living room. The globe around the lights are shatterproof, it not only create a unique relaxing and soothing indoor atmosphere, but also enhances the durability of the string lights
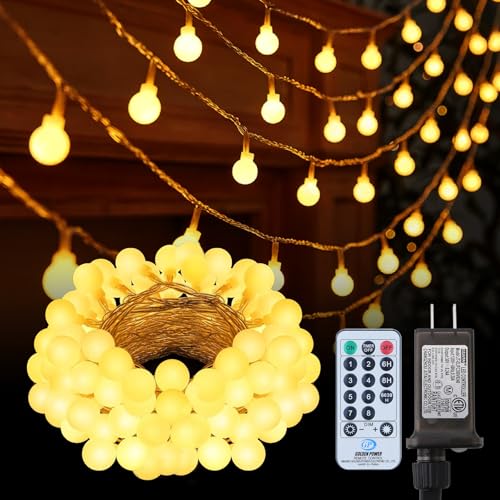
【Timing & Brightness Adjustable & Remote Control 】The string lights for bedroom is equipped with an intelligent remote control, two timing modes (6 hours on ,18 hours off and 8 hours on ,16 hours off ), and 4 levels brightness adjustment. There are also 8 lighting modes for you to choose, such as stable, flashing, slow gradient and so on. Whether it's decorated for indoors or outdoors, this fairy lights will create a warm and romantic atmosphere for you !
Step 3: Prepare the Wall Surface
Editor’s Choice

Adhesive Wall & Ceiling Decor Hooks: 4-Pack 3 lbs Heavy Duty No-Drill 36…

CHOMP! Painted Wall Cleaner Spray: Healthier Home 5-Minute CleanWalls 4-…
Step 4: Mark Hook Placement
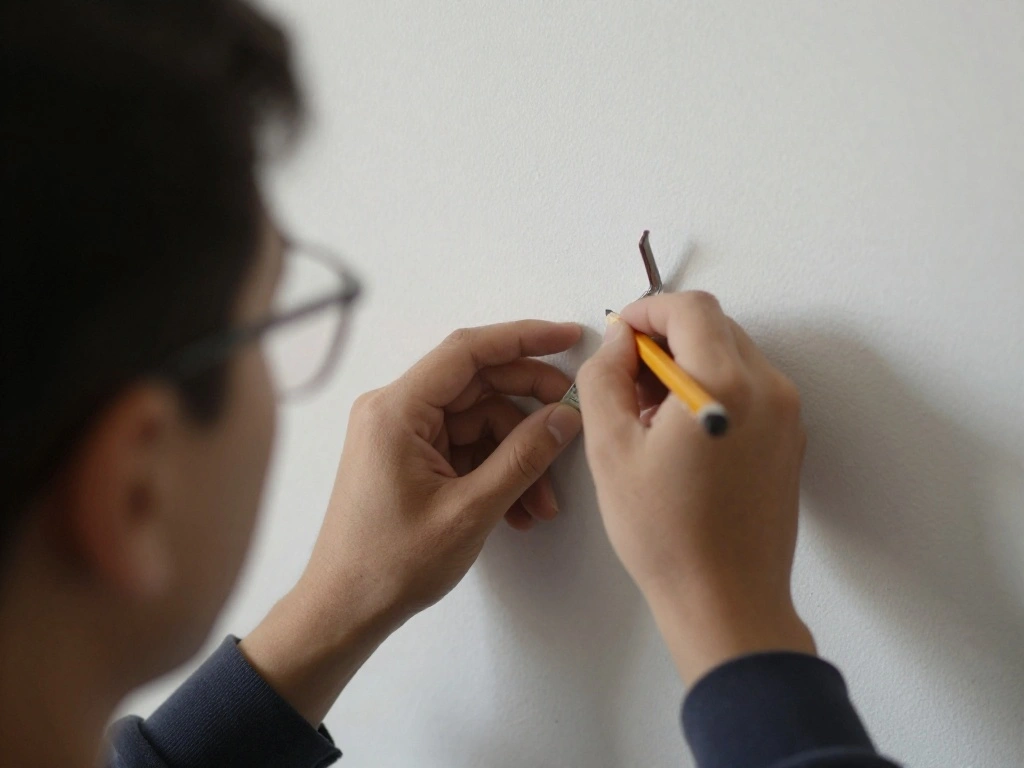
Once your wall is prepared, it’s time to mark where the hooks will go. Why this matters: Precise placement ensures that your lights hang evenly and look professional.
- Using the measuring tape, determine the spacing between each hook based on your design.
- Mark each hook location with a small pencil dot.
- Double-check your measurements to ensure even spacing.
Pro Tip: If using multiple strands of lights, consider marking the hooks for each strand separately.
Time Estimate: 10-15 minutes
Recommended Products
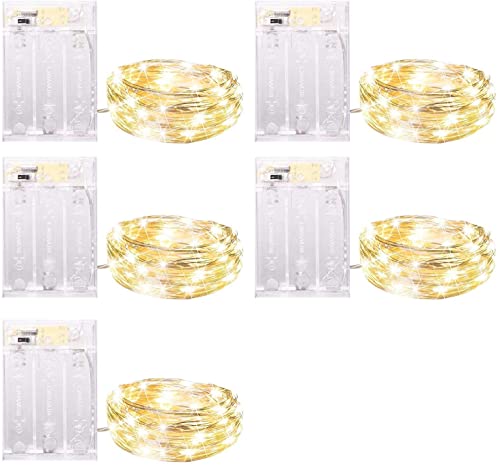
DIY Fairy String Lights: Ultra thin, flexible and easily bendable, you can DIY any shape. The bright but not dazzling warm white fairy light can create a warm atmosphere for you, as if you are in a fairy tale world

【High quality Black Lights 】7 feet long silver copper thin wire with 20 high quality LED lights(Wavelength: 395-405nm), 4 inches distance between LED bulbs. With steady 360 degree viewing angle they illuminate in every direction.

【 12 Pack Battery Operated LED Fairy Lights 】- Powered by 2 CR2032 batteries (included), the 7 feet micro fairy light with 20 upgraded energy-efficient LEDs is perfect for both everyday decorations as well as holiday decor. The thin copper wiring and small-sized LED bulbs will add a delicate and cozy touch to your personal space
Step 4: Mark Hook Placement
Editor’s Choice
WORKPRO 25FT Pink Tape Measure, Dual Lock Tape Measure with Fractions Ev…

Vintage Flower-Shaped Decorative Wall Hooks, 2 Pack Hand-Painted Floral …
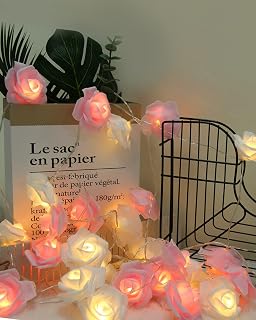
Birthday Decorations Rose Lights Wedding Decor Flower Fairy Lights | Val…
Step 5: Attach the Hooks
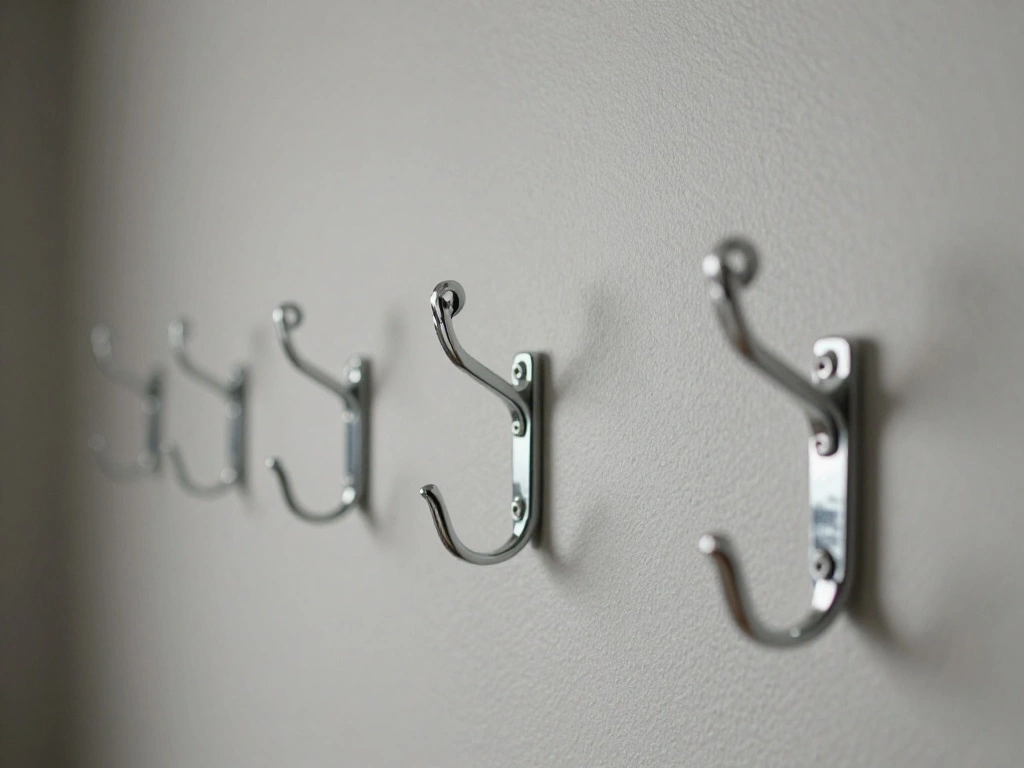
Now it’s time to attach the hooks to your marked spots. Why this matters: Properly affixed hooks will securely hold your fairy lights in place.
- Peel off the backing of the adhesive hooks.
- Press each hook firmly onto the marked spots on the wall.
- Allow hooks to adhere for at least 30 minutes before hanging lights.
Warning: Ensure you are pressing down firmly to avoid any hook falling off later.
Time Estimate: 15-20 minutes
Recommended Products

✨【Your Holiday, Your Rules | Remote Control Fairy Lights】 Instantly become the director of your Christmas ambiance with our advanced Remote Control Fairy Lights. Select from 8 magical modes to make your ornaments sparkle, or choose a steady warm glow for a tranquil evening. With 10 dimmable levels, you have the ultimate power to create the perfect setting for any holiday moment. These versatile lights are not just for Christmas; they're the secret to a beautifully lit home all year long.

8 Modes of Light with 4 Dimming Levels: The 4-level dimming feature on the remote control makes it simple to change the brightness from 100% to 25%, making it ideal for movie nights and holiday gatherings. 8 dynamic patterns—combination, in waves, sequential, slo-glo, chasing/flash, slow fade, twinkle/flash, and stable on—are available for selection. Unlike traditional Christmas lights, these modes are automatically memorized after a power outage and don't require manual adjustments. Allow suddus remote control string lights to enhance your enjoyment and ease

【12.8ft Orange Pumpkin Lights & 10-Level Dimming】Experience unparalleled flexibility with 40 ENERGY-EFFICIENT LEDs spanning 12.8ft - 28% longer than OTHERS. Customize ambiance with 10-level brightness adjustment and 8 dynamic modes (Twinkle/Fade/Chase/Steady On) via included remote. Perfect fall twinkle lights for seasonal decor.
Step 5: Attach the Hooks
Editor’s Choice
SOFFEE DESIGN 2PCS Golden Flower Metal Hooks, Heavy Duty Coat Hanger for…

Double Sided Tape for Clothes, Body and Fashion (75 Strips) | Clothing a…
Step 6: Hang the Fairy Lights
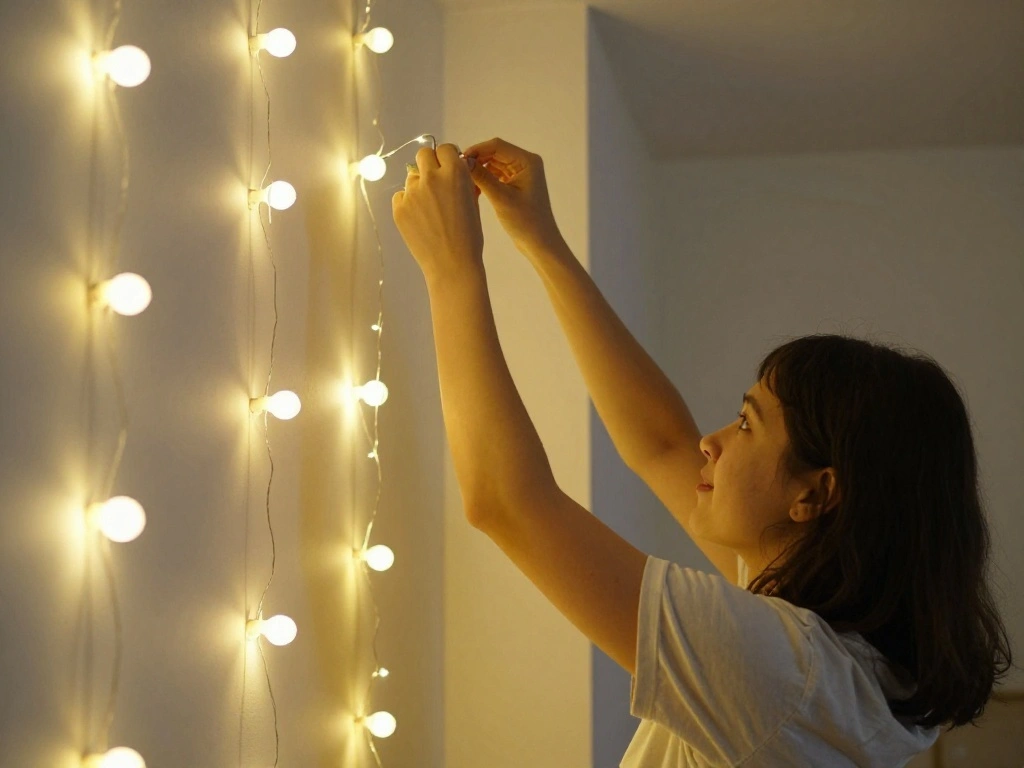
With the hooks in place, it’s time to hang your fairy lights. Why this matters: Proper hanging will ensure that your lights are secure and look great!
- Starting from the nearest power source, unravel the lights.
- Carefully hook the lights onto each of the adhesive hooks.
- Adjust the lights as needed to ensure they are evenly spaced and hanging straight.
Pro Tip: If your lights have a plug, ensure it’s easily accessible for turning them on and off.
Time Estimate: 20-30 minutes
Recommended Products

How to use: Max. weight per hook: ≤0.5kg (1.1lbs). Allow 12 hours for adhesive to fully cure before hanging items. Avoid hanging heavy objects in humid areas like bathrooms or near kitchen sinks to maintain adhesion.

High quality material:XHF Adhesive Cable Clips are manufactured from Strong Adhesive and PA66 nylon

LITTLE HELPERS: The attractive transparent design makes the hook almost invisible, perfect for hanging fairy-lights or small decorations on dark or striking surfaces and in much-used spaces such as living rooms, kitchens and hallways
Step 6: Hang the Fairy Lights
Editor’s Choice

White Bed Canopy with 24 Colors Star Lights for Girls, 8 Corner Princess…

BIHRTC Pack of 25 Black Curtain Clips String Light Hangers Small Metal W…
Step 7: Secure Loose Wires
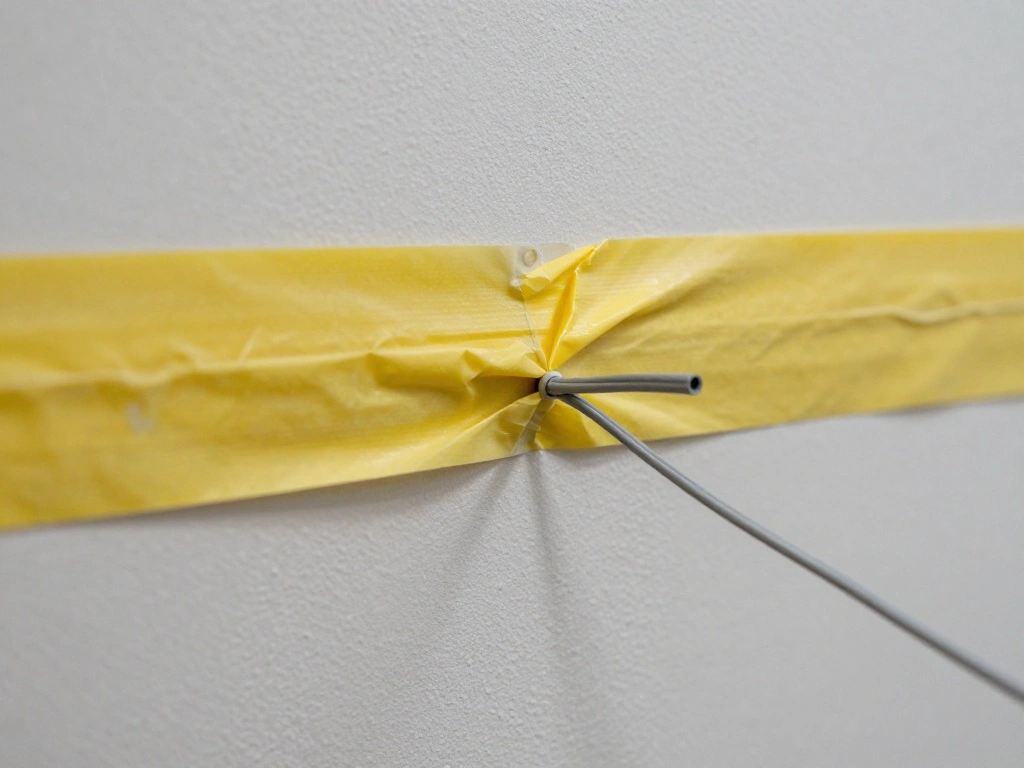
Check for any loose wires hanging down and secure them. Why this matters: Keeping wires tidy not only looks better but also prevents tripping hazards.
- Use clear tape to secure any excess wire to the wall.
- Make sure the lights are taut without putting too much pressure on the hooks.
Pro Tip: Use small clips if you need to keep wires away from furniture or other areas.
Time Estimate: 10-15 minutes
Recommended Products

VARIETY PACK OF PICTURE STRIPS: One package of the Command Picture Hanging Strips Variety Pack includes 12 Pairs of 10 lb and 16 Pairs of 15 lb White Command Picture Hanging Strips (56 Strips total).

MAXIMUM FRAME SIZE 8 X 10 INCHES: One package includes 18 pairs (36 strips total) of the Command Small Picture Hanging Strips; four wall adhesive strip pairs hold 4 pounds; maximum frame of 8 x 10 inches

MAXIMUM FRAME SIZE 24 X 36 INCHES: One package includes 20 pairs (40 strips total) of the Command Large Picture Hanging Strips; four wall adhesive strip pairs hold 16 pounds; maximum frame of 24 x 36 inches
Step 7: Secure Loose Wires
Editor’s Choice

EZlifego Double Sided Tape Heavy Duty, Nano Double Sided Adhesive Tape, …

20 Pcs Heart Cord Organizer, PU Leather Cable Straps Holder for USB Earp…
Step 8: Test the Lights
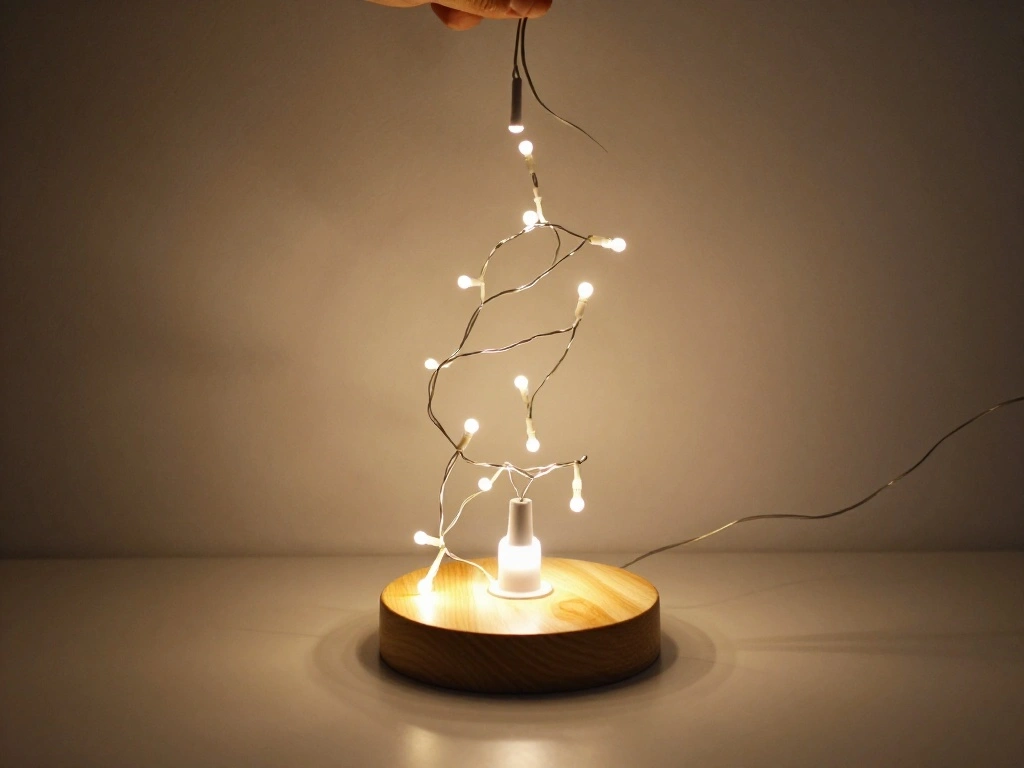
Now that your fairy lights are hung, it’s time to test them. Why this matters: Testing ensures everything works properly before you finalize your setup.
- Plug in the lights and check if they illuminate.
- Look for any flickering or dead sections.
- If some lights are not working, check connections or replace batteries if applicable.
Warning: Ensure the power source is safe and not overloaded for the lights you are using.
Time Estimate: 10-15 minutes
Step 8: Test the Lights
Editor’s Choice

Globe Electric 22814 Designer Series 9-ft Fabric Extension Cord, 3 Polar…

FrogTape reMOVEables Damage Free Adhesive Hook – Removable & Reusable Sm…
Step 9: Adjust as Needed
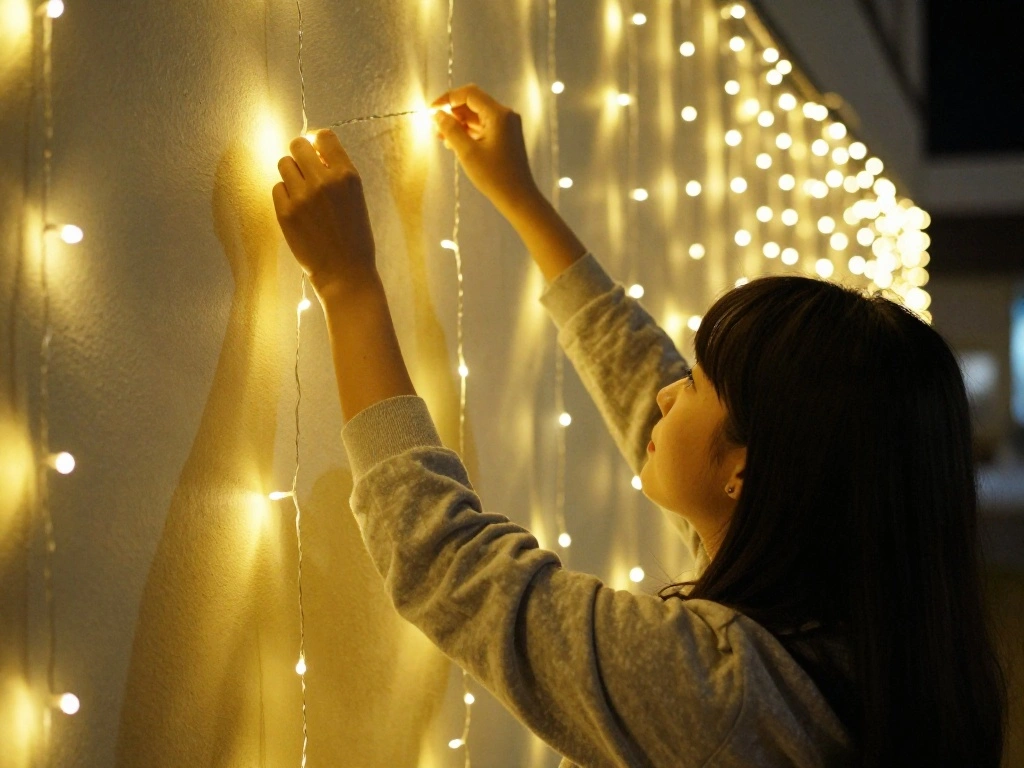
Take a moment to step back and see how your fairy lights look from different angles. Why this matters: Adjustments can make a significant difference in the overall aesthetic.
- Adjust any sections that may look uneven or droopy.
- Consider rearranging for better visual balance.
Pro Tip: Use this opportunity to switch the light modes if your lights have different settings.
Time Estimate: 10-15 minutes
Step 9: Adjust as Needed
Editor’s Choice
Vintage Flower-Shaped Decorative Wall Hooks, 2 Pack Hand-Painted Floral …

App Control Adult Tools for Women Long Distance Toy No Noise Hands-Free …

String Lights, 8 Light Modes 6ft 20 LED Rose Flower Garlands for Indoor …
Step 10: Enjoy Your New Ambiance
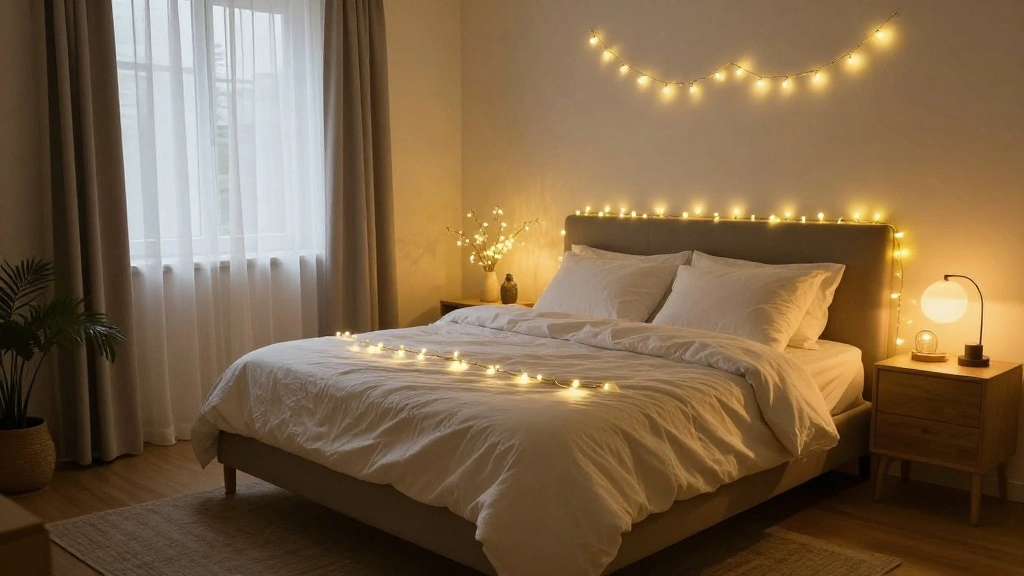
With your fairy lights now hung and adjusted, take a moment to enjoy the new atmosphere in your bedroom! Why this matters: Creating a cozy environment enhances relaxation and can improve your mood.
- Consider adding other elements like cushions or candles to complement the lights.
- Invite friends over to show off your new setup!
Pro Tip: Change the light settings or colors according to your mood or season for a fresh vibe!
Time Estimate: 5-10 minutes
Step 10: Enjoy Your New Ambiance
Editor’s Choice

Flower Shaped Pillow, Cute Decorative Throw Pillow with Soft Artificial …

Aromatherapy Candles, Scented Candles, 7OZ Lavender Eucalyptus Candles S…
Pro Tips
- Use a Timer: Set a timer for your lights so they turn on and off automatically.
- Mix with Other Decor: Combine fairy lights with other decorations like photos or wall art for a personalized touch.
- Experiment with Colors: Use color-changing lights for different moods and occasions.
- Layer the Lights: Combine fairy lights with other lighting sources for depth and warmth.
- Keep Spare Batteries: If your lights are battery-operated, keep extra batteries handy for quick replacements.
Pro Tips
Editor’s Choice

BN-LINK BND-60/U47 Indoor Mini 24-Hour Mechanical Outlet Timer, 3-Prong,…
Common Mistakes to Avoid
Warning: Don’t rush the planning phase. Skipping this can lead to uneven placements or needing to redo your work later.
Warning: Avoid overloading your electrical outlets. Check the wattage ratings to ensure safety.
Warning: Don’t hang lights too close to flammable materials to avoid fire hazards.
Warning: Avoid using nails if you want to keep your walls damage-free. Stick to adhesive hooks or clips.
Warning: Skipping the testing phase can lead to disappointment if the lights don’t work after you’ve hung them.
Common Mistakes to Avoid
Editor’s Choice
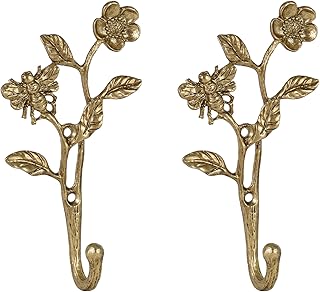
SOFFEE DESIGN 2pcs Metal Dark Gold Coat Hooks with 3D Bee & Flowers Shap…
Troubleshooting Section
Problem: Lights won’t turn on.
Solution: Check the plug connections and replace batteries if applicable. Ensure the outlet is working as well.
Problem: Lights appear uneven.
Solution: Adjust the hooks and lights to ensure even spacing. Recheck your initial marking.
Problem: Hooks are falling off.
Solution: Ensure the surface is clean and dry before reattaching the hooks. Consider using stronger adhesive options.
Problem: Wires are messy.
Solution: Use additional tape or clips to secure loose wires along the wall.
Problem: Lights flicker or have dead sections.
Solution: Replace faulty bulbs or check connections along the string of lights.
Troubleshooting Section
Editor’s Choice


Fairy Lights Battery Operated, 60 LED Fairy String Lights Waterproof Sil…

Zonon 30 Pcs Living Room Wall Decor Home Mirror Wall Letter Signs Sticke…
Variations/Alternative Methods
String Art: Instead of simply hanging fairy lights, create a string art design using the lights as part of the artwork for a unique look.
Wall Grids: Use a wall grid to hang fairy lights creatively, allowing for photos and other decorations to be integrated.
Use Hooks on Ceiling: Instead of walls, hang lights from the ceiling for a starry night effect above your bed.
Variations/Alternative Methods
Editor’s Choice

Cindeer 4 Pcs Metal Wall Art Decor Minimalist Abstract Woman Wall Art Li…
FAQs
What if I don’t have adhesive hooks?
You can use command strips or small nails, but ensure they won’t damage your wall finish.
How long should I leave the hooks to set?
Allow at least 30 minutes for the adhesive to cure before hanging anything on them.
Is it safe to leave fairy lights on overnight?
As long as the lights are rated for extended use and not overloaded, they should be safe.
What if my wall is textured?
Consider using stronger adhesive hooks designed for textured surfaces or using wall-safe tape.
Can I hang lights outdoors?
Only use outdoor-rated fairy lights if you plan to hang them outside to avoid damage and safety hazards.
FAQs
Editor’s Choice

15, 10, & 5 lb Large, Medium and Small 32 Pairs Picture Hanging Strips (…
String Lights, 8 Light Modes 6ft 20 LED Rose Flower Garlands for Indoor …
Conclusion
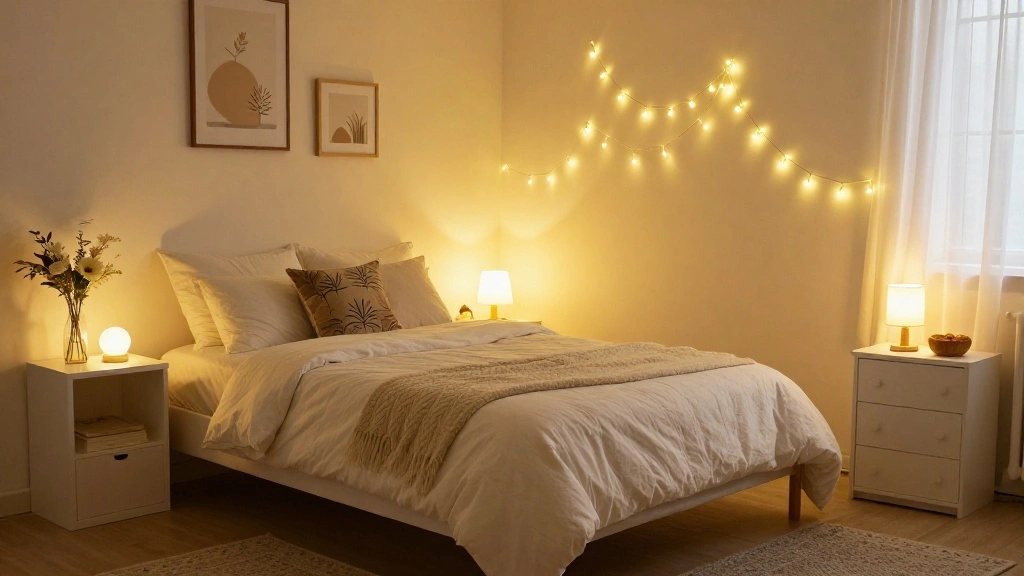
Congratulations! You’ve successfully transformed your bedroom into a cozy haven with fairy lights. Enjoy the new ambiance that these lights bring, whether for relaxation or hosting friends. Your next step could be adding other decorative elements like mirrors or plants to further enhance your space. Explore more DIY projects to continue personalizing your room and making it uniquely yours!
Remember, lighting plays a significant role in your mood and the overall feel of your space, so feel free to experiment and change things up as your style evolves. Happy decorating!