
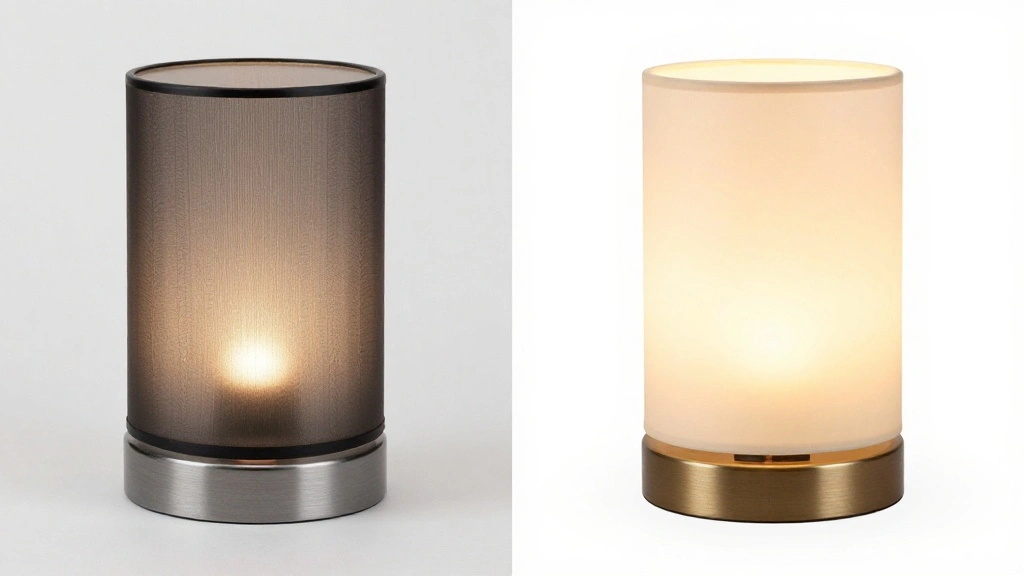
Is your lamp base looking dull, chipped, or outdated? Don’t throw it away just yet! A fresh coat of spray paint can transform your lamp base, making it look as good as new. This guide will walk you through the simple steps to revitalize your lamp and give it a stunning, polished finish.
By the end of this project, you will have a beautifully spray-painted lamp base that enhances your home décor. You will learn how to properly prepare your lamp, select the right paint, and apply it for a flawless finish.
This project is rated as beginner level and is designed to be completed in approximately 2-3 hours. Whether you’re looking to refresh a beloved lamp or need a quick update to fit your new style, this guide is for you!
TL;DR Summary
- Gather materials including spray paint, primer, and protective gear.
- Prepare the lamp base by cleaning and sanding if necessary.
- Apply primer to ensure paint adhesion.
- Spray paint the lamp base in even layers.
- Allow the paint to dry completely before reassembling.
TL;DR Summary
Editor’s Choice

Liquitex BASICS Gesso Surface Prep Medium, 473ml (16-oz) Bottle, White


Krylon ColorMaxx 12 Oz. Gloss Spray Paint, White – 1 Each

NoCry Clear Safety Glasses for Men and Women with Anti-Fog and Scratch R…
Prerequisites/Materials Needed
- Spray Paint (1 can, color of choice)
- Spray Primer (1 can)
- Sandpaper (medium grit, 220 grit)
- Drop Cloth or Newspaper (to protect surfaces)
- Masking Tape (1 roll)
- Gloves (1 pair, optional)
- Mask (for fumes protection)
Prerequisites/Materials Needed
Editor’s Choice

Romeda 8-Pack Sanding Sponge, Four Grits Per Pack 60/80/120/220, Washabl…
Skill Level & Time Estimate
Skill Level: beginner
Total Time Estimate: 2-3 hours
Breakdown:
– Preparation: 30 minutes
– Priming: 30 minutes
– Painting: 1 hour
– Drying: 1-2 hours
Skill Level & Time Estimate
Editor’s Choice
Krylon ColorMaxx 12 Oz. Gloss Spray Paint, White – 1 Each

Original Multi-Surface Painters Tape, 2 Inch Wide (1.88 in. x 60 Yds), 1…

ColorMaxx White 12 Oz. All-Purpose Spray Paint Primer – 1 Each
Step 1: Gather Your Materials
Start by gathering all necessary materials. Having everything ready will streamline your process and ensure you don’t have to pause mid-project.
- Gather your spray paint, primer, sandpaper, drop cloth, masking tape, gloves, and mask.
- Set up your workspace in a well-ventilated area, preferably outdoors.
Pro Tip: Choose a day with low humidity to ensure optimal drying conditions.
Time Estimate: 30 minutes.
Step 1: Gather Your Materials
Editor’s Choice

The Army Painter Colour Primer Daemonic Yellow, 400 mL Acrylic Spray Pri…

Rust-Oleum 334020 Painter’s Touch 2X Ultra Cover Spray Paint, 12 oz, Fla…

45 Pcs Sandpaper Assortment 80-5000 Grit Wet Dry Sandpaper Sheets, 9 x 3…
Step 2: Prepare the Lamp Base
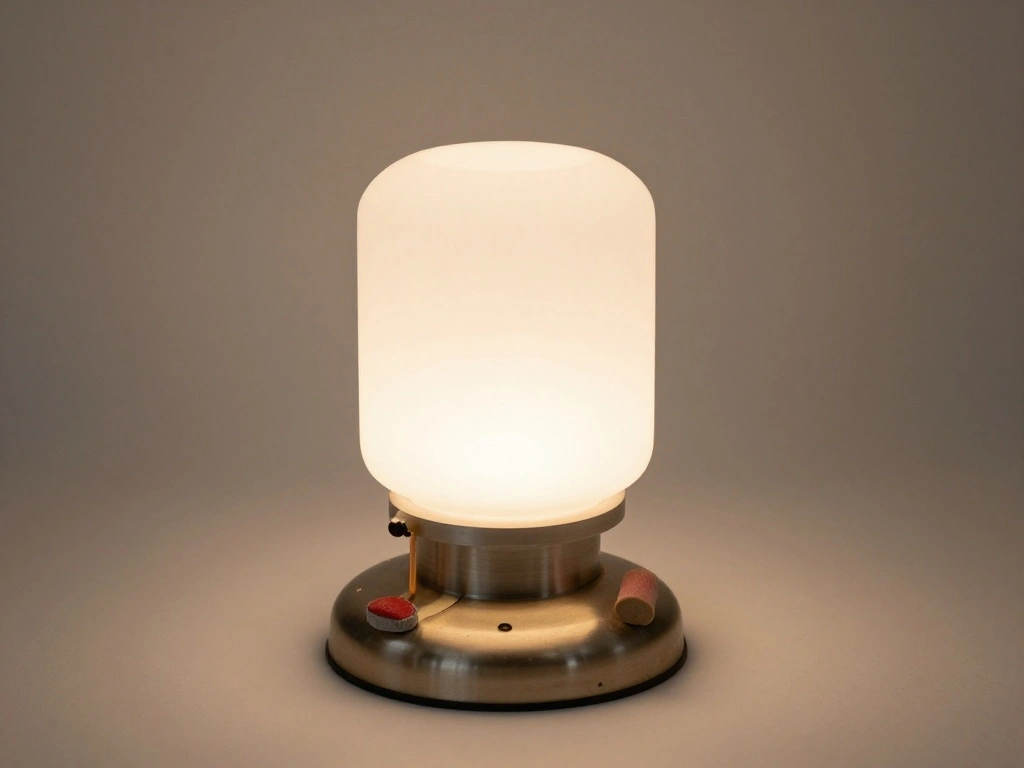
Preparing the lamp base is crucial for achieving a smooth finish. Proper preparation makes the paint adhere better and prevents peeling.
- Unplug the lamp and remove any electrical components.
- Clean the lamp base thoroughly with soap and water to remove dust and oils.
- If the surface is rough, lightly sand it with medium-grit sandpaper to create a smooth texture.
Pro Tip: Ensure the lamp is completely dry before moving to the next step.
Time Estimate: 30 minutes.
Step 2: Prepare the Lamp Base
Editor’s Choice

100 PCS 6 Inch Sanding Discs 150 Grit, 6 Hole Hook and Loop Sandpaper, R…

Rust-Oleum 334019 Painter’s Touch 2X Ultra Cover Primer Spray, 12 oz, Fl…

Zep Home Pro 2-in-1 Foaming Soap Scum Eliminator and Preventer, Morning …
Step 3: Mask Off Areas
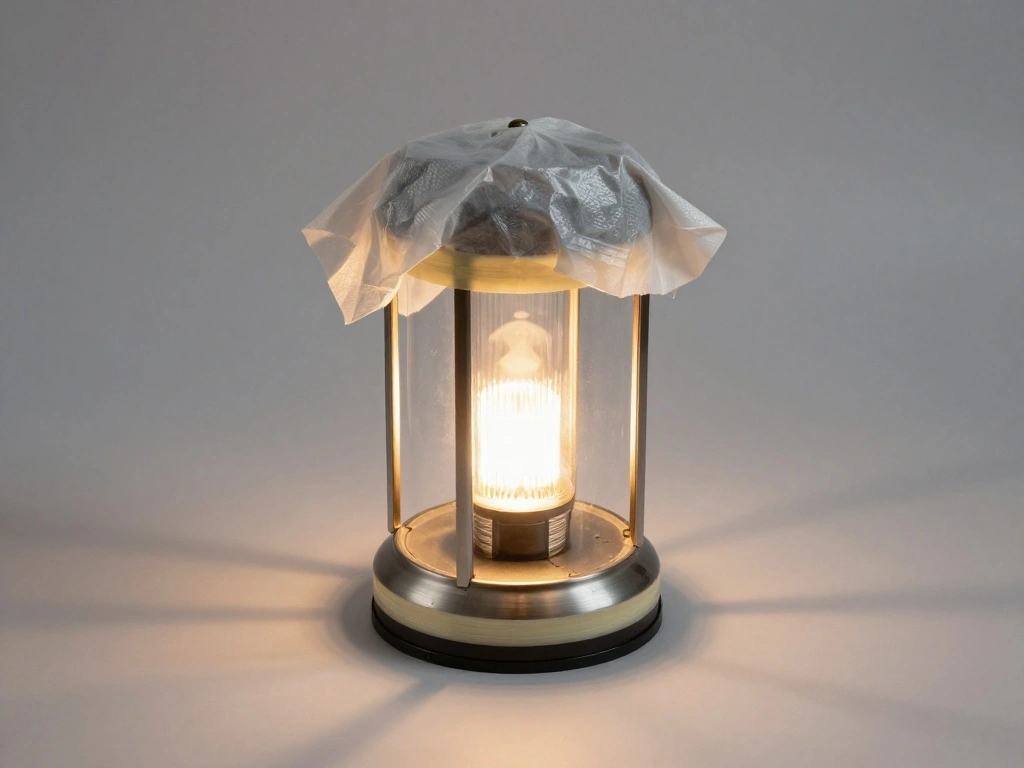
Masking is essential to protect areas you don’t want to paint. This will help you achieve clean lines and a professional look.
- Use masking tape to cover any electrical fittings or areas that shouldn’t be painted.
- Lay down a drop cloth or newspaper to protect your work surface from overspray.
Warning: Ensure that the tape is applied tightly to avoid paint seeping underneath.
Time Estimate: 15 minutes.
Step 3: Mask Off Areas
Editor’s Choice

Canvas Painters Drop Cloth (Size 6 x 9 Feet – Pack of 2) – Pure Cotton P…

4 Rolls Premium Painters Tape, Blue Tape, Masking Tape, Paint Tape for M…
Step 4: Apply Primer
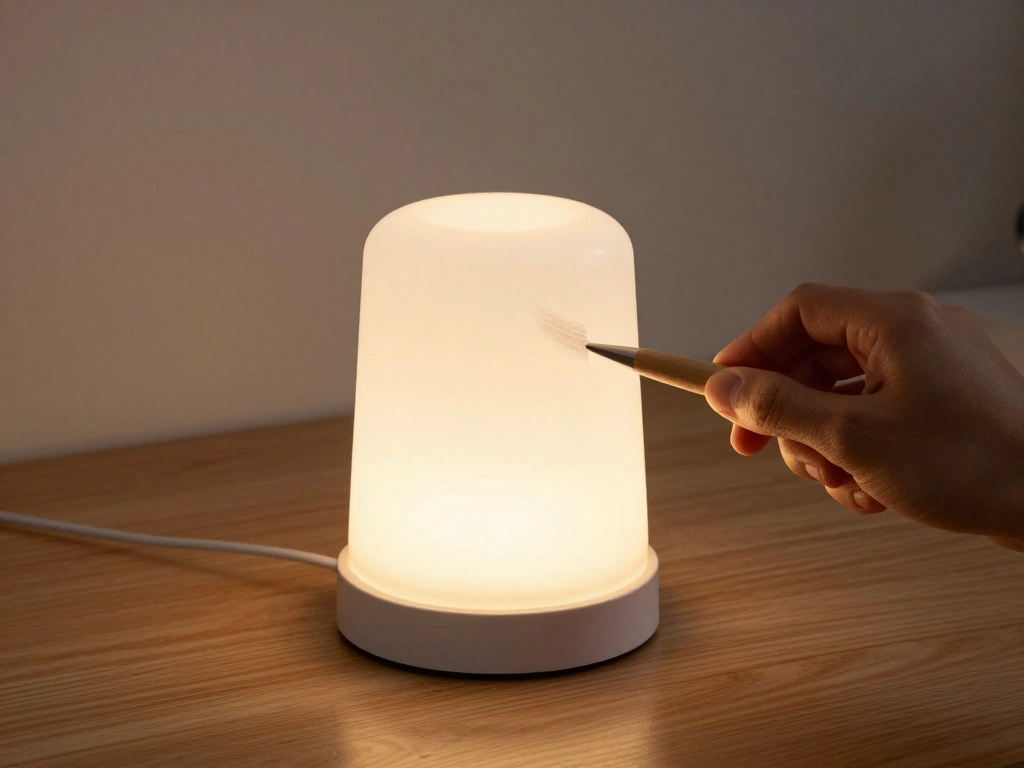
Applying primer is a crucial step to ensure the paint adheres well and provides an even base. Primer also helps to cover any imperfections.
- Shake the primer can well before use.
- Hold the can 6-12 inches away from the lamp base and spray evenly.
- Apply a light coat and allow it to dry according to the manufacturer’s instructions.
Pro Tip: Use light, even strokes to avoid drips and ensure a smooth finish.
Time Estimate: 30 minutes.
Step 5: Spray Paint the Lamp Base
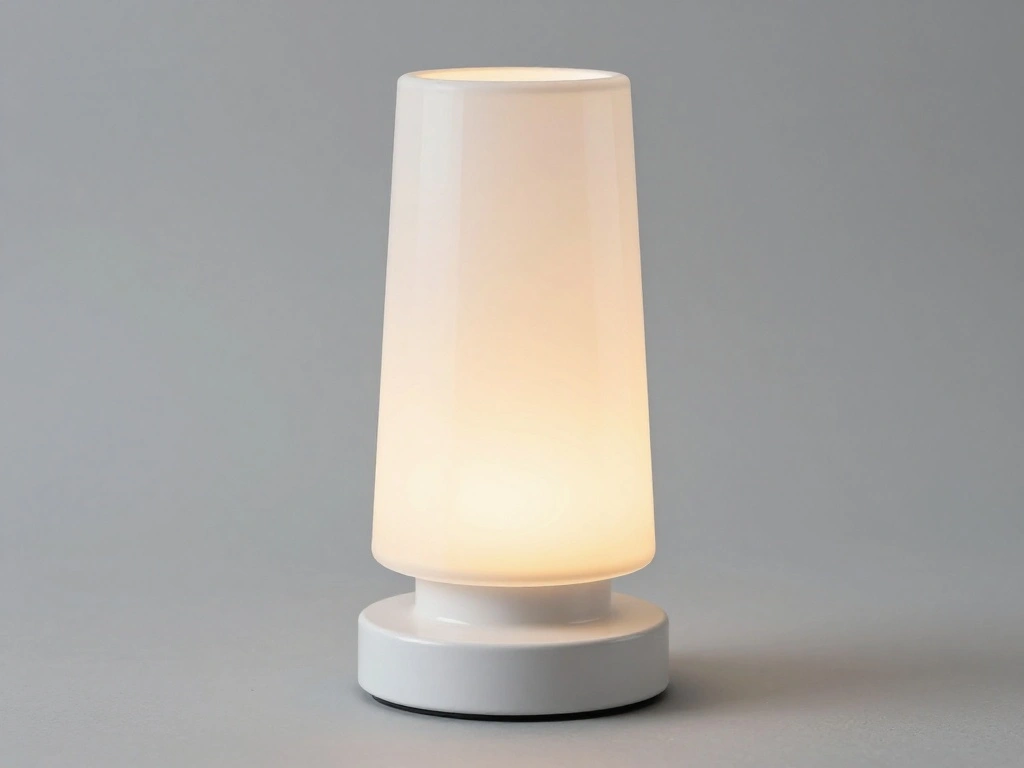
Now comes the fun part! Spray painting your lamp will bring it to life and give it a fresh, new look.
- Shake the spray paint can thoroughly before use.
- Position yourself 6-12 inches away from the lamp base.
- Spray in light, even coats, allowing each coat to dry as per manufacturer instructions.
Warning: Avoid spraying too heavily in one spot to prevent drips.
Time Estimate: 1 hour.
Step 5: Spray Paint the Lamp Base
Editor’s Choice

Krylon Fusion All-In-One Adhesive Spray Paint for Indoor/Outdoor Use, 12…

Rust-Oleum 334019 Painter’s Touch 2X Ultra Cover Primer Spray, 12 oz, Fl…
Step 6: Allow to Dry and Reassemble
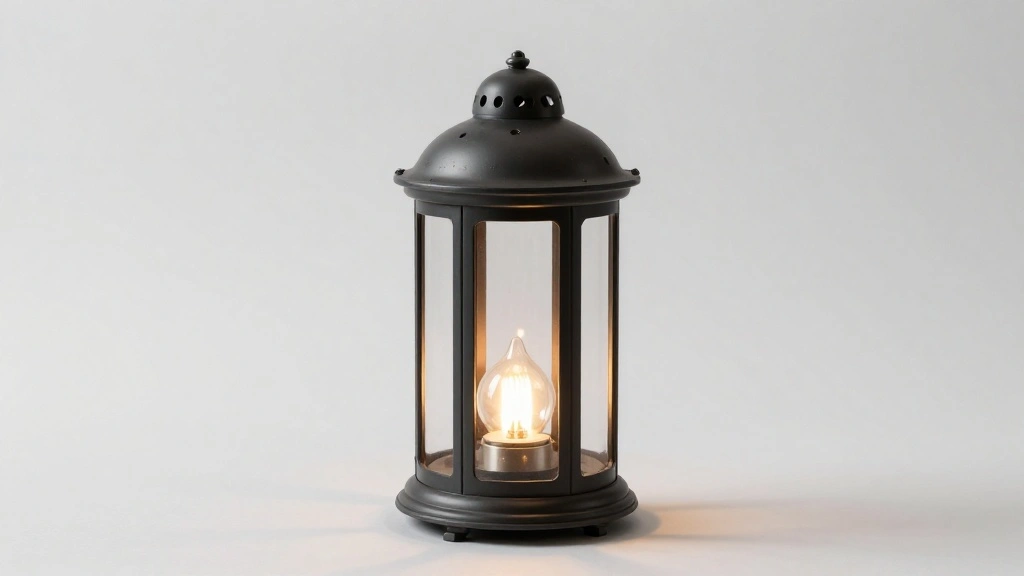
After painting, it’s vital to let the lamp base dry completely to avoid smudging or damaging your work.
- Check the drying time on the paint can and wait until it’s fully dry.
- Once dry, carefully remove any masking tape.
- Reassemble any electrical components and plug your lamp back in.
Pro Tip: Let the lamp cure for a day before heavy use to ensure durability.
Time Estimate: 1-2 hours (drying time).
Step 6: Allow to Dry and Reassemble
Editor’s Choice

Beastek Nitrile Disposable Gloves, 8Mil Latex & Powder Free Chemical Res…
Rust-Oleum 334020 Painter’s Touch 2X Ultra Cover Spray Paint, 12 oz, Fla…
4 Rolls Premium Painters Tape, Blue Tape, Masking Tape, Paint Tape for M…
Pro Tips
- Choose the Right Paint: Select a paint suitable for the material of your lamp base for the best results.
- Test a Small Area: Always test your paint on a small, inconspicuous area to ensure compatibility.
- Use Multiple Thin Coats: This prevents drips and allows for better coverage compared to one thick coat.
- Keep the Can Moving: Keep the spray can in motion while spraying to avoid uneven spots.
- Store Leftover Paint: Seal any leftover paint properly to use for touch-ups later.
Pro Tips
Editor’s Choice

AirGearPro G-500 Reusable Respirator Mask with A1P2 Filters | Anti-Dust …

THE ONE All-In-One Paint & Primer – Sage Green Satin, 8.5 Fl Oz/250ml | …

Rust-Oleum 334058-2PK Painter’s Touch 2X Ultra Cover Spray Paint, 12 oz,…
Common Mistakes to Avoid
Warning: Skipping Primer: Not using primer can lead to chipping and uneven paint coverage. Always prime your lamp base first.
Warning: Overspraying: Spraying too close can cause drips. Maintain the recommended distance for best results.
Warning: Forgetting to Mask: Failing to mask off areas can lead to messy results. Always cover parts you don’t want to paint.
Common Mistakes to Avoid
Editor’s Choice

The Army Painter, Base Primer Matt Black, 400 mL Acrylic Spray Primer, S…
4 Rolls Premium Painters Tape, Blue Tape, Masking Tape, Paint Tape for M…

Rust-Oleum 249104 Painter’s Touch 2X Ultra Cover Spray Paint, 12 oz, Glo…
Troubleshooting Section
Problem: Paint Drips
Solution: If you notice drips, lightly sand the area once dried and apply a thin coat of paint to level it out.
Problem: Uneven Finish
Solution: Apply another thin layer of paint after the first coat has dried thoroughly.
Problem: Paint Peeling
Solution: This may occur if the surface wasn’t properly prepared. Remove the paint and re-sand before repainting.
Troubleshooting Section
Editor’s Choice

Rust-Oleum 7780830 Stops Rust Clean Metal Primer Spray, 12 oz, Flat White

Rustoleum Color Shift Spray Paint, 11 ounce, Cosmos Blue
Romeda 8-Pack Sanding Sponge, Four Grits Per Pack 60/80/120/220, Washabl…
Variations/Alternative Methods
Consider these alternatives if you want different results:
- Using Chalk Paint: For a matte finish, chalk paint can be used instead of spray paint.
- Stenciling: Add designs with stencils for a unique look after the base coat dries.
Variations/Alternative Methods
Editor’s Choice

24 Pieces Stencils,Large Drawing Stencils Chalk Template,8 Inches Washab…

Rust-Oleum Linen White Chalked All-in-One Ultra Matte Paint | One Coat C…
FAQs
- What if I don’t have spray primer? You can use a brush-on primer as an alternative, but ensure it’s compatible with your spray paint.
- How long should I wait between coats? Typically, 20-30 minutes between coats is sufficient, but always check the paint instructions.
- Is it safe to spray paint indoors? Spray paint should always be done in a well-ventilated area to avoid inhaling fumes.
FAQs
Editor’s Choice
AirGearPro G-500 Reusable Respirator Mask with A1P2 Filters | Anti-Dust …
334019 Painter’s Touch 2X Ultra Cover Primer Spray, 12 oz, Flat White
ColorMaxx 12 Oz. Gloss Spray Paint, White – 1 Each
Conclusion
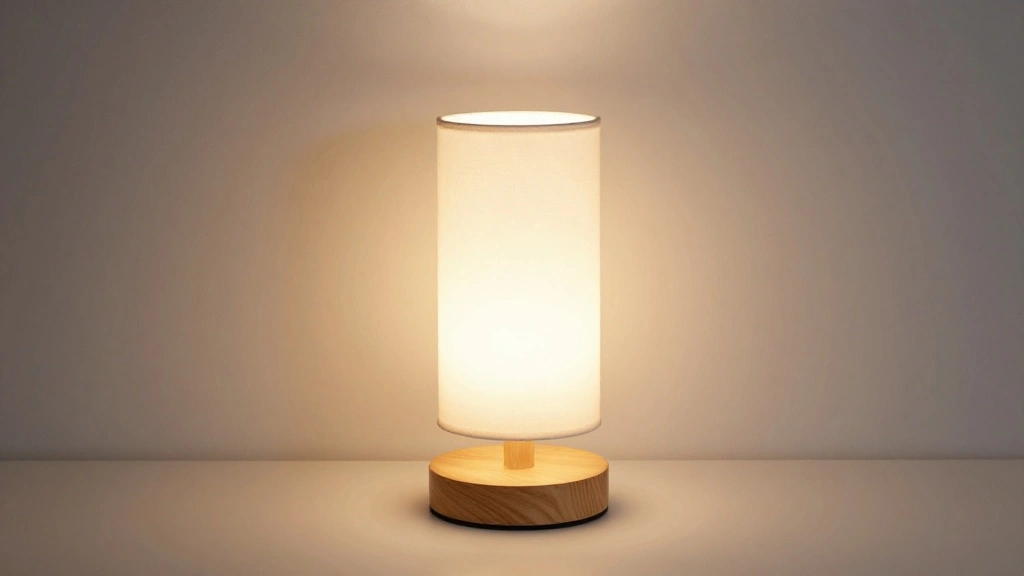
Congratulations! You’ve successfully transformed your lamp base with spray paint. Enjoy your refreshed decor and the satisfaction of having completed a DIY project.
Consider exploring other home décor items that could use a makeover. Feel free to share your experience or ask questions in the comments!