
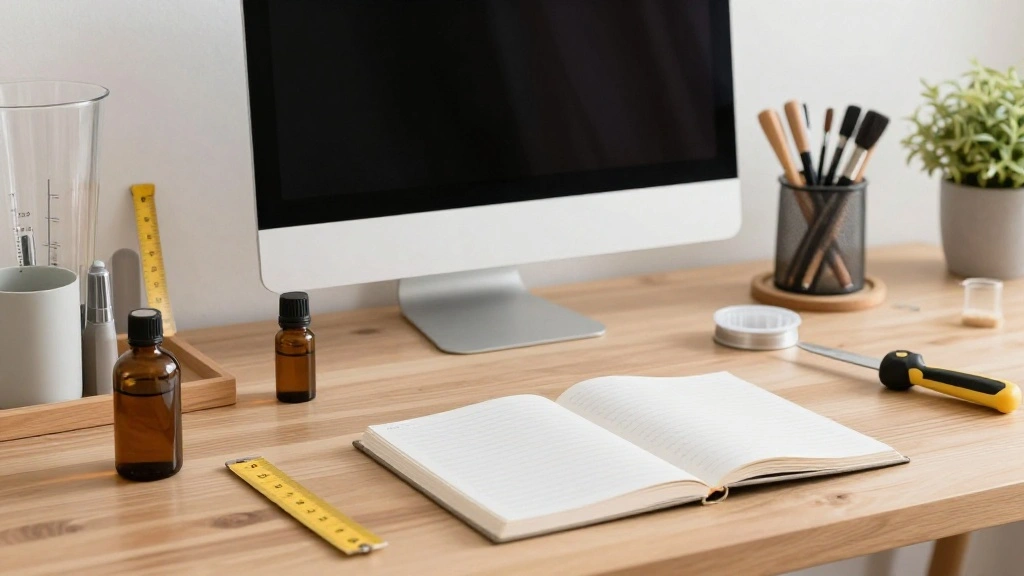
Finding a fragrance that truly represents you can be a daunting task. With countless options available, it becomes challenging to discover a scent that feels uniquely yours. This is where the art of layering essential oils comes in, allowing you to create a signature scent that reflects your personality and mood. In this guide, you will learn how to blend essential oils effectively, creating a unique aroma that is entirely yours.
Throughout this process, you will become familiar with the different categories of essential oils, their properties, and how to combine them in a way that is harmonious and pleasing.
This guide is designed for those with an intermediate understanding of essential oils and will take approximately 2-3 hours to complete. Whether you aim to enhance your personal fragrance or create a custom scent for a special occasion, this guide will empower you to do just that.
TL;DR Summary
- Learn the art of layering essential oils to craft a personalized fragrance.
- Understand the different essential oil categories and their properties.
- Follow a step-by-step process to blend oils and create your signature scent.
- Receive expert tips and common mistakes to avoid for the best results.
Recommended Products
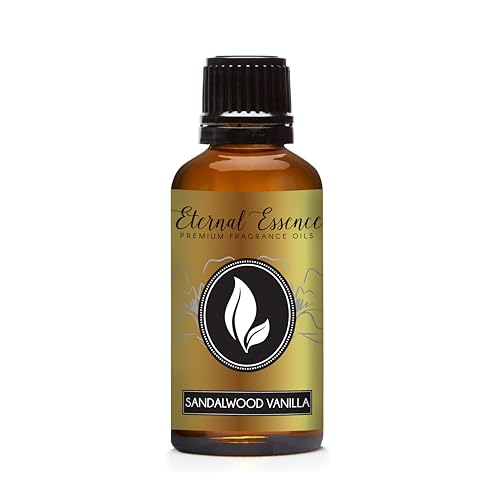
USES - Our Premium Grade Fragrance Oils are formulated to be suitable for creating your own candles, soaps, air freshener spray, skin and hair care formulations, cleaning products, for use in home aroma diffusers, scented dryer sheets, freshen a drawer, potpourri, freshen carpets, massage/body oil, sugar scrubs, and many more. Personalize any of your unscented products. Use your imagination to create a scent that is simply yours.

USES - Our Premium Grade Fragrance Oils are formulated to be suitable for creating your own candles, soaps, air freshener spray, skin and hair care formulations, cleaning products, for use in home aroma diffusers, scented dryer sheets, freshen a drawer, potpourri, freshen carpets, massage/body oil, sugar scrubs, and many more. Personalize any of your unscented products. Use your imagination to create a scent that is simply yours.
TL;DR Summary
Editor’s Choice

Essential Oils Set – 12 Pcs Organic Aromatherapy Essential Oil Kit for D…


Essential Oil Roll On for Self Care – Aromatherapy Oil Gift for Women Me…

Essential Oils Diffuser,Aromatherapy Diffuser,Birthday for Women Mom Gra…
Prerequisites/Materials Needed
- Essential Oils: Choose at least 5 oils from different categories (top, middle, base).
- Carrier Oil: 1 oz of Jojoba or Sweet Almond oil.
- Glass Bottles: 10-15 ml dropper bottles (2-3).
- Measuring Tools: Dropper, measuring spoons, or pipettes.
- Notebook: For documenting your blends and ratios.
- Labels: For marking your blends.
Recommended Products
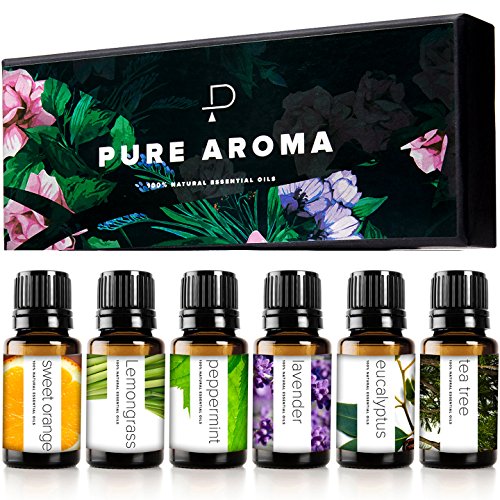
Discover the natural benefits of aromatherapy with our Pure Aroma Essential Oil Set. This curated collection of 6 x 10ml bottles contains pure, essential oils, perfect for both beginners and experienced users. Perfect for diffusers, creating homemade candles, soaps, bath bombs, or blending.

ESSENTIAL OILS WOOD GIFT BOX SET: 100% Pure, Natural, and Organic essential oils for your home diffuser. Our best selling top 10 essential oils include Lavender, Tea Tree, Lemon, Frankincense, Cedarwood, Peppermint, Rosemary, Sweet Orange, Lemongrass and Eucalyptus oils. Perfect for DIY candle making or soap making.
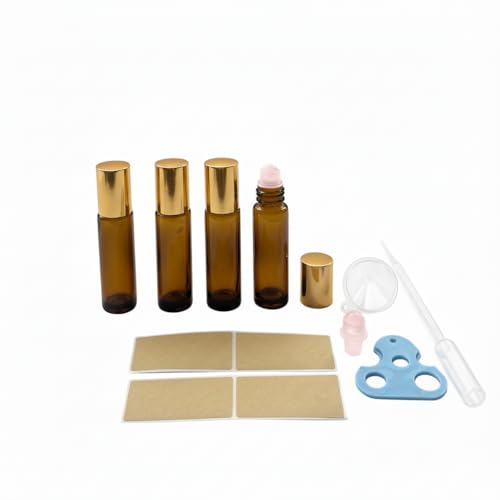
🟣 Genuine Rose Quartz Roller Balls – Each bottle features a smooth, cooling, and naturally energizing rose quartz roller ball. Unlike stainless steel, our crystal rollers evenly distribute oils while adding elegance and healing energy to your routine.
Prerequisites/Materials Needed
Editor’s Choice

PURA D’OR Organic Sweet16 Essential Oils Set – 16x 10mL Wood Box Aromath…

Aromatico Cold Pressed Sweet Almond Oil. Lightweight, Natural Moisturizi…

Cobalt Glass Bottles with Eye Droppers (1 oz, 2 pk) For Essential Oils, …
Skill Level & Time Estimate
Skill Level: Intermediate
Total time estimate: 2-3 hours
Breakdown of time by major steps:
– Research and select oils: 30 minutes
– Blend and test: 1-2 hours
– Documentation and labeling: 30 minutes
Recommended Products

High Quality: Made from premium transparent glass, these essential oil roller bottles feature a sleek, elegant design that allows you to easily see the contents. This makes tracking product levels simple and ensures your essential oils are visible and accessible.

Application: Perfect applying for essential oils,perfume,etc.It allows you to store essential oils,perfume or other liquids,meet your needs of daily care for eyes,faces and body.

Complete Set: 6 Cobalt Blue Glass Roll on bottles with stainless steel roller balls, black caps, and 1 dropper included
Skill Level & Time Estimate
Editor’s Choice

NOOEEISS 24 Pack,1oz Glass Dropper Bottle, Clear Tincture Bottles with D…

Aromatherapy Essential Oil Blends for Diffusers – Diffuser Essential Oil…

Vowcarol Essential Oil Organizer 7 Tier, Essential Oil Storage Shelf, Es…
Step 1: Research Essential Oils
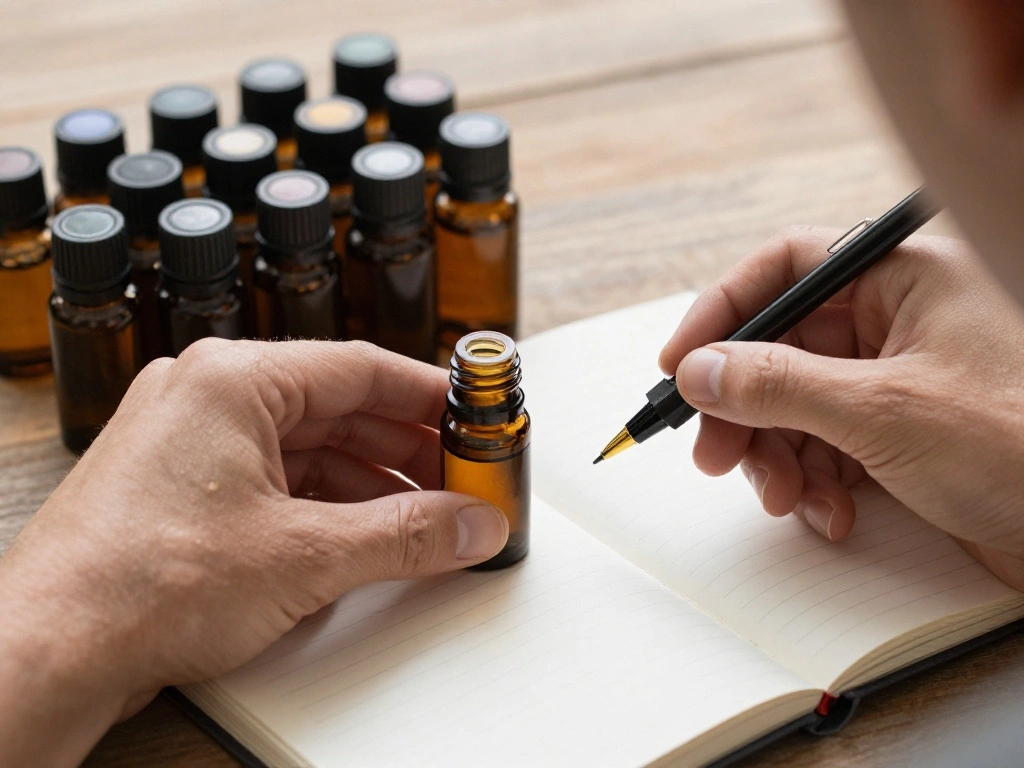
Before diving into blending, familiarize yourself with different essential oils. Understanding their characteristics will help you create a balanced scent.
1. Start by categorizing oils into three groups: top, middle, and base notes.
2. Research the properties of each oil.
3. Take notes on how each oil makes you feel and any memories it evokes.
Pro Tip: Use online resources or books on aromatherapy to deepen your understanding.
Why this matters: Knowledge of oils will guide your blending decisions and enhance your personal scent experience.
Estimated time: 30 minutes.
Recommended Products

Sweet Almond Oil: 100% Pure and Natural Carrier Oil. Cold Pressed. Not Diluted, Non-GMO, No Additives, No Fragrance, Alcohol Free.

ORGANIC SWEET ALMOND OIL: USDA Certified Organic, cold-pressed sweet almond oil delivers vitamin E, omega-9, and antioxidants for soft, supple skin. Lightweight, non-greasy texture absorbs quickly without clogging pores.
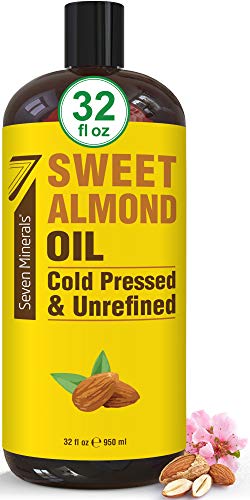
✅ FRESHLY PRESSED here in California - Our Cold Pressed Sweet Almond Oil has only 1 ingredient: Pure Prunus Amygdalus Dulcis (Sweet Almond) Oil. No GMOs, no added ingredients, no Hexane, just natural goodness.
Step 1: Research Essential Oils
Editor’s Choice
Vowcarol Essential Oil Organizer 7 Tier, Essential Oil Storage Shelf, Es…
Step 2: Choose Your Base Oil
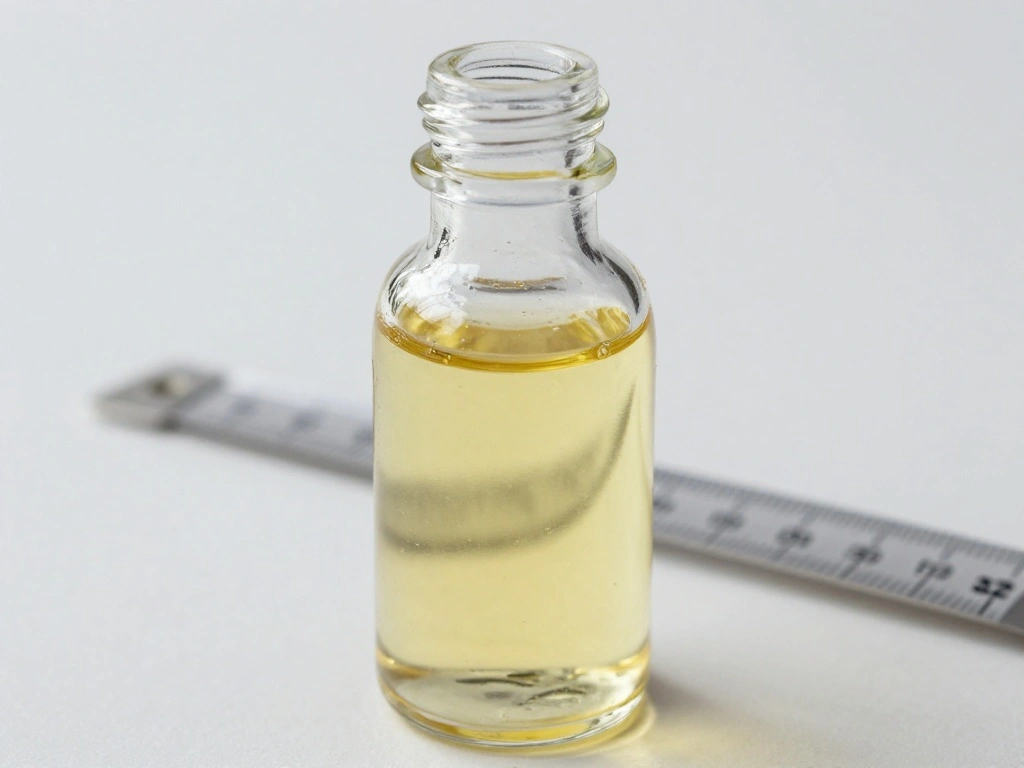
Select a carrier oil to dilute your essential oils. This will help in achieving a balanced scent that is safe for skin application.
1. Consider using Jojoba oil for its skin-friendly properties.
2. Measure out 1 oz of the carrier oil into a glass bottle.
Warning: Always use a carrier oil for skin application to prevent irritation from concentrated essential oils.
Why this matters: Carrier oils not only dilute essential oils but also allow for better absorption into the skin.
Estimated time: 15 minutes.
Recommended Products

Package: 48 pack 10 ml (1/3 oz) amber glass boston bottles with Black glass dropper, 48 chalk labels, 1 pen, 4 funnel

Package Included: 8 pcs 10 ml Glass Dropper Bottles; Made of glass, easy and convenient for daily use and carrying, sealed tightly without leaking

Material: glass; Capacity: 10 ml; Small bottles with droppers are easy to clean and can be reused
Step 2: Choose Your Base Oil
Editor’s Choice

Foria Passion Play Kit – Organic, All-Natural Travel Set Designed for Wo…

Rose Quartz Roller Bottles for Essential Oils, 50ml Refillable Waist Amb…

Plant Therapy Fractionated Coconut Oil for Skin, Hair, Body, Face, Dilut…
Step 3: Select Your Essential Oils
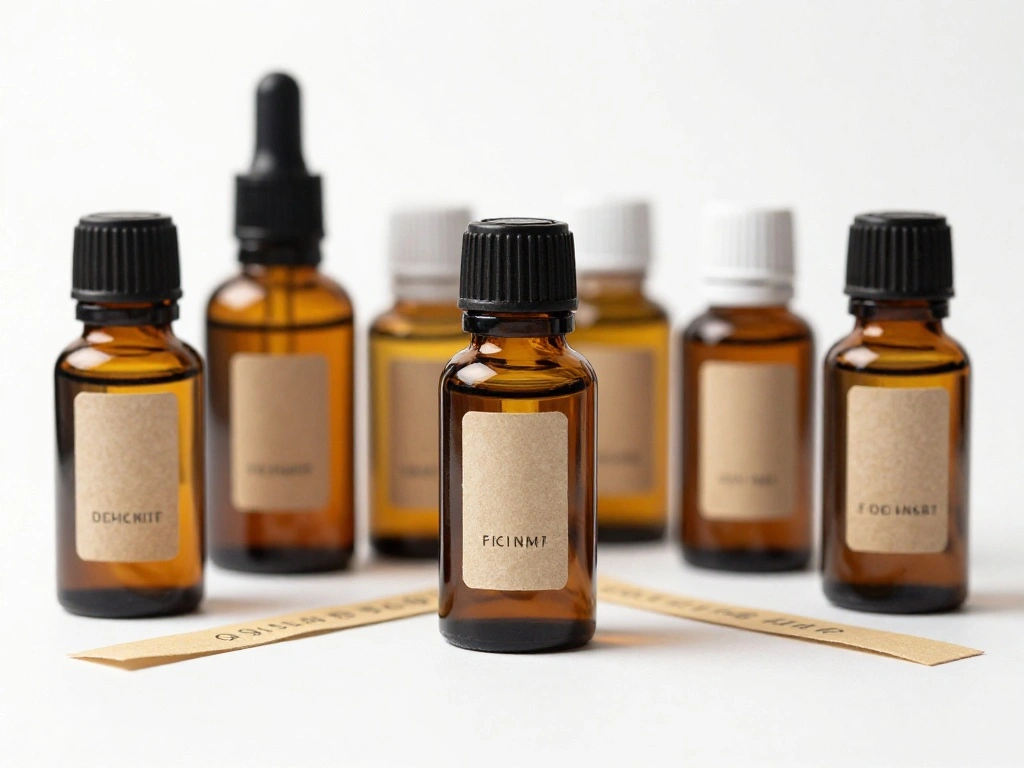
Now, choose the essential oils for your blend. Aim for a balance of top, middle, and base notes to create a well-rounded scent.
1. Select 2-3 top notes (e.g., bergamot, lemon).
2. Choose 2 middle notes (e.g., lavender, geranium).
3. Pick 1-2 base notes (e.g., sandalwood, vanilla).
4. Ensure to consider personal preference and scent harmony.
Pro Tip: Use a scent strip to test how your selected oils smell together before blending.
Why this matters: A balanced blend will enhance the complexity of your signature scent and make it more appealing.
Estimated time: 20 minutes.
Step 3: Select Your Essential Oils
Editor’s Choice

Hipiwe Hard Shell Essential Oil Carrying Case Holds 12 Bottles (Can hold…

Convenience Kits International Women’s 15 Pc Kit Featuring: Palmer’s Hai…

100PCS Perfume Tester Strips, Disposable Fragrance Testing Blotters for …
Step 4: Create Initial Blends
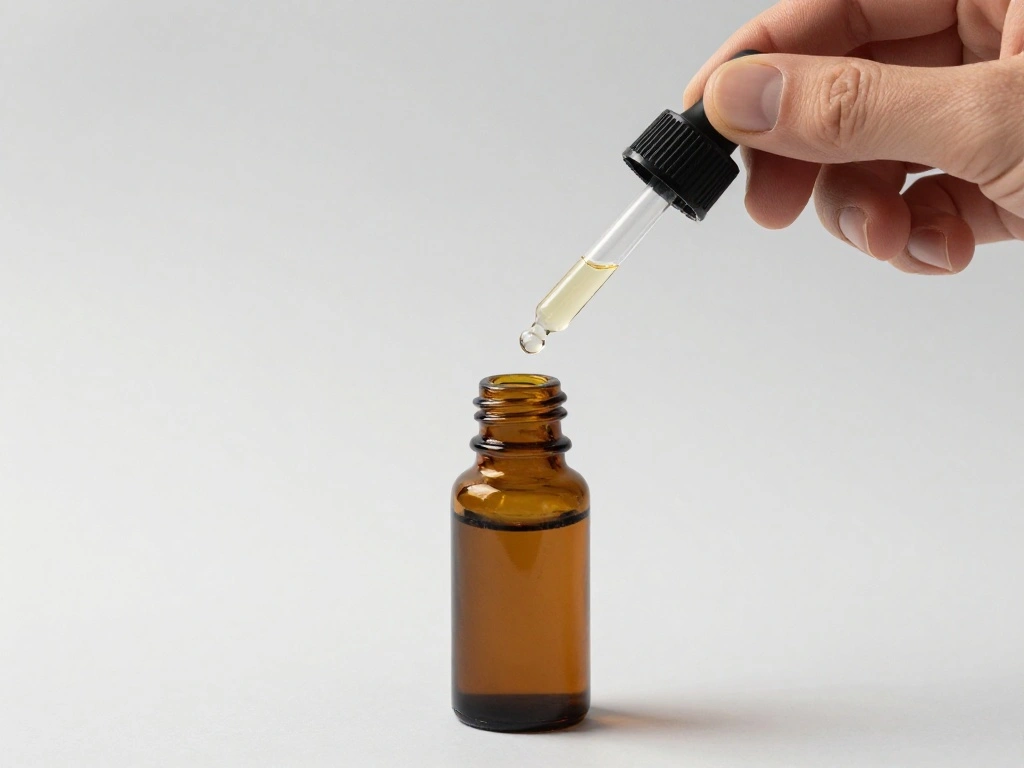
Now that you have your oils selected, it’s time to start blending.
1. In a small glass bottle, add 3-5 drops of each top note.
2. Follow with 2-3 drops of each middle note.
3. Finish with 1-2 drops of each base note.
4. Cap the bottle and shake gently to mix.
Warning: Start with fewer drops; you can always add more if needed.
Why this matters: Creating an initial blend helps you understand how the oils interact and allows you to adjust before finalizing your signature scent.
Estimated time: 30 minutes.
Recommended Products

Essential Oil Blends: Introduce the long-lasting, pleasant, and relaxing aroma to your home with our Well-being aromatherapy diffuser oils set! Happy, Calm Mind, Air Freshening, Relax, Immunity, and Sweet Dreams inclued for your well-being and happy life

Top selling essential oils set: We create our essential oils using rigorously tested ingredients. Top blends, make pampering a luxurious experience with our set of 6 10ml oils. Perfect for blending to make candle making scents, making DIY soap scents or a unique aromatherapy experience. Join 170,000+ customers who love our essential oils for diy crafts, aromatherapy and candle making!

Top selling essential oils set: We create our essential oils using rigorously tested ingredients. Make pampering a luxurious experience with our set of 20 10ml oils. Join 170,000+ customers who love our essential oils for aromatherapy, and candle making!
Step 4: Create Initial Blends
Editor’s Choice

Bumobum 2 oz Glass Dropper Bottles, 2 pack Pink Lab dispensing Bottles f…
Essential Oils Diffuser,Aromatherapy Diffuser,Birthday for Women Mom Gra…

Gift for Women, Spa Gift Baskets for Women – 17pcs Lavender Sets with Bo…
Step 5: Test Your Blend
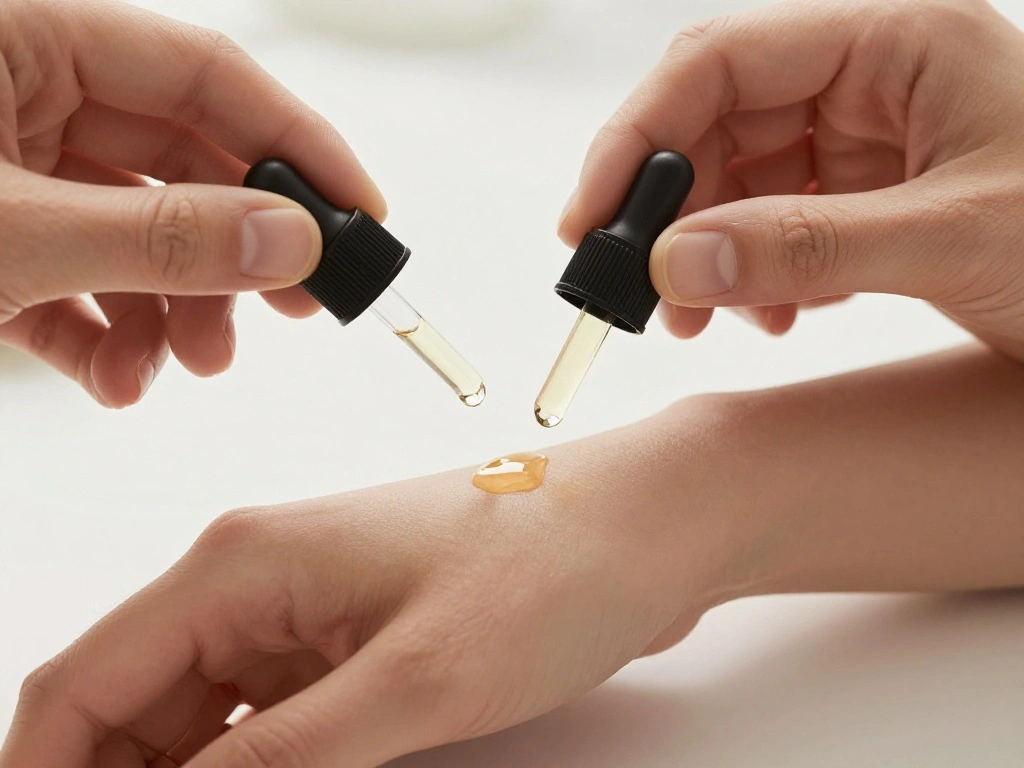
After mixing your oils, it’s time to test your blend.
1. Apply a small amount to your wrist or forearm.
2. Wait for 10-15 minutes to let the scent develop.
3. Take note of how the scent evolves over time.
Pro Tip: Keep a scent strip handy to compare with the original blend.
Why this matters: Testing ensures you will enjoy the scent throughout the day, as some notes may become overpowering over time.
Estimated time: 20 minutes.
Recommended Products
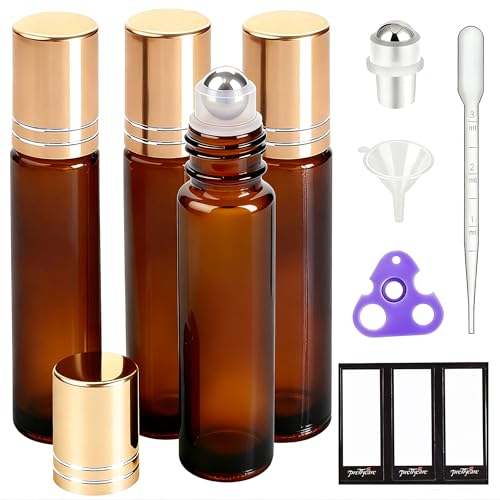
Complete Starter Kit: 4 dark amber glass bottles (10ml each) + funnel + 8 labels + spare roller ball + opener + dropper - everything you need to start your essential oil journey

Complete Set: This set includes everything you need for blending, storing, and applying your creations. Inside, you'll find four 10ml glass roller bottles, each designed for durability. We've also included 1 funnel to help with precise pouring and mixing.

Value Sets: 24 Pack 10ml amber essential oil roller bottles with leak proof design metal roller balls and black caps. Including 3 extra ordinary roller balls, 54 pieces labels, 1 Opener, 1 funnel, 2 dropper and 1 bottle brush
Step 5: Test Your Blend
Editor’s Choice

Landhoow 200 Pcs Perfume Essential Oils Tester White Test Strips Testing…
HIQILI Women Fragrance Oil 6x10ml, Essential Oils for Candle Scents Soap…
Rose Quartz Roller Bottles for Essential Oils, 50ml Refillable Waist Amb…
Step 6: Adjust Your Blend
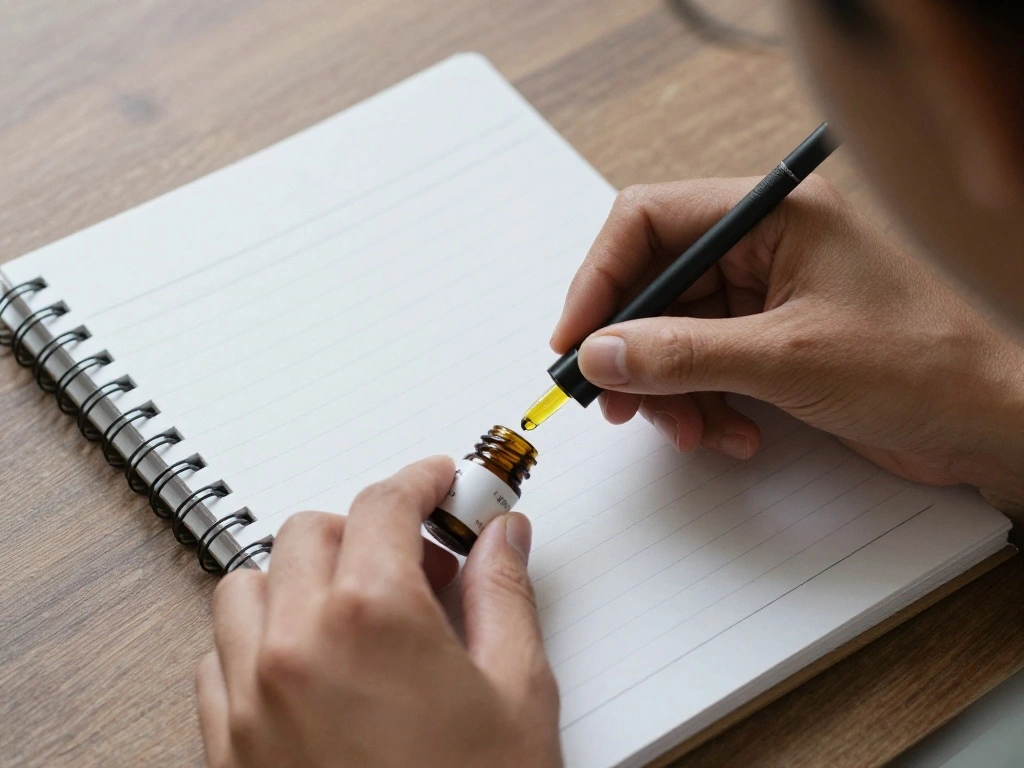
Based on your testing, you may want to adjust your blend.
1. If the scent is too strong, dilute with more carrier oil.
2. If certain notes fade too quickly, add more drops of those oils.
3. Keep a record of the adjustments you make.
Warning: Make small adjustments to avoid overwhelming the blend.
Why this matters: Fine-tuning your blend leads to a more harmonious and enjoyable scent experience.
Estimated time: 30 minutes.
Recommended Products

100% PURE & NATURAL SWEET ALMOND OIL: Is ideal as a bath and body oil, commonly used for aromatherapy, massage, and as a skin moisturizer.

✅Almond Oil benefit your skin in a number of ways. Ayurvedic practices have used almond oil for centuries to help soothe and soften the skin. Today, it’s not uncommon to find almond oil in a wide variety of cosmetic and beauty products.

Cold-Pressed Purity: Our USDA organic sweet almond oil is meticulously cold-pressed to preserve its natural nutrients. Rich in unsaturated fatty acids, Vitamin E, proteins, it's perfect for those seeking natural enhancements for skin, hair and nails
Step 6: Adjust Your Blend
Editor’s Choice

Pure Carrier Oils for Essential Oils – DIY Skin Care Set with Hair Oils …

PrettyCare Eye Dropper 4 Pcs, Glass Eye Dropper for 30 ml Essential Oils…

Aromatherapy for Women: A Practical Guide to Essential Oils for Health a…
Step 7: Finalize Your Blend
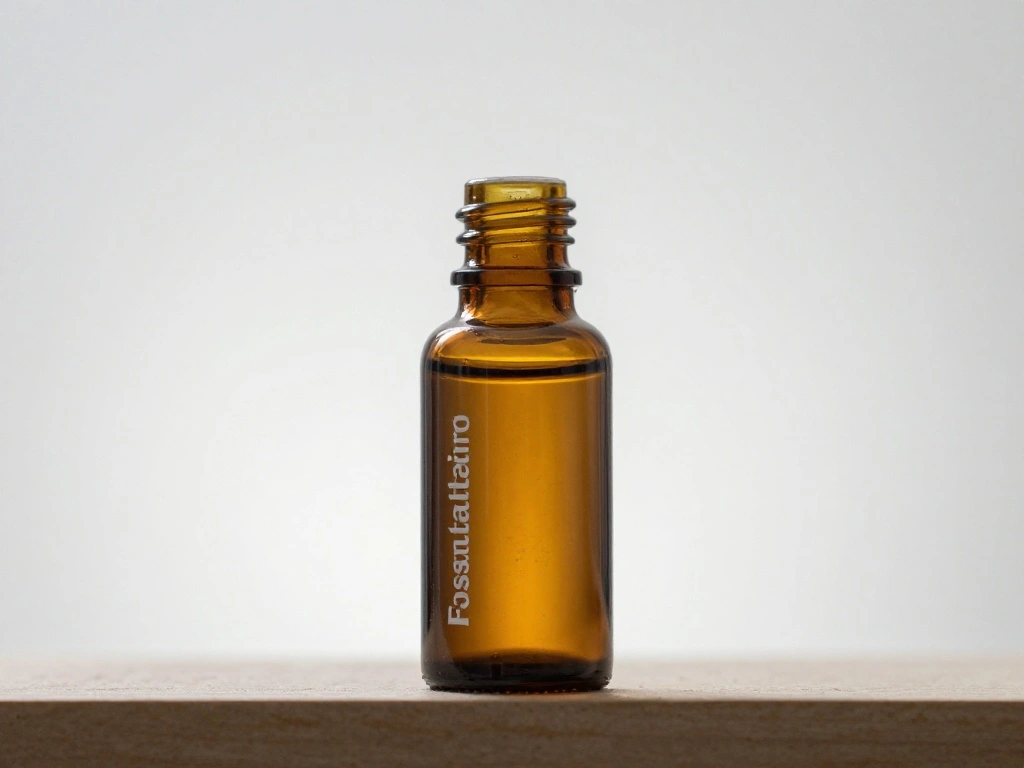
Once you are satisfied with your blend, it’s time to finalize it.
1. Transfer the blend into a clean glass bottle for storage.
2. Label the bottle with the oil names and date of creation.
3. Store in a cool, dark place to preserve the oils.
Pro Tip: Use dark glass bottles to protect the oils from light damage.
Why this matters: Proper storage ensures your signature scent remains effective and aromatic for a longer duration.
Estimated time: 20 minutes.
Recommended Products

10pcs 10ml Amber Glass Bottles with Glass Eye Dropper + free 1pc 1ml dropper +1 free Glass Clean Cloth

Essential Oil bottle Set: Capacity: 10ml,24 amber glass essential oil bottles,2 plastic droppers, 2 funnel,24 labels.

Made of strong glass,thick golden alloy lids,nontoxic and tasteless safe to use,durable and reusable.
Step 7: Finalize Your Blend
Editor’s Choice

Mudder 325 Pieces Essential Oil Label Bottle Stickers White Waterproof L…

Lallisa 48 Pack 4oz Pink Glass Bottles Bulk with Glass Eye Droppers for …

The Herbal Zen Shower Steamers Aromatherapy Tablets 14 Pack – 7 Pure Ess…
Step 8: Share Your Signature Scent
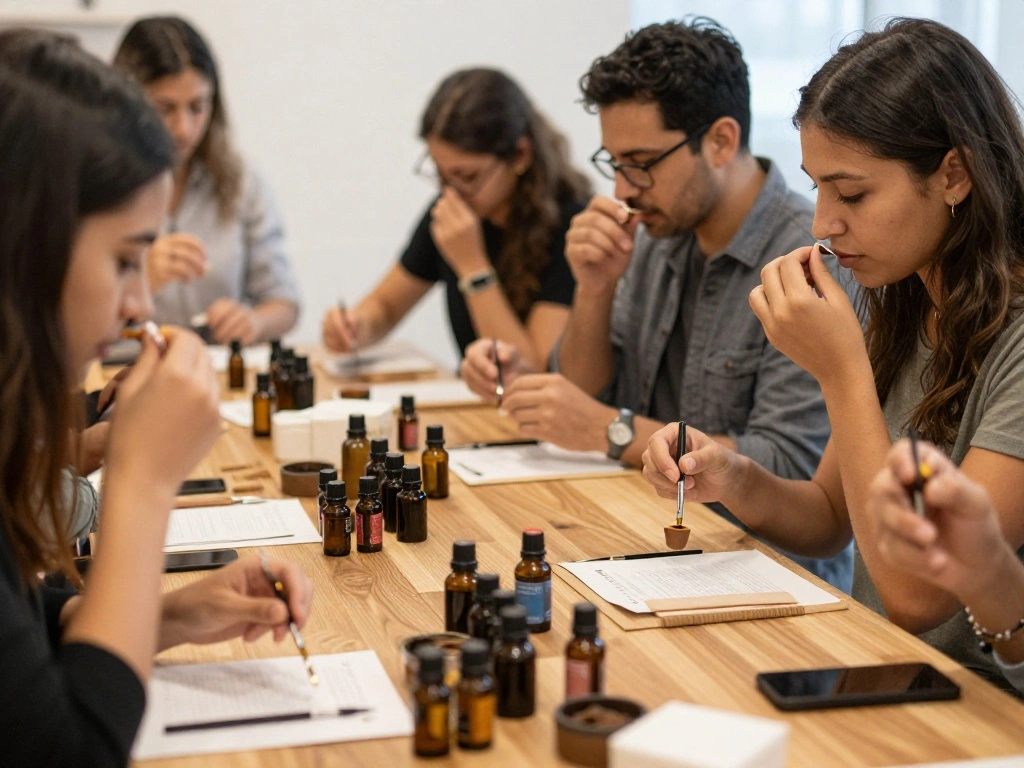
Now that your signature scent is ready, consider sharing it with friends or family.
1. Offer samples in small vials.
2. Ask for feedback on the scent.
3. Encourage others to blend their own signature scents.
Pro Tip: Host a small blending party to make it a fun experience for everyone.
Why this matters: Sharing your creation fosters connections and encourages others to explore the art of essential oils.
Estimated time: 30 minutes.
Step 8: Share Your Signature Scent
Editor’s Choice

PEKYBIO 20 PCS 20 ML (5 dram) Clear Small Liquid Sample Glass Vials with…

Essential Oil Roll On Set, (Calm,Renew,Dream,Head Relief), Aromatherapy …
Step 9: Document Your Journey
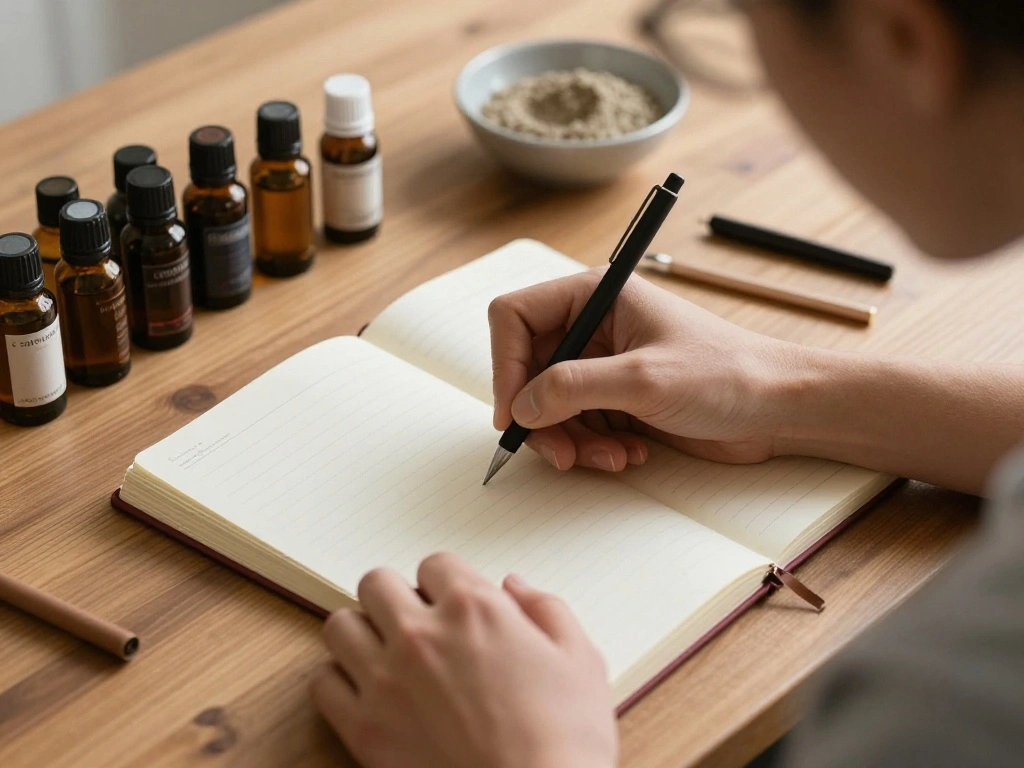
Keep a record of your blending journey for future reference.
1. Write down the recipes and adjustments you made.
2. Note any feedback you received from others.
3. Keep track of what worked well and what didn’t.
Pro Tip: Create a dedicated journal for your essential oil experiences.
Why this matters: Documentation helps you refine your skills and creates a resource for future blending.
Estimated time: 30 minutes.
Step 9: Document Your Journey
Editor’s Choice
Hipiwe Hard Shell Essential Oil Carrying Case Holds 12 Bottles (Can hold…

JOHSBYD Pink Journal for Women – A5 Lined Hardcover Notebook and Diary f…

8 Pcs×10ml Pure Essential Oils for Diffuser for Home Care, Perfume, Can…
Step 10: Experiment with New Blends
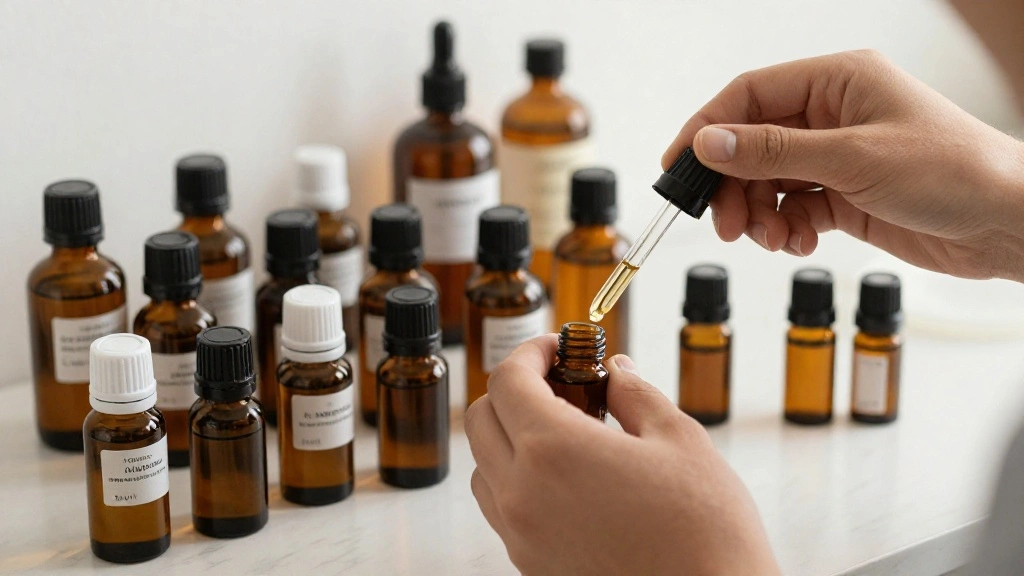
With your signature scent established, continue to experiment with new blends.
1. Try different combinations of oils you haven’t used.
2. Explore seasonal scents for a varied experience.
3. Keep an open mind and have fun with the process.
Pro Tip: Set specific goals for your next blends, such as creating a calming or energizing scent.
Why this matters: Experimentation allows you to grow your skills and keeps your scent collection exciting.
Estimated time: Ongoing.
Step 10: Experiment with New Blends
Editor’s Choice

I Have An Oil For That Essential Oil Recipe Journal: Blank Recipe Log Bo…

The Best Women + Feminine Essential Oil Blend- Premium Grade- 100% Pure …
Essential Oils Diffuser,Aromatherapy Diffuser,Birthday for Women Mom Gra…
Pro Tips
- Be Patient: Allow your blends to sit for a day or two before testing to fully appreciate the scent.
- Use Quality Oils: Invest in high-quality essential oils for the best results.
- Trust Your Nose: Always rely on your own scent preferences when blending.
- Keep It Simple: Start with fewer oils in your blends to avoid overwhelming scents.
- Have Fun: Enjoy the process and allow yourself to experiment without fear of mistakes.
Pro Tips
Editor’s Choice

LUXJA Essential Oil Carrying Case – Holds 30 Bottles (5ml-30ml, Also Fit…
HIQILI Women Fragrance Oil 6x10ml, Essential Oils for Candle Scents Soap…
PURA D’OR Organic Sweet16 Essential Oils Set – 16x 10mL Wood Box Aromath…
Common Mistakes to Avoid
Warning: Avoid using too many different oils in one blend, as it can create chaos instead of harmony.
Warning: Don’t skip the carrier oil; it’s essential for skin safety.
Warning: Avoid testing blends immediately after mixing; let them sit for a day.
Warning: Don’t forget to label your blends for future reference.
Warning: Avoid synthetic oils; they can be harmful and diminish your blending experience.
Common Mistakes to Avoid
Editor’s Choice

2 Packs Yoni Oil for Women, All Natural Feminine Oil Intimate Deodorant …
Troubleshooting Section
Problem: The scent is too strong.
Solution: Dilute with more carrier oil in small increments.
Problem: The blend fades quickly.
Solution: Add more base notes to enhance longevity.
Problem: Oils separate in the bottle.
Solution: Shake before use; ensure proper ratios.
Problem: I hate the smell.
Solution: Adjust the blend by adding or reducing specific oils.
Problem: Skin irritation occurs.
Solution: Dilute more and test on a smaller skin area.
Troubleshooting Section
Editor’s Choice

Aromatherapy and Women’s Mental Health: An Evidence-Based Guide to Sup…

Handcraft Blends Fractionated Coconut Oil – 16 Fl Oz – 100% Pure and Nat…
Essential Oils Diffuser,Aromatherapy Diffuser,Birthday for Women Mom Gra…
Variations/Alternative Methods
1. Roller Blends: Mix oils in a roller bottle for easy application.
2. Diffuser Blends: Create blends specifically for diffusing to fill a room with your scent.
3. Solid Perfumes: Use beeswax and carrier oils to create a solid version of your scent for portability.
Pros and cons:
– Roller blends are portable but may not last as long.
– Diffuser blends can fill a room effectively but can be less concentrated.
– Solid perfumes are convenient but may not provide as strong of a scent.
Variations/Alternative Methods
Editor’s Choice

JUYRLE Perfume Making Kit- DIY Roller Perfume Making Kits for Women, Mak…
Essential Oils Diffuser,Aromatherapy Diffuser,Birthday for Women Mom Gra…

Flowerland Solid Perfume – Portable Pocket Balm Perfume Perfect for Trav…
FAQs
What if I don’t have a specific oil?
You can substitute with a similar oil or leave it out entirely.
How long should I let my blend sit?
Let it sit for at least 24 hours to develop the full scent.
Is it safe to apply oils directly to skin?
No, always dilute essential oils with a carrier oil first.
What if my blend doesn’t smell good?
Adjust the ratios or add different oils to balance the scent.
Can I use synthetic oils?
It’s best to use natural oils for safety and quality.
FAQs
Editor’s Choice

Passion Sensual Massage Oil for Date Night | 100% Natural Body Oil for C…
Hipiwe Hard Shell Essential Oil Carrying Case Holds 12 Bottles (Can hold…
Convenience Kits International Women’s 15 Pc Kit Featuring: Palmer’s Hai…
Conclusion
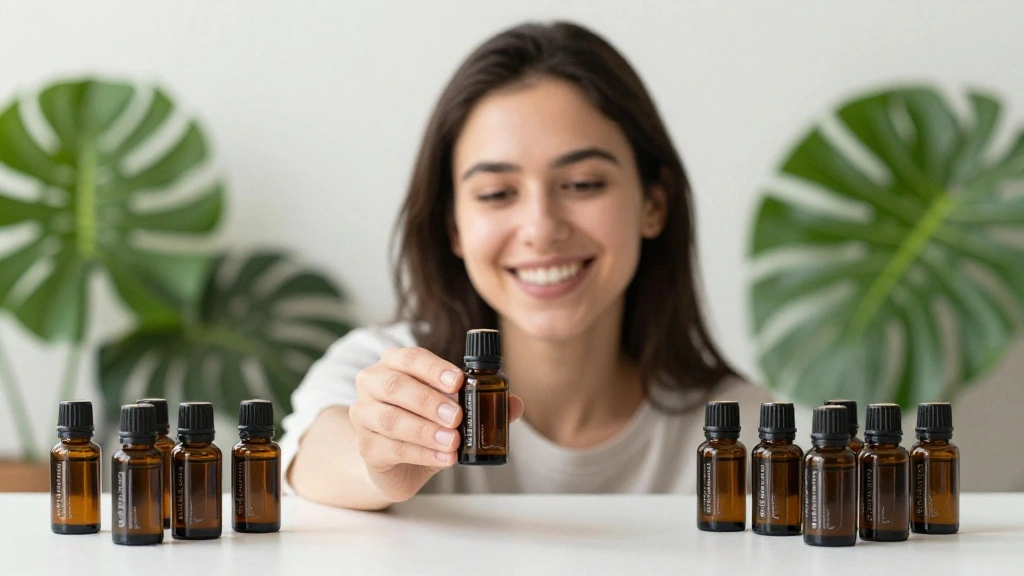
Congratulations! You’ve successfully created your own signature scent, reflecting your unique personality. With practice and exploration, you can further refine your blending skills and even create new scents for various occasions.
As you continue your journey with essential oils, consider exploring other aspects like aromatherapy or crafting homemade products. Your journey into the world of fragrance can lead to endless possibilities. Keep experimenting, and remember to enjoy the process!