
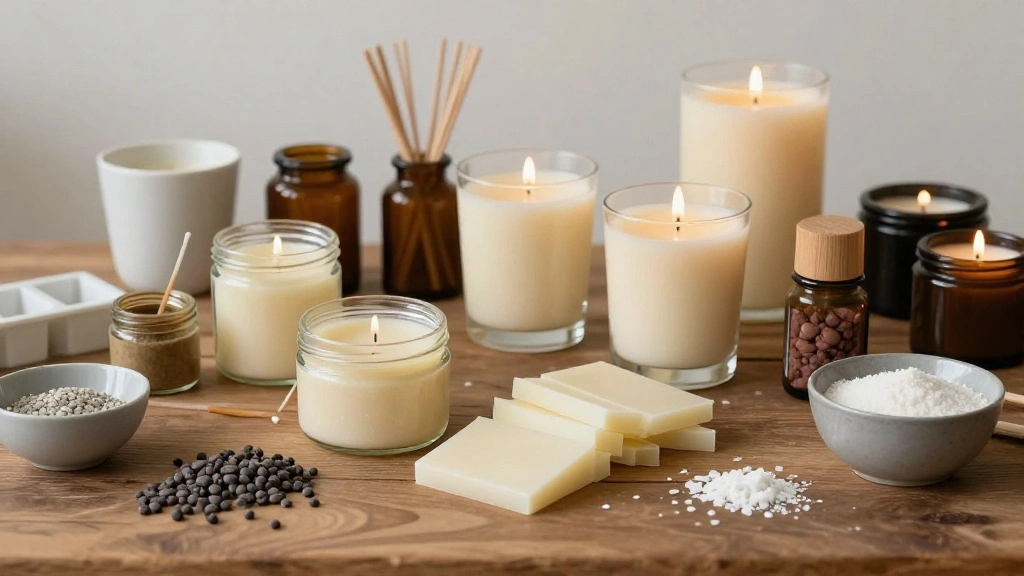
Do you want to explore a creative hobby that not only relaxes you but also fills your home with delightful scents? Candle making is a fantastic way to express your creativity and bring a cozy atmosphere to your space. Yet, many people hesitate to start because they believe it requires special skills or equipment. The good news is that you can dive into this enjoyable activity with no prior experience!
In this guide, you’ll learn how to make your very own candles from scratch. By the end, you will have crafted beautiful, fragrant candles that can brighten your home or serve as personalized gifts for loved ones. You’ll discover the necessary materials, step-by-step instructions, and helpful tips for success.
This beginner guide is designed for absolute beginners, and you can expect to spend around 2-3 hours on your first batch of candles. Ready to light up your world with this fulfilling craft? Let’s get started!
TL;DR Summary
- Gather essential materials for candle making.
- Follow step-by-step instructions to create your first candle.
- Learn tips to avoid common mistakes and troubleshoot issues.
- Explore variations and advanced techniques to enhance your skills.
TL;DR Summary
Editor’s Choice

Complete Candle Making Kits for Adults Beginners, DIY Candle Making Supp…


Hearth & Harbor Organic Soy Candle Wax for Candle Making, 10 lbs Natural…
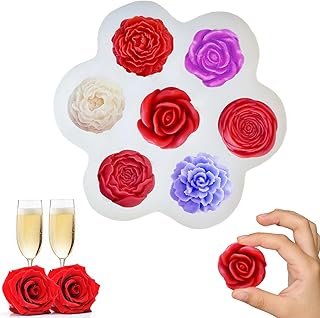
1 Pack Flowers Silicone Candle Molds Silicone Resin Molds for DIY Cake C…
Prerequisites/Materials Needed
- Wax: 2 lbs (soy wax or paraffin wax)
- Wicks: 10 cotton or wood wicks
- Containers: 5-10 small glass jars or molds
- Fragrance oils: 1-2 oz (your choice of scent)
- Color dyes: optional, 1-2 small packets
- Double boiler: 1 (or a microwave-safe bowl)
- Thermometer: 1 (for measuring wax temperature)
- Stirring utensil: 1 (wooden spoon or stick)
- Pouring pitcher: 1 (to transfer melted wax)
- Safety gear: gloves and goggles (for protection)
Prerequisites/Materials Needed
Editor’s Choice

CHEFBEE Candle Wick Trimmer, Black Polished Stainless Steel Wick Clipper…
Skill Level & Time Estimate
Skill Level: Beginner
Total Time Estimate: 2-3 hours
Here’s a brief breakdown of how you might spend your time:
- Gathering materials: 15-30 minutes
- Preparing the workspace: 10 minutes
- Melting the wax: 30-60 minutes
- Pouring and setting the candles: 1-1.5 hours
- Cleaning up: 15-30 minutes
Skill Level & Time Estimate
Editor’s Choice

Beesworks 100 Piece Cotton Candle Wick 6″ Pre-Waxed for Candle Making, C…
Hearth & Harbor Organic Soy Candle Wax for Candle Making, 10 lbs Natural…

SoftOwl Premium Soy Candle Making Kit – Full Set – Soy Wax, Big 7oz Jars…
Step 1: Gather Your Materials
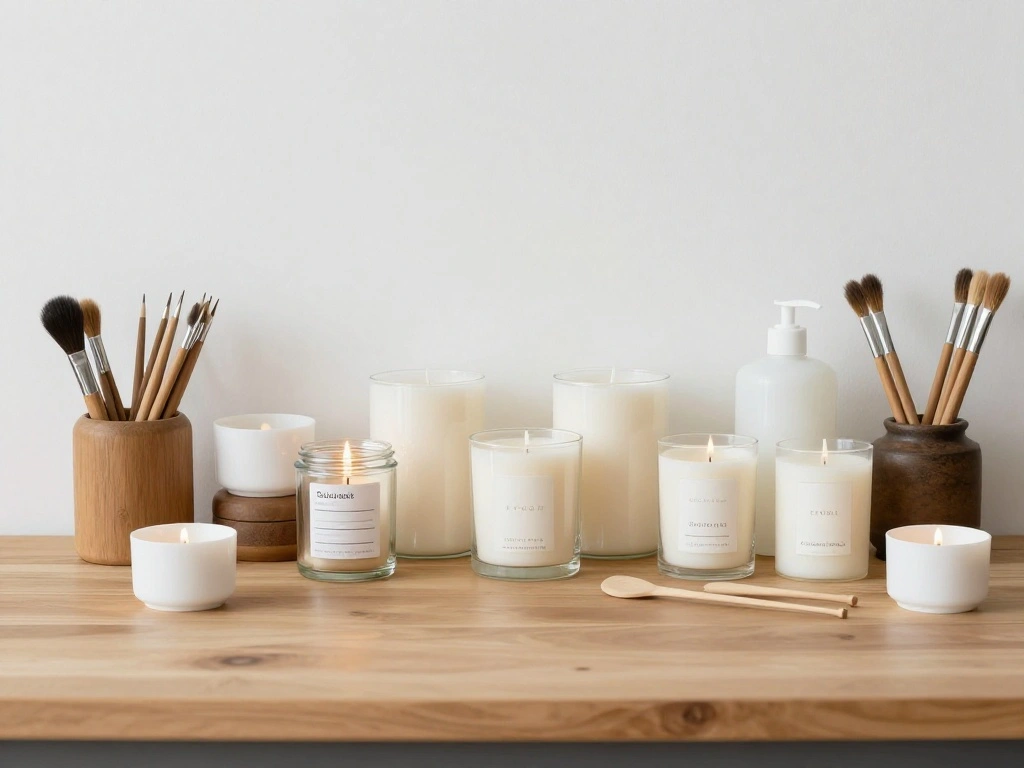
Start by collecting all the materials you need for candle making. This is crucial because having everything at hand will make the process smoother and more enjoyable. Follow these sub-steps:
- Check your checklist and ensure you have all items listed.
- Organize your workspace to make it easy to access your materials.
- Set up your double boiler or microwave for melting the wax.
Pro Tip: Having a clean and organized workspace can help prevent accidents and make your candle making process much easier.
Why this matters: Gathering materials in advance saves time and reduces frustration during the candle-making process.
Time estimate: 15-30 minutes.
Step 1: Gather Your Materials
Editor’s Choice

CasaCulina Candle Making Pouring Pot, 32oz Stainless Steel Wax Melting P…
Complete Candle Making Kits for Adults Beginners, DIY Candle Making Supp…

EricX Light 100 Piece Natural Candle Wick, Low Smoke 6″ Pre-Waxed & 100%…
Step 2: Prepare Your Workspace

Before you start melting wax, ensure your workspace is safe and conducive for candle making. Follow these steps:
- Cover your workspace with newspaper or an old cloth to catch spills.
- Wear gloves and goggles for safety while handling hot wax.
- Set up your double boiler or microwave station.
Warning: Be cautious of hot wax and sharp tools. Always keep safety in mind.
Why this matters: A clean and safe workspace reduces the risk of accidents and allows you to focus on your craft.
Time estimate: 10 minutes.
Step 2: Prepare Your Workspace
Editor’s Choice
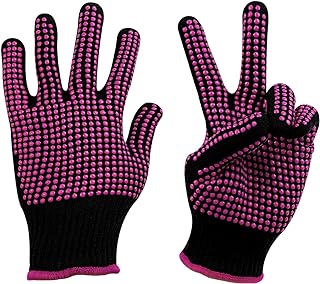
HTVRONT Heat Resistant Gloves for Sublimation – 2Pcs Heat Gloves for Sub…
Step 3: Melt the Wax
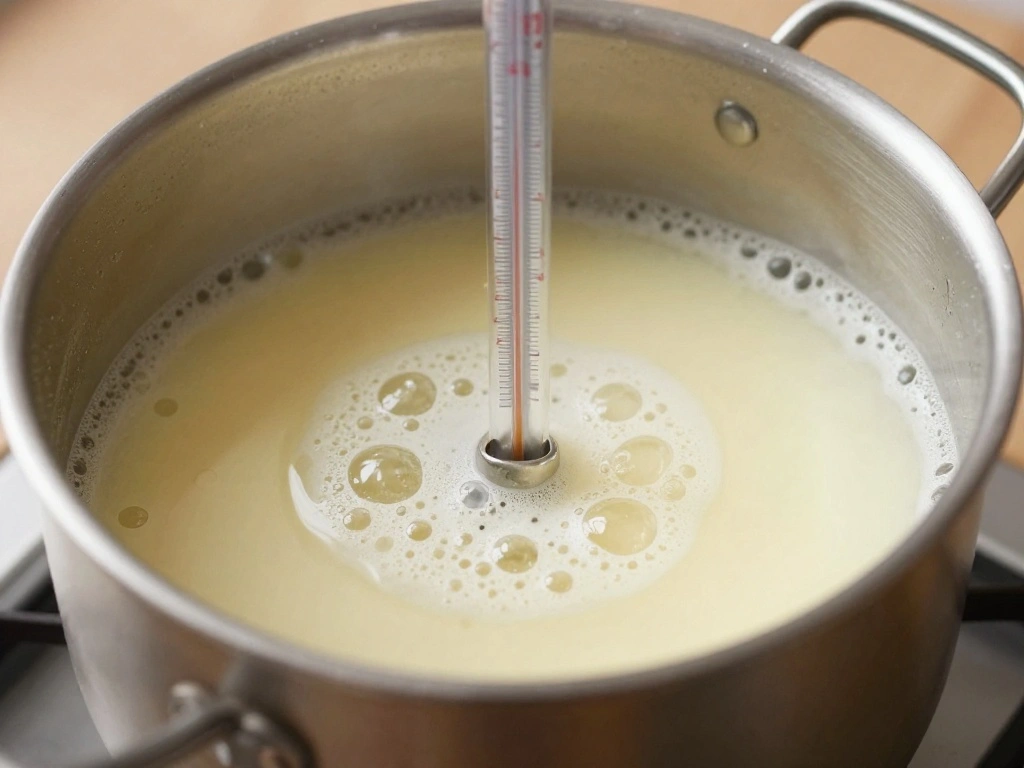
Now it’s time to melt the wax! This is a critical step because the temperature of the wax affects how well your candles will turn out. Follow these sub-steps:
- Measure out the appropriate amount of wax based on the number of candles you want to make.
- Place the wax in your double boiler or microwave-safe bowl.
- Heat the wax slowly until it reaches about 170-180°F (77-82°C).
Pro Tip: Stir the wax gently while it melts to help it heat evenly.
Why this matters: Properly melted wax ensures your candles will set correctly and hold fragrance well.
Time estimate: 30-60 minutes.
Step 3: Melt the Wax
Editor’s Choice

KQU Wax Melting Pot with Thermometer, Electric Wax Melter for Candle Mak…

Alpha Grillers Meat Thermometer Digital – Instant Read Food Thermomete…

Oggi Set of 4 Prep, Store & Serve Plastic Bowls – w/See-Thru Lids- Dishw…
Step 4: Add Fragrance and Dye (Optional)
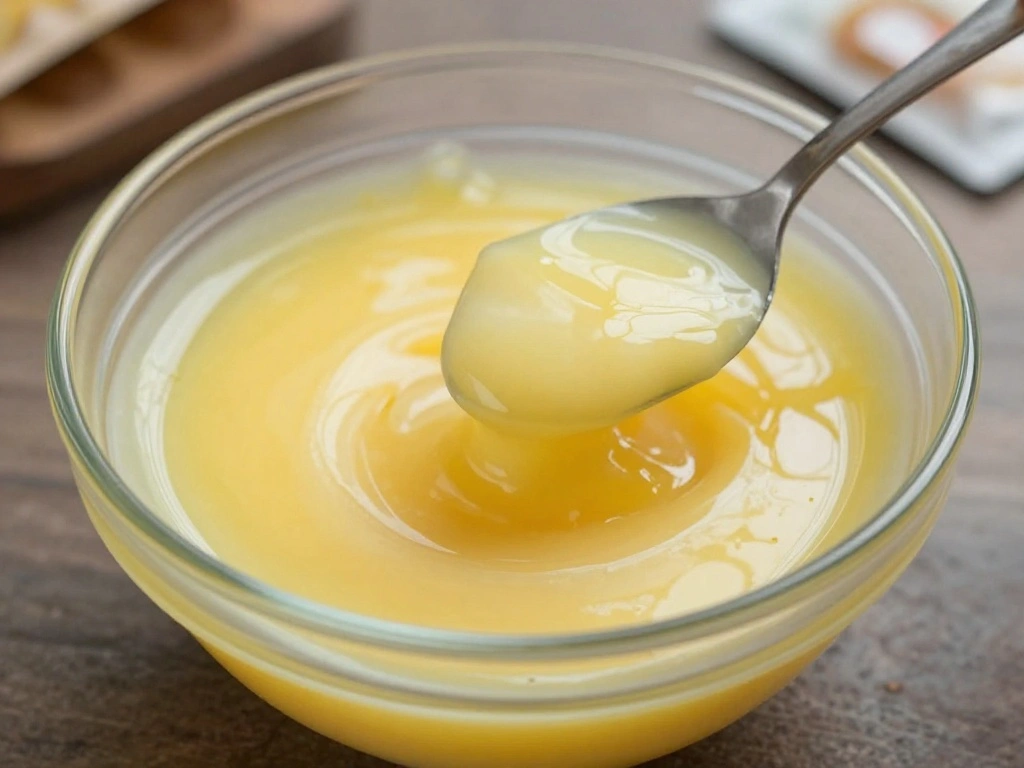
Once your wax is melted, you can customize your candles by adding fragrance and color. Here’s how:
- Remove the melted wax from heat and let it cool slightly, to about 160°F (71°C).
- Add your desired fragrance oil (about 1 oz per pound of wax) and stir thoroughly.
- If using dye, add it now and stir until the color is evenly distributed.
Pro Tip: Test a small amount of wax with dye and fragrance before adding to the entire batch to ensure you like the scent and color.
Why this matters: Adding fragrance and color allows you to create unique, personalized candles that reflect your style.
Time estimate: 15-20 minutes.
Step 4: Add Fragrance and Dye (Optional)
Editor’s Choice
SoftOwl Premium Soy Candle Making Kit – Full Set – Soy Wax, Big 7oz Jars…

Luxury Soy Candle Gift Set for Women – 3 Pack 7oz Crystal Glass Aromat…
Step 5: Prepare Your Containers
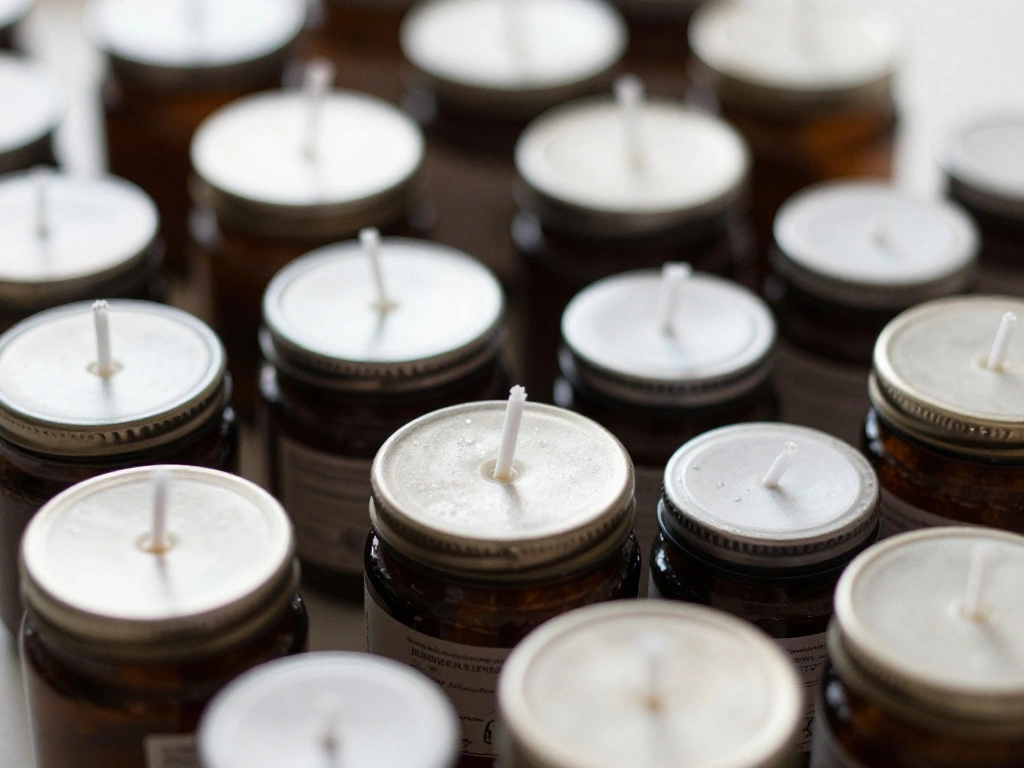
While the wax cools, prepare your containers for pouring. This is an essential step to ensure your candles set properly. Follow these sub-steps:
- Secure the wick in the center of each container using hot glue or a wick holder.
- Ensure the wick is straight and upright.
- Prepare multiple containers to fill them at once.
Warning: Make sure the wick is not too long; trim it if necessary to prevent burning issues.
Why this matters: Properly securing the wick is crucial for the candle’s burning quality and overall appearance.
Time estimate: 10-15 minutes.
Step 5: Prepare Your Containers
Editor’s Choice
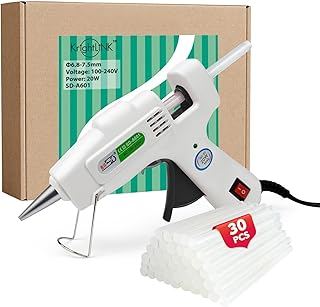
Krightlink Hot Glue Gun Kit with 30 Glue Sticks, Fast Preheating Hot Mel…

Thick Candle Jars for Making Candles 16 Pcs, 7 OZ Empty Jars with Wood L…
Step 6: Pour the Wax into Containers
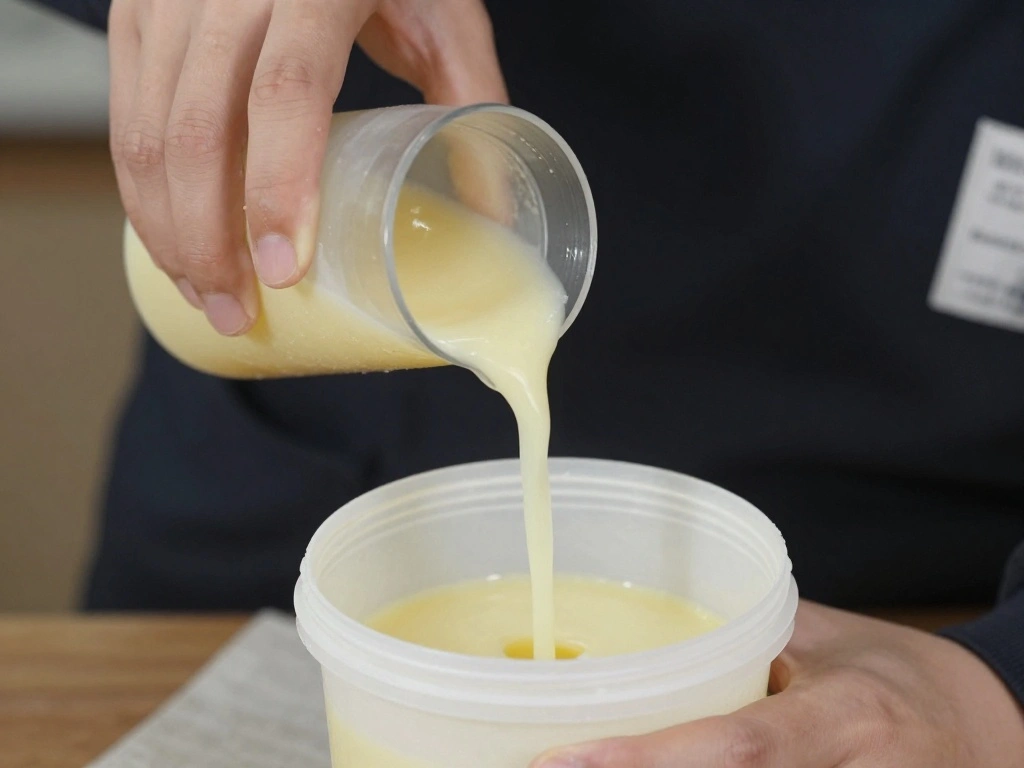
Now, you’re ready to pour the melted wax into your prepared containers. This step requires care to avoid spills. Follow these steps:
- Slowly pour the wax into each container, leaving about half an inch from the top.
- Make sure to keep the wick centered while pouring.
- Allow the poured candles to cool and set undisturbed.
Pro Tip: Pour at a steady, controlled pace to minimize air bubbles.
Why this matters: Controlled pouring ensures a smooth finish and reduces the chance of uneven surfaces or imperfections.
Time estimate: 15-20 minutes.
Step 6: Pour the Wax into Containers
Editor’s Choice

Universal Candle Wick Holder 3 Way: Holds 1 or 3 Wicks for Candle Making…
Complete Candle Making Kits for Adults Beginners, DIY Candle Making Supp…
CasaCulina Candle Making Pouring Pot, 32oz Stainless Steel Wax Melting P…
Step 7: Allow Candles to Set
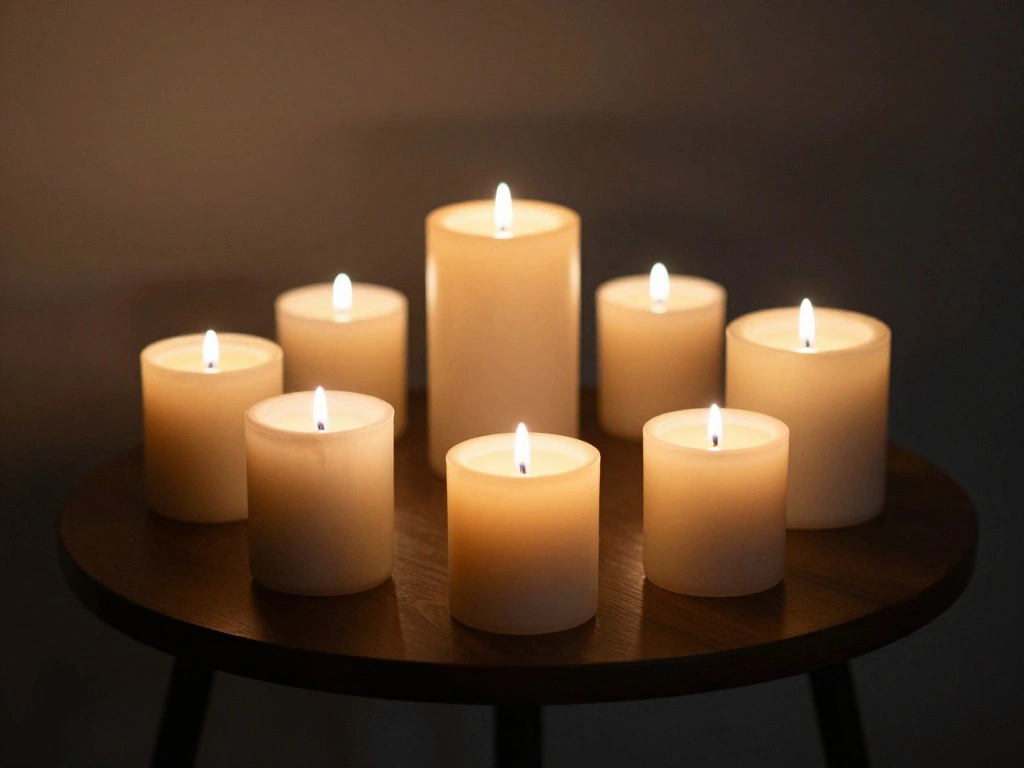
After pouring, the candles need time to cool and set properly. This is a crucial step for achieving a solid candle. Follow these sub-steps:
- Leave the candles to sit at room temperature for 1-2 hours.
- Avoid moving them until they are completely solid.
- Check for any cracks or imperfections as they cool.
Warning: Do not refrigerate or freeze the candles, as this can cause cracks.
Why this matters: Allowing the candles to set properly ensures their structural integrity and overall quality.
Time estimate: 1-2 hours.
Step 7: Allow Candles to Set
Editor’s Choice

Meat Food Thermometer, Digital Candy Cooking Thermometer, Kitchen Cookin…

EuTengHao Cylinder & Hexagon Candle Silicone Resin Mold for Scented Cand…
Hearth & Harbor Organic Soy Candle Wax for Candle Making, 10 lbs Natural…
Step 8: Trim the Wicks and Enjoy!
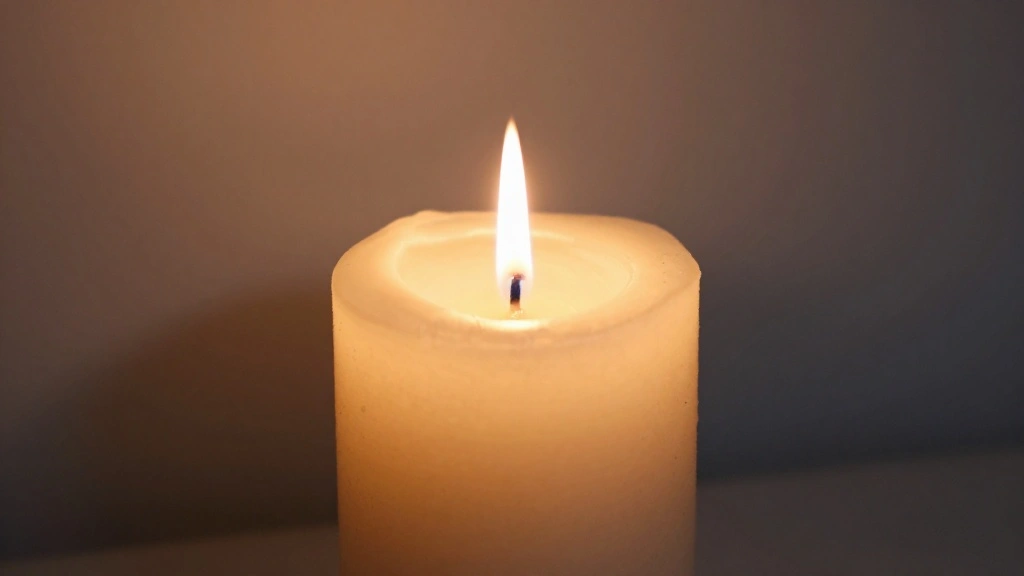
Once your candles have completely set, it’s time to finish them off and enjoy your handiwork! Follow these steps:
- Carefully trim the wicks to about 1/4 inch above the wax.
- Check the candles for any imperfections and fix them if needed.
- Light your candles and enjoy the ambiance they create!
Pro Tip: Allow your candles to cure for a few days before burning for optimal scent throw.
Why this matters: Proper wick trimming ensures a cleaner burn and enhances the overall experience when using your candles.
Time estimate: 15-30 minutes.
Step 8: Trim the Wicks and Enjoy!
Editor’s Choice
Complete Candle Making Kits for Adults Beginners, DIY Candle Making Supp…

SAEUYVB Candle Making kit with Hot Plate,Candle Making Supplies,Candle M…

Fragrance Essential Oils Set – 14pcs, Aromatherapy Oils for Skin, Diffus…
Pro Tips
- Experiment with Scents: Mix different fragrance oils to create unique scents.
- Use Natural Dyes: Explore natural coloring options like herbs and spices.
- Try Different Containers: Use various shapes and sizes for unique candle designs.
- Practice Patience: Allow your candles to cure for a few days for the best scent throw.
- Keep Records: Note down your recipes and adjustments for future reference.
Pro Tips
Editor’s Choice

YRYM HT Candle Dye – 16 Popular Vibrant Colors Candle Making Liquid Oil-…

Vanilla Essential Oil 30ml/1.01fl.oz, MAYJAM Premium Vanilla Oils for Ar…

SAEUYVB Candle Making Kit with Wax Melter, Candle Making Kit for Adults …
Common Mistakes to Avoid
Warning: Don’t skip the wick securing step. If the wick is not centered, your candle will burn unevenly.
Warning: Avoid overheating the wax. This can cause it to smoke or burn, ruining your candles.
Warning: Don’t pour wax too quickly. This can create air bubbles and imperfections.
Warning: Don’t forget to trim your wicks. Long wicks lead to soot and uneven burning.
Warning: Avoid using too much fragrance oil. This can lead to poor burning and candle performance.
Common Mistakes to Avoid
Editor’s Choice
SoftOwl Premium Soy Candle Making Kit – Full Set – Soy Wax, Big 7oz Jars…
CHEFBEE Candle Wick Trimmer, Black Polished Stainless Steel Wick Clipper…

Scented Candles Gift Set for Women, 4 Pack Soy Wax Candles in Classic Bo…
Troubleshooting Section
Problem: Candles have cracks.
Solution: Ensure proper pouring temperature and allow them to cool slowly.
Problem: Candles don’t smell strong enough.
Solution: Use the right amount of fragrance oil for the wax type.
Problem: Wicks keep falling over.
Solution: Secure them properly before pouring and use a wick holder.
Problem: Candles burn unevenly.
Solution: Check that the wick is properly centered and trimmed.
Problem: Wax did not fully melt.
Solution: Use a double boiler for even heating and avoid overheating.
Troubleshooting Section
Editor’s Choice
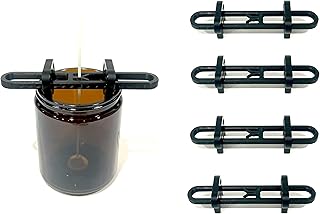
Adjustable Candle Wick Centering Stabilizer Tool Device for Jars Cups Co…
Complete Candle Making Kits for Adults Beginners, DIY Candle Making Supp…
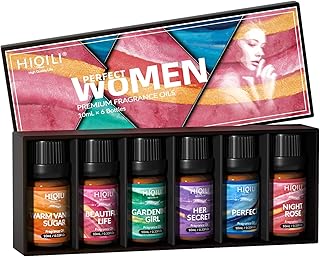
HIQILI Women Fragrance Oil 6x10ml, Essential Oils for Candle Scents Soap…
Variations/Alternative Methods
1. Container Candles: Use jars or tins for easy pouring and cleanup.
2. Votive Candles: Use molds to create small candles that can be used in holders.
3. Layered Candles: Pour different colors of wax in layers for a unique look. Each method has its pros and cons, such as ease of use versus the complexity of design.
Variations/Alternative Methods
Editor’s Choice

FansArriche Candle Dye – 18 Colors Liquid Oil-Based Dye for Candle Wax, …

3 Pack Cylinder Candle Mold – Votive Candle – Silicone 3D Molds for Pray…
Complete Candle Making Kits for Adults Beginners, DIY Candle Making Supp…
FAQs
What if I don’t have a double boiler? You can create a makeshift double boiler by placing a heat-safe bowl over a pot of simmering water.
How long should I let my candles cure? For optimal results, let your candles cure for 3-5 days before burning.
Is it safe to use essential oils? Yes, but make sure they are suitable for candle making to ensure proper burning.
What if my candles don’t smell? Ensure you use sufficient fragrance oil and that it’s added at the right temperature.
Can I reuse old wax? Yes, but make sure it’s clean and free from impurities before remelting.
FAQs
Editor’s Choice

Double Boiler Pot Set, Stainless Steel Melting Pot with Silicone Spatula…
Complete Candle Making Kits for Adults Beginners, DIY Candle Making Supp…
Fragrance Essential Oils Set – 14pcs, Aromatherapy Oils for Skin, Diffus…
Conclusion
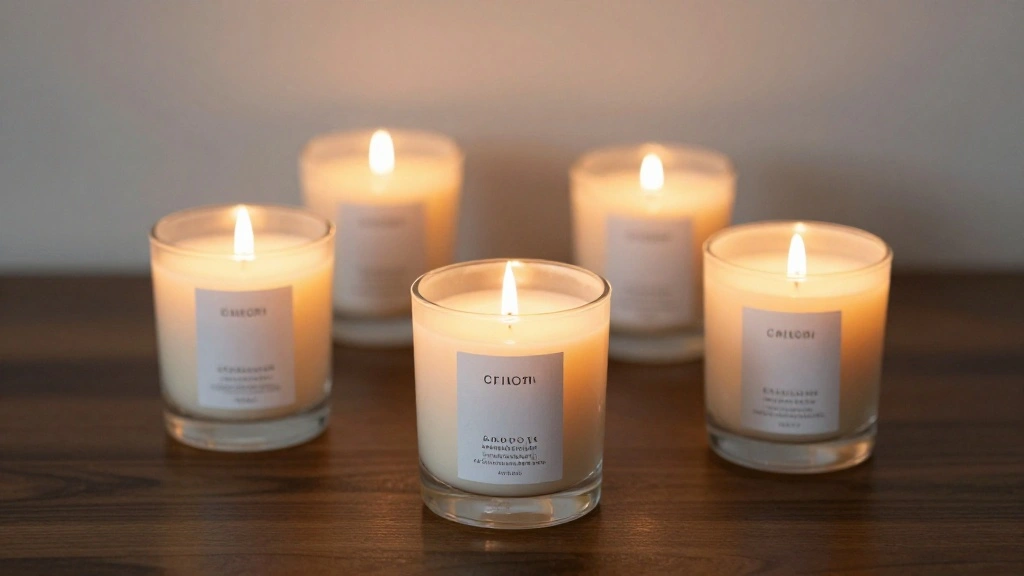
Congratulations! You’ve successfully completed your first candle-making project. You should feel a sense of accomplishment as you admire your beautiful creations. Now that you have the basics down, consider experimenting with different shapes, scents, and colors to further hone your skills.
As you continue your candle-making journey, explore online communities or local workshops for more inspiration and techniques. Enjoy the warmth and ambiance that your handmade candles bring to your home!