
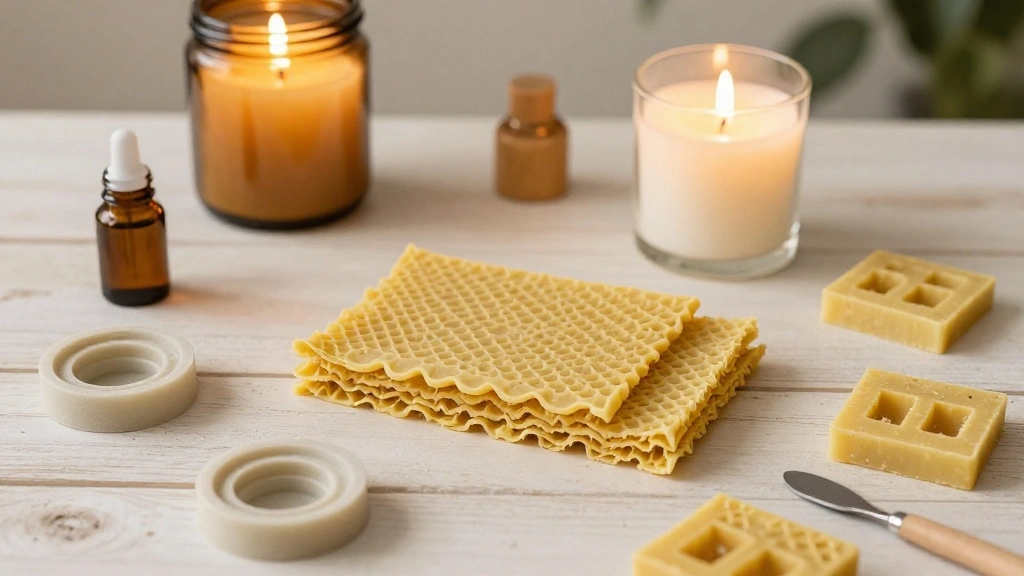
Are you tired of burning store-bought candles that are filled with artificial fragrances and harmful chemicals? Making your own beeswax candles at home is not only a rewarding craft, but it also provides you with a natural and eco-friendly alternative. In this guide, you will learn how to create beautiful beeswax candles from scratch, using simple materials and techniques.
By following these steps, you will be able to create your own customized beeswax candles that burn cleaner and longer than traditional candles. You can even experiment with different shapes, sizes, and scents, allowing you to create unique gifts or decorative pieces for your home.
In this guide, you will specifically learn about the materials needed, the step-by-step process of making beeswax candles, and tips for perfecting your technique. This project is rated as beginner friendly and can be completed in approximately 2-3 hours. It’s a fun way to spend an afternoon and will leave you with beautiful candles to enjoy or gift.
TL;DR Summary
- Gather materials: beeswax, wicks, molds, and tools.
- Prepare beeswax by melting it carefully.
- Pour the wax into molds, ensuring the wick is centered.
- Allow candles to cool and harden completely before removing.
- Trim the wick and enjoy your homemade beeswax candles!
TL;DR Summary
Editor’s Choice

Hearth & Harbor Organic Soy Candle Wax for Candle Making, 10 lbs Natural…


Beeswax Molds Silicone Makes 5 x 1 OZ Blocks with “Beeswax” Embossed…

EricX Light 100 Piece Natural Candle Wick, Low Smoke 6″ Pre-Waxed & 100%…
Prerequisites/Materials Needed
- Beeswax: 1 pound (natural, unrefined)
- Candle wicks: 6-8 wicks (choose appropriate length for your molds)
- Candle molds: silicone or metal molds in desired shapes
- Double boiler: or heat-safe container for melting wax
- Thermometer: for checking wax temperature
- Stirring utensil: for mixing (wooden spoon works well)
- Scissors: for trimming wicks
Prerequisites/Materials Needed
Editor’s Choice

CandMak Candle Wick Kit – 60 Cotton Wicks with Candle Making Tools (Thic…

8PCS Reusable Silicone Candle Molds Set – Cylinder/Hexagon/Octagonal/Hea…
Skill Level & Time Estimate
Skill Level: beginner
Total Time Estimate: 2-3 hours
Breakdown:
- Gathering materials: 15-30 minutes
- Melting beeswax: 15-30 minutes
- Pouring and cooling: 1-2 hours
- Trimming wicks and cleanup: 30 minutes
Skill Level & Time Estimate
Editor’s Choice

Double Boiler Pot Set, Stainless Steel Melting Pot with Silicone Spatula…

【200 Feet】Candle Wick Roll with 125 Pcs Metal Candle Wick Sustainer …

12 Colors Beeswax Sheets for Rolling Candle 8″ X 8″ Beeswax Sheets for C…
Step 1: Gather Your Materials
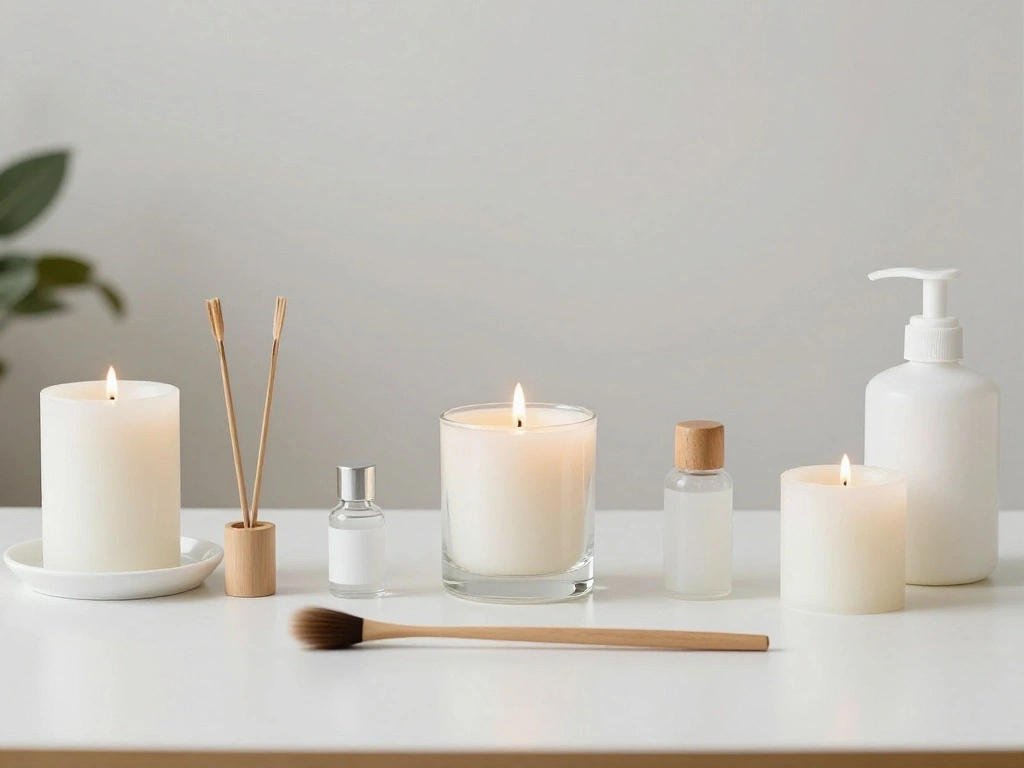
Before you start making beeswax candles, ensure you have all your materials ready. This step is crucial as it sets the foundation for a smooth candle-making process.
- Collect all materials from the checklist provided earlier.
- Set up your workspace in a well-ventilated area.
- Make sure your candle molds are clean and dry.
Pro Tip: Organizing your workspace can help you work more efficiently and avoid forgetting any steps. Warning: Ensure that you keep beeswax away from open flames while preparing.
Time estimate: 15 minutes
Step 1: Gather Your Materials
Editor’s Choice

SAEUYVB Candle Making Kit with Wax Melter, Candle Wax for Candle Making …
Step 2: Melt the Beeswax
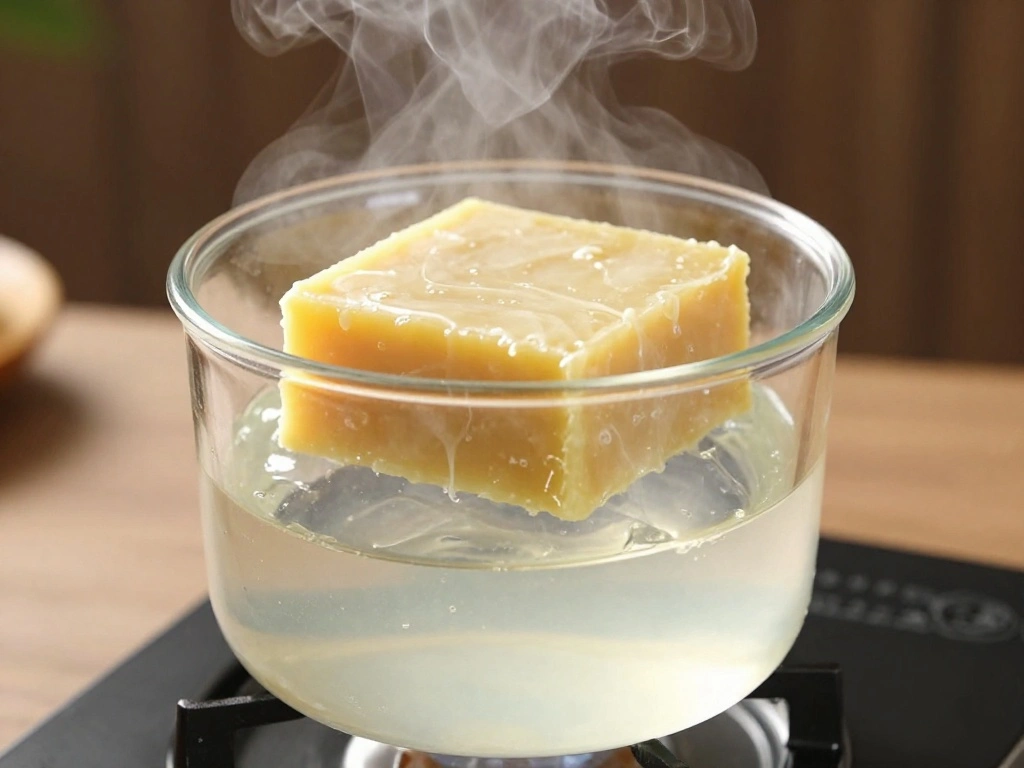
Melting beeswax is the next critical step in your candle-making journey. Beeswax has a high melting point, so it’s important to use a double boiler to avoid direct heat.
- Fill the bottom pot of the double boiler with water and place it on the stove.
- Add the beeswax to the top pot and heat over medium heat.
- Stir the beeswax occasionally with your stirring utensil until it is completely melted.
Pro Tip: Use a thermometer to monitor the temperature; beeswax should be melted to around 145-150°F. Warning: Do not let the beeswax overheat, as it can catch fire.
Time estimate: 15-30 minutes
Step 2: Melt the Beeswax
Editor’s Choice
Double Boiler Pot Set, Stainless Steel Melting Pot with Silicone Spatula…

Silicone Stir Sticks, 4 Pcs Reusable Silicone Mixing Sticks for Resin, E…

Digital Meat Food Thermometer for Candy Candle Milk BBQCooking Kitchen B…
Step 3: Prepare the Wicks
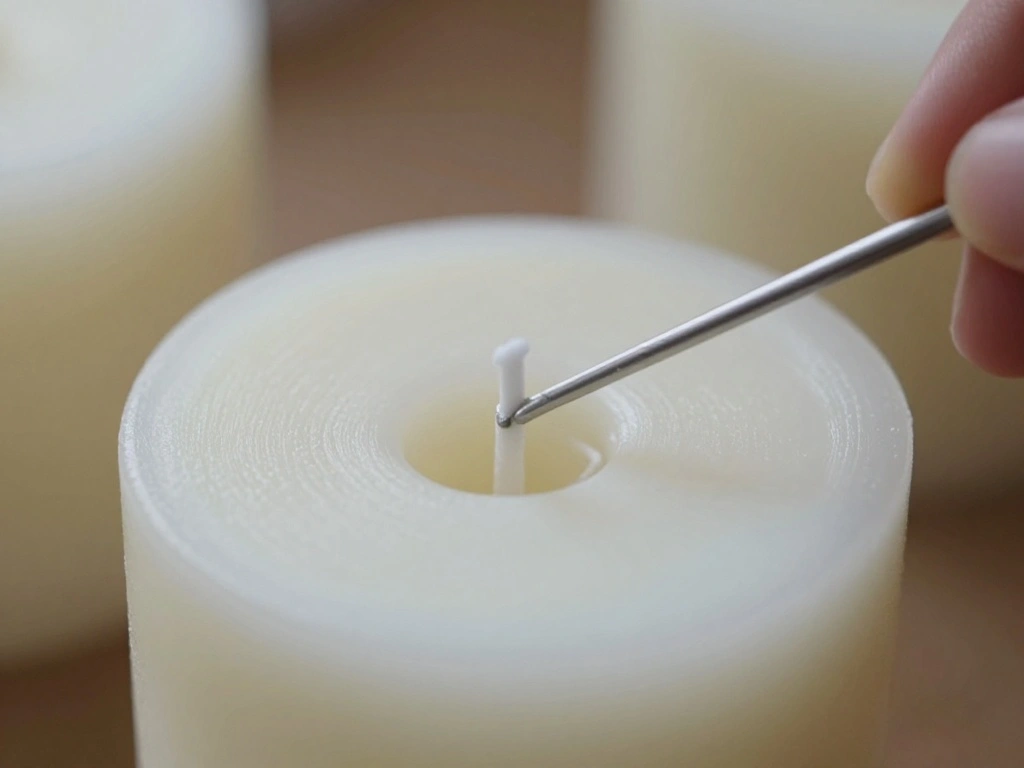
While your beeswax is melting, it’s time to prepare the wicks. Properly prepared wicks ensure that your candles burn evenly.
- Take your candle wicks and cut them to be about 1-2 inches taller than your candle molds.
- Attach the wick to the bottom of the mold using a small amount of melted beeswax or a wick sticker.
- Make sure the wick is centered in the mold to achieve an even burn.
Pro Tip: Use a pencil or chopstick to hold the wick in place by laying it across the top of the mold and securing the wick to it. Warning: Ensure the wick is not touching the sides of the mold.
Time estimate: 10-15 minutes
Step 3: Prepare the Wicks
Editor’s Choice

720PCS Candle Wicks for Candle Making, Candle Wick Stickers, Heat Resist…

CHEFBEE Candle Wick Trimmer, Black Polished Stainless Steel Wick Clipper…
Step 4: Pour the Wax into Molds
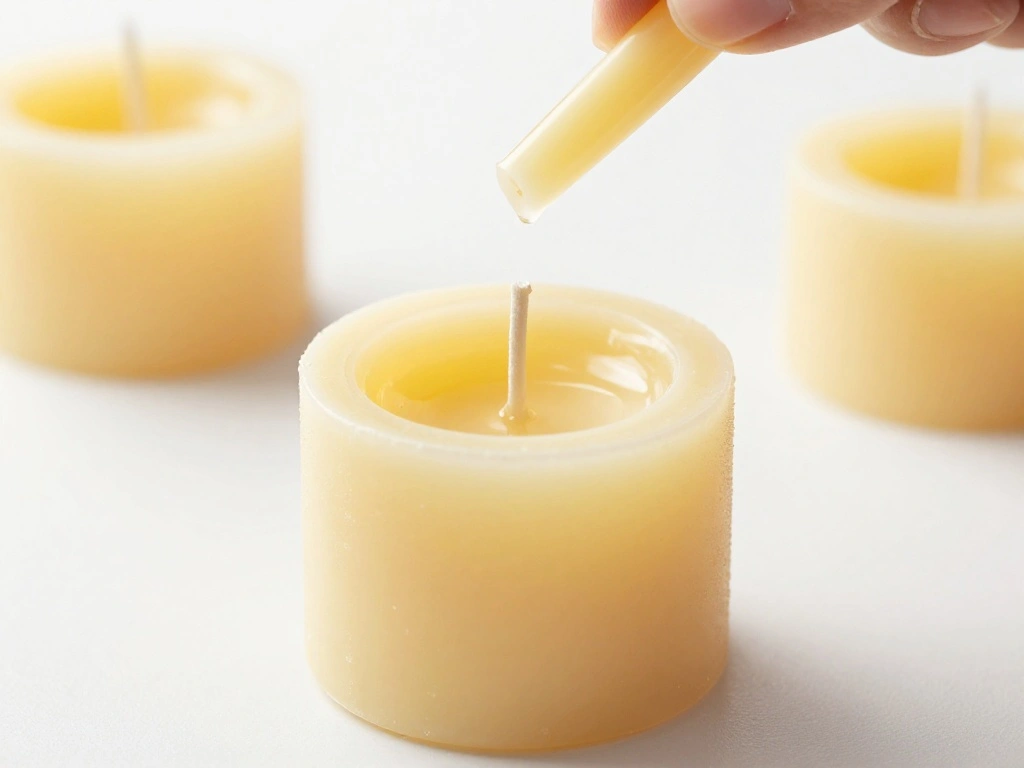
Now that the beeswax is melted and your wicks are prepared, it’s time to pour the wax into the molds. This step is where your candles start to take shape.
- Carefully pour the melted beeswax into the prepared molds, filling them to the desired height.
- Ensure the wick remains centered as you pour.
- Leave a small amount of beeswax in the pot for topping off later, if necessary.
Pro Tip: Pour slowly to avoid air bubbles and ensure an even surface. Warning: Be cautious with the hot wax to prevent burns.
Time estimate: 20-30 minutes
Step 4: Pour the Wax into Molds
Editor’s Choice

Large Cylinder Mold for Candle Making, 2x3Inch 2x6Inch 2x8Inch Cylinder …

BOOWAN NICOLE Universal Wick Centering Setter Tool for Candle Making – C…

Fewo 2 Pack 3D Bee Honeycomb Candle Molds Beehive Silicone Mold for Home…
Step 5: Let Candles Cool
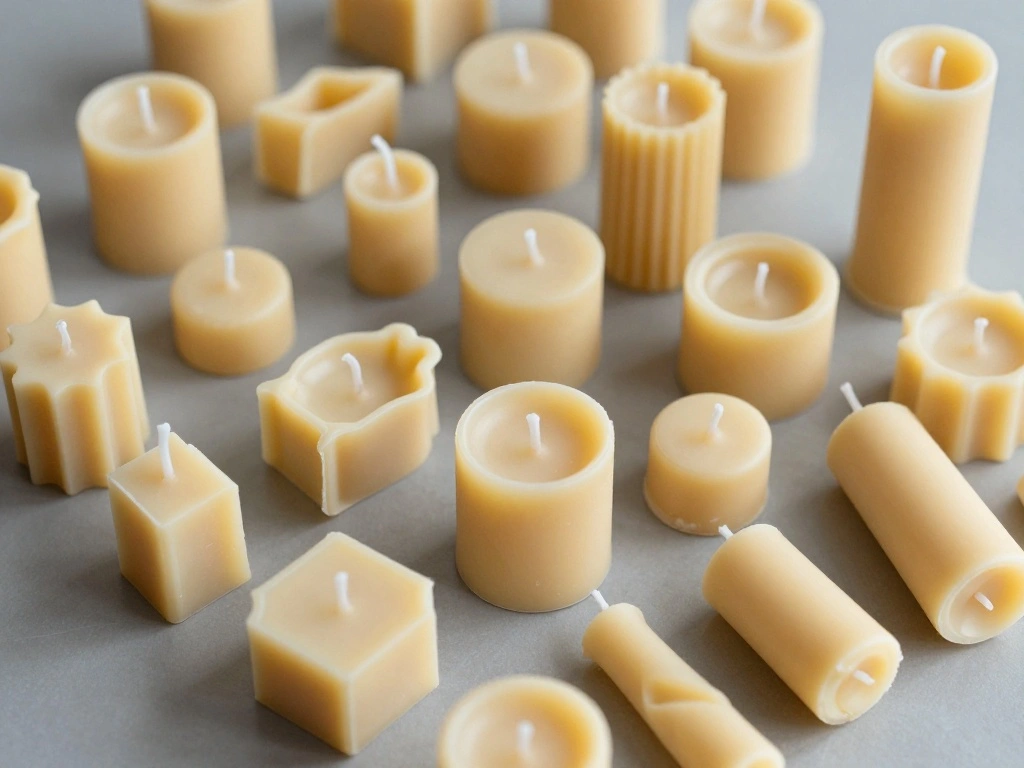
After pouring the wax, patience is key as you allow the candles to cool. This step is essential to ensure the candles set properly.
- Leave the candles undisturbed at room temperature until they are completely cool and hardened.
- This may take 1-2 hours depending on the size of your molds.
- Check the candles periodically to see if they have hardened.
Pro Tip: Avoid moving the molds during this time to prevent any imperfections in the candle. Warning: Never rush the cooling process by placing candles in the refrigerator, as this may lead to cracking.
Time estimate: 1-2 hours
Step 5: Let Candles Cool
Editor’s Choice

Beeswax Candle Making Kit with Electric Wax Melter for Adult, 5lbs Bees …
Digital Meat Food Thermometer for Candy Candle Milk BBQCooking Kitchen B…
Large Cylinder Mold for Candle Making, 2x3Inch 2x6Inch 2x8Inch Cylinder …
Step 6: Trim Wicks and Enjoy
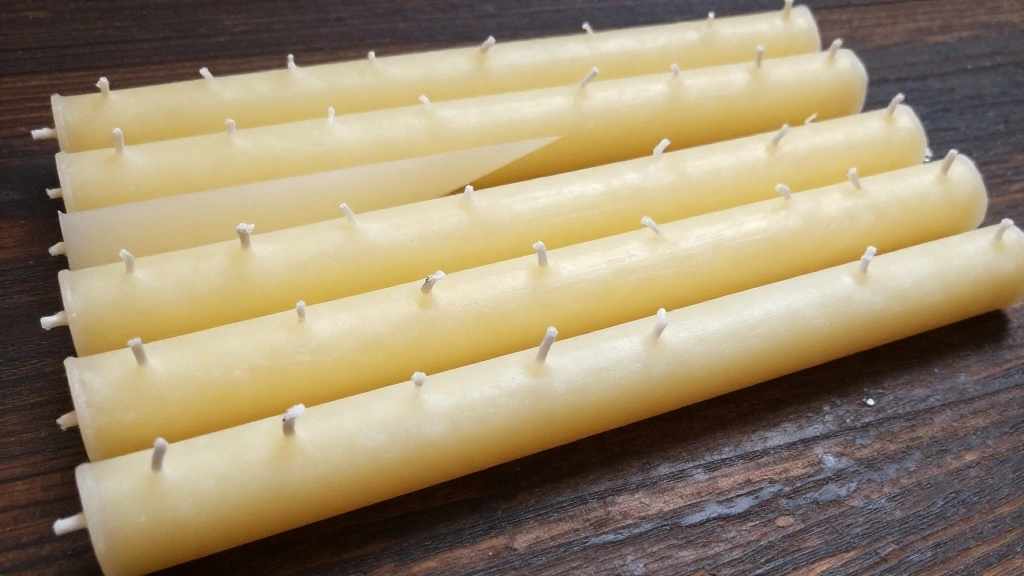
Once your candles have cooled and hardened, it’s time for the final touches! Trimming the wicks will ensure a clean and even burn.
- Carefully remove the candles from the molds.
- Using scissors, trim the wick to about 1/4 inch above the surface of the candle.
- Your candles are now ready to be used or gifted!
Pro Tip: Light your candle and enjoy the gentle, natural scent of beeswax. Warning: Always monitor burning candles to prevent any fire hazards.
Time estimate: 10-15 minutes
Step 6: Trim Wicks and Enjoy
Editor’s Choice
Beeswax Candle Making Kit with Electric Wax Melter for Adult, 5lbs Bees …

Succulent Flower Silicone Wave Spiral Candle Mold – Silicone Resin Casti…
CHEFBEE Candle Wick Trimmer, Black Polished Stainless Steel Wick Clipper…
Pro Tips
- Coloring Your Candles: You can add natural colorants like spices or herbs to the melted wax for a unique look.
- Fragrance Options: Consider adding essential oils to the melted beeswax for a pleasant scent.
- Experiment with Shapes: Try different molds, like muffin tins or cookie cutters, for fun candle shapes.
- Storage: Keep your candles in a cool, dry place away from direct sunlight to maintain their quality.
- Burn Test: Always perform a burn test on a small candle to check the wick size and wax mixture.
Pro Tips
Editor’s Choice
Hearth & Harbor Organic Soy Candle Wax for Candle Making, 10 lbs Natural…

3D Hand Shaped Silicone Mold, 3.7in Gesture Candle Mold,Middle Finger Sh…

PHATOIL 3.38FL.OZ Coconut & Vanilla Fragrance Oils for Aromatherapy, Ess…
Common Mistakes to Avoid
Warning: Rushing the cooling process can lead to cracks in your candles. Always allow them to cool at room temperature. Warning: Not centering the wick can cause uneven burning. Ensure the wick is centered before pouring the wax. Warning: Overheating the beeswax can cause it to smoke or catch fire. Monitor closely while melting.
Common Mistakes to Avoid
Editor’s Choice
Digital Meat Food Thermometer for Candy Candle Milk BBQCooking Kitchen B…
BOOWAN NICOLE Universal Wick Centering Setter Tool for Candle Making – C…

Beeswax Candle Making Kit with Electric Wax Melter for Adult, 5lbs Bees …
Troubleshooting Section
Problem: Candles are cracked after cooling.
Solution: Allow them to cool slowly at room temperature instead of using a fridge.
Problem: Wicks are too short.
Solution: Make sure to cut wicks longer than the mold height initially.
Problem: Candles burn unevenly.
Solution: Check wick centering and trim to the right height for even burning.
Troubleshooting Section
Editor’s Choice
Beeswax Candle Making Kit with Electric Wax Melter for Adult, 5lbs Bees …

Yacumama Digital Water Thermometer for Liquid, Candle, Instant Read with…

50 Pcs 6″ Natural Candle Wicks,Pre-Waxed by 100% Beeswax & Tabbed with 6…
Variations/Alternative Methods
Consider these alternatives:
- Layered Candles: Pour different colors of wax in layers for a visually striking effect.
- Scented Varieties: Use essential oils to add fragrances that suit your preferences.
- Beeswax Wraps: Instead of candles, consider making beeswax wraps for eco-friendly food storage.
Variations/Alternative Methods
Editor’s Choice

Thleunei Beeswax Sheets for Candle Making – Beeswax Candle Making Kit fo…

FROKO White Natural Beeswax Pellets 1LB, Organic Beeswax, Beeswax for Ca…
![VINEVIDA [Set of 8] Clean Scents for Candle Making, Made in USA Candle F...](https://m.media-amazon.com/images/I/71MmlWrfZ9L._AC_UL320_.jpg)
VINEVIDA [Set of 8] Clean Scents for Candle Making, Made in USA Candle F…
FAQs
What if I don’t have a double boiler?
Use a heat-safe bowl over a pot of simmering water as a makeshift double boiler.
How long should I let the candles cool?
Let them cool for 1-2 hours or until completely hardened.
Is it safe to add essential oils?
Yes, as long as they are high-quality and suitable for candle making.
FAQs
Editor’s Choice

Stainless Steel Double Boiler Pot for Melting Chocolate, Candy and Candl…
Beeswax Candle Making Kit with Electric Wax Melter for Adult, 5lbs Bees …

Fragrance Essential Oils Set – 14pcs, Aromatherapy Oils for Skin, Diffus…
Conclusion
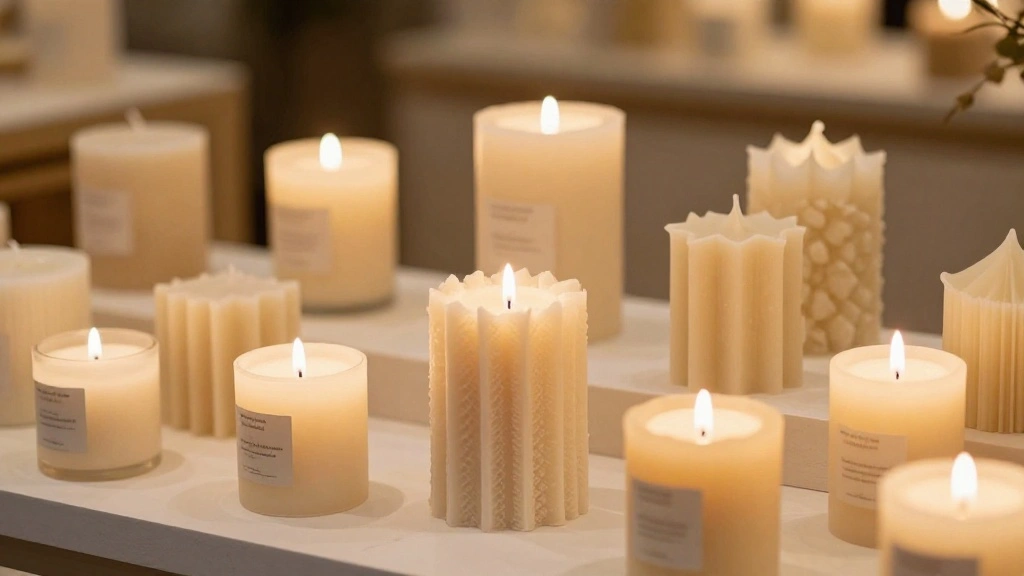
Congratulations! You’ve successfully made your own beeswax candles from scratch. You should feel proud of this accomplishment, and your home can now benefit from the warm glow and natural fragrance of your creations.
Before you go, consider experimenting with different molds, scents, and colors in your next candle-making session. There are endless possibilities to explore!